Saturday, June 30, 2018

Fishing You A Happy Birthday...

Hi folks, it's hard to believe it's the last day of June and that we're halfway through the year already. And right on cue for the new month, my Simon Says Stamp July Card Kit has arrived. The kit is still available to buy and you can check out all the details HERE.
 and I'm sharing a fun card featuring some cute little fishes


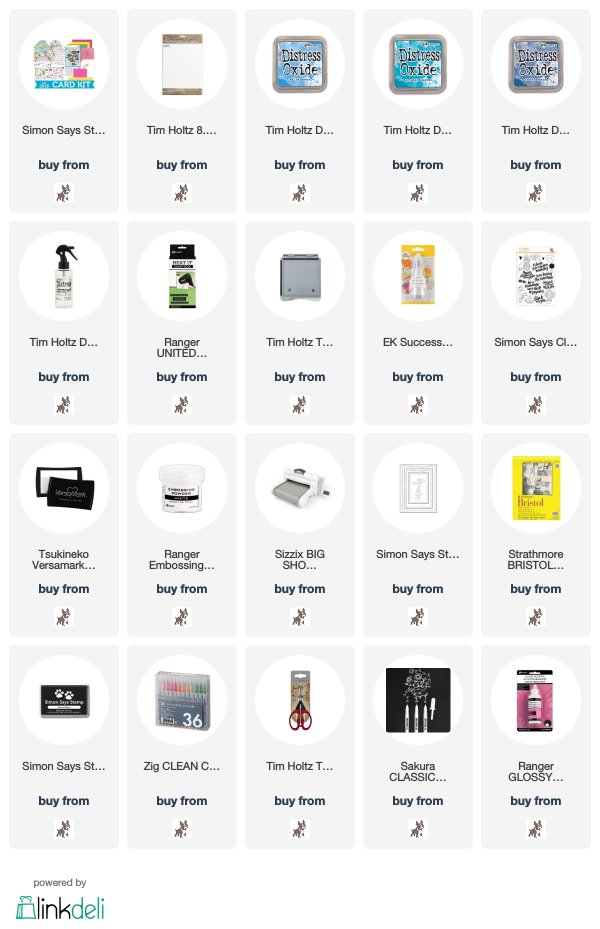
I trimmed a piece of Distress Watercolor card to be slightly larger than A2 and used Distress Oxide inks to create an ocean background.
I dried the panel with my heat tool, dusted with a powder tool and stamped the sentiment from the One Cool Pineapple stamp set with Versamark ink, sprinkled with Ranger Superfine White Embossing Powder and heat set.
and die cut using Simon Says Stamp Wonky Rectangles
I stamped the fish on to Strathmore Bristol Smooth paper using Simon Says Intense Black ink and coloured with Zig Clean Color Brush Markers
I fussy cut the fish, fixed to the panel (some with 3D foam) and stamped the bubbles from the stamp set. I coloured the bubbles with a Sakura White Gelly Roll Pen, added Glossy Accents and matted the panel on to a Simon Says Stamp A2 White Card Blank included in the kit.
Have a great weekend whatever you have planned and I'll see you all on Monday with my DT project for next week's Simon Says Stamp Monday Challenge. You still have time to play along with this week's Food And/Or Drink Challenge with a chance to win a $50 shopping spree at Simon Says Stamp Online Store.
Have fun and Happy Crafting
Hugs Kath xxx

Happy Birthday Buddy...

Hi everyone, it's a very special day in the cubbyhole, the Furry member of the crew is celebrating his 12th Birthday. It just seems like yesterday that this bundle of snuggliness entered my life
and in, what seems like the blink of an eye, he has gone from the naughtiest hooligan ever to a very well behaved elder statesman
with lots of happy memories in between

But the two cubbyhole "advancing in years/old age sucks sometimes" senior citizens are hanging in there and hoping that we will have a few more fun years together.
HAPPY BIRTHDAY
 to my best friend, my constant companion, my adorable boy, love you loads

I'll be back soon to share a card made with Simon Says Stamp July Card Kit, in the meantime, there are presents to open, candles to blow out and a stretch our legs morning stroll.
Hugs Kath xxxx

Friday, June 29, 2018

A Sewing Themed Etcetera Tag...

Hi folks...today I'm sharing an Etcetera Tag decorated with Memoranda, one of my favourite Tim Holtz Idea-ology Paper Pads, Stampers Anonymous Inventor 3 stamp set and a colour combo I haven't used together before...Tea Dye and Victorian Velvet


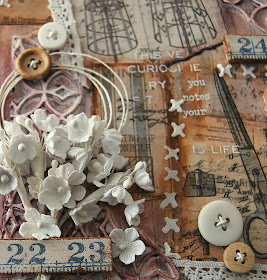
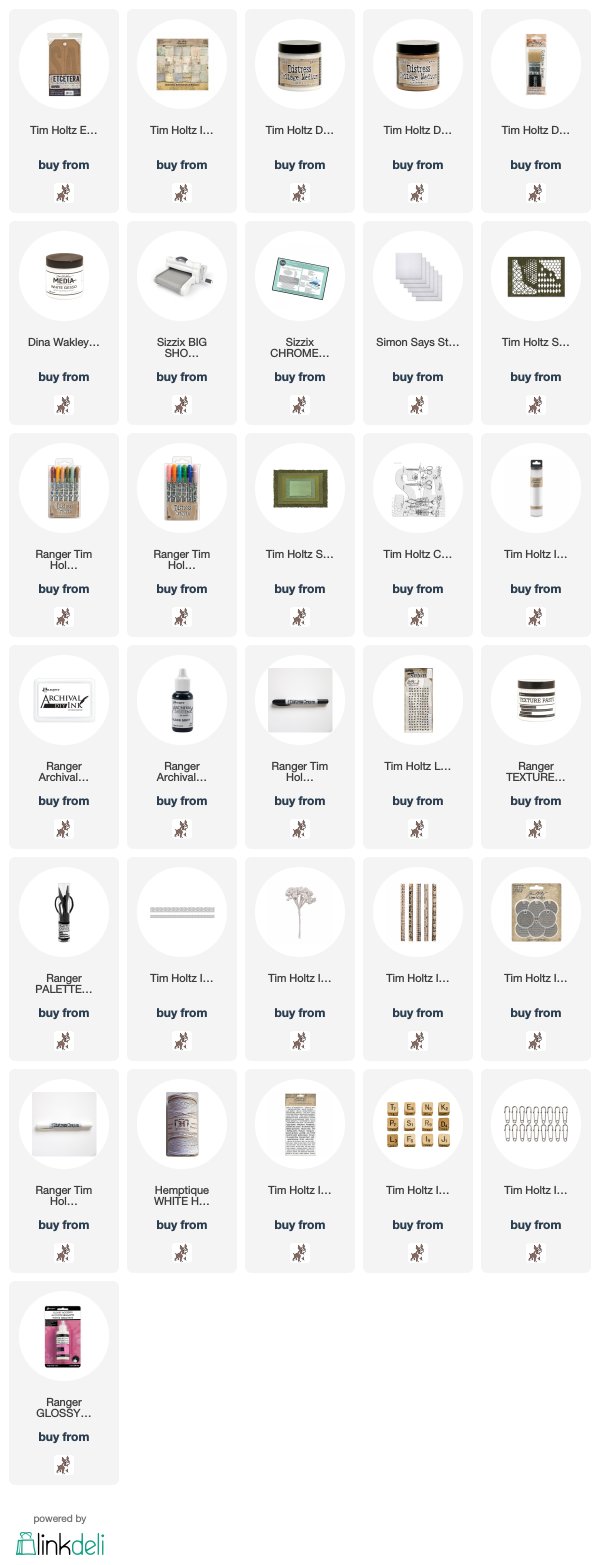
I used the Small Etcetera Tag (3 in a pack) which measures 5.1/2" x 10"...a nice large surface to work on. I fixed Memoranda paper to the tag using Distress Collage Medium Matte, added a light coat of White Gesso and wiped it back from some areas. I die cut 3 layers of white cardstock using Tim Holtz/Sizzix Mixed Media Thinlits, trimmed the die cuts down and fixed to the tag with Distress Collage Medium Matte.

I added torn sections of Memoranda papers, applied a little Vintage Distress Collage Medium randomly over the tag and once everything was dry, I applied Distress Collage Medium Matte over the whole surface. I rubbed Victorian Velvet and Tea Dye Distress Crayons over the surface, smudging it into the detail with my finger and using a damp baby wipe to remove it from some areas.
I stamped the image from Inventor 3 on to a piece of Memoranda Paper, die cut with Tim Holtz/Sizzix Stacked Deckle Thinlits, tore across the bottom edge and used a Black Soot Distress Crayon to darken the edges.
I stamped images from Inventor 3 and Sewing Blueprints on to Plain Collage Paper using Black Soot Archival but, as it happens, just used the scissors image.
I added Idea-ology Lace Trimmings and the scissors image, both fixed in place with Distress Collage Medium Matte and applied Ranger OpagueTexture Paste through the Stitched Layering Stencil.
I coloured an Idea-ology Hanger Clip and Trinket Wire Pin with White Gesso and added Idea-ology Bouquet Findings.
I highlighted  the words on an Ideaology Quote Token with a Picket Fence Distress Crayon and added a twine bow.
I added Idea-ology Tiny Text Remnant Rubs, a circle of twine, a bunch of Bouquet Findings, Ruler Pieces Findings coloured lightly with White Gesso and buttons from my stash.
I finished off by adding Alpha Dice...I only had 3 left in my stash but luckily they had the letters I needed.
The weather has been absolutely scorching in my neck of the woods and I've become somewhat of a part-time crafter. The cubbyhole gets the sun in the afternoon and oh boy, by 1.30pm it's unbearably sauna like so there's been lots of skivving off to sit in a shady spot and relax with a cool drink. And there will be much of the same today on our "ladies who lunch" Friday Girls outing. Have fun whatever you're doing and I'll be back tomorrow to share a card from Simon Says Stamp July Card Kit.
Hugs Kath xxx

Tuesday, June 26, 2018

A Fun "Flower Arranging" Adventure...

Hi folks...today I'm sharing a project using Tim Holtz/Stampers Anonymous Flower Jar and the matching Sizzix Framelits. I was shocked when I realised I have had these stamps since January 2017 and got the dies soon after but it seems they were filed away and shame on me, forgotten. The stamps on their own are beautiful but oh boy, now I realise what I have been missing all this time, put the stamps and dies together and magic happens.
I decorated a Mini Etcetera Tag and you may want to make yourself a cuppa and find a comfy sofa ready for the photo fest that follows.


I trimmed white card stock to be slightly larger than the Idea-ology Mini Etcetera Tag, one of  my favourite surfaces to decorate and with 4 in a pack for £5.99  or $5.99 depending on where you live, they are great quality and value for money.
I cut 2/1.2" squares from scraps of Idea-ology Worn Wallpaper and fixed them to the white cardstock with Distress Collage Medium Matte.
I applied a light coat of White Gesso and wiped it back slightly from the flower image areas with a damp baby wipe.
I added strips of the lace section from another sheet of Worn Wallper coloured lightly with Worn Lipstick Distress Oxide ink using a mini round blending tool and gave the panel a coat of Distress Collage Medium Matte.
I created shadows around the paper sections with a Walnut Stain Distress Crayon, smudging it with my finger and I love how it brings out the texture of the Worn Wallpaper.
I machine stitched around the edges and the paper sections and fixed the panel to the Etcetera Tag using Distress Collage Medium Matte.
and I was determined that I was going to use Tim Holtz/Stampers Anonymous Ticket Booth and the matching framelits on this project, no way were they going to be forgotten. So I stamped the images on to scraps of Worn Wallpaper and die cut.

I attached two of the tickets with Distress Collage Medium Matte and applied Ranger Opague Texture Paste through the Bubbles Mini Layering Stencil from Set 5, sprinkled with Ranger Superfine White Detail Embossing Powder and heat set once the Texture Paste had dried. I stamped one of the images from Tim Holtz/Stampers Anonymous Ornate Trims with Ground Espresso Archival ink randomly at the edges of the tag (you will see it in a later photo)
I applied a coat of Clear Gesso to an Idea-ology Found Relative, coloured her dress and hair bow with a Fossilized Amber Distress Marker and fixed behind an Idea-ology Baseboard Frame. I sanded the frame lightly and added an Idea-ology Tiny Text Remnant Rub.
Now it was time to have some flower arranging fun. I stamped the Flower Jar images on to Distress Watercolor Card using Hickory Smoke Distress Archival ink for the jars and Vintage Photo for the string section around the neck of the jars.
I coloured the flower and leaf spray stamps with Distress Markers, spritzed the stamps with water and stamped on to the Distress Watercolor card.
I used the matching Tim Holtz/Sizzix Framelits to die cut all the images using the Sizzix Precision Base plate, in my opinion, an essential for die cutting intricate images and I have to say I was blown away by how gorgeous and detailed this floral bouquet turned out.
I cut thin strips of card coloured with a Peeled Paint Distress Marker to create the stalks in the jar and fixed them in place with Distress Collage Medium Matte. (On reflection, they are a bit thick so in future I will be stamping the flower stalks and die-cutting). I then die cut the jar from acetate and depending on how thick your acetate is, you may have to run it through your die-cutting machine a few times. I fixed the acetate on top of the stamped jar using small dots of Ranger Multi Medium Matte around the edges. I then applied 2 strips of 1/8" Ranger Wonder Tape to the section where the lid of the jar will be and layered up the die-cuts flowers and leaves, making sure the stems were within the jar lid area.
I then added a lid cut down from one of the stamped jar images and the die-cut string.
and then it was time to bring all the elements together. I added thread and an Idea-ology Heart Charm to cover the whole at the top of the tag, a butterfly from Idea-ology Botanical Layers and an Idea-ology Story Stick coloured with a Picket Fence Distress Crayon.
I added Idea-ology Fringe under the Baseboard Frame, lots more thread and extra flower and leaf images, finishing off with a splattering of White Gesso.


and I've come to the conclusion that this flower arranging adventure was far more successful than any of my attempts to create something artistic with real flowers. Have fun whatever you're creating.
Hugs Kath xxx