Hi folks, I promise I won't be making a habit of posting twice in one day but our doggy strolls have been somewhat curtailed by the icy conditions underfoot and I've taken advantage of the extra time to catch up with the crafty list. The cubbyhole crew have been snug and cosy in our crafty place, cranking up the crafty production line and having fun with the beautiful Simon Says Stamp Love Always February Card Kit and I can't believe this gorgeous kit hasn't sold out yet. You can check out what's included in the kit HERE.
A word of warning, this is a long blog post with lots of photos, so you might like to make yourself a cuppa, find a comfy sofa and we'll begin with Card No 1.
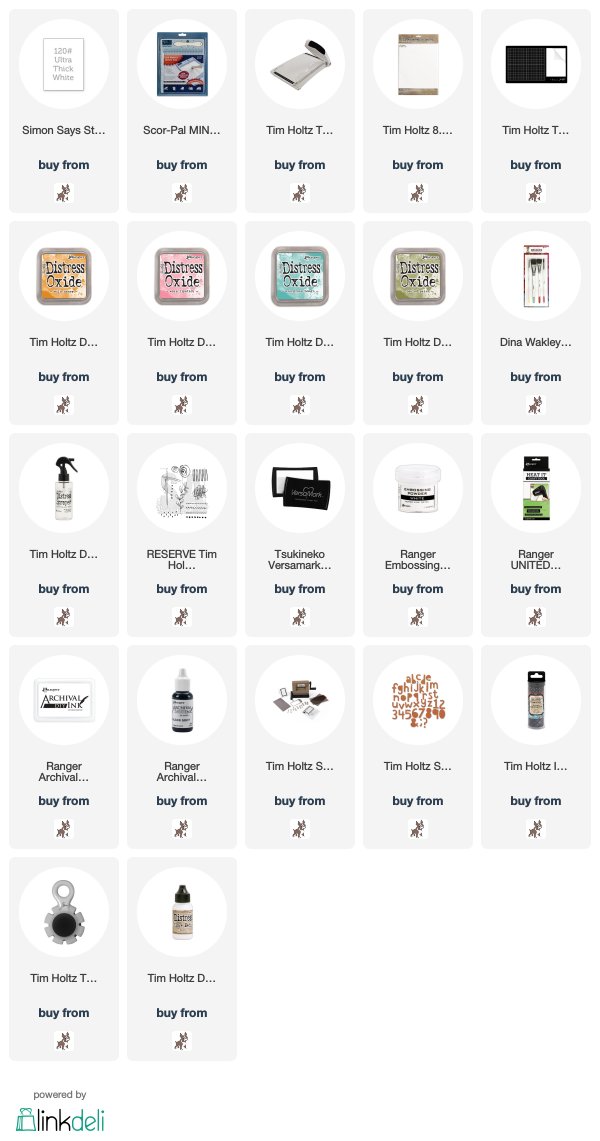
I trimmed the Authentique Romance paper included in the kit to be slightly smaller than an A2 card blank. I die cut SSS Stacked Hearts from SSS #120 Ultra White Card and fixed in place with Distress Collage Medium Matte
I popped some of the die-cut hearts back into the negative spaces,
stitched around the panel to create some interest and fixed it to the card blank with Distress Collage Medium Matte
I stamped the heart image from the Love Always stamp set 3 times with Ranger Red Geranium Archival Ink (which happened to be a great match for the patterned paper) on to white card, fussy cut, fixed to the card with Tim Holtz/Sizzix Mini Foam Adhesive to create dimension and added a few more die-cut hearts to balance out the design.
I stamped the sentiment with Red Geranium Archival Ink and die cut using my new best friends, SSS Nested Banners
and if you're still with me, here's Card No 2 which almost ended up in the bin...
Hugs Kath xxx
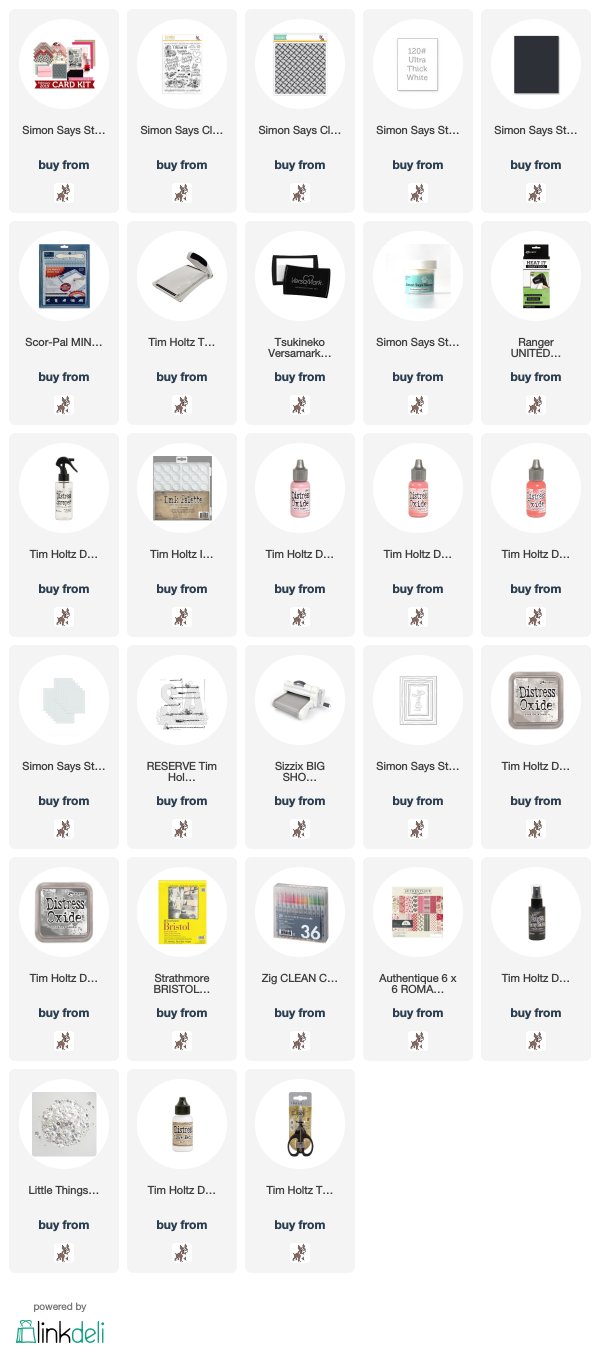
I trimmed a panel of the Authentique Romance Paper to be slightly smaller than the Black A2 card blank that was included in the kit. I used Simon Says Stamp Stitched Squares to die-cut a frame from SSS #120 Ultra White card
I fixed the frame to a section of the Authentique Paper to help with placement of the sentiment stamp which I inked with SSS Intense Black ink and heat embossed with SSS Clear Embossing powder, again included in the kit.
I die cut a second frame using smaller Stitched Squares dies, fixed to the same paper as before and trimmed around the edges of both frames.
I stamped the music border from Love Always twice with SSS Intense Black ink and heat embossed with the clear embossing powder.
I stamped the bird from the stamp set twice with the same ink, heat embossed and fussy cut the branch and legs and the body only from the second image.
I stamped the outline heart 3 times on to the Authentique Romance paper and fussy cut.
I fixed the frames and heart in place with Distress Collage Medium Matte, popped the bird up on Tim Holtz/Sizzix Mini Foam Adhesive to create dimension and coloured with Distress Oxide re-inkers. And it's confession time, I should have coloured the bird before I stuck it down because the sleeve of my top picked up some of the Black Soot re-inker from the palette and transferred it to the bottom of the panel. I immediately tried to wash it away with clean water but it had already soaked into the paper and I knew if I kept wiping the paper it would start to pill. Time for some quick thinking to save the day. I added some Black Soot Distress Oxide re-inker to my Glass Media Mat, diluted it well with water and added it randomly on the background to makeit look as if it was part and parcel of the paper. But I still wasn't happy so it was time for drastic measures.
I looked out some Stampendous Chunky White Embossing Powder, sprinkled it on that black blob at the bottom right and heat set from underneath until it had melted. Now it didn't look too bad so I sprinkled more embossing powder randomly on the rest of the panel and hey ho, who would ever know.
Tomorrow's another day and it's hard to believe we're heading for February already. I'll be back with ONE blog post to share a card made with Tim Holtz/Stampers Anonymous Mini Media Marks.
Happy CraftingHugs Kath xxx

*** Where available I use compensated affiliate links which means if you make a purchase I receive a small commission at no extra cost to you. You can find my affiliate and product disclosure HERE.


