Friday, March 29, 2019

A "Lesson Learned" project

Hi folks, I'm back with yet another card made with the "Amazing" stamp set from Simon Says Stamp March Card Kit and the fabulous Tim Holtz Alcohol Pearl inks and I'm calling this, my lesson learned project. No way was I going down yesterday's route of mistake after mistake and I think this is my favourite of my trio of Amazing/Alcohol Pearl Ink cards.


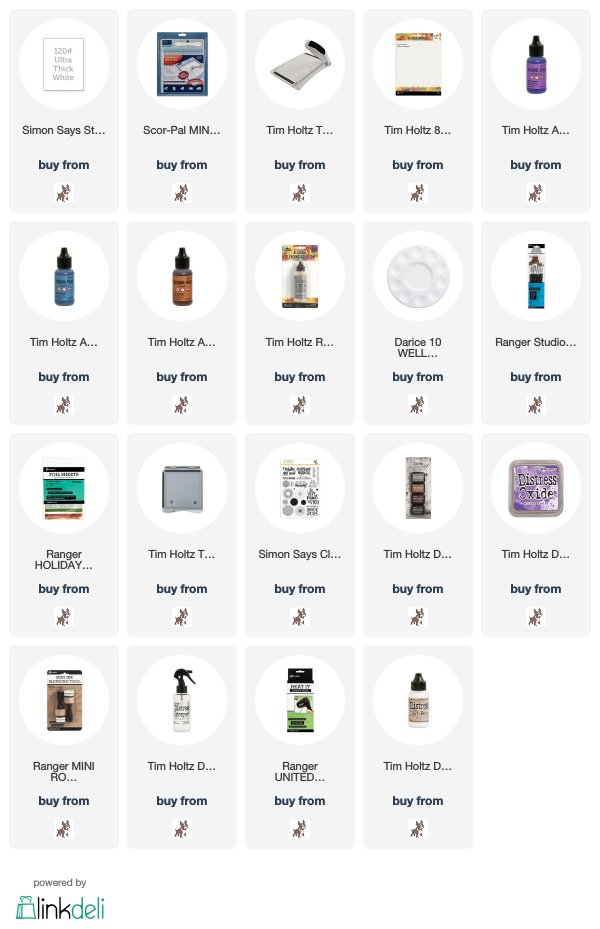
To start I gathered my supplies: Yupo White Cardstock trimmed to 4" x 6", Villianous, Celestial and Mineral Alcohol Pearl Inks, Blending Solution, squares cut from a plastic bag and a sheet of Ranger Holiday Transfer Foil.
It is very important to shake the bottle of Alcohol Pearl ink to mix up the pigments before you begin. I added a few small drops of the Villianous Alcohol Pearl ink to the plastic, placed it down on the panel and rubbed my fingers over the plastic to spread the ink. I repeated the process on the bottom section of the panel to create a look similiar to watercolor smooshing.
I added drops of Celestial and Mineral Alcohol Pearl inks to a palette, picked up the colours with a paintbrush, tapped the brush randomly on the panel and let the inks spread, adding drops of Blending Solution to help the process along. I gently heated the panel with my heat tool when I was happy with the background to prevent any further reaction. I flicked on drops of Blending Solution to create that water droplet effect and drops of the inks left in the palette to create splatters.
I placed the Ranger Holiday Transfer Foil Sheet on the panel and rubbed over with my fingers. The foil will stick to any areas of the Alcohol Pearl Ink that are still tacky
I stamped the images from the Amazing stamp set using Black Soot Distress Archival and this time, I was taking no chances, relying on my trusty Stamp Platform to help me get it right


The camera and my photography skills do not do the shimmer from the Alcohol Pearls or the sparkle from the Transfer Foil justice, it is absolutely stunning in real life
To finish I matted the panel on to a panel of 4.1/2" x 6.1/2" white card coloured with Wilted Violet Distress Oxide ink,spritzed with water and then on to a 5" x 7" white card blank.
And that concludes my adventure with Alcohol Pearl inks for now. I'm hoping the weather is kind over the weekend and I can spend some time tidying the garden. I'll see you all on Monday with my DT project for Simon Says Stamp Monday Challege, in the meantime, have a great weekend everyone and have fun whatever you have planned.
Toodle-oo for now
Hugs Kath xxx

SUPPLIES:


*** Where available I use compensated affiliate links which means if you make a purchase I receive a small commission at no extra cost to you. You can find my affiliate and product disclosure HERE

Thursday, March 28, 2019

A Warts 'n All Ink Adventure ...

Hi folks, I'm back to share another card made with the "Amazing" stamp set from Simon Says Stamp March Card Kit and the fabulous Tim Holtz Alcohol Pearl Inks. This was one of those times when you have an idea in your head which doesn't quite work out as planned. I realised many moons ago that this crafting business is a great big learning curve and from time to time, things go wrong but I wasn't giving this one up without a fight and after much gnashing of teeth and a bit of adapt and overcome, it turned out OK-ish so I decided to share it after all.
Ok let's get started with the step-by-step "warts 'n all" saga.
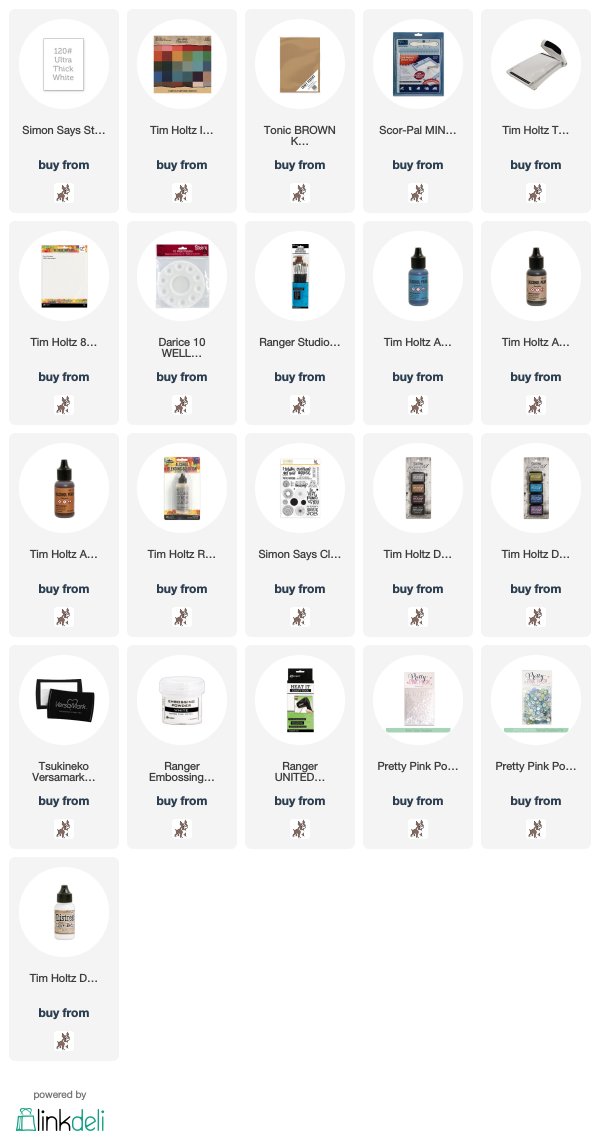
I trimmed Yupo White Cardstock to measure 4" x 5.1/4". I added drops of Smoulder, Celestial/Mineral Alcohol Pearl inks and Blending Solution into a plastic palette, dropped the inks and blending solution on to the panel using a paintbrush and used a straw to blow them around. I had intended using my Tim Holtz puffer thingamyjigger (you know the one I mean, that you can use with Distress Markers) but couldn't find it.
I dipped the end of the straw into the Alcohol Pearl inks to create circles on the panel and flicked on the remaining Blending Solution with a paintbrush. It was all going swimmingly until...
I decided to stamp the images from SSS Amazing Stamp set with Distress Archival Vintage Photo/Faded Jeans and Black Soot. I used an acrylic block rather than my stamp platform (big mistake) so I was unable to re-stamp the images to make them more prominent. The next mistake, despite drying the panel gently with my heat tool and using an anti-static powder tool, was to stamp with Versamark and heat emboss with Ranger Superfine White Embossing Powder.
The powder was everywhere, everywhere I didn't want it to be and there was much brushing and dusting away with a small paintbrush.
But I had a plan, to stamp the sentiment in Black Soot Distress Archival on to white cardstock, trim to separate the words and place strategically over the embossing bloopers (or the most obvious ones)
I was now at the "just get this card finished" stage and matted the panel to Classic Kraftstock, sanded back to reveal the kraft core and then on to an A2 Kraft card blank.
I added Pretty Pink Posh 4mm Clear Droplets and Spring Meadow Mix sequins
and retreated to the kitchen for some well deserved coffee therapy.
Another crafting "lesson learned" adventure under my belt and the motto of the story is...don't beat yourself up when things go wrong... in the words of my adorable Professor "get over yourself" and "embrace your imperfections". I'll be back tomorrow to share another Alcohol Pearl inky adventure and they say that lightning doesn't strike twice in the same place, so it's time to boldly go where angels fear to tread.
Toodle-oo for now
Hugs Kath xxxx

SUPPLIES:


*** Where available I use compensated affiliate links which means if you make a purchase I receive a small commission at no extra cost to you. You can find my affiliate and product disclosure HERE

Wednesday, March 27, 2019

An Amazing/Alcohol Pearl Adventure

Hi folks,  I have to say I'm definitely back on track catching up with the crafty list after my stinky cold and all that Manuka Honey seems to have given Mr Mojo a boost too, so today I'm sharing the first of 3 cards made using the Amazing stamp set from Simon Says Stamp March Card Kit along with the equally amazing new Tim Holtz Alcohol Pearl inks. It was an exciting adventure, sometimes it went well, sometimes not and you know me, I'm a "warts 'n all" kind of crafter, so I will be sharing the "NOT" but here's one that went well.

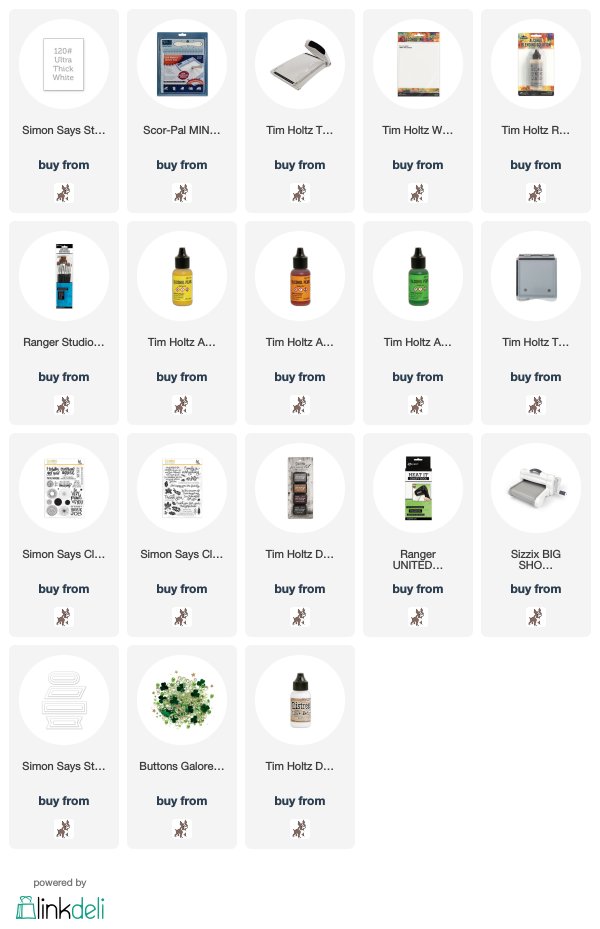
I got a little carried away in the excitement of the process forgetting to take a photo once the Alcohol Pearl inks and blending solution had worked their magic. Basically I trimmed Yupo White Cardstock to measure 3" x 4.1/4" and applied Blending Solution with a brush. I gave the bottles a good shake to mix up the pigment and added drops of Alchemy and Splendor on the top half of the panel and Sublime at the bottom and moved them around by blowing through a straw, added more drops of Blending Solution and the Alcohol Pearl inks until I was happy with the result. I then flicked on some splatters of Blending Solution and stopped any further reaction by gently setting with my heat tool. Yupo Cardstock is a synthetic plastic type substrate so you must be careful not to overheat or it will buckle and distort.
I stamped the image from Simon Says Stamp Amazing with Distress Black Archival and gently heat set.
I added a faux stem using a Sakura Black Micron Pen and stamped the leaf images from Simon Says Stamp Thanks and Leaves
I stamped the sentiment from Amazing on to a scrap of Yupo Paper, gently heat set and die cut using Simon Says Stamp Nested Banners.
and finished off by adding Sparkletz Lucky Charms which were included in the March card kit. I wish you could see the pearly shimmer on this card as you turn it in the light.

I've definitely caught the "making lots of backgrounds" bug and will be back tomorrow to share another Amazing/Alcohol Pearl Ink card, the one that didn't go so well. In the meantime, have fun whatever you are creating.
Toodle-oo for now
Hugs Kath xxx

SUPPLIES:


*** Where available I use compensated affiliate links which means if you make a purchase I receive a small commission at no extra cost to you. You can find my affiliate and product disclosure HERE

Tuesday, March 26, 2019

AALL&Create - Ladybug

Hi folks, it's Tuesday and that means it's time to share this week's project for AALL&Create. I've been itching to get inky with the gorgeous Ladybug #161 stamp set designed by Tracy Evans and as luck would have it, one of my friends, who is a keen gardener, has a birthday coming up soon and her age does feature on one of the tiles. I'm not saying which one but I'm sure you can hazard a guess. Ladybugs or Ladybirds as we call them in the UK are truly every gardener's friend and spend their summers happily gobbling up all the nasty insects that love to feast on our plants. And the perfect accompaniment to my garden theme were Stencils #55 Crazy Paving and #65 Flower Dream designed by Autour de Mwa.

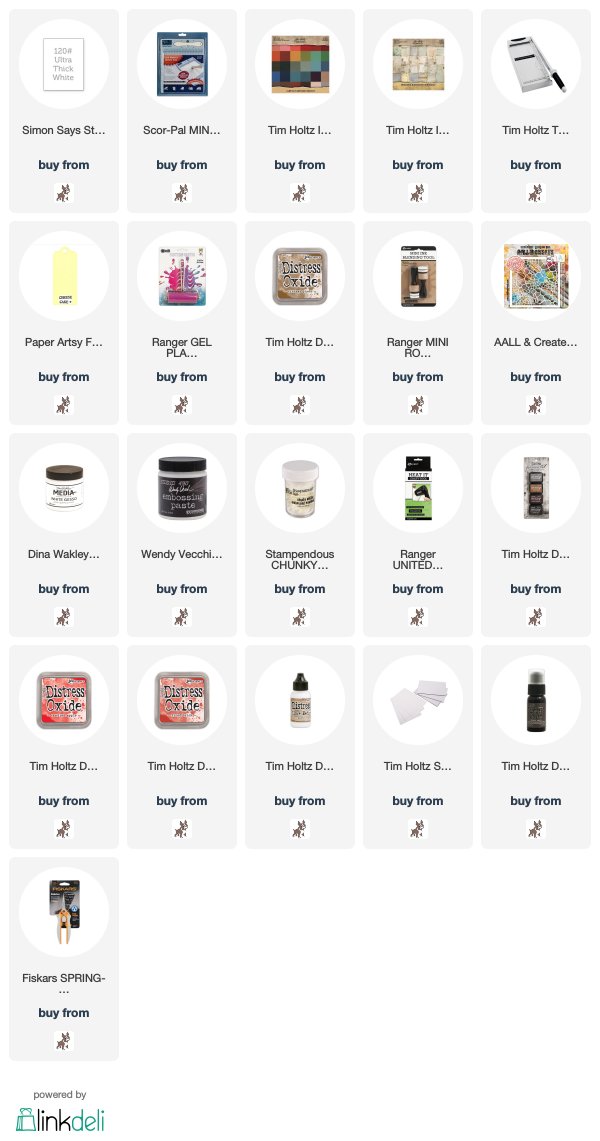
I'm sure you'll agree that us crafty folks are guilty of hoarding our patterned papers so I decided to make a teeny weeny dent in that mountainous pile and use a panel from one of my favourite Tim Holtz Idea-ology Paper Pads - Memoranda.  I trimmed the paper to measure 5" x 7" and applied a very light coat of PaperArtsy Cheesecake Fresco Finish Paint using a brayer. Cheesecake is an opague paint so a light touch is required so that you don't completely cover the pattern.

I used Vintage Photo Distress Oxide Ink and Stencil #65 Flower Dream to add interest randomly on the background using a mini round blending tool
I stamped a section of the Ladybug stamp inked with Vintage Photo Distress Archival Ink on the panel.
I applied a coat of White Gesso to the back of Stencil #55 Crazy Paving using a brayer, spritzed with water, tapped on to the panel to create a monoprint effect.  I then applied Wendy Vecchi White Embossing Paste using the same stencil.
I sprinkled Stampendous Chunky White Embossing Enamel randomly on the background and heat set from underneath until melted. While the embossing paste was drying, I stamped the same section of the Ladybug stamp twice on to scraps of the Memoranda paper, fussy cut and coloured with Candied Apple, Fired Brick and Vintage Photo Distress Oxiide inks using a mini round blending tool.
I fixed the images over the original stamping, the ladybugs using Distress Collage Medium Matte and the other images popped up on Tim Holtz/Sizzix Mini Foam Adhesive to create dimension. 
I added an Eclectic Elements White Thread bow to the heart.
I scuffed up the edges of the panel using the blade of my scissors, edged with Black Soot Distress Paint, matted on to Idea-ology Classic Kraftstock, sanded to reveal the kraft core and fixed to a 6" x 8" White card blank.
I've just realised it's the last week of March already, almost a quarter of the year gone. Is it just me that thinks every year seems to pass faster than the one before. I received a replacement credit card in the post yesterday which expires in 2023...who knew things would still be ticking along 19 years after the doom and gloom news that the world would end in 2000 and thank you M&S for your confidence that I will still be alive and kicking in 4 years time.
Toodle-oo for now
Hugs Kath xxx

You can find AALL&Create products and a list of worldwide stockists HERE


OTHER SUPPPLIES:

*** Where available I use compensated affiliate links which means if you make a purchase I receive a small commission at no extra cost to you. You can find my affiliate and product disclosure HERE

Monday, March 25, 2019

Simon Says - Play With Paint

Hi Everyone...welcome to another week on the Simon Says Stamp Monday Challenge Blog...thank you for joining us for last week's challenge...we hope you can join us this week too because...

and the theme for this week is...
PLAY WITH PAINT
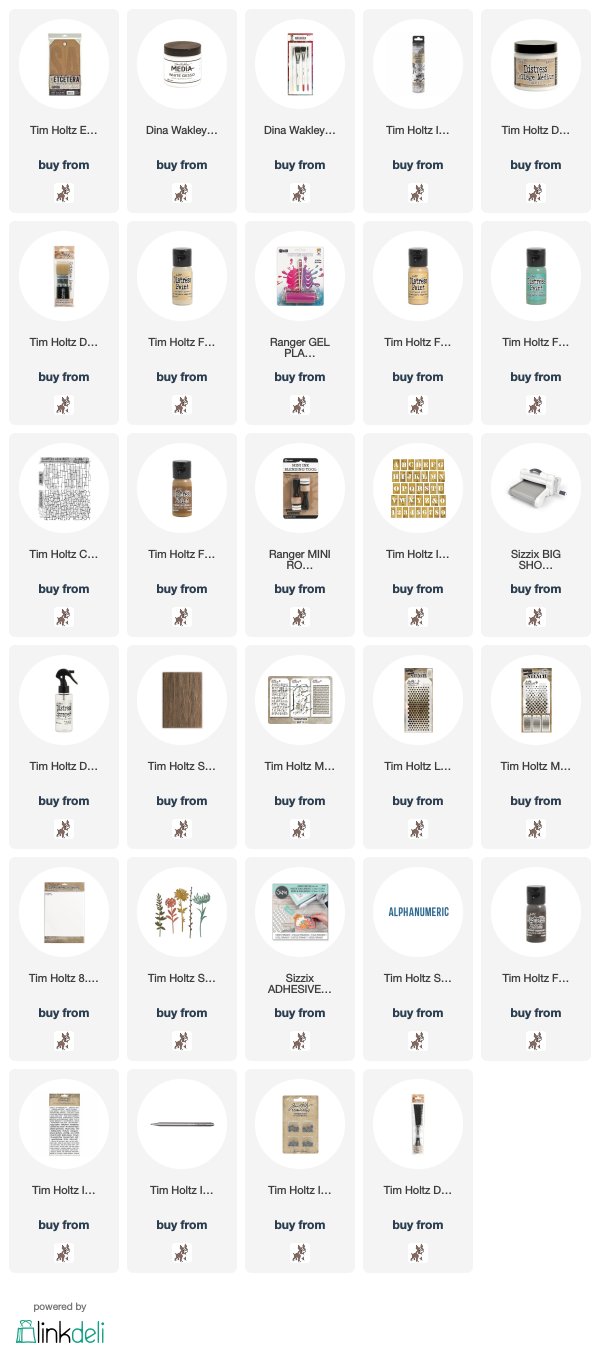
Inspired by a beautiful sunny "is it finally Spring" weekend, I decorated a Medium Etcetera Tag using stamps, stencils and die-cuts with Distress Paints. I challenged myself to use only PAINTS, did I succeed or was I tempted to sneak in some other Distress products.

I applied a coat of White Gesso to a Medium Etcetera Tag and added torn sections of Botanical Collage Paper fixed in place with Distress Collage Medium Matte.
I added a patchy coat of Antique Linen Distress Paint using a brayer and once dry, used a baby wipe to pounce on Scattered Straw Distress Paint, leaving some areas of the White Gesso and Antique Linen showing.
I applied Vintage Photo Distress Paint very lightly with a mini round blending tool to the Tim Holtz/Stampers Anonymous Slate Background and stamped randomly on the tag. ***Remember to wash your stamp immediately after use. Oops forgot to mention I also pounced on some Evergreen Bough Distress Paint using a baby wipe.
I used the remaining Vintage Photo paint on my blending tool to colour the Idea-ology Stencil Chips and had a lightbulb moment, using them to stencil on to the tag. Note to self: buy a set to use as stencils.
I applied White Gesso through the Splatters Mini Layering Stencil from Set 3
and while that was drying, I turned my attention back to the Stencil Chips. I pounced on a little Evergreen Bough Distress Paint and once it was dry, spritzed with water and embossed using the Tim Holtz/Sizzix 3D Lumber Texture Fade. There's a definite theme going on, of jumping backwards and forwards whilst waiting for the paint to dry.
To add some Spring-time colour, I applied Spiced Marmalade through the Gradient Hex Layering Stencil
and Evergreen Bough through the Mini Gradient Dots Layering Stencil from Set 39. While this layer of paint was drying, I took myself off to the kitchen to rinse out the mini round blending foams ready to use again.
I die-cut the flowers from Distress Watercolor card using Tim Holltz/Sizzix Wildflower Stems 1 and fixed in place with Distress Collage Medium Matte. I did straighten up the flower on the right and applied a coat of Distress Collage Medium Matte over the entire tag, ready to create some shadows around the flowers.
At this point, I would normally use a Distress Crayon, probably Walnut Stain to add shading around the flowers but I resisted that temptation and instead used Ground Espresso Distress Paint diluted with water. I applied the paint liberally over the flower, letting it pool into the crevices and wiped the paint from the surface using a slightly damp cloth.  I painted the centre of the daisy like flower with Spiced Marmalade diluted with water.
I trimmed a little off the top and bottom of the Stencil Chips so that they looked more in proportion to the tag,sanded them to reveal the original distressed gold underneath, fixed in place with Distress Collage Medium Matte, added a few more flowerheads and added splatters of the Ground Espresso Distress Paint left on my Glass Media Mat 
I fixed Sizzix Adhesive Sheet to Distress Watercolor Card and die cut the letters using Tim Holtz/Sizzix Alphanumeric 1" Thinlits.
I fixed the first layer in place and create shadows around the letters with Ground Espresso Distress Paint as before
 and added the other two layers to create dimension, so much easier when they are self-adhesive
 I added Idea-ology White Tiny Text Remnant Rubs
 Idea-ology Hardware Heads coloured with White Gesso
 Mummy Cloth and a double Crinkle Ribbon bow
a little splattering of Ground Espresso on the letters and that my friends, concludes my adventure with the very versatile Distress Paints.

You can find all the products I used over at Simon Says Stamp, just click on the links below

Why don't you pop over to the Monday Challenge Blog and check out the amazing creations from my very talented Design Team mates and as always you all have the chance to win a $50 gift voucher to spend at Simon Says StampYou have until Monday 8am Ohio time...1pm UK time...2 pm CET to join in...

You can also follow Simon Says Stamp on Instagram
and if you use Instagram...
please add #sssmchallenge to your entry uploads so we can see them on there too

I look forward to seeing what you create this week...
Have Fun and Happy Crafting
Hugs Kath xxx

SUPPLIES:
*** Where available I use compensated affiliate links which means if you make a purchase I receive a small commission at no extra cost to you. You can find my affiliate and product disclosure HERE.