Monday, October 28, 2024

Simon Says - Stencil It

Hi Everyone...welcome to another week on the Simon Says Stamp Monday Challenge Blog. Thank you for joining us for last week's challenge and we hope you can join us this week too because


and the theme for this week is...
STENCIL IT
I created Halloween cards using Tim Holtz/Stampers Anonymous Mini Batty and Bones Layering Stencils from Set 61, Halloween 2024 and Archives Collage Papers, die-cut words using Tim Holtz/Sizzix Vault Gothic Portraits and added a generous splattering of Rusty Hinge Distress Spritz.
I coloured 3 - 4" x 5.1/4" panels of Distress Watercolor card with Pumice Stone and Frayed Burlap Distress Oxide inks.
I applied Distress Black Opaque and Opaque Crackle Texture Pastes through the Batty and Bones Mini Layering Stencils from Set 61. (ignore the panel on the left because it got damaged by a spilt cup of coffee later on in the process)
I added torn strips of Tim Holtz/Idea-ology Halloween 2024 Collage Paper using Distress Collage Medium.
I applied Rusty Hinge Distress Oxide ink through the Rosette Mini Layering Stencil from Set 30 using a Tiny Blending Tool and added splatters of Rusty Hinge Distress Spritz.
I repeated the process with the Grid Dot Mini Layering Stencil from Set 27 and Villainous Potion Distress Oxide ink.
I fussy cut out the numbers from Tim Holtz/Idea-ology Archives Collage Paper and fixed to the panels with Distress Collage Medium using a small Collage Brush. I applied Distress Texture Paste through the Rosette Mini Layering Stencil to add more texture to the backgrounds.
I die-cut the words from Distress Black HeavyStock and Distress Watercolor card, coloured with Rusty Hinge Distress Oxide ink using Tim Holtz/Sizzix Vault Gothic Portraits, layered slightly off set and fixed to the panels with Distress Collage Medium.
To finish I added an extra splattering of Rusty Hinge Distress Spritz, inked around the edges with Scorched Timber Distress Ink, matted the panels on to Distress Black HeavyStock trimmed to A2 and fixed to A2 white card blanks.


You can find all the products I used over at Simon Says Stamp, just click on the links below


Why don't you pop over to the Monday Challenge Blog and check out the amazing creations from my very talented Design Team mates and as always you have until Monday 8am Ohio time...1pm UK time...2pm CET to join in with the chance to win a $25 voucher to spend online at Simon Says Stamp


You can also follow Simon Says Stamp on Instagram
and if you use Instagram...
please add #sssmchallenge to your entry uploads so we can see them on there too

I look forward to seeing what you create this week...
Have Fun and Happy Crafting
Hugs Kath xxx

Friday, October 25, 2024

Christmas Cheer Tag Collage Card

Hello my friends, I'm back to share a quick and easy Tag Collage card using the Prima Marketing Candy Lane Papers, Christmas Cheer 6" x 8" stamp set and Black and White Bakers Twine from Simon Says Stamp Christmas Cheer November Card Kit. The kit is still available to purchase or if you wish, you can buy individual items from the kit HERE.


I trimmed the diagonal stripe Candy Lane patterned paper to 4" x 5.1/4" and fussy cut the tags from another of the patterned papers. I dragged a Versamark Embossing ink pad around the edges of the background paper and tags, sprinkled with Simon Says Gold Ultra Fine Embossing Powder and heat set.
I punched holes in two of the tags and threaded with the Black and White Bakers Twine. I arranged the tags popped up on Simon Says Thin 3D foam squares to create dimension and added Pink Fresh Studio Gold Glitter Drops. I stamped the candy canes from Simon Says Christmas Cheer stamp set on to a scrap of Strathmore Bristol Smooth card, inked with Versafine Clair Nocturne ink, coloured with a red Zig Clean Color Real Brush Marker, fussy cut and fixed in place with Distress Collage Medium. 
To finish I matted the panel on to an A2 white card blank scored and folded from the Neenah Solar White card included in the kit.

Have a great weekend whatever you have planned and happy crafting.
Hugs Kath xxx


Wednesday, October 23, 2024

Simon Says - Christmas Cheer November Card Kit

Hello my friends, can you believe we are almost at the end of October already and before we know, the Christmas preparations will be underway. The Simon Says Stamp Christmas Cheer November Card Kit has arrived in the cubbyhole, filled to the brim with gorgeous products to kick start your festive making. You can find all the details of the contents of the kit and how to subscribe, if you don't already, HERE.


I'm sharing two cards I made using the Rainbow Splash Twinkling Stars Embossing Folder, Christmas Cheer 6" x 8" stamp set, Prima Marketing Candy Lane patterned papers and Black and White Bakers Twine, all included in the kit.


I trimmed the Neenah Solar White cardstock from the kit into 4 - A2 panels, embossed 2 using the Rainbow Splash Twinkling Stars Embossing Folder and trimmed to 4" x 5.1/4".
I trimmed Prima Marketing Candy Lane patterned papers to create 2 banners but decided to only use the red one on the left.
I inked images from Simon Says Christmas Cheer stamp set with Versafine Clair Nocturne ink and stamped on to panels of Strathmore Bristol Smooth card.
I coloured the images with Zig Clean Color Real Brush Markers and fussy cut to leave a white border around the edges. There are dies available for the stamp set as an add on purchase. I die-cut a hole in the top of the banner, added a die-cut hole reinforcer, black and white bakers twine and fixed to the embossed panel with Simon Says Thin 3D foam squares. I fixed the stocking image in place, also using Thin 3D foam squares and added checked detail to the stocking using the Green Zig Clean Color Real Brush Marker.
I coloured the sentiment banner with the Green Zig Clean Color Real Brush Marker, stamped the sentiment on the banner, inked with Versafine Clair Nocturne Ink and fixed in place with Distress Collage Medium.
To finish I added the holly sprigs, popped up on Thin 3D foam squares, added Glossy Accents to the berries and matted the panel on to a Simon Says Fog Gray A2 card blank.


I die-cut the image from one of the Prima Marketing Candy Lane patterned papers using a circle die, lightly created a shadow on the edge using Scorched Timber Distress Ink and a Tiny Blending Tool, ready to be fixed to the second embossed panel.
I stamped the images from the Christmas Cheer stamp set as before on to Strathmore Bristol Smooth card, inked with Versafine Clair Nocturne ink, coloured with Zig Clean Color Real Brush Markers and fussy cut.
I fixed the circle panel in place with Distress Collage Medium, added the sentiment banner and stamped images popped up on 3D foam squares to create dimension and matted the panel on to the A2 Cotton Candy Notecard included in the kit.
I added a black and white bakers twine bow and Glossy Accents to the berries.


There is still loads to play with in the kit and I'll be back soon to share more makes. In the meantime, have fun with whatever you're making.
Hugs Kath xxx


Wednesday, October 16, 2024

Simon Says - Two Step Simple Leaves

Hello my friends, I'm sharing two cards I made using the Two Step Simple Leaves stamp set, dies and stencils along with the Fluted Forest Decor Embossing Folder from Simon Says Stamp October Card Kit. The card kit has sold out but individual items from the kit are available for purchase HERE.

I began by creating a stamping template by die-cutting all the leaves from a panel of Distress Watercolor card. The dies were not included in the kit but were available to purchase separately. With the die-cuts in place, I used the Two Step Simple Leaves stencil to colour using Crushed Olive, Peeled Paint, Crackling Campfire and Vintage Photo Distress Oxide inks.
I removed the die-cuts from the panel and placed each stamp from Simon Says Two Step Simple Leaves 6" x 8" stamp set into the negative spaces.
I picked up the stamps on to the lid of my stamp platform, inked with Ground Espresso Distress Archival ink, replaced the die-cuts and stamped the detail. I will store the template with the stamps and dies for future use.
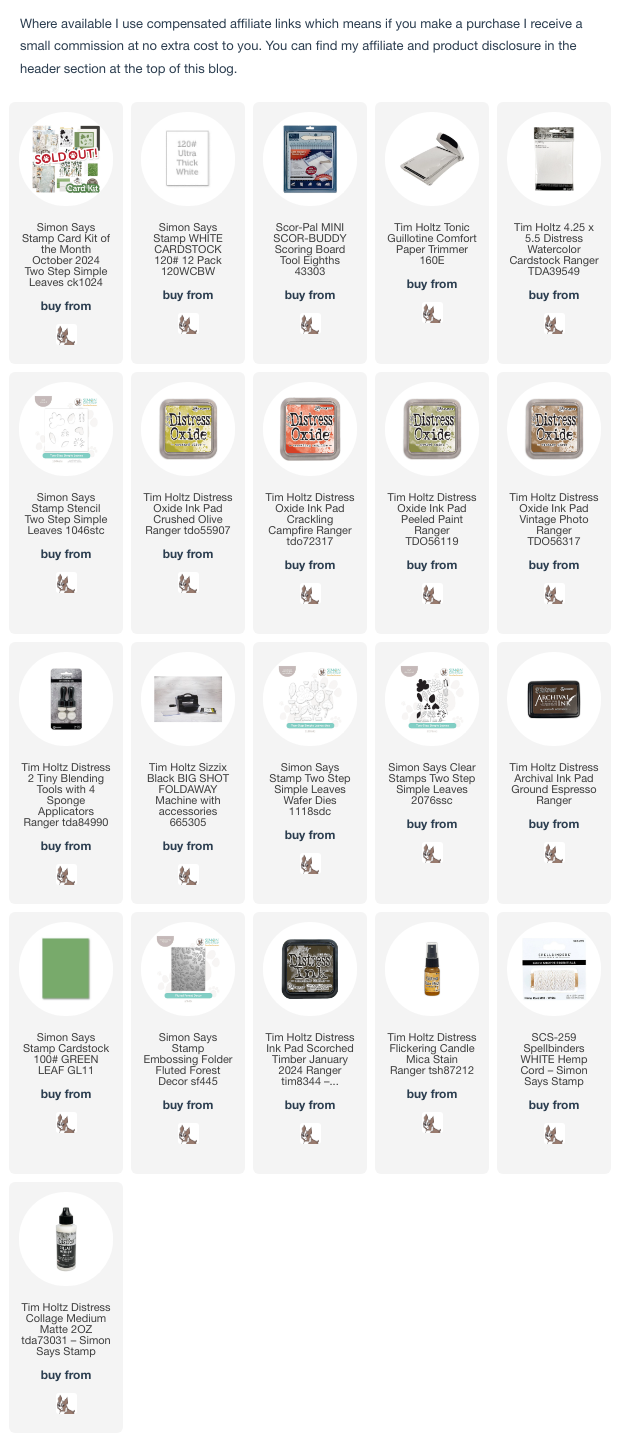
To create the backgrounds, I embossed 2 - 4" x 5.1/4" panels of Simon Says Green Leaf cardstock using the Fluted Forest Decor Embossing Folder from the kit. I inked the first panel on the embossed side with Scorched Timber Distress Ink using a Tiny Blending Tool, lightly over the centre and more heavily around the edges.
I used the blackout technique on the debossed side of the second panel, dragging the ink pad repeatedly over the panel.
I fixed the leaves in place with Distress Collage Medium and added splatters of Flickering Candle Distress Mica Stain
which added beautiful golden shimmery highlights when turned to the light.
I stamped the sentiments from the Two Step Simple Leaves stamp set on to scraps of Distress Watercolor card, inked with Ground Espresso Distress Archival ink, die-cut with the matching dies and fixed to the panels with Distress Collage Medium. To finish I added White Twine bows and fixed the panels to A2 white card blanks.


Have fun with whatever you're making.
Hugs Kath xxx