Hi my friends, it's November and that means it's time to kick start the Christmas makes so I'm sharing a set of 4 cards and a gift bag I made using Tim Holtz/Stampers Anonymous Sketched Greenery and the cubbyhole's exciting new arrival, the Tim Holtz/ Tonic Studios Deckle Trimmer. If you missed the launch of this must-have trimmer on Tim's Saturday Facebook Live, you can watch it HERE.
A huge thank you to Tim, Mario and Tonic Studios for this wonderful happy mail surprise which has definitely been worth the wait. I love love love it and I warn you now, everything that is trimmable, will, for the foreseeable future, probably have a deckle edge, just saying. The truth is I'm addicted to the gorgeous crunchy noise it makes as it cuts. I know, you're probably thinking I need to get out more but that's not an option at the moment so my new guilty pleasure has become cutting "music to my ears" deckle edged strips just for the fun of it.
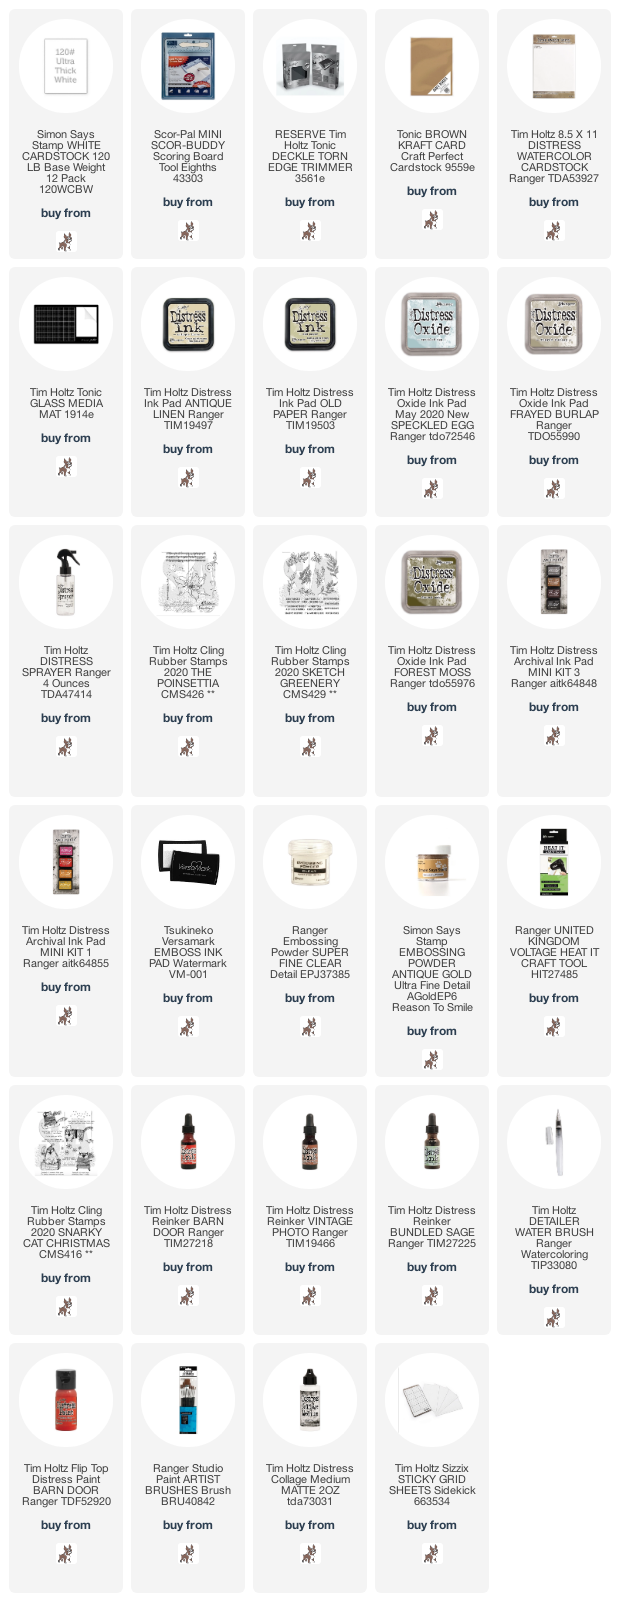
 I wanted a fairly light neutral, cream dreamy background for the cards so I smooshed Antique Linen and Old Paper Distress Ink, Speckled Egg and just a smidge of Frayed Burlap Distress Oxides on to the craft mat on my Glass Media Mat and spritzed with water. I trimmed Distress Watercolor card to make 4 - 3" x 5" panels using the "be still my beating heart" Deckle Trimmer, laid the panels on to the ink, dried and then tapped back in to pick up the remaining droplets and I'm sure you are all familiar with this quick and easy way to create backgrounds by now.
I stamped 3 of the panels using different images from Tim Holtz/Stampers Anonymous Sketched Greenery, the images with leaves and berries that were to be watercoloured, I inked with Black Soot and Ground Espresso Distress Archival inks and the foliage images like this one, I inked with Forest Moss and Frayed Burlap Distress Oxide inks. I inked the sentiments from Sketched Greenery for all 4 panels using either Barn Door Distress Archival or Versamark ink and heat embossed with Ranger Clear Detail and Simon Says Stamp Antique Gold Embossing Powder.
I trimmed the 4th panel into 4 equal deckled edged rectangles, placed on Tim Holtz/Sizzix Sticky Grid Sheet in my Travel Stamp Platform and stamped the holly image from Sketched Greenery repeatedly inked with Ground Espresso Distress Archival.
And I couldn't resist adding that adorable robin from Tim Holtz/Stampers Anonymous Snarky Cat Christmas inked with Black Soot Distress Archival. I fixed the panels to 3.1/2" x 5.1/2" panels of kraft card and fixed to 4" x 6" white card blanks, both trimmed to have deckle edges, I did warn you, nothing is safe from me and my deckle trimmer. I coloured the berries and the robin's redbreast using Barn Door Distress Re-inker and a Distress Detailer Brush.
I added red dots to the other two cards by dipping the end of a small paintbrush into Barn Door Distress Paint and added Ranger Glossy Accents once the paint was dry.
I coloured the bodies of the bird with Vintage Photo and the leaves with Bundled Sage Distress Re-inkers.
 I also decorated a gift bag using an identical panel but used Tim Holtz/Stampers Anonymous Bold Tidings 1 inked with Versamark ink and stamped on to the background and a deckle edged strip of vellum and heat set with Simon Says Stamp Antique Gold Embossing Powder.


Absolutely gorgeous cards Kath lovely background fabulous deckled edged and the berries stand out so well with the glossy essence xx
ReplyDeleteLovely cards Kath. great background.. and I love that new deckle edge cutter..
ReplyDeleteAnne
Oh that deckle edge takes me back to old pictures kath, I have to have one of those, maybe Santa will visit. These are beautiful cards Kath, love the berries.xx
ReplyDeleteLove me a deckle edge so I’ll be adding to my Xmas list. Great selection of Xmas artwork too 😍
ReplyDeleteSally xx
Love your gorgeous Christmas cards, the little Robin is a cutie! The new trimmer is now top of my Christmas list! Looks awesome! Take care and stay safe xxx
ReplyDeleteTime to get our deckle on....LOL. Your paint dots with the Glossy Accents is a fabulous tip! Great cards...
ReplyDeleteAbsolutely Beautiful in every way.have a thing about Robins anyway.Hugs x
ReplyDeleteOh dear.... I decided I would not be 'investing' in the new deckle edge trimmer because I have never been fond of deckle edge cards... but. Your deckle edge cards with the deckle mats and layers look so fabulous that I have been 'enabled' and I know I will not regret it!! Your cards are stunning my friend! Hugs, Anne xxxx
ReplyDeleteBeautiful!
ReplyDeleteLove them all, Kath.
ReplyDeleteHugs,
Guida
Saw your card on PINTEREST and had to take a closer look. Love the colors...red really pops against the softer colors. I am definitely inspired by your work. Thank you!
ReplyDelete