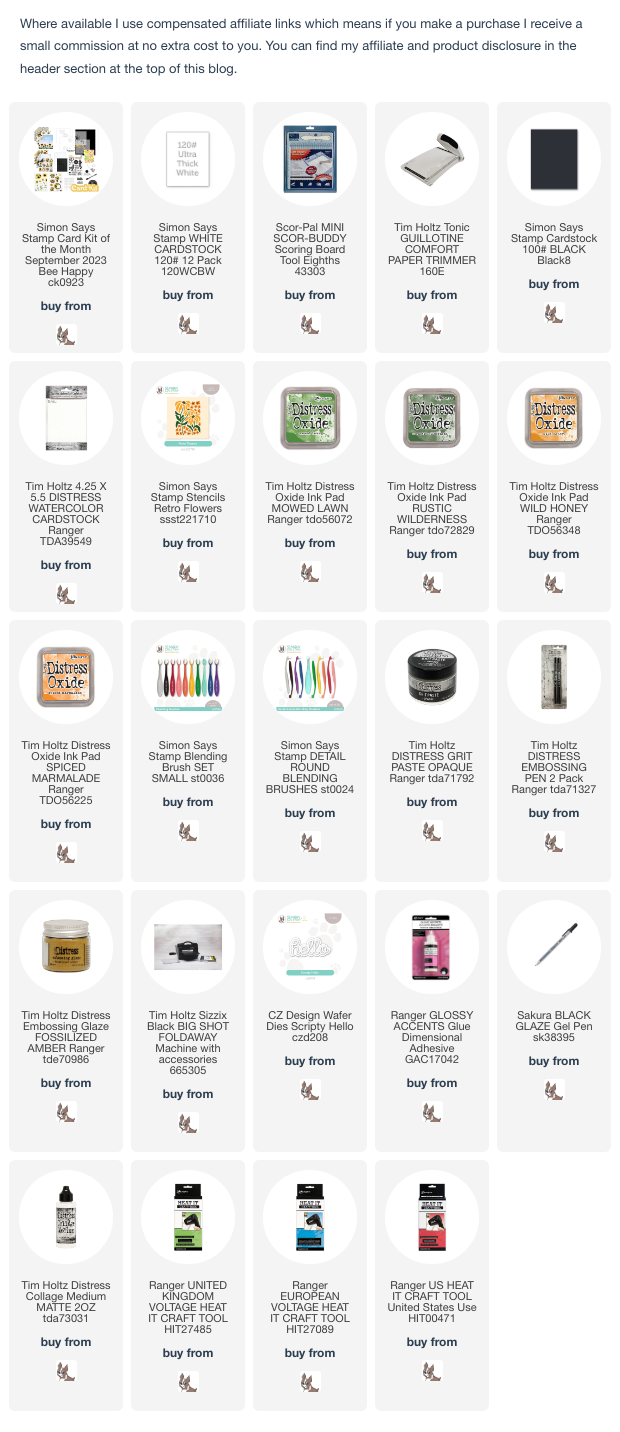
Hi my friends, I'm sharing a card I made with the Retro Flowers 6" x 6" Layering Stencils from the Simon Says September Bee Happy Card Kit. The kit is still available to buy at time of writing but you can also purchase individual items from the kit HERE.
The stencil set has 4 stencils which are numbered in order of use for easy reference and also have grid lines to match the stencils up with your cardstock panel. However, I switched the order around because I wanted to use Distress Grit Paste for the flower heads and that meant that I would have to use Stencil 1 last.I began by applying a light coat of Antique Linen Distress Paint to an A2 panel of Distress Watercolor card and once the paint was dry, spritzed lightly with Unravelled Distress Mica Stain.Thursday, August 31, 2023
Simon Says - Retro Flowers Layering Stencil Set
Wednesday, August 30, 2023
Tim Holtz/Stampers Anonymous Sketchy Leaves Trio
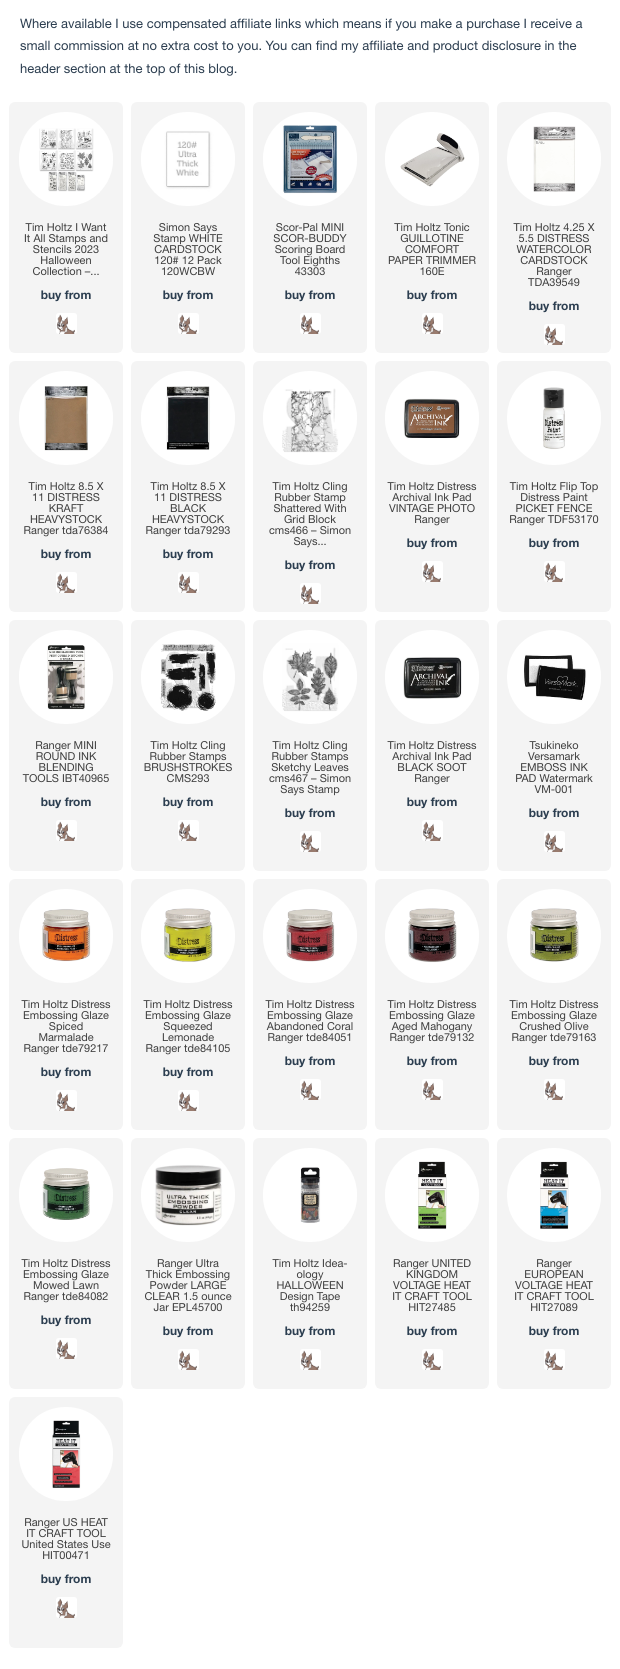
Before we start on the technique, I used both my Stamping Platforms (Tim Holtz Regular and Travel versions) so that I could position the Brushstrokes Circle and Sketchy Leaves stamp on separate lids and leave them there for repeat stamping.
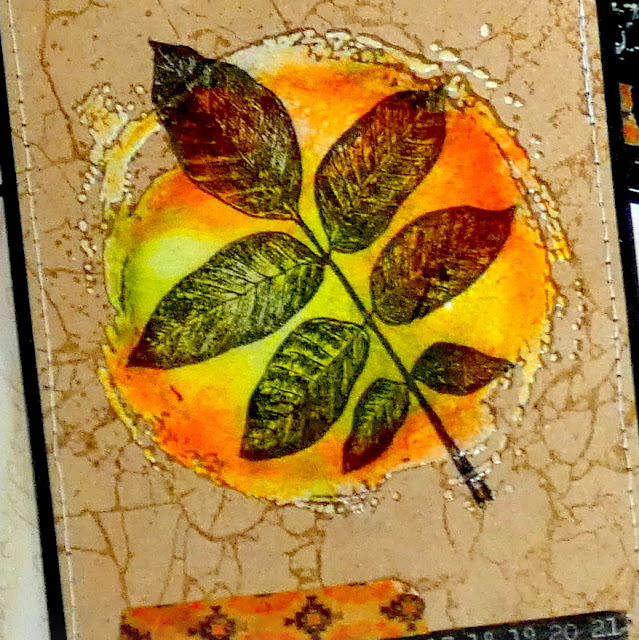
I began by trimming Distress Watercolor, Black and Kraft HeavyStock card to create 3 - 4" x 5.1/4" panels. I inked the Tim Holtz/Stampers Anonymous Shattered Background with Vintage Photo Distress Archival ink and stamped on to the Distress Watercolor and Kraft HeavyStock panels. I cleaned off the stamp, applied Picket Fence Distress Paint using a mini round blending tool and stamped on to the Black HeavyStock panel.
Tuesday, August 29, 2023
A Bee Happy Trio
Hello my friends, I've been having fun with the Simon Says Stamp September Be Happy Card Kit. This kit is jam packed with lots of products to make a variety of cards and at the time of writing is still available to buy or if you wish you can purchase the individual items from the kit HERE.
I made 3 cards using the Bee Happy stamp set, the Criss Cross Floral Embossing Folder and Paper Rose Be Happy 6" x 6" papers and die-cut elements, all included in the kit.I embossed one of the Paper Rose patterned papers with the Criss Cross Floral Embossing Folder. trimmed to 4" x 5.1/4", fixed to a A2 Black card blank and lightly sanded the embossed detail with the Tim Holtz Sanding Disk included in the Kit. I inked the bee, crown and sentiment with Simon Says Embossing Ink, stamped on to a black tag, sprinkled Simon Says White Detail Embossing Powder on the bee and sentiment and Ranger Liquid Platinum on the crown and heat set. I fixed the tag to the card using the foam squares included in the kit. I fussy cut around the sunflower Paper Rose die-cut elements (not a big fan of white edging on die-cuts) and fixed in place with Distress Collage Medium. I decorated the card with Gold Mix Confetti, added a black twin bow to the tag and added a panel of white card inside for the message.
I trimmed Paper Rose patterned paper to 4" x 5.1/4" and fixed to an A2 white card blank. I inked the honeycomb stamp with Hickory Smoke Distress Archival ink, stamped on to a strip of the Paper Rose patterned paper left over from the first card, tore to reveal the white core and fixed to the bottom of the card. I fussy cut the sunflowers as before from the die-cut elements and fixed to the card with Distress Collage Medium and foam squares under the larger sunflowers to create dimension. I stamped the small bee from the stamp set, inked with Simon Says Intense Black Ink, on to the seal die-cut element, fixed to a scrap of paper, fussy cut and fixed to the card with foam squares. To finish I added Trinity Stamps Creamy Vanilla Heart Sprinkles.
I trimmed the Paper Rose Black Hexagon paper to 4" x 5.1/4" and fixed to an A2 white card blank. I inked the daisy layering stamp with Simon Says White Pigment ink, Wild Honey Distress Oxide and Hickory Smoke Distress Archival and the sentiment with Hickory Smoke and stamped on to a scrap of Simon Says Stone Cardstock. I trimmed to leave a small border and applied Simon Says White Pigment Ink with a sponge applicator tool around the edges. I stamped the bee on to a die-cut circle, inked with Hickory Smoke Distress Archival and repeated the White Pigment ink on the edges.
To finish I applied shimmer to the bee wings and flower centres using a Wink Of Stella Clear Glitter Pen.
Monday, August 28, 2023
Tim Holtz/Ranger Distress Christmas Release
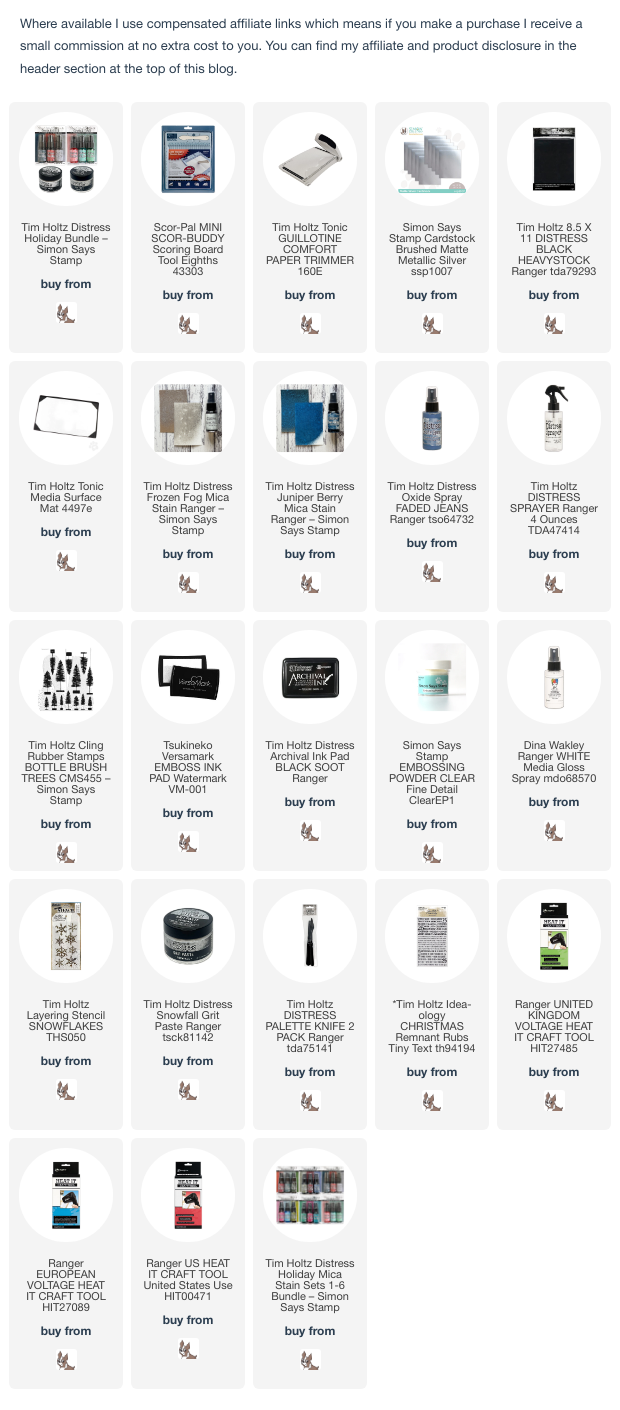
Hi my friends, woohoo exciting news, Tim Holtz and Ranger have just released a Christmas bundle of delicious products, 6 new Distress Mica Stains, Snowfall Grit Paste is back again and Texture Paste Sparkle. Join Tim on his YouTube Channel on Saturday 2 September 9am PT, 12pm ET and 5pm UK for a fun festive demo with the new products.
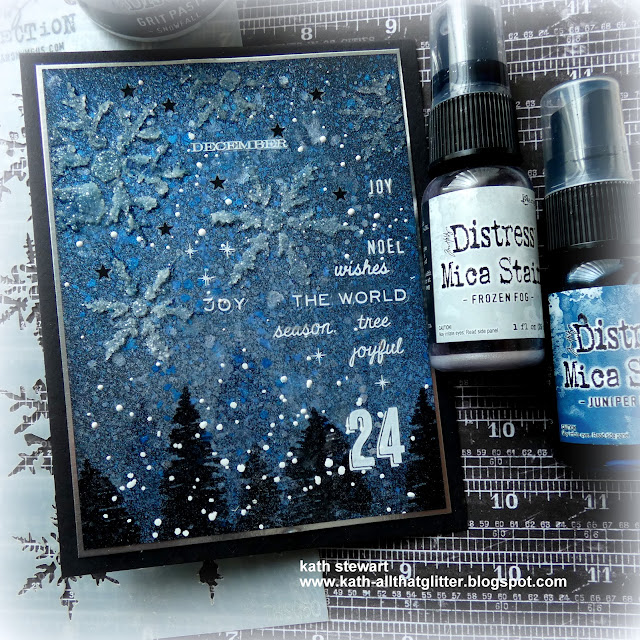
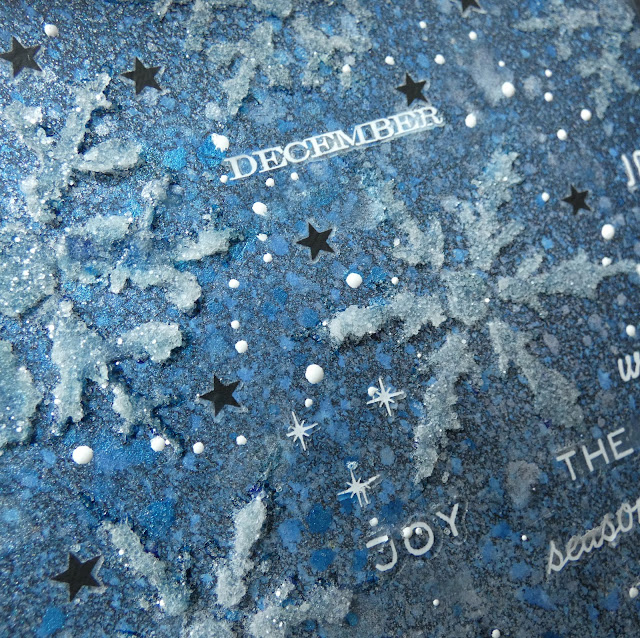
After I made my swatches, I had lots of fun using two of the new Distress Mica Stains, Frozen Fog and Juniper Berry and Snowfall Grit Paste to make a Winter Wonderland Christmas card with lots of shimmer and icy sparkle.
I began by spritzing Frozen Fog and Juniper Berry Distress Mica Stains on to an A2 panel of Distress Black Heavystock followed by a spritz of Faded Jeans Distress Oxide ink, dried and spritzed on some droplets of water.I stamped the tops of Tim Holtz/Stampers Anonymous Bottlebrush Trees, inked with Versamark ink, along the bottom of the panel, sprinkled with Simon Says Clear Embossing Powder and heat set. I re-stamped the trees to fill in the gaps inked with Black Soot Distress Archival, sprinkled again with clear embossing powder and heat set. I added splatters using the nozzle from Dina Wakley's White Gloss Spray.I applied Distress Snowfall Grit Paste through Tim Holtz/Stampers Anonymous Snowflakes Layering Stencil.
But, there's more exciting news, Ranger have re-released the limited edition Christmas Distress Mica Stain Sets 1 - 4 from previous years, so if you missed out, now is the time to grab them.
Simon Says - Sparkle and Shine
Hi Everyone...welcome to another week on the Simon Says Stamp Monday Challenge Blog. Thank you for joining us for last week's challenge and we hope you can join us this week too because