Monday, December 31, 2018

Goodbye 2018 - Hello 2019

Hi folks...it's hard to believe it's the last day of 2018, where did the time go. As we wait for the bells of Big Ben to welcome in a new year, I would like to wish all my crafting friends and blog followers, wherever you are in the world, a very Happy, Peaceful and Joyous 2019.
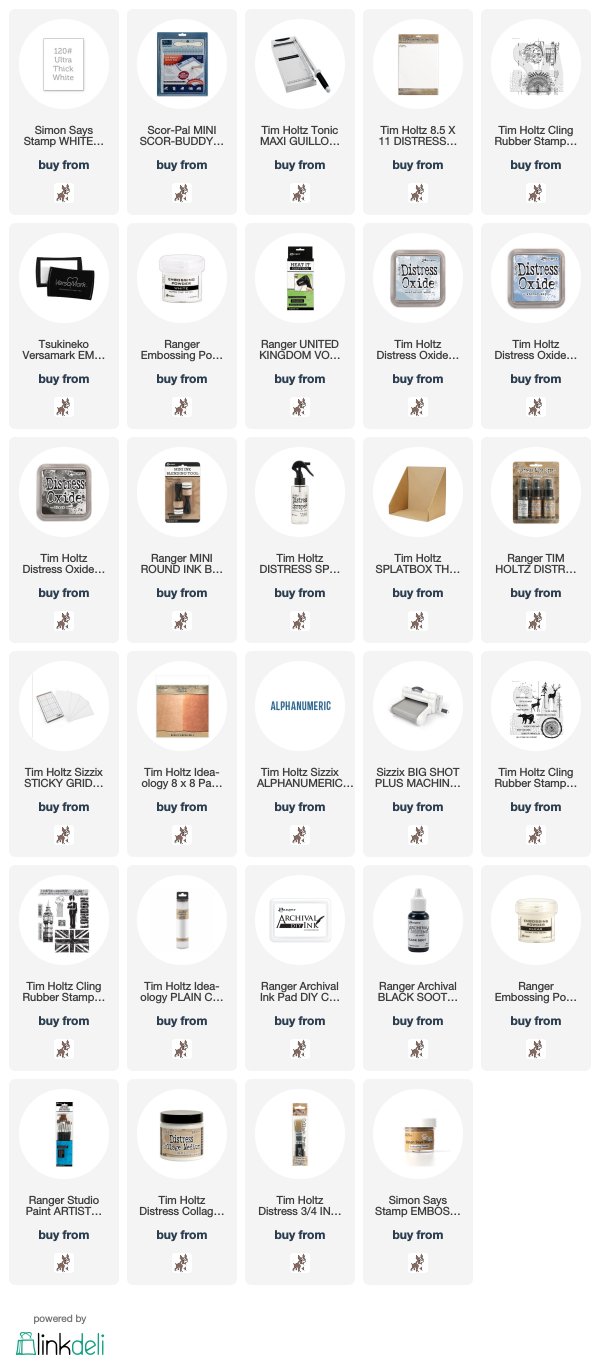
I'm saying farewell to 2018 with a card made using some of my favourite Tim Holtz 2018 products...Inventor 1, Entomology and Great Outdoors, Idea-ology Collage Paper, Mummy Cloth and Metallic 2 Kraftstock.
I trimmed Distress Watercolor card to measure 4.1/2" x 6.1/2", stamped the image from Inventor 1 with Versamark and heat embossed with Ranger Superfine White Embossing Powder. I coloured the background with Weathered Wood and Stormy Sky Distress Oxide inks using a mini round blending tool, wiped the ink back from the embossed image and overstamped the text image from Entomology inked with Black Soot Archival.
I darkened the edges of the panel with Black Soot Distress Oxide ink, spritzed with water to create that oxidised droplet effect and flicked on splatters of Brushed Pewter and Antique Bronze Distress Mica Spray.
I arranged the Alphanumeric Thinlits letters on a Tim Holtz/Sizzix Sticky Grid Sheet (a 2018 game changing product, perfect for holding your dies in place), placed the sheet die side down on top of the panel and die cut. I fixed a piece of Metallic 2 Kraftstock behind and die cut the Alphanumeric numbers from the remaining piece of Kraftstock.
I spritzed Idea-ology Mummy Cloth with Antique Bronze Mica Spray in my Tim Holtz/Stampers Anonymous SplatBox, another game changing product from 2018.

I stamped the star image from Great Outdoors with Versamark randomly on the background and heat embossed with Ranger Superfine White Embossing Powder. I tapped the Versamark ink pad around the edges of the panel, heat embossed with Simon Says Stamp Antique Gold Embossing Powder and fixed the panel to a 5" x 7" white card blank.
I stamped the Big Ben image from London Sights with Black Soot Archival on to Idea-ology Plain Collage Paper and heat embossed with Ranger Superfine Clear Embossing Powder. I painted the back and front of the image with Antique Bronze Distress Mica Spray. Once dry, I painted around the image with clean water, gently teased it apart with my finger and fixed to the panel with Distress Collage Medium Matte.

But before the Hogmanay celebrations get underway tonight, the roast beef for tomorrow's New Year's Day feast needs to go in the oven and then I can head off to the cubbyhole for a few hours of stamping. A huge thank you to Tim, Mario, Paula and Stampers Anonymous for sending me this box of gorgeous new red rubber and for including me in their Creativation 2019 adventure. Fun times "making secret stuff" is what dreams are made of and I can't think of a better way to kick start 2019.
Have fun with your New Year celebrations
Hugs from Kath & Buddy xxx

*** Where available I use compensated affiliate links which means if you make a purchase I receive a small commission at no extra cost to you. You can find my affiliate and product disclosure HERE.

Wednesday, December 26, 2018

AALL&Create Guest Designer Project - Small Beginnings

Hi Everyone, I hope you all had a lovely Christmas Day and that Santa popped down your chimney with lots of crafting goodies. I'm getting ready to do it all over again with family and friends at my Boxing Day Party but before I dash off to the kitchen to organise Lunch and Christmas Dinner "with all the trimmings" No 2, I'm sharing my last Guest Designer Project for AALL&Create.
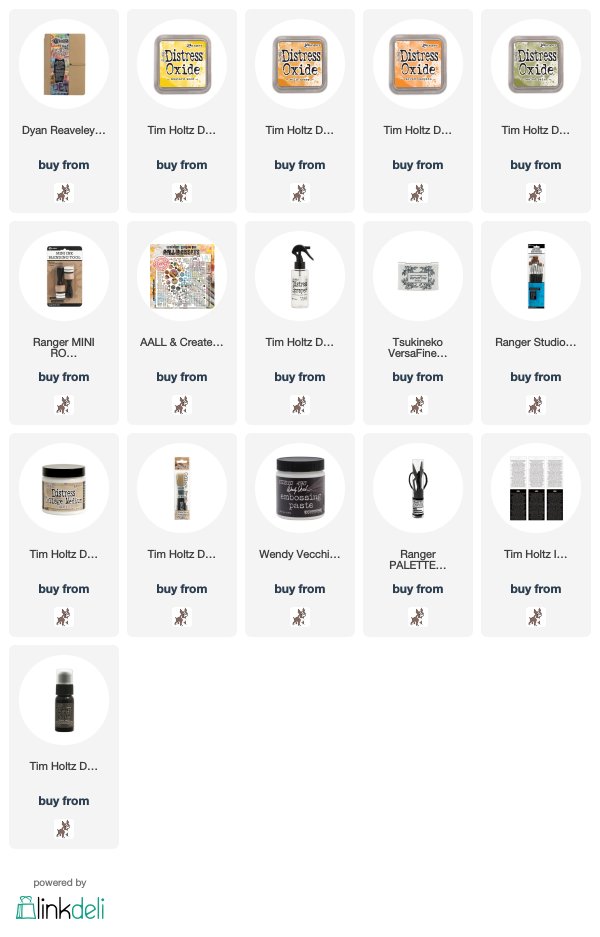
Christmas is all but over for another year and we may not have had snow yet but it's still Winter and that means long dark dreary days so I thought I would cheer things up with a bright colourful Art Journal page dedicated to the arrival of Spring and my love of flowers, using Frayed Threads #152 and Freestyle Flowers #158 by Louise Nelson and one of my favourite stencils Lotza Dotz #39 by Autour De Mwa


I started off by colouring the pages in my Dylusions Small Creative Journal with Mustard Seed, Wild Honey and Peeled Distress Oxide inks using mini round blending tools.
I placed the Lotza Dotz #39 Stencil randomly on the pages and removed some of the ink using a slightly damp baby wipe
swiped the Wild Honey and Peeled Paint Distress Oxide ink pads over the back of the Lotza Dotz #39 Stencil, spritzed with water and transferred the ink to the pages to add some subtle detail
I inked the image from Frayed Threads #152 with Peeled Paint and stamped randomly over the background, inked again with Versamark Onyx Black and stamped around the edges.
I stamped the heart images inked with Wild Honey and Carved Pumpkin randonly on the background.
I stamped two of the flower images from Freestyle Flowers #159 with Versamark Onyx Black ink across the bottom of the pages and then on to old dictionary paper. I coloured the centres of the flowers with Peeled Paint and Carved Pumpkin Distress Oxide inks and fussy cut the flower heads.
I fixed the flowers in place with Distress Collage Medium Matte and stamped the smaller flower image in the same way. I added torn strips of dictionary paper and stamped the Flowers sentiment randomly over the background.
I coloured the smaller flowers, the hearts on the flowers and the sentiment with Carved Pumpkin Distress Oxide and applied Studio 490 White Embossing Paste through the Lotza Dotz #39 Stencil to add texture to the background.
I edged the pages using Black Soot Distress Paint and added Tim Holtz Idea-ology Small Talk Occasions Stickers 


Have fun whatever you are doing today. I'm taking a bit of a break from blogging and social mediafor a while, having some "recharge the old batteries" ME time but I'll see you all in 2019
Hugs Kath xxx

Here are the AALL&Create products I used. You can find all their fabulous products and a list of wordwide stockists HERE.


OTHER SUPPLIES:


*** Where available I use compensated affiliate links which means if you make a purchase I receive a small commission at no extra cost to you. You can find my affiliate and product disclosure HERE.

Monday, December 24, 2018

Simon Says - Party Time

Hi Everyone...welcome to another week on the Simon Says Stamp Monday Challenge Blog...thank you for joining us for last week's challenge...we hope you can join us this week too because...

and the theme for this week is...
Party Time!
The Design Team are all getting into the Christmas spirit this week and are ready to party and we extend a special invitation for you to join in our Monday Challenge Virtual Christmas Party. So put on your glad rags, pour yourself a glass of something yummy and turn up the music, while you craft. The challenge will run for 2 weeks so you have until 8.00am EST, 1.00pm UK or 2.00pm Europe on the 7th of January to join in the fun.

For this week's challenge, I made invitations for my Boxing Day Party, a festive get together with family and friends...a  fun "eat, drink and make merry" occasion. 

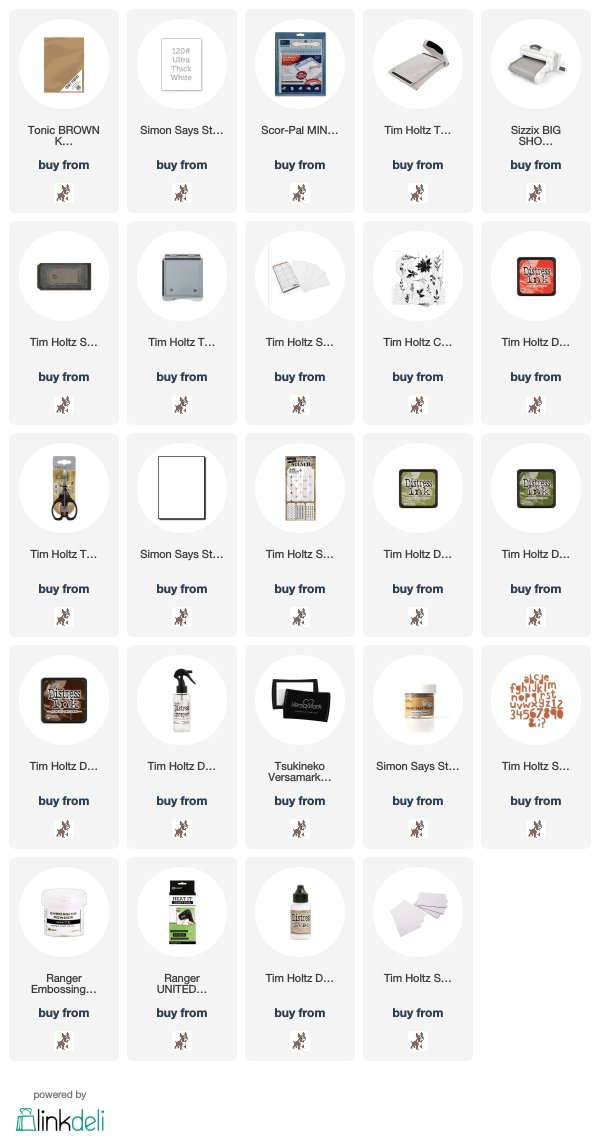
I scored and folded Simon Says Stamp #120 Ultra White card to create cards measuring 3" x 6" and die cut using Tim Holtz/Sizzix Stacked Tags Thinlits. I placed the left hand cutting edge of the die just slightly over the fold of the card and voila, a tag card measuring 2.3/4" x 5.1/2" with space inside to write the all important party information.

I placed a Tim Holtz/Sizzix Sticky Grid Sheet on scrap paper in my Stamp Platform which will hold the tag card in place for stamping and also means I can use the Platform magnets to hold the shifter layering stencil in place without the need for washi tape.
I stamped the larger of the two poinsettia images from Tim Holtz/Stampers Anonymous Winter Watercolor with Barn Door Distress Ink on to the tag card. I restamped the image on to Simon Says Stamp Masking Paper and cut out.
With the mask in place, I lightly applied Barn Door and Peeled Paint through the Mint Shifter Layering Stencil from Mini Stencil Set 37 to add a random subtle pattern to the background.
I stamped the foliage images from the stamp set radiating out from the centre, using Ground Espresso, Forest Moss, Peeled Paint and Barn Door Distress Inks. I spritzed some of the images with water before stamping, the images inked with Ground Espresso were stamped directly on to the card.
I stamped the smaller poinsettia image on to a scrap of card and fussy cut. I stamped the berry image in the centre with Versamark ink, heat embossed with Simon Says Stamp Antique Gold and fixed in place with Tim Holtz/Sizzix Mini Foam Adhesive. I tapped the Versamark ink pad around the edges of the card and over the Tag Reinforcer and heat embossed with the same embossing powder.
I used the berry image inked with Barn Door Distress Ink to fill in some of the gaps around the foliage and stamped Tim Holtz/Stampers Anonymous Music and Advert inked with Ground Espresso Distress Oxide randomly on the bottom of the tag.
I coloured scrap card with Barn Door Distress Ink, dragging the ink pad across the paper and die-cut the wording using Tim Holtz/Sizzix Alphanumeric Lower Cutout Thinlits 
I stamped the sentiment from Simon Says Stamp Koalaty Friend with Versamark ink and heat embossed with Ranger Superfine White Embossing Powder. I fixed the letters in place with Distress Collage Medium Matte and added Mini Foam Adhesive to the sentiment panel. I added the tag card to a panel of Kraft card cut to measure 3" x 5.3/4" and added a twine bow. 

You can find all the products I used over at Simon Says Stamp, just click on the links below

Why don't you pop over to the Monday Challenge Blog and check out the amazing creations from my very talented Design Team mates and as always you all have the chance to win a $50 gift voucher to spend at Simon Says StampYou have until Monday 8am Ohio time...1pm UK time...2 pm CET to join in...

You can also follow Simon Says Stamp on Instagram
and if you use Instagram...
please add #sssmchallenge to your entry uploads so we can see them on there too

I look forward to seeing what you create this week and wish you all a very
HAPPY CHRISTMAS
and Best Wishes for 2019

Hugs Kath xxx

SUPPLIES:

*** Where available I use compensated affiliate links which means if you make a purchase I receive a small commission at no extra cost to you. You can find my affiliate and product disclosure HERE.

Sunday, December 23, 2018

Oh Christmas Tree...

Hi folks, it's not often I post on a Sunday but hey, I'm sure I am not alone in thinking we are running out of crafty days now and I was thinking perhaps it's time to tidy away the Tim Holtz Christmas stamps, dies and Idea-ology, rather reluctantly, I have to say and head to the kitchen to continue with the festive cooking. But once I had the turkey, ham and roast beef all snuggled up in the oven, I left my furry wingman, deputy taste tester and kitchen floor cleaner-upper in charge and sneaked off to the cubbyhole for one last Christmas playtime...
to decorate an Etcetera Tag with an Idea-ology Half Tree and add some LED lights that I never got round to using last December.

I applied a coat of White Gesso to the outside edges of a Large Etcetera Tag and once it was dry, added a coat of Ranger Opaque Crackle Texture Paste and set aside to dry.
I trimmed a piece of Distress Mixed Media Heavystock to be slightly smaller than the tag, painted with a mix of Chipped Sapphire and Weathered Wood Distress Paint. I used Tim Holtz/Sizzix Swirling Stars to die cut the top section and added Tim Holtz/Sizzix Flurry 2 Thinlits die cut from white card and fixed in place with Distress Collage Medium Matte.
I inked the Advert background from Tim Holtz/Stampers Anonymous Music and Advert with Versamark ink, stamped randomly on the background and heat embossed with Ranger Superfine White Embossing Powder. I inked one of the snowflakes from Mini Weathered Winter with Chipped Sapphire Distress Oxide and stamped randomly to fill in the spaces. I tapped the Versamark ink pad around the edges and heat embossed as before.
I scribbled Distress Crayon Chipped Sapphire over the Texture Paste, rubbed it in to the crackle with my finger and wiped back with a damp baby wipe.
I poked a hole in the tag with a screwdriver (hubby's drill was out of charge) and started to arrange the string of LED lights, fixing them in place with my hot glue gun.
Then I turned my attention of the Idea-ology Half Tree. I spritzed with Brushed Pewter Distress Mica Spray and once it was dry, spritzed again with Picket Fence Spray Stain. I picked up Ranger Distress Grit Paste on my finger, tapped on to the bristles and used the Distress Glitter Duster to add a generous coating of Distress Clear Rock Candy sparkle.
I added a double layer of Tim Holtz/Sizzix Mini Foam Adhesive to the back of the panel, fixed the tree to the panel, poked a hole just behind the top of the tree, fed the string of LED lights through to the front and then fixed the panel to the Etcetera Tag.
Using small dots of hot glue, I decorated the tree with the remaining LED lights. I coloured Ideaology Bauble Findings with Alcohol Inks
and fixed to the tree using small dots of hot glue.
I added an Idea-ology Wood Slice and Thimble painted with Candied Apple Distress Paint under the tree, an Idea-ology Christmas Quote Chip on a double layer of Mini Foam Adhesive, a layer of Idea-ology Silver Metallic Trimmings, Christmas Paper Dolls, Bauble Findings, white pom poms from my stash and an Idea-ology Milk Cap, edged with Picket Fence Distress Paint and dusted with Distress Clear Rock Candy Glitter/
I coloured an Idea-ology Christmas Quote Token with Picket Fence Distress Paint, dusted with Distress Clear Rock Candy Glitter while it was still wet and added a twine bow.
and finished off by adding another Idea-ology Christmas Quote Chip decorated with Idea-ology Silver Metallic Trimmings.


The battery pack  for the LED lights can be fixed to the back of the tag if you're going to hang it or just tucked behind the tag if it's going to be freestanding or leaning against the wall. I'll be back tomorrow with my DT project for the last Simon Says Stamp Monday Challenge of the year, in the meantime, it's finally time to close up the cubbyhole until after Christmas and head back to the kitchen.
Hugs Kath xxx


SUPPLIES:

Where available I use compensated affiliate links which means, if you make a purchase, I receive a small commission at no extra cost to you. You will find my affiliate and product disclosure HERE.