Wednesday, September 29, 2021

Simon Says - You're The Best

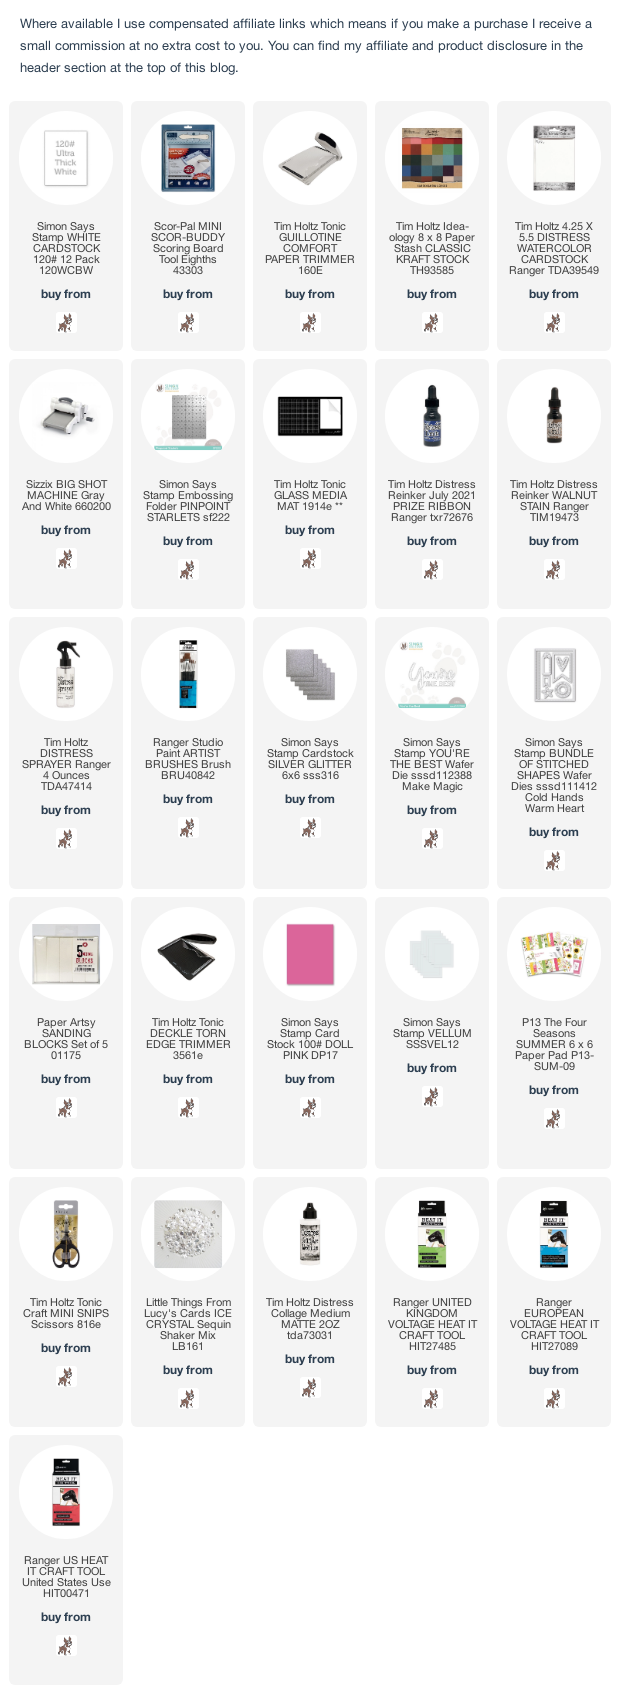
Hi my friends, I'm slowly working my way through the new products Simon Says Stamp sent me to play with which have been neglected somewhat while I've been busy with other things.Today I'm sharing 2- quick "bring on the bling" cards I made with the Pinpoint Starlets Embossing Folder which came with the Toadally Unfrogettable July Card Kit (I know, I'm so far behind) and the You're The Best die from the Make Magic Release.


I began by placing an A2 panel of Distress Watercolor card in the Pinpoint Starlets Embossing Folder and ran it through my die-cutting machine. I applied a generous coat of water to the panel, added drops of Prize Ribbon and Walnut Stain Distress Re-inkers on to my glass media mat, spritzed with water and using a large brush, dropped the inks on to the panel, let the water do its own thing and dried. I die-cut You're The Best from Distress Watercolor card and Simon Says Silver Glitter card and fixed to the panel with Distress Collage Medium. I die-cut the stars from the silver glitter card using an old Simon Says favourite, Bundle of Stitched Shapes. I sanded the embossed detail on the background carefully to reveal the white core and trimmed the panel to 4" x 5.1/4". 
I matted the panel on to brown Idea-ology Classic KraftStock trimmed 1/8" larger and fixed to an A2 white card blank.

I placed Simon Says Vellum in the Pinpoint Starlets Embossing Folder, ran through my die cutting machine and trimmed the edges with Tim Holtz Deckle Edge Trimmer. I die-cut You're The Best from Simon Says Doll Pink and Ultra White cardstock, layered to create the sentiment and fixed to the vellum using Distress Collage Medium.
I fussy cut the flowers from left over P13 Four Seasons Summer papers included in the September Sunshine Flower Card Kit.
I fixed the flowers and leaf sprig to the vellum, tucking some of the flowers under the sentiment. I applied Distress Collage Medium to the back of vellum panel where the flowers and sentiments were attached and fixed to a slightly larger panel of Doll Pink cardstock trimmed with the Deckle Edge Trimmer. To finish I added Ice Crystal sequins and fixed the panel to an A2 White card blank.
Have fun with whatever you are creating
Hugs Kath xxx

Tuesday, September 28, 2021

Tim Holtz/Sizzix - Retro Oven Thinlits

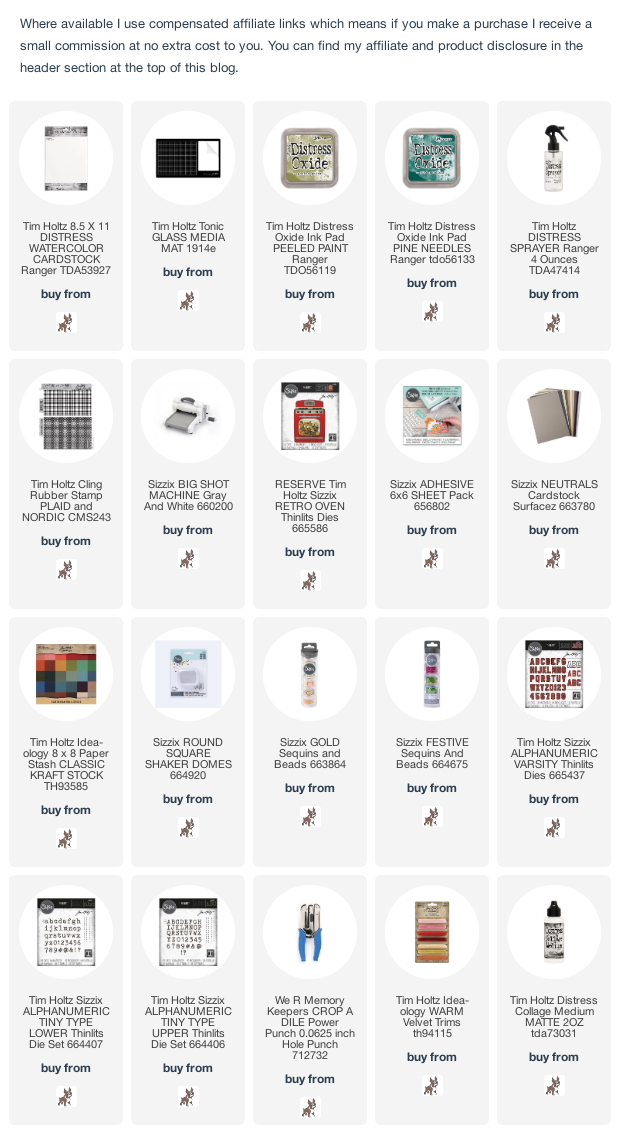
Hi my friends, I'm sharing the gift bag I decorated for the YouTube Live launch of Tim Holtz/Sizzix Christmas release using the Retro Oven Thinlits. And oh boy, what an amazing Live it was, 3.1/2 hours of fun, Tim sharing the new products and beyond words inspirational projects from the Makers, if you missed it, you can catch up over on Tim's blog HERE or YouTube Channel HERE.


I began by removing the handles of the kraft bag and trimmed Distress Watercolor card to fit the front leaving a small border. I smooshed Pine Needles and Peeled Paint Distress Oxide inks on to the craft mat on my Glass Media Mat, spritzed with water and laid the panel into the inks. dried and tapped back in to pick up the remaining droplets. I inked the plaid background from Tim Holtz/Stampers Anonymous Plaid and Nordic with the same inks, spritzed lightly with water and stamped on to the panel.
I fixed Sizzix Adhesive Sheet to Sizzix Neutral and Idea-ology Classic KraftStock and die-cut using  Tim Holtz/Sizzix Retro Oven Thinlits.
I placed the die-cut gingerbread men and hearts from the Retro Oven Thinlits and a selection of Sizzix Beads and Sequins into the Sizzix Square Dome, removed the adhesive backing and fixed to the Retro Oven die-cut.
I added a scrap of brown card to the back of the oven and fixed to the panel using Distress Collage Medium. I die-cut the lettering from Sizzix Neutral and Idea-ology Classic KraftStock using Tim Holtz/Sizzix Alphanumeric Varsity and Upper and Lower Tiny Type Thinlits and added left over die-cut hearts.
I punched two holes in the bag, threaded through Tim Holtz/Idea-ology Velvet Trim from the Warm pack and tied to secure.


Have fun with whatever you are creating.
Hugs Kath xxx

Monday, September 27, 2021

Simon Says - Touchy Feely

Hi Everyone...welcome to another week on the Simon Says Stamp Monday Challenge Blog. Thank you for joining us for last week's challenge and we hope you can join us this week too because


and the theme for this week is...
TOUCHY FEELY
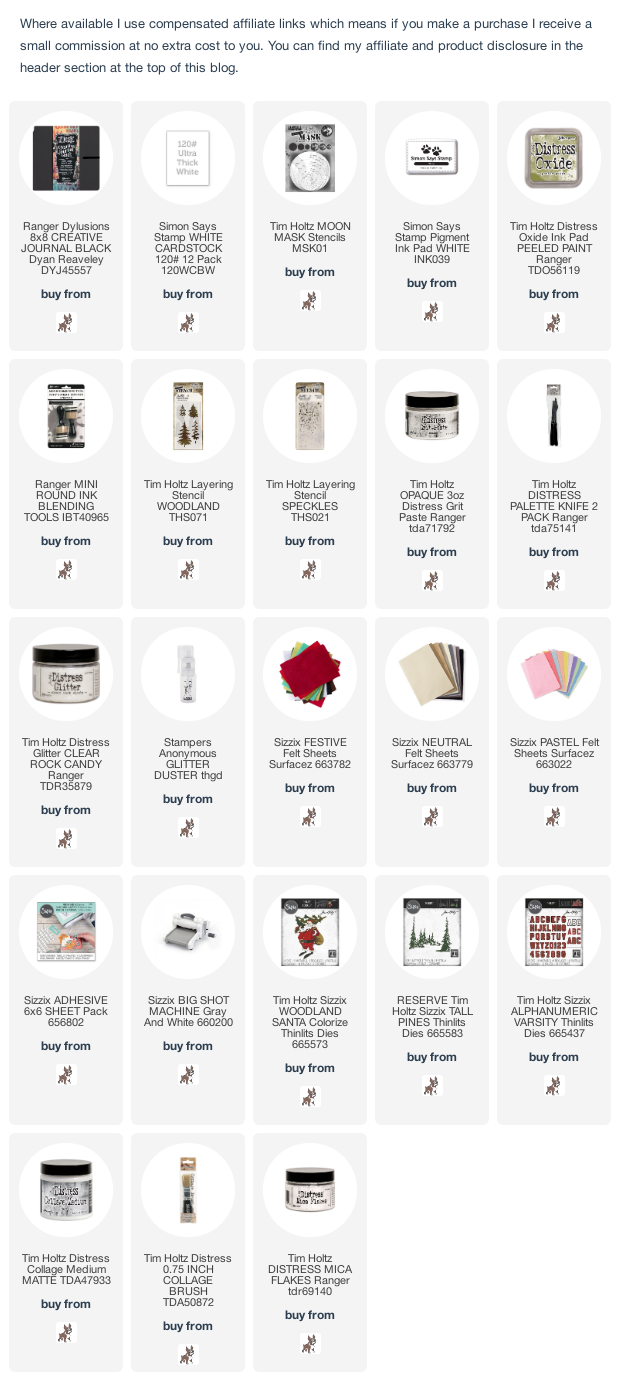
I created a Christmas scene in my Dylusions 8" x 8" Black Journal using Tim Holtz/Sizzix Woodland Santa, Tall Pines and Alphanumeric Varsity Thinlits, die-cut from Sizzix Felt and used Tim Holtz/Stampers Anonymous Woodland and Speckles Layering Stencils with Distress Grit Paste to add more texture.


I began with an 8" x 8" sheet of paper from Tim Holtz Idea-ology Christmas Stash Pad. I laid the largest moon mask on the paper and traced around with a pencil. I coloured the circle with Simon Says White Pigment ink using a mini round blending tool and also created a snow bank at the bottom of the paper.
I dried the white pigment ink and applied Peeled Paint Distress Oxide ink through the detail moon mask to create a soft subtle look.
I applied Distress Grit Paste through the Tim Holtz/Stampers Anonymous Woodland and Speckles Layering Stencils, dusted with Distress Rock Candy Glitter using Tim Holtz/Stampers Anonymous Glitter Duster and set aside to dry.
I arranged the Tim Holtz/Sizzix Woodland Santa dies on to various colours of Sizzix Felt and applied Sizzix Adhesive Sheet to the back of each piece.
I assembled the Woodland Santa and I'm not going to lie, it was a little fiddly but this crafter who loves fussy cutting, took up the challenge and hey ho, a little time and patience won the day. I suspect I may have been a brain surgeon in a previous life and a huge shout out to Sizzix Adhesive Sheet which made fixing all those fiddly diddly bits in place so much easier. I did draw the line at cutting his eyes and buttons from felt and instead used Idea-ology Classic and Gold Metallic KraftStock and Distress Watercolor card for the snow on the trees to add a contrast to the white felt used on his tunic, hat and beard.
I die-cut Tim Holtz/Sizzix Tall Pines from contrasting green colours of Sizzix Felt and fixed in place over the Grit Paste trees. I added more Speckles stencilling along the bottom edge of the paper, applied dots of Distress Collage Medium to the trees and sprinkled with Distress Mica Flakes.
I die-cut the words from Sizzix Red Felt and Distress Watercolor card, backed with Sizzix Adhesive Sheets, using Tim Holtz/Sizzix Alphanumeric Varsity Thinlits and fixed to the panel.

To finish I trimmed the panel to 7.1/2" square, matted on to white card to leave a small border and fixed inside my journal using Distress Collage Medium.


You can find all the products I used over at Simon Says Stamp, just click on the links below


Why don't you pop over to the Monday Challenge Blog and check out the amazing creations from my very talented Design Team mates and as always you have until Monday 8am Ohio time...1pm UK time...2pm CET to join in with the chance to win a $25 voucher to spend online at Simon Says Stamp


You can also follow Simon Says Stamp on Instagram
and if you use Instagram...
please add #sssmchallenge to your entry uploads so we can see them on there too

I look forward to seeing what you create this week...
Have Fun and Happy Crafting
Hugs Kath xxx

Sunday, September 26, 2021

Simon Says - Sunshine Flowers Card Kit

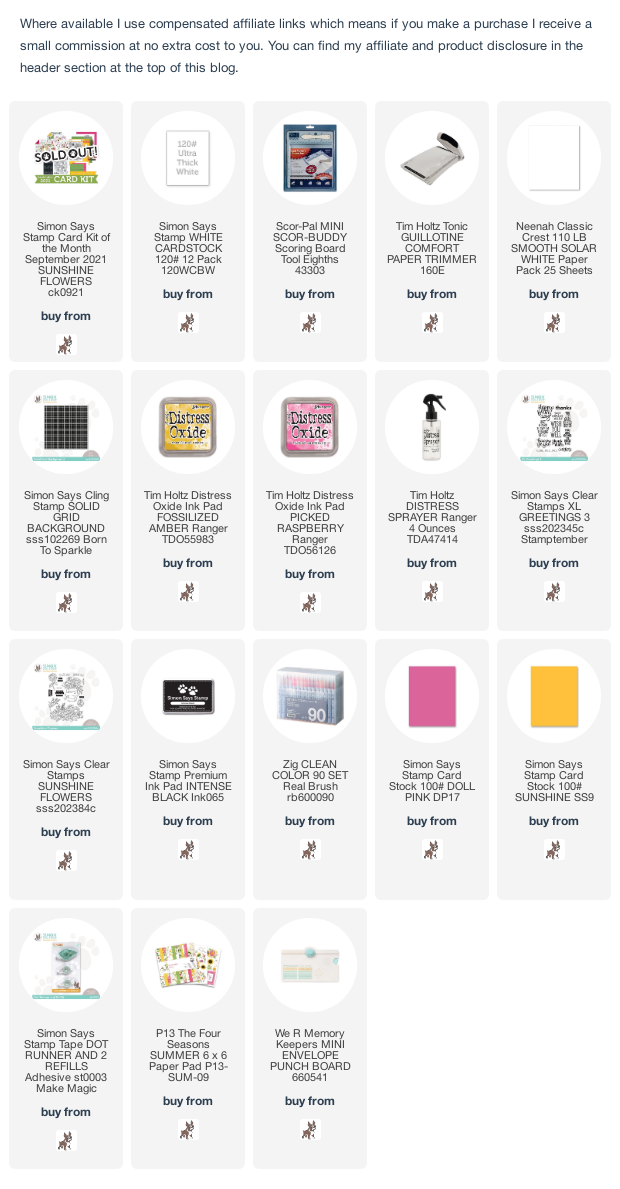
Hi my friends, I'm sharing some cute mini cards and envelopes I made using products from Simon Says Sunshine Flowers September Card Kit, STAMPtember and Born To Sparkle releases. The kit has now sold out but many of the items are still available to purchase separately HERE.

I began by trimming the sheet of Neenah Solar White cardstock included in the kit to make 3 - 3" x 3.1/2" panels. I inked a small portion of the Simon Says Solid Grid Background stamp from the Born To Sparkle release with Fossilized Amber and Picked Raspberry Distress Oxide inks, spritzed with water and laid the panel on to the stamp.  I stamped the sentiments from Simon Says XL Greetings 3 from the STAMPtember release, inked with Simon Says Intense Black ink. I inked the leaf image from Simon Says Sunshine Flowers with Intense Black and stamped on the edges of the panels. I matted the panels on to Simon Says Sunshine and Doll Pink cardstock included in the kit, trimmed to leave a small border and fixed to 3.1/4" x 3.3/4" white card blanks.
I created envelopes using the P13 Four Seasons Summer 6" x 6" papers included in the kit.
As an after thought I coloured the leaf images with a light green Zig Clean Color Brush Marker


Have fun with whatever you are creating
Hugs Kath xxx

Friday, September 24, 2021

Tim Holtz/Sizzix - Festive Bouquet

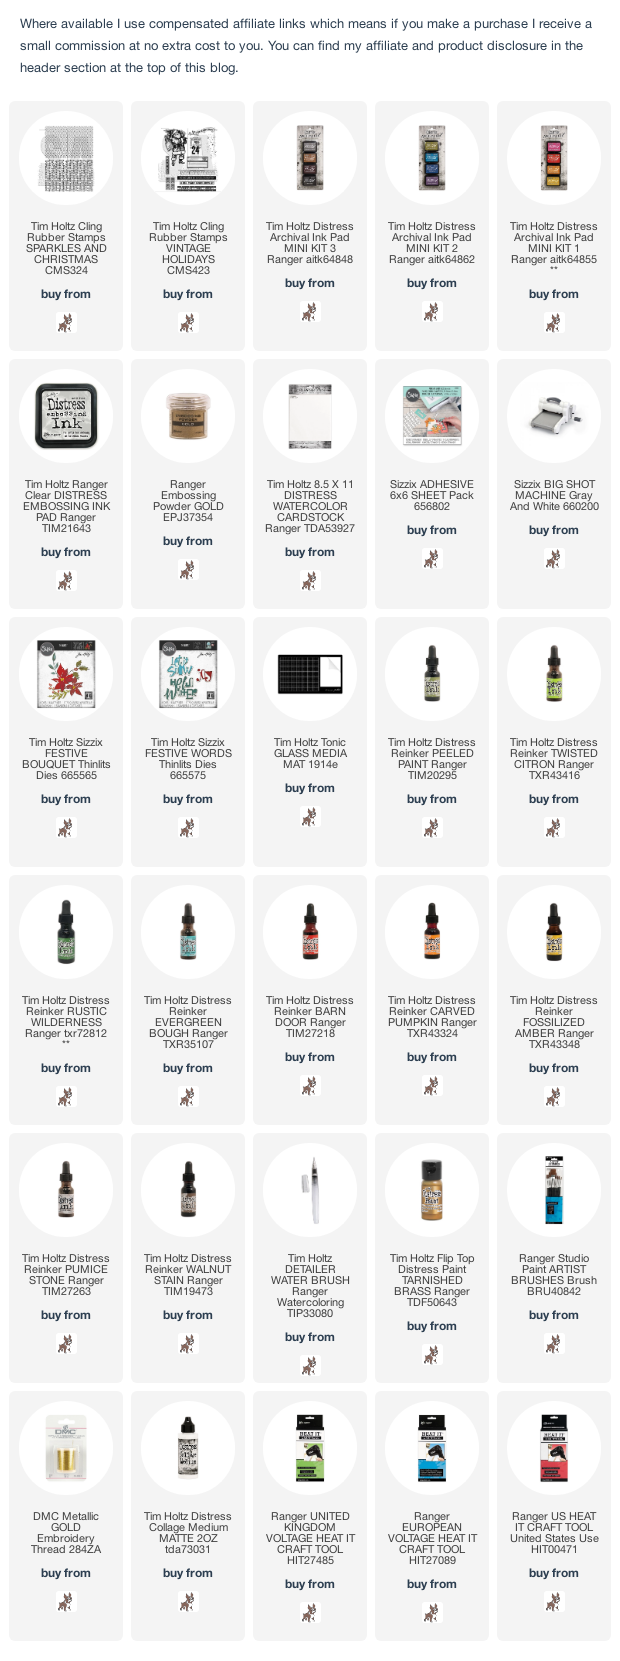
Happy Friday my friends, I'm sharing the Embroidery Hoop I decorated using Festive Bouquet and Festive Words Thinlits for the YouTube Live launch of Tim Holtz/Sizzix Christmas Seasonal release and if you missed the Live, I would recommend you hop over to Tim's Blog HERE and check out all the fabulous new products and the amazing amazing inspirational projects from all the makers.


I began by fixing Sizzix Adhesive Sheet to Distress Watercolor card and die cut with Tim Holtz/Sizzix Festive Bouquet Thinlits.
The advantage, for me, of using Sizzix Adhesive Sheet is that it keeps all the die-cuts in place while you colour and if you don 't use all of them, you can store them easily for future use. I used a variety of Distress Re-inkers (colours linked below) with a Distress Detailer Brush to apply the colour, drying between layers to create shading and depth of colour.
I trimmed a piece of wadding to be roughly circular and larger than the hoop. I randomly stamped the images from Tim Holtz/Stampers Anonymous Vintage Holidays and Sparkles and Christmas on to the wadding, inked with Vintage Photo, Peeled Paint and Barn Door Distress Archival Inks. I inked the sparkle image from Vintage Holidays with Distress Embossing ink, sprinkled with Ranger Gold Embossing Powder and heat set.  I separated the hoops, painted with Tarnished Brass Distress Paint and once they had dried, fixed the wadding in place between the two hoops and pulled to tighten. I tucked the excess wadding into the back of the hoop and covered with a circular panel of heavyweight cardstock.
I die-cut Tim Holtz/Sizzix Festive Words several times from Distress Watercolor card, painted the shadow piece with Tarnished Brass Distress Paint, coloured the word with Barn Door and Carved Pumpkin Distress Re-inkers using a Distress Detailer brush and layered to create dimension.
I assembled the Festive Bouquet die-cuts and fixed in place with Distress Collage Medium.
I added an Idea-ology Tiny Text Christmas Remnant Rub to complete the sentiment.
To finish I added a white tulle double bow and gold sparkle thread bow.

Tomorrow's Saturday and that means, I'll be heading over to Tim and Mario's place for the YouTube Live launch of the Tim Holtz/Idea-ology Christmas release, 9am PT, 12 noon ET and 5pm UK. Woohoo, I'm so excited and hope to see you there. Enjoy your weekend, whatever you have planned.
Hugs Kath xxx