Monday, September 30, 2024

Simon Says - Christmas/Winter Card

Hi Everyone...welcome to another week on the Simon Says Stamp Monday Challenge Blog. Thank you for joining us for last week's challenge and we hope you can join us this week too because

and the theme for this week is...
CHRISTMAS/WINTER CARD
I created a Wintry Christmas card using the Postage Stamp dies included with the Tim Holtz/Stamptember 2024 stamp set, the images from Tim Holtz/Stampers Anonymous Home For Christmas, snowflakes from Mini Weathered Winter and Mr Frostie and Simon Says Pawsitively Clear Dazzling Gems.
I coloured a panel of Distress Watercolor card with Faded Jeans and Broken China Distress Oxide inks.
I stamped the snowflake image from Tim Holtz/Stampers Anonymous Mini Weathered Winter on to the panel, inked with Faded Jeans Distress Oxide ink, sprinkled with Ranger Sticky Embossing Powder, heat set and sprinkled with Distress Rock Candy Glitter to give a sparkly slightly textured effect.
I inked the one of the snowflake images from Tim Holtz/Stampers Anonymous Mr Frostie with Broken China Distress Oxide ink and stamped randomly over the background.
I used the Postage Stamps dies included with the Tim Holtz STAMPtember 2024 stamp set to die-cut postage rectangles from Distress Watercolor card.
I fixed the rectangles to my Simon Says Pawsitively Perfect Craft Tacky Mat, held the dies in place over the die-cuts to act as a mask and coloured with Faded Jeans and Broken China Distress Oxide inks using Tiny Blending Tools.
I stamped the images from Tim Holtz/Stampers Anonymous Home For Christmas on to scraps of Distress Watercolor card, inked with Ground Espresso Distress Archival ink, sprinkled with Clear Embossing Powder, heat set and fussy cut to leave a small border using my trusty Tim Holtz Mini Recoil Snips.
I coloured with Faded Jeans, Broken China, Candied Apple and Ground Espresso Distress Watercolor Pencils and a Detailer Brush. I fixed the postage stamps to the panel using Distress Collage Medium, over-stamped using the postmark and snowflake, inked with Ground Espresso Distress Archival ink and added the die-cuts popped up on 3D foam squares to add dimension.
I added Simon Says Pawsitively Clear Dazzling Gems for a little bit of Christmas/Winter bling.
To finish I inked around the edge of the panel with Scorched Timber Distress Ink and a Tiny Blending Tool and fixed the panel to an A2 white card blank.


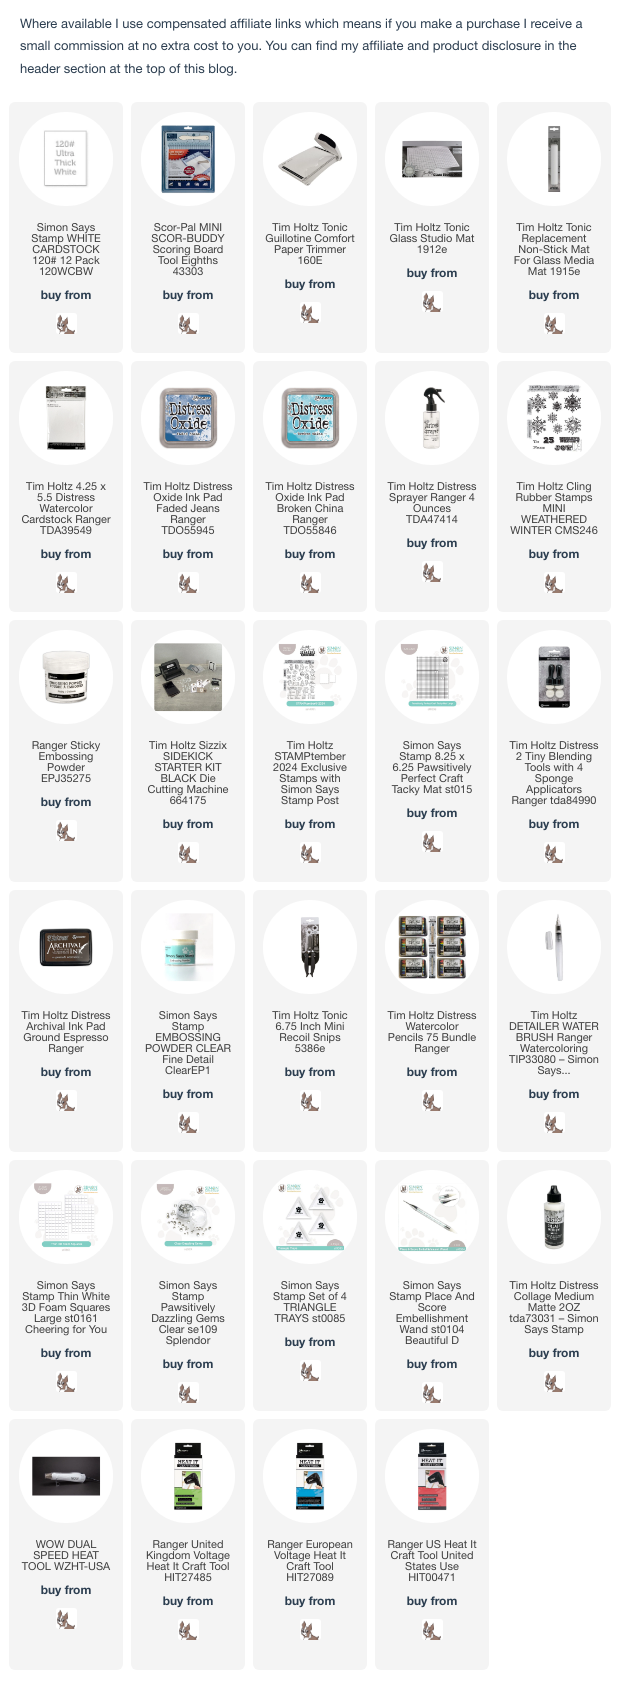
You can find all the products I used over at Simon Says Stamp, just click on the links below


Why don't you pop over to the Monday Challenge Blog and check out the amazing creations from my very talented Design Team mates and as always you have until Monday 8am Ohio time...1pm UK time...2pm CET to join in with the chance to win a $25 voucher to spend online at Simon Says Stamp


You can also follow Simon Says Stamp on Instagram
and if you use Instagram...
please add #sssmchallenge to your entry uploads so we can see them on there too

I look forward to seeing what you create this week...
Have Fun and Happy Crafting
Hugs Kath xxx

Sunday, September 29, 2024

Tim Holtz/Stampers Anonymous - Forest Floor 2

Hello my friends, I'm sharing the gift bag and gift card holder I made for the YouTube Live launch of Tim Holtz/Stampers Anonymous Christmas release of stamps and stencils, using Forest Floor 2, Santa Visit and Holiday WhatNots. If you missed the Live, you can always watch the replay and check out all the amazing inspiration from the Makers on Tim's YouTube Channel and Blog.


I trimmed Distress Watercolor card to be slightly smaller than the kraft gift bag, smooshed the Peeled Paint Distress Oxide ink pad and a Custom Blend ink pad on to the craft mat on my Tim Holtz/Tonic Studios White Studio Mat, spritzed with water, dragged through the inks and dried. I tapped the panel repeately back in to pick up the remaining droplets, drying between each layer until I was happy with the background.
I applied Distress Texture Paste Opaque Crackle through the Tiny Holly Layering Stencil,  sprinkled with Peeled Paint and Lumberjack Plaid Embossing Glazes and heat set once the paste had dried and crackled.
I stamped the calendar from Tim Holtz/Stampers Anonymous Santa Visit, inked with Scorched Timber Distress Oxide, sprinkled randomly with the matching Embossing Glaze and heat set.
I stamped the wood slice from Tim Holtz/Stampers Anonymous Forest Floor 2 on to a scrap of Distress Watercolor card, inked with Scorched Timber Distress Oxide ink and Scorched Timber Distress Ink, spritzed lightly with water and fussy cut using Tim Holtz/Tonic Studios Mini Recoil Snips.
I stamped the holly image from Forest Floor 2 inked with Peeled Paint Distress Oxide ink on to a scrap of Distress Watercolor card, coloured the leaves with Peeled Paint Distress Watercolor Pencil using a Distress Detailer Brush and while the ink was still wet sprinkled with Peeled Paint Embossing Glaze, heat set and fussy cut. I repeated the process for the berries with Lumberjack Plaid Distress Oxide ink and Embossing Glaze, fussy cut and fixed on top of the original stamping to add dimension.
I fixed the holly to the wood slice using foam squares. I stamped the sentiment from Tim Holtz/Stampers Anonymous Holiday Whatnots on to a scrap of Simon Says Schoolhouse Red cardstock, inked with Versamark, sprinkled with Ranger Superfine White Embossing Powder and heat set. I trimmed out the individual words and fixed to the bag with foam squares.
I spritzed Idea-ology Mummy Cloth with Peeled Paint Distress Spray Stain, dried and fixed to the handle of the bag tied in a double bow.

I used exactly the same process to decorate the gift tag holder which I die-cut from Distress Watercolor card using Tim Holtz/Sizzix Collector Thinlits.
I used the Tiny Holly Mini Layering Stencil from Set 62 on this smaller substrate.
I added a closure on the back
I used the smaller sentiment from Tim Holtz/Stampers Anonymous Home For Christmas and added a stamp from Tim Holtz/Idea-ology Postmarked Sticker Book.
Happy Crafting and have fun with whatever you're making.
Hugs Kath xxx

Saturday, September 28, 2024

Tim Holtz/Stampers Anonymous - Mr Frostie

Hello my friends, if you've just come from the YouTube Live launch of Tim Holtz/Stampers Anonymous release, oh boy, I just know that, like me, you will have fallen in love with everything in the release. If you missed the Live, you can always catch up with all the fabulous stamps and stencils and the amazing inspiration from the Makers over on Tim's YouTube Channel and Blog. It was so hard to know where to start when this delicious red rubber bundle arrived in the cubbyhole but I do have a thing for snowmen and snowflakes so I created a card, envelope and tags with the absolutely adorable Mr Frostie, that face just melts my heart.

I began by stamping Mr Frostie, inked with Black Soot Distress Archival ink, on to a 6" x 6" panel of Distress Watercolor card and masking paper.
I trimmed the mask and placed on top of the stamped image and added a snow bank trimmed from the masking paper. I smooshed Uncharted Mariner and Salvaged Patina Distress Oxide inks on to my Tim Holtz/Tonic Studios White Studio Mat, spritzed with water, picked the inks up on a piece of plastic and pressed on to the panel repeatedly until I was happy with the coverage.
I removed the masks, stamped the tree branch, inked with Ground Espresso Distress Archival ink, the snowflakes inked with Uncharted Mariner and Salvaged Patina Distress Oxide inks, sprinkled with the matching Distress Embossing Glazes and heat set.
I flicked splatters of Distress Resist spray on to the panel, sprinkled with Ranger Fine Detail White Embossing Powder and heat set.
I coloured the snowman using Distress Re-inkers with a Distress Detailer Brush, adding Seedless Preserves to his scarf and hatband to add a pop of colour.
I stamped the sentiment inked with Black Soot Distress Archival ink, trimmed the panel to 5.3/42 square and inked around the edge with Uncharted Mariner Distress Oxide ink using a mini round blending tool. I fixed to Distress Kraft HeavyStock trimmed 1/8" larger and fixed to a 6" x 6" white card blank.

I inked the snowflakes with the same Distress Oxide colours and stamped on to the front and back flap of a 6" x 6" envelope. I stamped the frame from Tim Holtz/Stampers Anonymous, inked with Uncharted Mariner Distress Oxide, ready to address to the recipient.
Of course, I couldn't leave out the adorable head shot image of Mr Frostie and created some simple tags.
I die-cut a selection of tags from Distress Kraft HeavyStock using Tim Holtz/Sizzix Stacked Tags Thinlits, stamped the smaller tags with snowflakes and a sentiment using Uncharted Mariner Distress Oxide ink, Versamark ink and White Embossing Powder. I stamped Mr Frostie on to the third tag, inked with Black Soot Distress Archival and coloured with Picket Fence, Spiced Marmalade and Uncharted Mariner Distress Watercolor Pencils. On the fourth tag, I stamped Mr Frostie on to Distress Watercolor card, inked with Versafine Onyx Black, sprinkled with Ranger Black Embossing Powder and heat set. I coloured with Distress Watercolor Pencils and trimmed to leave a small border around the edge. I coloured Idea-ology Mummy Cloth with Uncharted Mariner Distress Oxide Spray and fixed around his neck as a scarf. I fixed to Distress Kraft Heavystock with Distress Collage Medium and trimmed around the edge again leaving a small border. I repeated this step again on Distress Watercolor card. I fixed eyelets to the first 3 tags, punched a hole on the last tag and added white/silver sparkly twine.


I'll be back tomorrow to share what else I made for the Live using another favourite. In the meantime, have fun with whatever you're making and happy Stampers Anonymous Christmas release shopping.
Hugs Kath xxx

Friday, September 27, 2024

Tim Holtz STAMPtember 2024

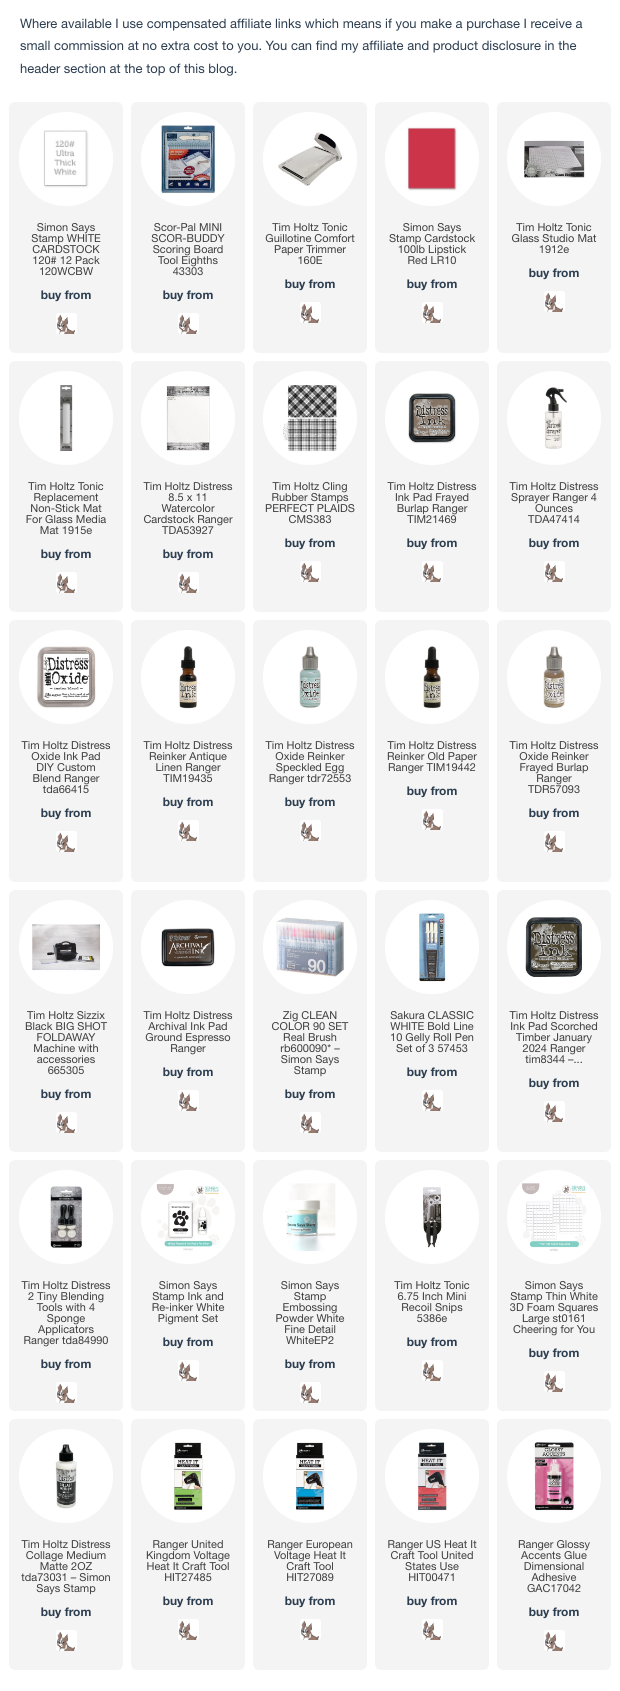
Hello my friends, the wait is over and the 2024 Tim Holtz STAMPtember collaboration with Simon Says Stamp has been revealed and aren't those images so adorable and cute. If you missed the Live launch, you can catch up all the amazing inspiration over on Tim's YouTube Channel. I created cards using the adorable images and sentiments from the STAMPtember 2024 stamp set along with the Postage Stamp dies which are included with the stamp set. There are dies available for the images which are an add on purchase.

I trimmed Distress Watercolor card to create 2 - 4" x 5.1/4" panels, inked one of the Tim Holtz/Stampers Anonymous Perfect Plaids background stamps with a Custom Blend ink pad (re-inker colours linked below), spritzed with water and stamped on to the panels to create neutral backgrounds.
I created two backgrounds using the same Custom Blend ink pad on Distress Watercolor card and die-cut using the Postage Stamp dies.
I left the die-cuts in place, stamped the images, inked with Ground Espresso Distress Archival ink and coloured using Zig Clean Color Real Brush Markers and a Sakura White Gelly Roll pen for the white areas.
I inked around the edges of the die-cuts with Scorched Timber Distress Ink using a Tiny Blending Tool and fixed in place on the panels using Distress Collage Medium. I inked the snowflake from the stamp set with Ground Espresso Distress Archival Ink and stamped randomly on the panels.
I inked the sentiments with Simon Says White Pigment Ink, stamped on to scraps of Simon Says Stamp Lipstick Red cardstock, sprinkled with white embossing powder, heat set, fussy cut and fixed to the panels with Thin 3D foam squares. I matted the panels on to A2 panels of the Lipstick Red cardstock and added glossy accents to the reindeer and santa noses and the bow on the candy cane.
To finish I fixed the panels to A2 top folding white card blanks.


Have fun with your STAMPtember stamp set when it arrives.
Hugs Kath xxx