Monday, April 21, 2025

Simon Says - Blooming Blooms

Hi Everyone...welcome to another week on the Simon Says Stamp Monday Challenge Blog. Thank you for joining us for last week's challenge and we hope you can join us this week too because

and the theme for this week is...
BLOOMING BLOOMS
I created a page in my Dina Wakley Ledger Journal using images from Simon Says Beautiful and Curious 6" x 8" stamp set and Distress Crayons from the May 2025 Card Kit, along with Tim Holtz/Stampers Anonymous Mosaic and Bubbles Mini Layering Stencils from Sets 28 and 46 to add interest to the background.
I stamped the floral image from Simon Says Beautiful and Curious 6" x 8" stamp set, inked with Black Soot Distress Archival ink on to an A2 panel and scrap of Distress Watercolor card, sprinkled with Ranger Black Detail Embossing Powder and heat set.
I applied a coat of Distress Collage Medium to both pieces.
I fixed strips of Masking Paper to the edges of the A2 panel, scribbled Stormy Sky and Peeled Paint Distress Crayons over the panel and blended with a damp finger until I was happy with the background. I used a Distress Detailer Waterbrush to remove the colour from the floral image.
I removed the masking paper, laid the Tim Holtz/Stampers Anonymous Mosaic Mini Layering Stencil from Set 28 in place and used a piece of damp kitchen towel to remove the colour through the stencil. I repeated the process with the Bubbles Mini Layering Stencil from Set 46.
I stamped the ephemera, splatters and butterfly images from the stamp set inked with Black Soot and Peeled Paint Distress Archival inks.
I applied a light coat of White Gesso on the page of my Dina Wakley Media Ledger Journal followed by a coat of Distress Collage Medium. I scribbled the Stormy Sky and Peeled Paint Distress Crayons around the edges of the page, blended out with a damp finger, added drops of water and blotted with kitchen towel.
I scribbled Stormy Sky and Peeled Paint Distress Crayons on to my Glass Media Mat, used the Distress Detailer Waterbrush to colour the flowers on the scrap of Distress Watercolor and fussy cut.
I inked the sentiment from the Beautiful and Curious stamp set with Black Soot Distress Archival ink, stamped on to a scrap of Simon Says Ice Vellum, sprinked with Ranger Black Detail Embossing Powder and heat set. I trimmed around the sentiment and fixed in place with Distress Collage Medium.
I fixed the panel to the page in the Media Ledger Journal and stamped the splatters randomly around the edge, inked with Black Soot Distress Archival ink. To finish I added the fussy cut flowers popped up on Simon Says Thin Foam Squares.


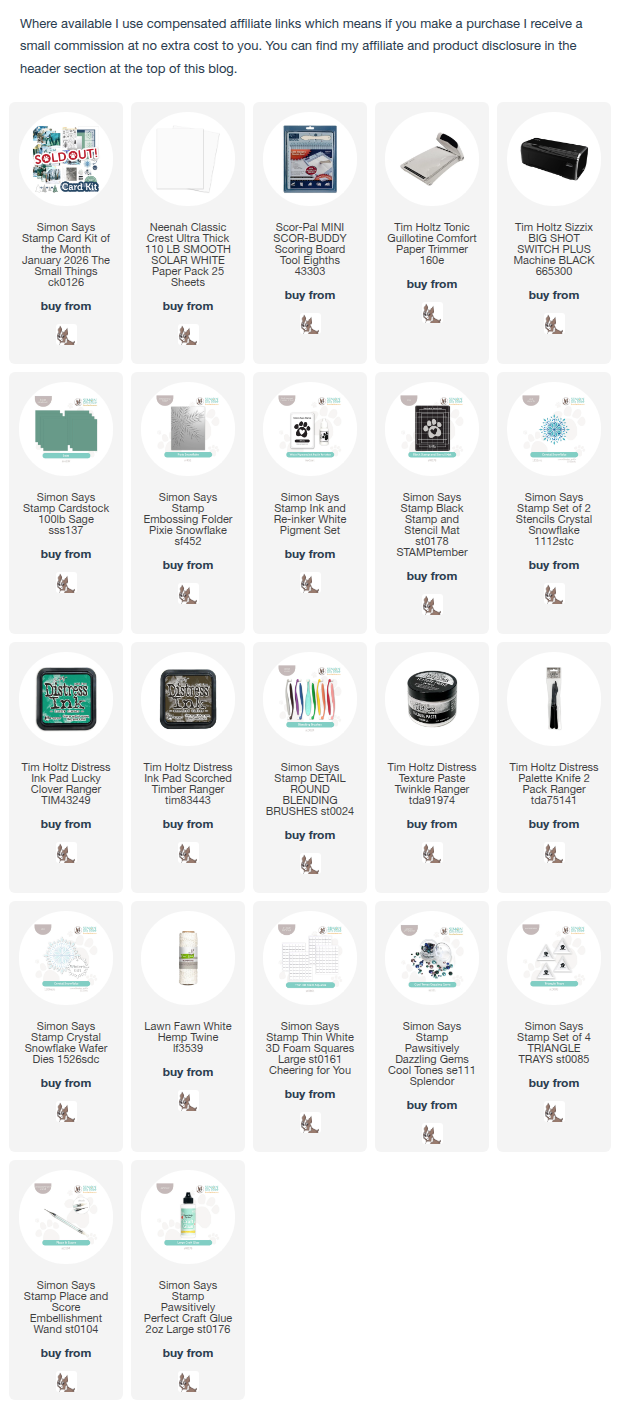
You can find all the products I used over at Simon Says Stamp, just click on the links below


Why don't you pop over to the Monday Challenge Blog and check out the amazing creations from my very talented Design Team mates and as always you have until Monday 8am Ohio time...1pm UK time...2pm CET to join in with the chance to win a $25 voucher to spend online at Simon Says Stamp


You can also follow Simon Says Stamp on Instagram
and if you use Instagram...
please add #sssmchallenge to your entry uploads so we can see them on there too

I look forward to seeing what you create this week...
Have Fun and Happy Crafting
Hugs Kath xxx

Friday, April 18, 2025

Blessed Are The Curious

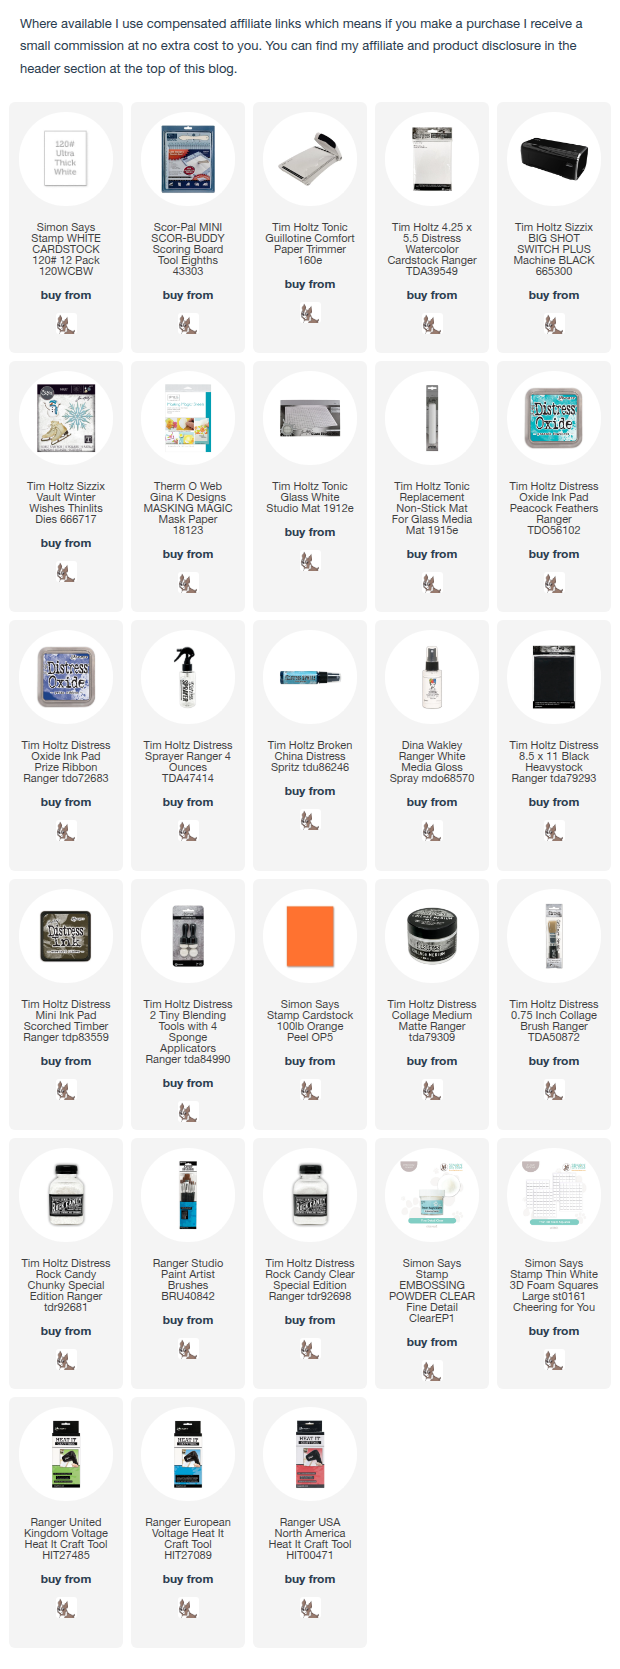
Hello my friends, I'm back to share another card made using products included in Simon Says Stamp Beautiful and Curious May 2025 Card Kit. The kit is available to purchase HERE if you don't already subscribe to Simon Says Monthly Kit or, if you wish, individual items are also available to purchase (see the links below).

I created a card using the Beautiful and Curious 6" x 8" stamp set along with the Distress Crayons included in the kit.
I began by trimming Distress Watercolor card to 4" x 5.1/4", stamped the large moth image from the stamp set repeatedly on the panel, inked with Simon Says Clear Embossing Ink pad, sprinkled with Simon Says White Embossing Powder and heat set.
I applied a coat of Distress Collage Medium Matte over the panel using a Distress Collage Brush. The Distress Collage Medium creates a slick surface which allowed me to move the crayon around and blend with a slightly damp finger.
I scribbled the Abandoned Coral and Fossilized Amber Distress Crayons randomly over the surface, dampened my finger and blended the colours together. Once I was happy with the background I used a paper towel to remove any crayon sitting on the embossed surfaces.
I placed the Tim Holtz/Stampers Anonymous Gradient Dot Mini Layering Stencil from Set 39 on the panel, scribbled over with the stencil with the Abandoned Coral Distress Crayon and used my finger to push the colour through the stencil.
I inked the splatter and ABC images from the stamp set with Distress Black Soot Mini Ink pad, included in the kit and stamped randomly n the background.
I stamped the large moth and sentiment from the stamp set on to Simon Says Heat Resistant Acetate, inked with the Distress Black Soot Mini Ink pad, sprinkled with Ranger Black Detail Embossing Powder and heat set. I fussy cut around the moth and fixed in place with Distress Collage Medium applied only to the body and pulled the wings up to create dimension. I trimmed the sentiment to create an acetate banner and fixed to the panel using Tim Holtz/Idea-ology Tiny Attacher. I stamped the small text and postmark images from the stamp set, inked with Black Soot Distress Archival to fill in some of the blank areas on the panel.

To finish, I added splatters of Dina Wakley White Gloss Spray, matted the panel on to Distress Black HeavyStock trimmed to 1/8" larger and fixed to an A2 white card blank.

I hope you all have a very HappyEaster Weekend with lots of chocolate treats and I'll see you all on Monday to share my DT project for Simon Says Stamp Monday Challenge.
Hugs Kath xxx

Wednesday, April 16, 2025

Beautiful and Curious May 2025 Card Kit

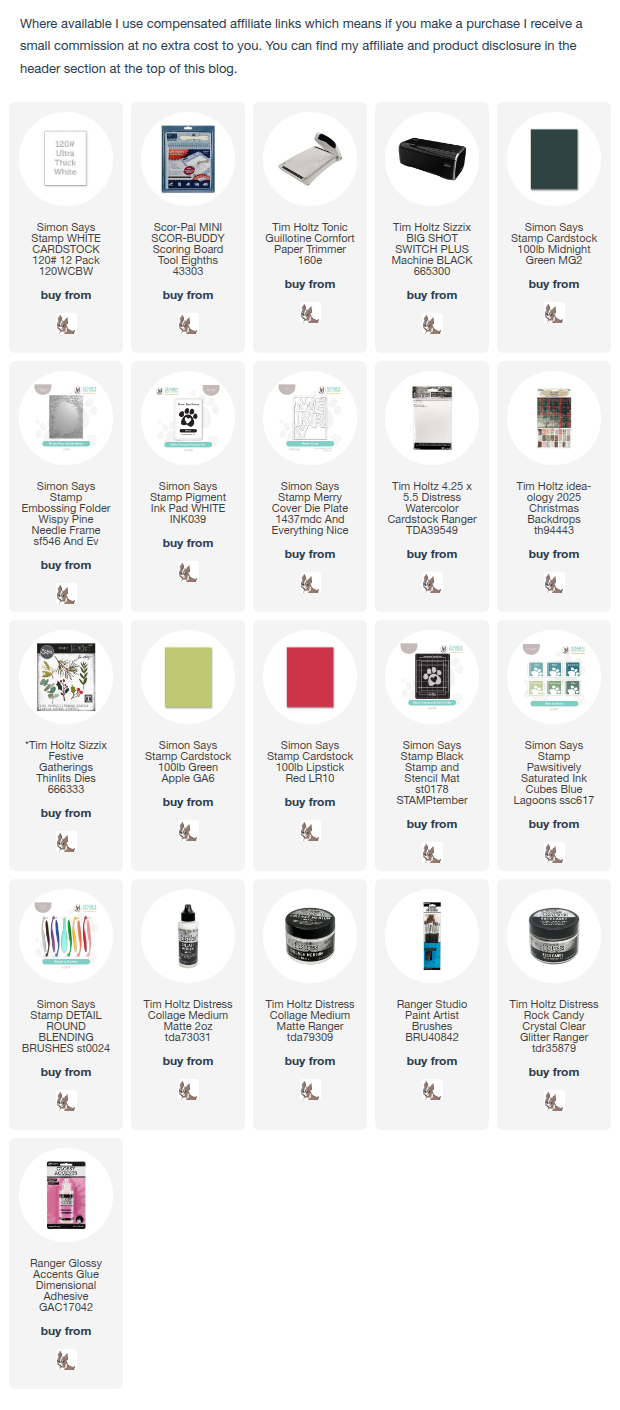
Hello my friends, woohoo the Simon Says Stamp Beautiful and Curious May 2025 Card Kit has arrived in the cubbyhole. The kit is available to purchase HERE if you don't already subscribe to the monthly kits and if you so wish, you can also purchase individual items from the kit - see links below.

The minute I opened the box and saw the gorgeous Beautiful and Curious 6" x 8" stamp set, I knew that my adorable Professor had collaborated with Simon Says to design and curate this vintage inspired kit and I was going to have lots of fun playtime using it.
I created a card using the flower image from the Beautiful and Curious stamp set, stamped on to Simon Says Ice Vellum, coloured with the Distress Crayons included in the kit, fixed to a torn strip of the Tim Holtz/Idea-ology Vault Wallflower paper and matted on to a panel of Simon Says Steel cardstock embossed with the Dotted Diamond Embossing Folder which is included in the kit, if you are a monthly subscriber.
I trimmed the Steel cardstock to 3.3/4" x 5", embossed using the Dotted Diamond Embossing Folder and dragged Simon Says White Pigment ink pad over the raised detail to highlight.
I tore a strip of the Tim Holtz/Idea-ology Vault Wallflower paper and stamped the splatter and small ephemera images from the stamp set, inked with Scorched Timber Distress Ink.
I inked the floral image with Distress Black Soot Archival and stamped on to Simon Says Ice Vellum, sprinkled with Clear Embossing Powder and heat set. I used the waterbrush included in the kit to lift colour from the Distress Crayons to colour the image, tore around the image and fixed in place using dots of Distress Collage Medium behind the embossed areas.
I inked around the edges of the Wallflower paper panel with Scorched Timber Distress Ink using a Tiny Blending Tool. The paper panel was not keen to adhere to the knobbly embossed surface so I stapled the panel in place using Tim Holtz/Idea-ology Tiny Attacher.
I inked the sentiment from the stamp set with Black Soot Distress Archival, stamped on to a scrap of the Vault Wallflower Paper, sprinkled with Clear Embossing Powder and heat set. I fussy cut around the sentiment with my trusty Tim Holtz Mini Recoil Snips and inked the edge with Scorched Timber Distress Ink and a Tiny Blending Tool.
I fixed the sentiment in place, wound White Hemp Twine around the panel and tied in a bow. I added splatters of White Gesso and matted the panel on to an A2 white card blank.


I'll be back soon to share more makes from this amazing, great value for money, kit. If you don't already subscribe, there are great benefits, perks and free gifts for doing so and you can check it out HERE.
Hugs Kath xxx

Tuesday, April 15, 2025

Create Together - Easter Bunny Cards

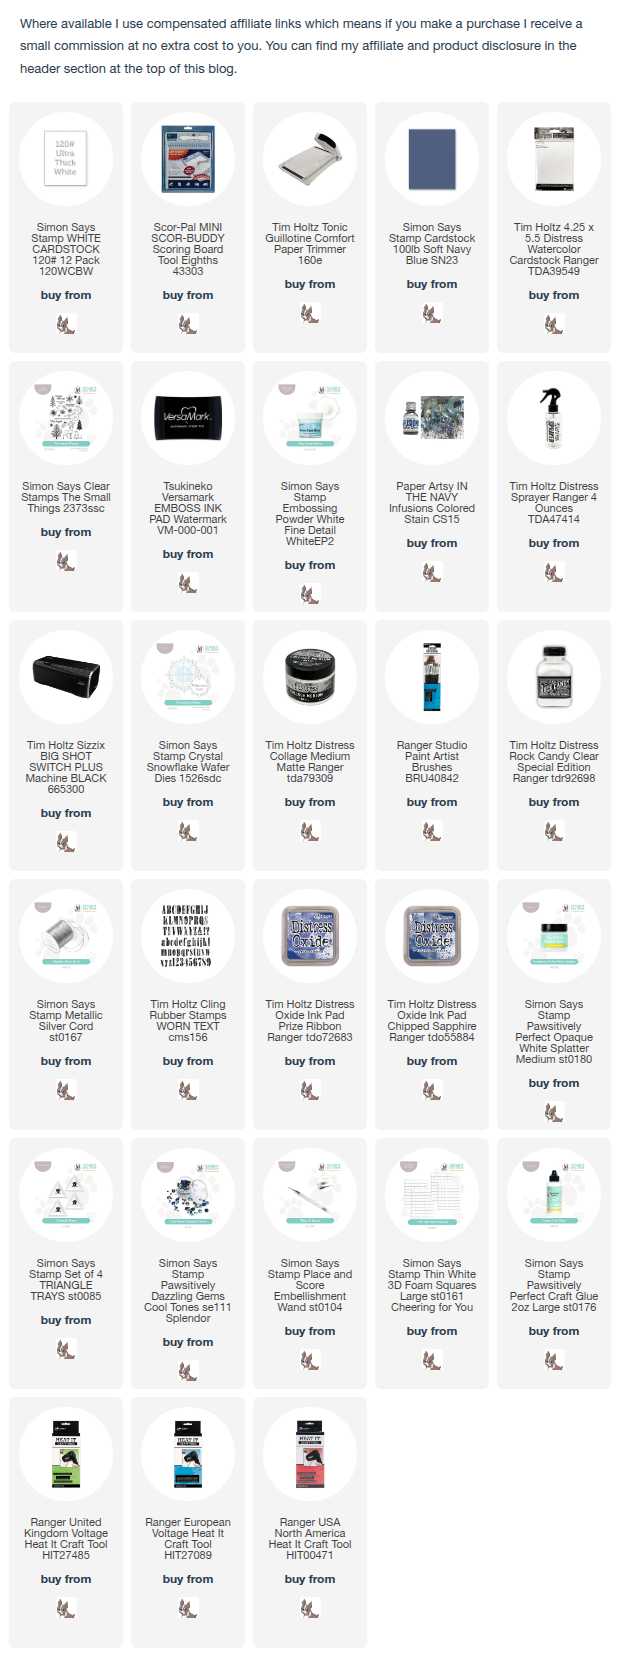
Hello my friends, I'm sharing a trio of cards I made using Simon Says Stamp Create Together Easter Kit. This great value kit did sell out pretty quick but you can purchase individual items from the kit (linked below). The icing on the cake with this kit was the free online class using the kit which is available on re-watch HERE on Simon Says Stamp YouTube channel, great inspiration whether you're using the kit or similar items you may have in your stash.


I trimmed the white cardstock included in the kit to create 3-4" x 5.1/4" panels and used the Neatly Knitted Embossing Folder, the 3 colours of Distress Oxide inks and the Argyle Builder Stencil to create 3 different backgrounds.
All the items used were included in the kit apart from the Trinity Stamps Creamy Vanilla Heart Sprinkles and Distress Grit Paste on Card 2, and a circle die, Glitter Gloss Pen and Glossy Accents on Card 3.
On the first card I used one of the panels embossed with the Neatly Knitted Embossing Folder and coloured the centre using Saltwater Taffy Distress Oxide ink and a Simon Says Blending Brush. I fixed Simon Says Tear-rific Adhesive to the back of white cardstock, coloured one panel with Saltwater Taffy  Distress Oxide ink and die-cut the Bouncy Happy Easter die 3 times, layered to create dimension and fixed to the panel using Gina K Connect Glue and a fine tip bottle.
I stamped the bunnies from the Ear-resistibly Cute 6" x 8" stamp set, inked with the Gina K Obsidian ink cube. I scribbled the Tim Holtz Pumice Stone Distress Crayon, smooshed the Saltwater Taffy Distress Oxide ink pad on to my glass mat, diluted with water and coloured the bunnies using the Hero Arts Mini Brush.
I die-cut the bunnies using the Ear-resistibly Cute co-ordinating dies, fixed to the panel using foam squares and added Pastel Tones Pawsitively Dazzling Gems and a Silver Metallic Cord bow.

I coloured the second panel lightly with the 3 Distress Oxide inks, laid the Argyle Builder Stencil on top and used a heavier application to intensify the colours.
I applied Distress Grit Paste through the stitching Argyle Builder Stencil and set aside to dry.
I stamped the bunnies from the 4" x 6" Hoppy Birthday stamp set, inked with the 3 Distress Oxide colours. I stamped the detail and the sentiment from Ear-Resistibly Cute with the same ink, die-cut using the co-ordinating dies, fixed in place with foam squares and added Trinity Stamps Creamy Vanilla Heart Sprinkles. To finish I matted the panel on to an A2 white card blank.

On the third card I coloured the panel with the 3 Distress Oxide inks using a blending brush and debossed using the Neatly Knitted Embossing Folder. I dragged Simon Says White Pigment ink across the raised detail and created an aperture using a circle die. I trimmed the panel to 3.3/4" x 5", matted on to a panel of Lemon Chiffon cardstock trimmed 4" x 5.1/4" and fixed to an A2 white card blank.
I stamped the bunny from Ear-resistibly Cute on to watercolor card and used Saltwater Taffy/Cracked Pistachio Distress Oxide inks and Pumice Stone Distress Crayon to colour as before using Hero Arts Mini Brush.
I die-cut the bunny using the Ear-resistibly Cute co-ordinating dies. I stamped the hearts from Hoppy Birthday, inked with Saltwater Taffy Distress Oxide ink, using the co-ordinating dies and fixed the die-cuts in place with foam squares. I used the Glitter Gloss Pen to add shimmer to the hearts and bunny ears and once dry, added Ranger Glossy Accents to the hearts. I inked the sentiment from Ear-Resistibly Cute with Gina K Obsidian, stamped on to a scrap of Lemon Chiffon cardstock, die-cut and fixed in place with foam squares.


Have fun with whatever you are creating.
Hugs Kath xxx