Tuesday, October 30, 2018

AALL & Create Guest Designer Project - Love You To Death

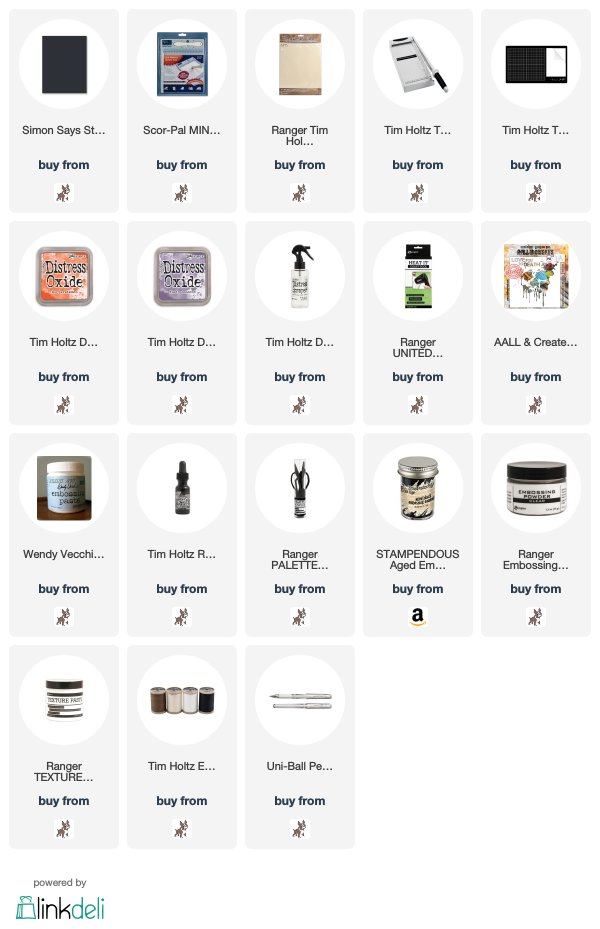
Hi folks, I'm back with Guest Designer Project #3 for AALL & Create and the minute I saw Stencil #46 Skulls Splash designed by Autour deMwa, I knew it would be perfect to make a card for a friend who has a birthday on Halloween, the spookiest day of the year, adding a double layered flower from the Print By Numbers #119 stamp set by Tracy Evans for a little bit of feminity. You can check out all the AALL & Create products I used and a list of stockists HERE


I trimmed Distress Mixed Media Heavystock to measure 7" x 5" and coloured wth Ripe Persimmon and Dusty Concord Distress Oxide inks, pulling the card through the inks, drying and then tapping back in to pick up the remaining droplets.
I coloured Wendy Vecchi Translucent Embossing Paste with Black Soot Distress Re-inker and applied through the Skulls Splash Stencil.
I sprinkled Stampendous Aged Black Embossing Enamel on to the wet paste and once the paste was dry, I heat set the embossing enamel,
a closeup of the very black, very shiny, flecked with gold, gnarly old skull and sentiment
I applied Dusty Concord Distress Oxide with a mini round blending tool through the stencil to complete the sentiment,sprinkled with Ranger Clear Embossing Powder and heat to set
I stamped the flower image from Print By Numbers #119 by Tracy Evans with Versafine Black Onyx ink on to panel of Distress Mixed Media Heavystock coloured in the same way as before
fussy cut and layered two of the flowers. I cut out the centre circle from the third, used a Versamark embossing pen, heat embossed with the Stampendous Aged Black Embossing Enamel and added details with a Signo Uniball White Pen. I added a circle of Black Eclectic Elements thread and placed the flower on top.
I applied Ranger Opague White Texture Paste through Stencil #19 on the skull and centre of the flower. Finally I stamped the image from the For The Record #125 stamp set by Aida Domisiewicz with Versamark Onyx Black randomly on the background and matted the panel on to a 7.1/2" x 5.1/2" Black Card blank.
Have fun whatever you are creating and I'll see you all soon
Hugs Kath xxx


Monday, October 29, 2018

Simon Says -Take Flight

Hi Everyone...welcome to another week on the Simon Says Stamp Monday Challenge Blog...thank you for joining us for last week's challenge...we hope you can join us this week too because...

and the theme for this week is...
TAKE FLIGHT
I created a page in my Dylusions 8" x 8" Black Creative Journal, reminiscent of a beautiful old Christmas Story Book I had as a child but this story features Santa's standby team. Of course, someone as organised as Santa would have a team in reserve should Rudolph and friends get sick, so here they are, the team of Merry Moose  practising their take-off skills in a blizzard, just in case they are required to help out on Christmas Eve.


I gave the pages a couple of coats of White Gesso and one of Antique Linen Distress Paint and added sections of the gorgeous Idea-ology Holly Collage Paper from Tim Holtz fixed in place with Distress Collage Medium.
I brushed a light coat of Antique Linen Distress Paint over the Collage Paper sections and applied Ranger Texture Paste Opague White through the Falling Stars Layering Stencil.Once the paste was dry, I gave the pages a coat of Distress Collage Medium Matte ready for some Distress Crayon colouring.
I scribbled the Faded Jeans Distress Crayon on to the pages, rubbed it in with my fingers, leaving the outer edges darker and wiped the crayon off the stars with a slightly damp cloth. I then added lots of splatters of White Gesso and Tarnished Brass Distress Mica Spray.
I die-cut the Moose from Idea-ology Classic and Metallic Kraft Stock and the trees from Simon Says Stamp #120 Ultra White card using Tim Holtz/Sizzix Merry Moose Thinlits.
I added trees die cut from Classic Kraft Stock slightly offset to create a snowy highlight and die-cut Simon Says Stamp Believe 4 times and layered to create dimension.

I used Tim Holtz/Sizzix Sleigh Ride BigZ die which is now retired but is still one of my favourite Christmas dies
I painted the sleigh with Festive Berries and Vintage Photo Distress Paints, covered the top section with Holly Collage Paper and added more splatters of White Gesso.
I used my Tim Holtz Craft Pick to poke holes at the head of each moose and threaded Red Eclectic Elements thread through to create the reins, fixing the thread on the back of the pages with double sided tape and added a bow. I applied Distress Collage Medium at one or two places under the threads, held the thread down with the tip of the Craft Pick until the medium dried.


I die-cut stars from white card and Metallic Kraftstock using the Tim Holtz/Sizzix Swirling Stars Thinlits and fixed in place with Distress Collage Medium Matte
I completed the wording using Tim Holtz/Sizzix Word Play BigZ die, Simon Says Stamp Big U die and Label Letters.

To make the pages look more like something out of a storybook, I trimmed around the edges and fixed to the pages behind with Distress Collage Medium Matte which also hid the double sided tape holding the threads. I finished off by adding faux stitching around the edges with a Signo Uniball White Pen.
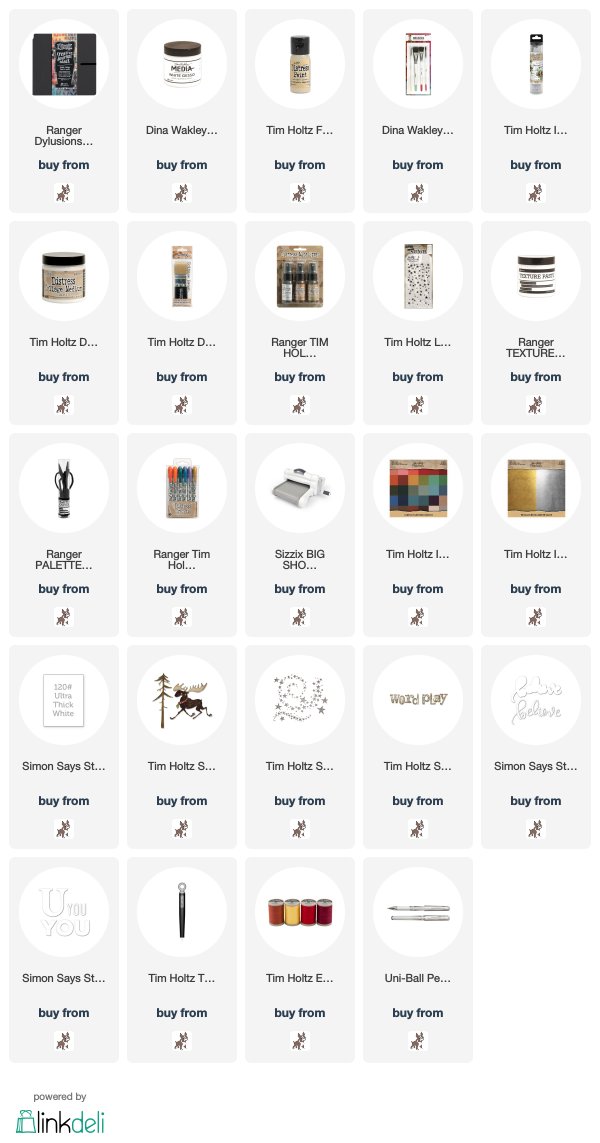
You can find all the products I used over at the fabulous Simon Says Stamp online store...just click on the links below...
Why don't you pop over to the Monday Challenge Blog and check out the amazing creations from my very talented Design Team mates and as always you all have the chance to win a $50 gift voucher to spend at Simon Says StampYou have until Monday 8am Ohio time...1pm UK time...2 pm CET to join in...

You can also follow Simon Says Stamp on Instagram
and if you use Instagram...
please add #sssmchallenge to your entry uploads so we can see them on there too
I look forward to seeing what you create this week...
Have Fun and Happy Crafting
Hugs Kath xxx

Sunday, October 28, 2018

Simon Says Stamp November Card Kit...

Hi folks, yes it's another blog post from me and on a Sunday too. If truth be told, I'm furiously working my way through the list of things to make, frantically trying to catch up, determined to clear the decks so that the Christmas Crafting can begin but I seem to spend more time sitting at the computer, photo editing, writing blog posts and creating product links than I do crafting in the cubbyhole but hey ho, that's life. Today I'm sharing a simple thank you card made with the fabulous November Card Kit from Simon Says Stamp

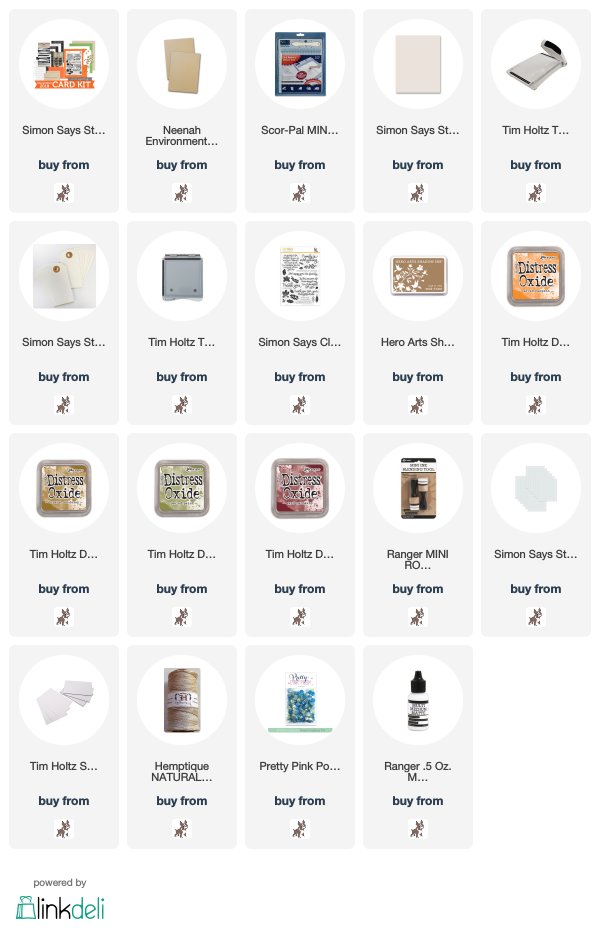
and at the time of writing this, I believe there are still a few available to buy or you can purchase the individual items from the kit HERE

I scored and folded the Neenah Desert Storm cardstock included the kit to create an A2 card and then trimmed the SSS Ivory Cardstock also from the kit to be slightly smaller. I placed the Ivory panel in my Stamp Platform and placed the SSS Medium White Tag on top, marking around the edges of the tag with pencil.
I stamped the Thank You sentiment from the Thanks & Leaves stamp set with Hero Arts Cup 'o Joe Shadow Ink over both surfaces, removed the tag and restamped on the panel. I repositioned the tag on the pencil markings and repeated the process with different leaf images around the edges. I then used smaller leaf images mounted on an acrylic block to fill in the gaps. I used Carved Pumpkin, Aged Mahogany, Peeled Paint, Wild Honey and Brushed Corduroy Distress Oxide inks.
I tore a panel of vellum slightly larger than the tag, inked the edges of the panel with Brushed Corduroy Distress Oxide ink using a mini round blending tool.
I tied twine through the tag and fixed it to the panel, popped up on Tim Holtz/Sizzix Mini Foam Adhesive to create dimension
added sequins and matted the panel on to the card blank.
Enjoy what's left of your weekend and I'll see you tomorrow
Hugs Kath xxx

Saturday, October 27, 2018

Vanishing Visitors

Hi folks, there are just a few days left until Halloween or All Hallows Eve, the night when the ghosts and ghouls come out to play and the kids go trick or treating. Halloween is not such a big thing in the UK and it must be over 30 years since we've had any spooky night-time visitors.
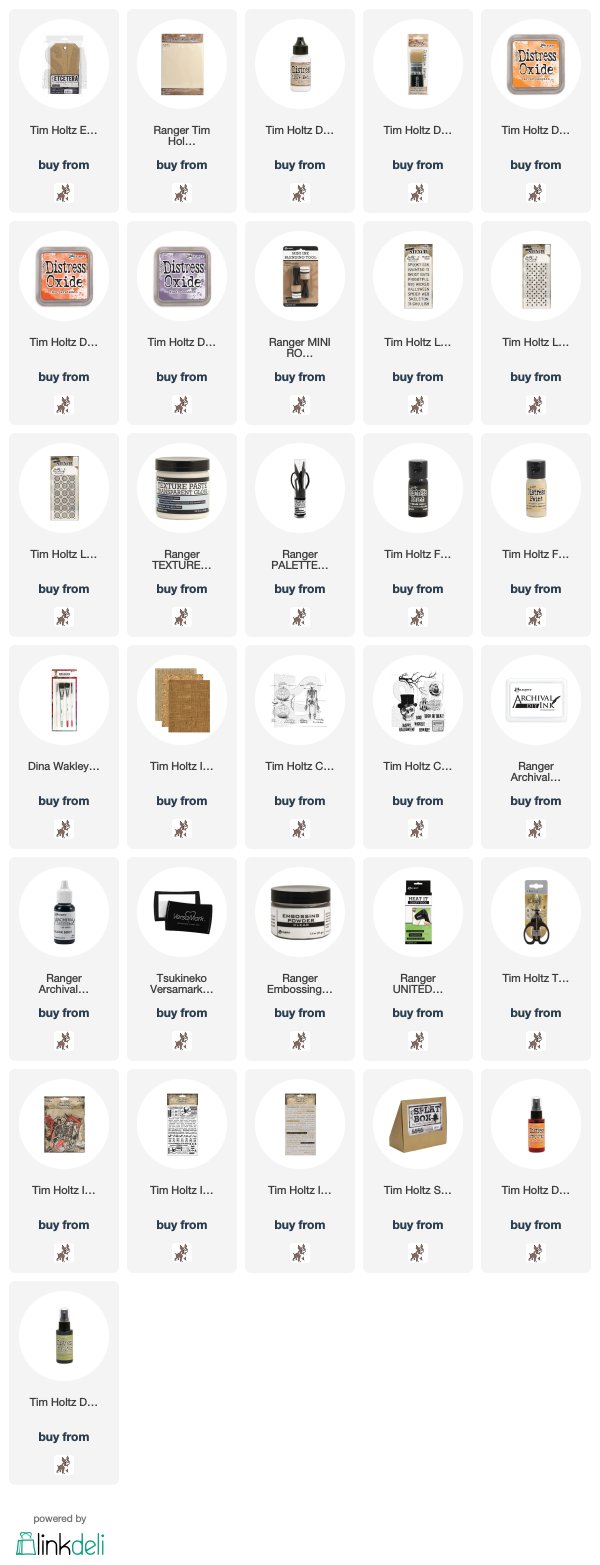
I'm sharing my last Halloween make for this year using a favourite resist technique that I haven't used for a long time to decorate a Mini Etcetera Tag with Idea-ology Layering Stencils, Halloween Ephemera and the Skeleton image from Tim Holtz/Stampers Anonymous Inventor 4.

So let's get started...I covered 2 Mini Etetera Tags with Distress Mixed Media Heavystock using Distress Collage Medium Matte but ended up only using one.
I coloured the tags with Distress Oxide inks using a mini round blending tool, pouncing the colours on randomly, no blending required. I applied Ranger Transparent Gloss Texture Paste through the Halloween Layering Stencil to add words to the tags and set aside to dry.
I repeated the process with Rosette and Crossed Layering Stencils, again leaving the paste to dry thoroughly.
I applied a coat of Black Soot Distress Paint over the tags and wiped the paint back from the Translucent Gloss Paste sections with a cloth.  I applied a wash of Antique Linen Distress Paint, sanded the edges and certain areas of the tag to make the background look less flat and more textured.
I stamped the skeleton image from Tim Holtz/Stampers Anonymous Inventor 4 and the sentiments from Mr Bones on to Distress Mixed Media Heavystock coloured with Antique Linen and Carved Pumpkin Distress Oxide inks using Black Soot Archival ink. I pressed a Versamark ink pad on to the stamped images, sprinkled with Ranger Clear Embossing Powder and heat set.
I added a layer of Idea-ology Textured Surfaces and Worn Wallpaper fixed in place with Distress Collage Medium Matte and stamped the branch image from Mr Bones with Black Soot Archival.
I added Idea-ology Mummy Cloth to the panel and fixed the skeleton image on top. I added the skeleton head and pumpkin from Idea-ology Halloween Ephemera, the stamped sentiments and Idea-ology Clippings Stickers.
I added a Halloween Remnant Rub face to the pumpkin
I coloured Crinkle Ribbon with Carved Pumpkin and Peeled Paint Distress Spray Stains, scrunched the ribbon up in a paper towel to remove the excess ink and dried with a heat tool.
I tied the Crinkle Ribbon through the hole in the tag, added pieces of Mummy Cloth fixed in place with Distress Collage Medium Matte and the crinkle ribbow bow.

Have a great weekend whatever you have planned and I'll see you all on Monday to share my DT project for Simon Says Stamp Monday Challenge. In the meantime, the first snow of winter has arrived in my neck of the woods
so we'll be snuggled up in the cosy cubbyhole having fun with the box of Tim Holtz Christmas goodies
Toodle-oo for now
Hugs Kath xxx