Monday, September 30, 2019

Simon Says - Let's Get Ready For Christmas

Hi Everyone...welcome to another week on the Simon Says Stamp Monday Challenge Blog. Thank you for joining us for last week's challenge and we hope you can join us this week too because

and the theme for this week is...
LET'S GET READY FOR CHRISTMAS
Like it or not my friends, Christmas is just around the corner so now might be a good time to get organised and start planning because it has a habit of sneaking up on us. With that in mind, I decorated a notebook to use for Christmas Card Addresses, Present Ideas, Menus, Food Shopping Lists, in other words, all the things that we need to do to make the festivities go without a hitch. It's taken me 40 odd years to realise that a stress free Christmas is all about making lists, so let's hope that still applies.

I didn't want to go with the traditional Bright Red and Green so decided to go for an alternative more vintage colour palette using colours from the latest release of Tim Holtz Distress Oxide Sprays and of course, some of the fabulous new stamps from the Tim Holtz/Stampers Anonymous Christmas Collection. If you didn't happen to see the Facebook Live Launch of the amazing new stamps and stencils, you can catch up HERE on Tim's Blog.
I began by trimming two pieces of Distress Watercolor Card to 5.1/2" x 8.1/2" to create the covers, spritzed with Tattered Rose, Tea Dye and Forest Moss Distress Oxide Sprays, dried, spritzed with water and dabbed with kitchen towel to remove excess water and create the oxidised water droplet effect.
I inked sections of the background stamp from Lumberjack with Forest Moss Distress Oxide ink and stamped randomly on both covers. 
I inked the pine branch image from Yuletide Gatherings and the images from Scenic Holiday with Versafine Onyx Black ink and heat embossed with Ranger Superfine Clear Embossing Powder.
I added Ranger Opague Texture Paste through the Sparkle Mini Layering Stencil from Set 44 on the front cover only, sprinkled with Ranger Superfine White Embossing Powder and left the paste to dry before heat embossing.
I added Festive Berries Distress Oxide ink with the Gingham Mini Layering Stencil from Set 44 using a mini round blending tool, sprinkled with Ranger Superfine Clear Embossing Powder and heat set.
I trimmed the covers down to 4.1/4" x 8.1/4", used my Corner Chomper to round the corners at the opening edge, added splatters of White Gouache, tapped a Versamark ink pad around the edges, sprinkled on Simon Says Stamp Antique Gold Embossing Powder and heat set. I trimmed the left over card to fit the spine of the notebook, decorated with Festive Berries and the Gingham Mini Layering Stencil and heat embossed as before with Superfine Clear and then Antique Gold on the edges. 
I fixed the panels in place with Ranger Wonder Tape and because this is a practical item rather than a decorative one, I kept the addition of embellishments to a minimum. I tapped Versamark ink on to a scrap of Distress Watercolor card, sprinkled with Simon Says Stamp Antique Gold Embossing Powder, heat set and repeated several times to build up the layers of embossing. I die cut the numbers using Tim Holtz/Sizzix Handmade BigZ XL die. I inked the sentiment from Modern Christmas with Festive Berries Distress Oxide ink, stamped on to a scrap of Distress Watercolor Card and heat embossed with Ranger Superfine Clear, repeated on the edges with Antique Gold and fixed both in place with Distress Collage Medium Matte.
I spritzed Crinkle Ribbon with Tattered Rose and Tea Dye Distress Oxide Sprays to tie-in (forgive the pun) with the soft peachy colour on the background.


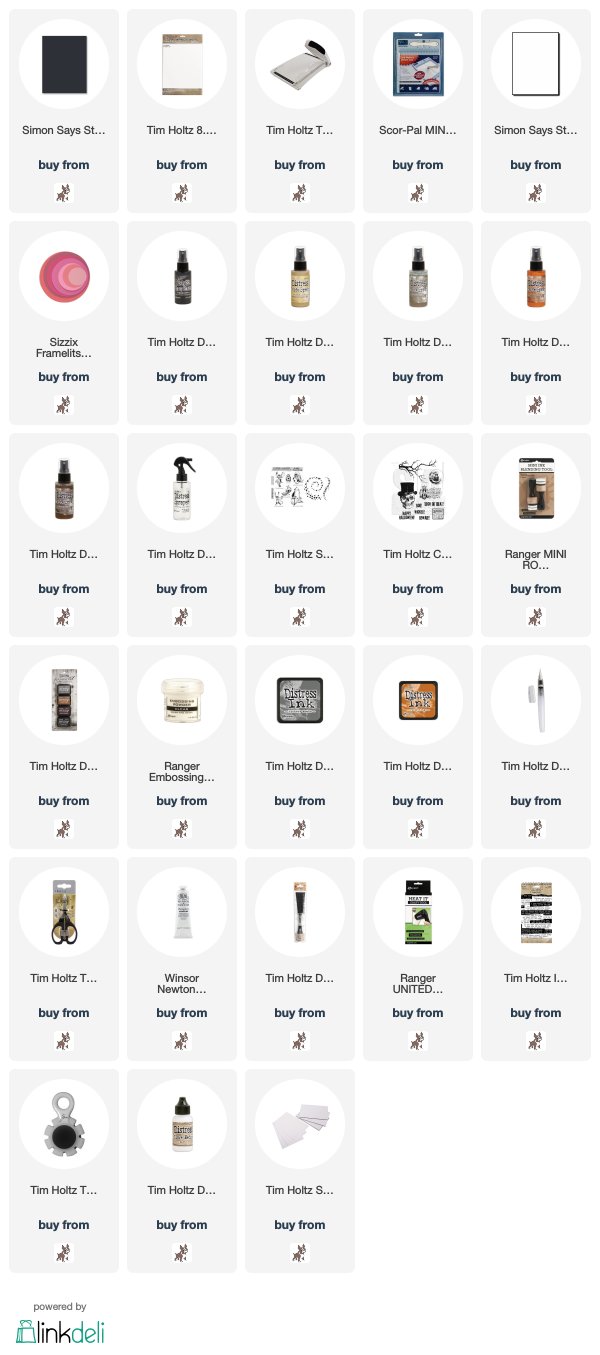
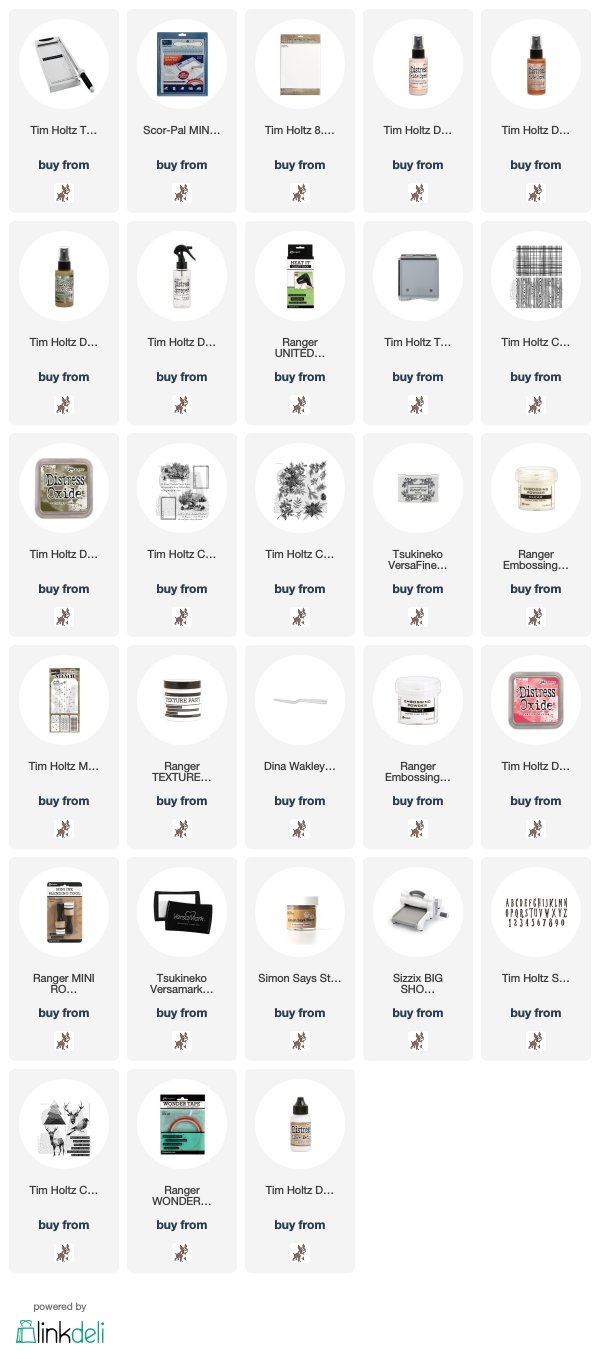
You can find all the products I used over at Simon Says Stamp, just click on the links below


Why don't you pop over to the Monday Challenge Blog and check out the amazing creations from my very talented Design Team mates and as always you all have the chance to win a $50 gift voucher to spend at Simon Says Stamp. You have until Monday 8am Ohio time...1pm UK time...2 pm CET to join in...

You can also follow Simon Says Stamp on Instagram
and if you use Instagram...
please add #sssmchallenge to your entry uploads so we can see them on there too

I look forward to seeing what you create this week...
Have Fun and Happy Crafting
Hugs Kath xxx
*** Where available I use compensated affiliate links which means if you make a purchase I receive a small commission at no extra cost to you. You can find my affiliate and product disclosure HERE.

Friday, September 27, 2019

Tim Holtz STAMPtember 2019 - Snarky Dudes

Hi folks, it's Friday and I'm back to share another 2 makes using Tim Holtz STAMPtember 2019 stamp set and stencil. The minute I saw the images in this stamp set, I knew these two dudes would be perfect to use with some snarky stickers, they have attitude written all over their faces.
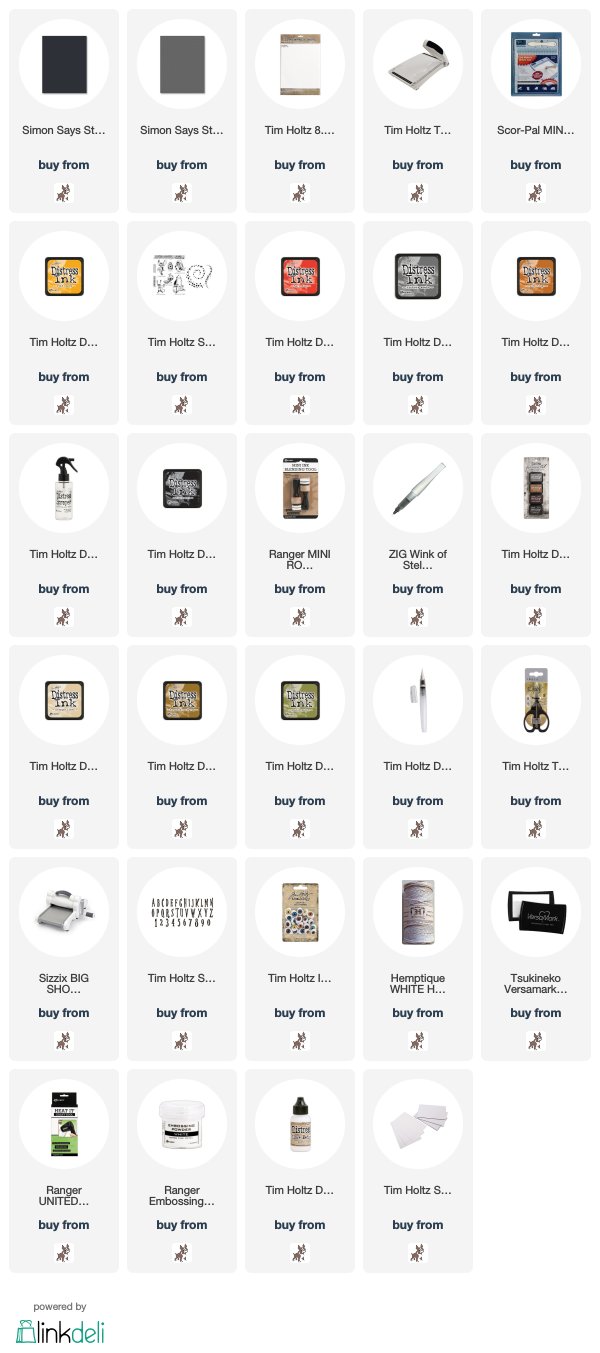
As luck would have it, I had the perfect backgrounds sitting on my workdesk after a fun playtime with some Distress Spray Stains, Distress Oxide Sprays and Distress Watercolor card. I have linked the colours I used below. I had already used a mask to create a moon before spraying but decided to have a go with a fun tutorial from Stacy at Tattered Nest Designs, on how to turn a plain white moon in to something a bit more spooky, by spritzing the colours around the moon with water and letting the colours run. Stacy explains it in far more detail HERE.

I stamped the images directly on to the panels using Black Soot Distress Archival and again on to scraps of Distress Watercolor card and fussy cut. I used Black Soot Distress Ink with the Swirly Stars stencil that comes with the stamp set to add interest to the background using a mini round blending tool. I stamped the tree branch image from Tim Holtz/Stampers Anonymous Mr Bones with Versafine Onyx Black ink and heat embossed with Ranger Superfine Clear Embossing Powder.
I coloured the crow with Hickory Smoke and Rusty Hinge Distress inks using a Distress Detailer Brush and fixed in place with Tim Holtz/Sizzix Mini Foam Adhesive.


I coloured the rat with Vintage Photo Distress Ink using a Distress Detailer Brush, added splatters of white gouache to both panels and Idea-ology Big Talk Snarky Stickers which I cut down to smaller pieces or individual words and fixed in place with mini foam adhesive.

I distressed the edges of the panels and matted on to A2 black card blanks.


I have one more image from the stamp set to play with, the adorable and ever so cute, not in the least bit scary, dragon. He's right at the top of today's to-do list, followed by a swatching session with the latest release of Distress Oxide Sprays, a sewing machine to investigate and hopefully get working again and to wind down the day, a visit to Tim and Mario's place at 9.00am PST, 5.00pm if you're in the UK, 6.00pm for Europe for the Facebook Live reveal of the Christmas stamps and stencils from Stampers Anonymous.
Tomorrow I'm hoping to prepare the kitchen ready for a paint make-over - it definitely needs a freshen up for the Christmas festivities and on Sunday I'm off to see Downtown Abbey at the cinema followed by lunch and lots of chat with the Friday Girls - we don't just meet up on Fridays. So that's my weekend mapped out, I hope you enjoy yours and have fun whatever you have planned.
Toodle-oo for now
Hugs Kath xxx


*** Where available I use compensated affiliate links which means if you make a purchase I receive a small commission at no extra cost to you. You can find my affiliate and product disclosure HERE 

Thursday, September 26, 2019

Tim Holtz STAMPtember 2019 Take 2

Hi folks, what time of day is this to make an appearance I hear you ask. Blame the weather. When I woke up this morning to a dark dreary and chucking it down with rain kind of a day, I couldn't resist snuggling back under the duvet and woke up, shock horror at 10.30am. Blimey, not good news when there are never enough hours in the crafting day and the realisation that we have now entered that time of year when there is a lack of daylight, making the photography part of the process so much harder didn't help either. Who said this crafting malarkey was a walk in the park. but I'm here now, better late than never, to share more makes with the Tim Holtz STAMPtember 2019 Limited Edition stamp set and stencil, exclusive to Simon Says Stamp and still available to purchase at the time of writing this post. I'm sure there can't be many left and once they're gone, they're gone, just saying.
All three cards were made using the same technique. I trimmed Distress Watercolor card to create panels measuring 3.3/4" x 5.1/4" and used Distress inks with the watercoloring smooshing technique to add colour to the background. I applied Black Soot Distress ink through the STAMPtember stencil and added sparkle using a Wink Of Stella Clear Glitter Pen. I stamped each of the images on to the card panels using Black Soot Distress Archival ink and then on to scraps of Distress Watercolor card. I coloured the images with Distress Inks using a Distress Detailer Brush, fussy cut and fixed in place with Tim Holtz/Sizzix Mini Foam Adhesive.
 I coloured the image with Barn Door Distress ink to match the background, added Wink of Stella Clear Glitter, a twine bow and an Idea-ology Creepy Eye. I die-cut the word LOVE using Tim Holtz/Sizzix Handmade BigZ XL die from Distress Watercolor Card coloured with Barn Door Distress Ink to match the background and white card and layered to create dimension. I stamped the Love You sentiment from the image with Versamark ink on to black card, heat embossed with Ranger Superfine White Embossing Powder, fussy cut the word You, added a sparkling heart from my stash and matted on to a 4" x 5.1/2" black card blank.


I coloured the image with Wild Honey and Rusty Hinge Distress inks and added Wink of Stella Clear Glitter to highlight the dress and hair.

I used Hickory Smoke Distress ink on the background and coloured the image with Antique Linen, Brushed Corduroy and Peeled Paint Distress inks. I poked a hole through the skull's eye using my trusty craft pick. It's OK, I don't think he felt a thing, added black thread, an Idea-ology Creepy Eye and matted the panel on to a 4" x 5.1/2" Slate Grey card blank.


I'll be back tomorrow to share more STAMPtember 2019 makes, fingers crossed I don't oversleep again
Hugs Kath xxx


*** Where available I use compensated affiliate links which means if you make a purchase I receive a small commission at no extra cost to you. You can find my affiliate and product disclosure HERE

Wednesday, September 25, 2019

Tim Holtz STAMPtember 2019

Hi my friends, I'm sharing a project made with the amazing Tim Holtz STAMPtember Limited Edition stamp set and stencil, exclusive to Simon Says Stamp and only available while stocks last. If you missed Tim's Facebook Live reveal and all the amazing samples, you can catch up HERE and then, if you haven't already gone shopping, my advice would be to run, don't walk, over to Simon Says Stamp and get it while you can.
I love, love, love the images in this stamp set and found it hard to choose which one to begin with but decided to have some fun with the bird, a vulture I think. He does look a little sad that we've discovered his secret hoard of sugary "bird seed" candy, so it was time to cheer this dude up and deck him out in some colourful party plumage...shades at the ready folks.


I began by covering a Small Etcetera Tag with one of the papers from Tim Holtz Idea-ology Abandoned Paper Stash using Distress Collage Medium Matte and dry brushed on a very light coat of Picket Fence Distress Paint.
I coloured Ranger Opague Texture Paste with Black Soot Distress Re-inker and applied through the stencil included with the STAMPtember stamp set, sprinkled randomly with Black Soot Distress Glitter and set aside to dry.
Then it was time to have fun with the stars of this show, the amazing, quirky and fun images from the stamp set. I inked the eyeball bottle image with Black Soot Distress Archival and stamped on to scraps of Distress Watercolor card
coloured with Distress Inks and fussy cut.
I dragged a Black Soot Distress Ink pad over the Etcetera Bat Web Trims, added Ranger Opague Crackle Texture Paste and set aside to dry.
I coloured a scrap of Distress Watercolor card with Hickory Smoke Distress Spray Stain, stamped the bird, inked with Black Soot Distress Archival, die-cut using Tim Holtz/Sizzix Stacked Deckle Thinlits and stamped the image again on to a second scrap of card.
coloured with Distress inks, fussy cut only the body section and popped up on Mini Foam Adhesive to create dimension.
To create the bird seed candy, I added drops of Alcohol Pearl inks in to a plastic cup, dropped in Prima Art Stones, swirled them around until they had absorbed the ink and left to dry on paper towel.
I created a collage section using Idea-ology Curiosities Stickers, Halloween Design Tape and Remnant Rubs
added the panel featuring the colourful star of the show and the Etcetera Bat Web Trim
I applied Distress Collage Medium to the background, pressed the bird seed candy in place and left to dry. But it was in your face BRIGHT, so I applied a couple of coats of Vintage Distress Collage Medium, added a sprinkling of Distress Rock Candy Glitter using the Glitter Duster, fixed the eyeball bottles in place with Mini Foam Adhesive and decorated with Idea-ology Creepy Eyes.
I spritzed Idea-ology Mummy Cloth with Black Soot Distress Oxide Spray Stain, teased the fibres apart and fixed in place using Distress Collage Medium Matte and finished off by stamping the sentiment on to a scrap of Distress Watercolor card coloured with Wild Honey Distress ink.
I'll be back soon with more Tim Holtz STAMPtember 2019 makes, perhaps not quite so colourful, in the meantime, have fun with whatever you are creating
Hugs Kath xxx


*** Where available I use compensated affiliate links which means if you make a purchase I receive a small commission at no extra cost to you. You can find my affiliate and product disclosure HERE