Monday, June 29, 2020

Simon Says - Take Me For A Ride

Hi Everyone...welcome to another week on the Simon Says Stamp Monday Challenge Blog. Thank you for joining us for last week's challenge and we hope you can join us this week too because

and the theme for this week is...
TAKE ME FOR A RIDE
I created an Art Journal travel-themed page in my Dina Wakley Blue Edition Media Journal. I used Tim Holtz/Stampers Anonymous Vintage Auto and Ticket Booth, Tim Holtz/Sizzix Baggage Claim BigZ die and Idea-ology Typeset and Travel Collage Papers, Baseboard Doll, Tags and Theories Quote Chips.

I began by trimming Distress Watercolor card to 6.3/4" x 8.3/4", added strips of Idea-ology Travel Collage Paper fixed in place with Distress Collage Matte and layered torn strips of Typeset Collage Paper on top.
I inked the car image from Tim Holtz/Stampers Anonymous Vintage Auto with Vintage Photo Distress Archival ink, stamped on to Idea-ology Salvage Tags, sprinked with Vintage Photo Distress Embossing Glaze and heat set.
I found a tag in my background box inspired by a Tim Holtz Facebook Live Demo using Tea Dye, Rusty Hinge and Peeled Paint Distress Oxide Sprays with Distress Texture Paste Opague Matt, the Mini Numerics Layering Stencil from Set 7 and I thought the colours were a pretty good match for the colours on the Travel Collage Paper.
I fixed the Salvaged Tags in place with Distress Collage Medium Matte and added varying sizes of circles die-cut from the stencilled tag using Tim Holtz/Sizzix Stacked Circles Thinlits. I added small torn strips of the Typeset Collage Paper overlapping the circles and applied a coat of Distress Collage Medium Matte over the whole panel.
I inked the ticket images from Tim Holtz/Stampers Anonymous Ticket Booth with Versamark ink, sprinkled with Ranger White Superfine Embossing Powder and heat set.
I created shadows around the collaged pieces by applying Ground Espresso Distress Crayon, smudging it out with my finger and lightened any dark areas on the circles with a slightly damp cloth.
I used a Distress Embossing Pen, Vintage Photo and Peeled Paint Distress Embossing Glazes to colour my Idea-ology Baseboard Doll Traveller. I worked in small sections with one colour at a time and brushed away any stray powder with a small dry paintbrush before heat setting.
I coloured scraps of Distress Cracked Leather CardStock with Rusty Hinge and Peeled Paint Distress inks using the direct to paper technique. I sprinkled with the matching Distress Embossing Glazes and heat set. I  applied a coat of Distress Collage Medium Matte, added Ground Espresso Distress Crayon generously, rubbed it into the detail with my finger and buffed off the excess with a dry cloth.
I die-cut the suitcases from thick chipboard for the bases, the coloured Distress Cracked Leather CardStock, Idea-ology Classic and Metallic KraftStock (ended up not using the green one) using Tim Holtz/Sizzix Baggage Claim BigZ die and added the straps, buckles and handles. I added shadows to the eddges using a Ground Espresso Distress Crayon, fixed to the panel using Distress Collage Medium Matte and added the Baseboard Doll, popped up on Tim Holtz/Sizzix Mini Foam Adhesive. I covered the suitcases and Baseboard Doll with scraps of copy paper and added splatters of Picket Fence Distress Paint using the Distress Splatter Brush
I added Embossing Ink randomly to the Idea-ology Theories Quote Chips using the Distress Embossing Pen, sprinkled with Rusty Hinge Distress Embossing Glaze, heat set and added Idea-ology Hardware Heads.
I fixed the panel to kraft card trimmed to 7" x 9" and added to my journal.


You can find all the products I used over at Simon Says Stamp, just click on the links below


Why don't you pop over to the Monday Challenge Blog and check out the amazing creations from my very talented Design Team mates and as always you have until Monday 8am Ohio time...1pm UK time...2 pm CET to join in with the chance to win a $25 voucher to spend at Simon Says Stamp Online Store

You can also follow Simon Says Stamp on Instagram
and if you use Instagram...
please add #sssmchallenge to your entry uploads so we can see them on there too

I look forward to seeing what you create this week...
Have Fun and Happy Crafting
Hugs Kath xxx


Where available I use compensated affiliate links which means if you make a purchase I receive a small commission at no extra cost to you. You can find my affiliate and product disclosure HERE

Friday, June 26, 2020

More Alcohol Ink Backgrounds...

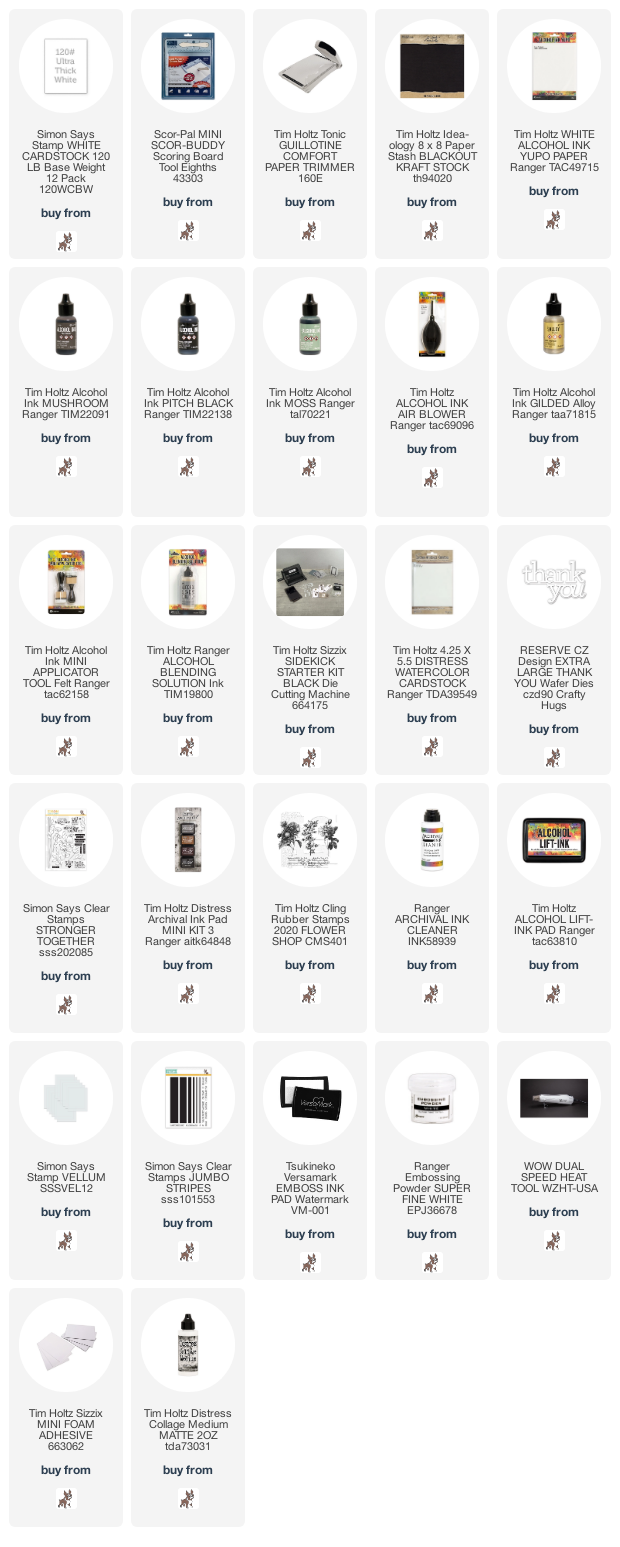
Hi my friends, not the catchiest of blog post titles but I'm back to share another 2 cards made using Alcohol Ink backgrounds inspired by Tim Holtz Facebook Live Q+A Demo and using Tim Holtz/Stampers Anonymous Flower Shop and Simon Says Stamp CZ Designs Extra Large Thank You die.

I began by dripping Rubbing Alcohol on to a 5" x 7" panel of Tim Holtz White Yupo, added drops of Mushroom and Black Alcohol inks and moved the inks around with the Distress Air Blower. I added Gilded Alloy Alcohol Ink and Blending Solution to an Alcohol Ink Applicator Tool, pounced on to the panel and used the Air Blower again to move it around until I was happy with the background.

I die-cut the sentiment twice from Distress Watercolor card using Simon Says Stamp CZ Designs Extra Large Thank You die and layered to create dimension. I inked the leaf image from Simon Says Stamp Stronger Together stamp set with Black Soot Distress Archival ink and stamped randomly on the top and bottom.

I trimmed the panel to 5.1/4" x 5.3/4" and matted on to a 5.1/2" x "6" SSS Ultra White card blank covered with Idea-ology BlackOut cardstock.

I created the background on the second card using the same method as the first card using Moss Alcohol Ink and Gilded Alloy Ink

I cleaned the sentiment image from Tim Holtz/Stampers Anonymous Flower Shop with Ranger Archival Ink Cleaner, inked with Alcohol Lift-Ink, patted with kitchen towel to remove the ink and buffed with a dry cloth. I cleaned the stamp again, repositioned and stamped twice more to fill the background.

I stamped the floral image from Flower Shop inked with Black Soot Distress Archival Ink on to the panel 
and stamped again on to SSS Vellum
I tore the vellum and fixed to the panel with dots of Distress Collage Medium Matte. I die-cut You from Distress Watercolor card 3 times and layered to create dimension. I inked the sentiment from Simon Says Stamp Jumbo Stripes with Versamark ink, sprinkled with Ranger Superfine White Embossing Powder, stamped on to a scrap of Idea-ology BlackOut cardstock, heat embossed, trimmed and fixed to the panel with Tim Holtz/Sizzix Mini Foam Adhesive.


I trimmed the panel to 3.3/4" x 5.3/4" and matted on to SSS Ultra White card blank covered with Idea-ology BlackOut cardstock
Have a great weekend whatever you have planned, I'll be back on garden fence painting duties, if the weather allows. Stay Safe and Keep Well.
Hugs Kath xxx

Where available I use compensated affiliate links which means if you make a purchase I receive a small commission at no extra cost to you. You can find my affiliate and product disclosure HERE

Tuesday, June 23, 2020

Fun With Alcohol Ink

Hi my friends, the drizzly weather at the weekend put the dampers on my plans to spend Sunday in the garden so I retreated to my other happy place to have an alcohol ink background making playdate with my adorable Professor inspired by his amazing Facebook Live Q&A Demo.
If you missed it you can catch all the action, hints and tips over on Tim's blog HERE.
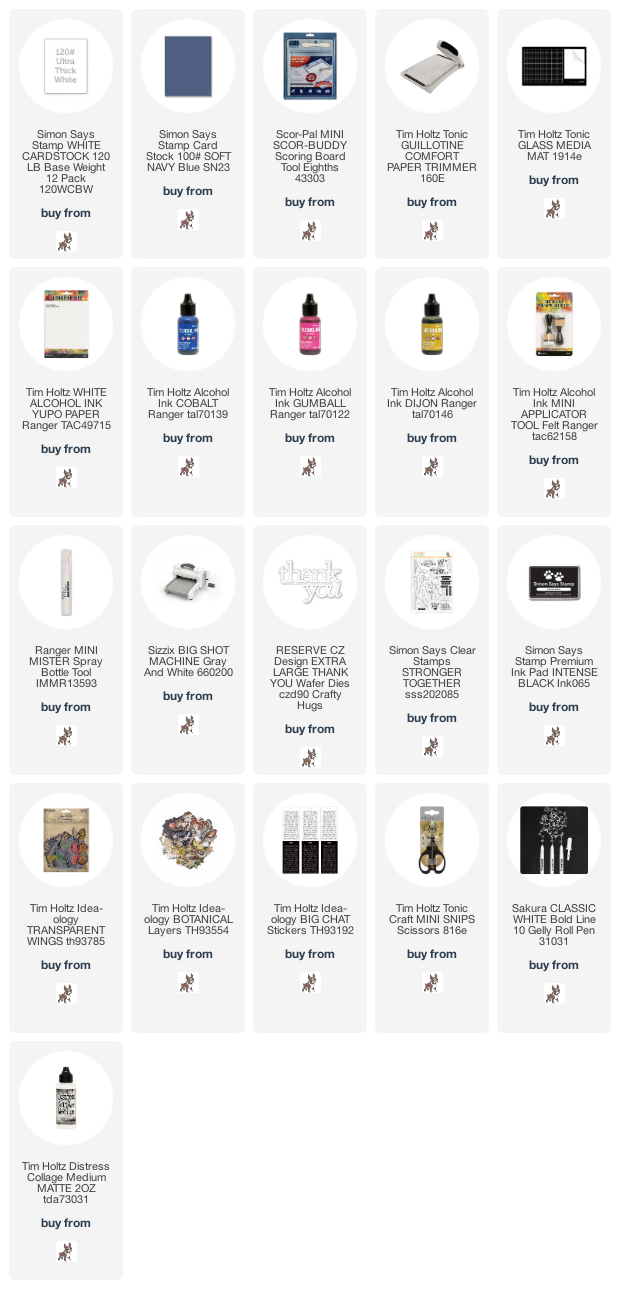
I looked out a supply of  5" x 7" sheets of Tim Holtz White Yupo, trimmed them in half, lined up the Alcohol Inks and in a few hours, had a pile of backgrounds ready for the next instalment, Q+A Demo Alcohol Ink Part 2 on Saturday 27th when Tim will be sharing different techniques on how to use the backgrounds. I'm sharing two cards I made using extra backgrounds I created from the left over ink on my glass media mat, the ink I would normally just clean up.
After creating the first panel using Cobalt, Gumball and Dijon Alcohol Inks, I still had ink on my Alcohol Ink Applicator Tool and being a waste not want not kind of a gal and a canny Scot to boot, I pounced the ink on to my glass media mat, sprinkled with Rubbing Alcohol, grabbed more panels, swiped them through the ink to create another 2 backgrounds. I spritzed the mat with rubbing alcohol to clean off the remaining ink and had one of those What If moments. So I grabbed another panel of Yupo and voila, holy tornado, be still my beating heart, this turned out to be my favourite and I couldn't believe I had 3 extra backgrounds from one application of inks.
And before I tidied up for the day, I couldn't resist making cards from those "what if moments" panels.
I fixed the first panel to Simon Says Stamp Ultra White card trimmed to 3.3/4" x 5.1/4" and matted on to a 4.1/2" x 6" white card blank covered with Simon Says Stamp Soft Navy Cardstock.
I didn't want to cover up the beautiful background so I kept the embellishments simple. I die-cut the word Thank from Simon Says Stamp Ultra White cardstock 3 times using Simon Says Stamp CZ Designs Extra Large Thank You die, layered to create dimension and fixed Idea-ology Transparent Wings in place with Distress Collage Medium.
I added an Idea-ology Big Chat Sticker to complete the sentiment and small white dots to the butterflies using a Sakura White Gelly Roll Pen.


For the second card, I matted the panel on to Simon Says Stamp Ultra White Card and on to a white card blank covered with a pale lilac cardstock I had in my stash. I added the die-cut You using Simon Says Stamp CZ Designs Extra Large Thank You Die and added Idea-ology Botanical Layers.
I inked the sentiment from Simon Says Stamp Stronger Together with Simon Says Stamp Intense Black ink, stamped on to a scrap of white card, trimmed to separate the words and fixed in place with Distress Collage Medium.
I finished by adding Idea-ology Transparent Wings


Have fun whatever you are creating, stay safe and keep well.
Hugs Kath xxx


Where available I use compensated affiliate links which means if you make a purchase I receive a small commission at no extra cost to you. You can find my affiliate and product disclosure HERE