Friday, May 30, 2025

Simon Says - Hello Friend

Hello my friends, I'm back to share another card using the Floral Bunches Embossing Folder and Swiss Dots 6" x 8" stamp set from Simon Says Stamp Moments In Time release. You can check out all the fabulous products included in the release HERE.

I created a card using the blackout technique with the Floral Bunches Embossing Floral and used the Swiss Dots 6" x 8" stamp set to add the sentiment and faux texture on the background.
I trimmed Distress Watercolor card to 4" x 5.1/4" and embossed using the Floral Bunches Embossing Folder so that the debossing was on the smooth side of the card. I coloured the flowers and leaves using Simon Says Stamp Peachy, Mandarin, Cabbage and Artichoke Pawsitively Saturated Mini Ink Cubes and Detail Round Blending Brushes and no need to worry about straying outside the lines.
I dragged a Hickory Smoke Distress Archival Ink pad over the panel and repeated with Versafine Clair Nocturne Ink Pad to add some shaded areas.
I inked the Swiss Dots stamp set with Versafine Clair Nocturne Ink and holding the stamp in my hands, pressed on to the panel.
I die-cut a circle from Distress Watercolor card using Tim Holtz/Sizzix Stacked Tiles Circles, coloured with Peachy Pawsitively Saturated Ink and stamped with the sentiment from the Swiss Dots 6" x 8" stamp set inked with Versafine Clair Nocturne Ink. I added dots around the edge of the circle using a Memento Black Dual Marker, fixed to the panel with Simon Says Thin Foam Squares and added a double white twine bow. To finish I fixed the panel to an A2 top folding white card blank.


Have fun with whatever you are creating.
Hugs Kath xxx

Thursday, May 29, 2025

Simon Says - Moments In Time

Hello my friends, Simon Says Stamp have just launched their latest release - Moments In Time with lots of fabulous products to choose from, which you can check out HERE.

I created a card using the Tattered Daisy and Bright Butterflies Wafer Dies and sentiment from the Swiss Dots 6" x 8" stamp set.
I created a collage using Simple Stories Vintage Flower Shoppe patterned papers from Simon Says Stamp June 2025 card kit, inked around the edges with Scorched Timber Distress ink using a Tiny Blending Tool and fixed to an A2 panel of Simon Says Ultra White 120lb cardstock. I embossed the panel using Simon Says Dot Spiral Embossing Folder to create texture.
I die-cut the Tattered Daisy and Bright Butterflies Wafer Dies from Distress Watercolor card, placed on my Simon Says Pawsitively Perfect Craft Tacky Mat using Dew, Mist, Kale, Zest and Grapefuit Pawsitively Saturated Mini Ink cubes and Detail Round Blending Brushes.
I assembled the Tattered Daisy and fixed to the panel popped up on Simon Says Stamp Thin Foam Squares. I inked the sentiment from the Swiss Dots 6" x 8" stamp set with Simon Says Clear Embossing Ink, stamped on to a strip of Simon Says Vellum, sprinkled with White Detail Embossing Powder and heat set. I tore the edges of the Vellum, folded to the back of the panel and secured with tape. I shaded the edges of the butterflies with Artichoke Pawsitively Saturated ink to co-ordinate better with the colour palette and fixed in place with dots of adhesive on the centre of the bodies.
To finish I added Simon Says Pastel Tones Pawsitively Dazzling Gems and fixed the panel to a top folding A2 white card blank.


I'll be back tomorrow to share another make using products from the Moments In Time release, in the meantime, have fun with whatever you are making.
Hugs Kath xxx

Wednesday, May 28, 2025

Simon Says Stamp - Happy Bee-Day

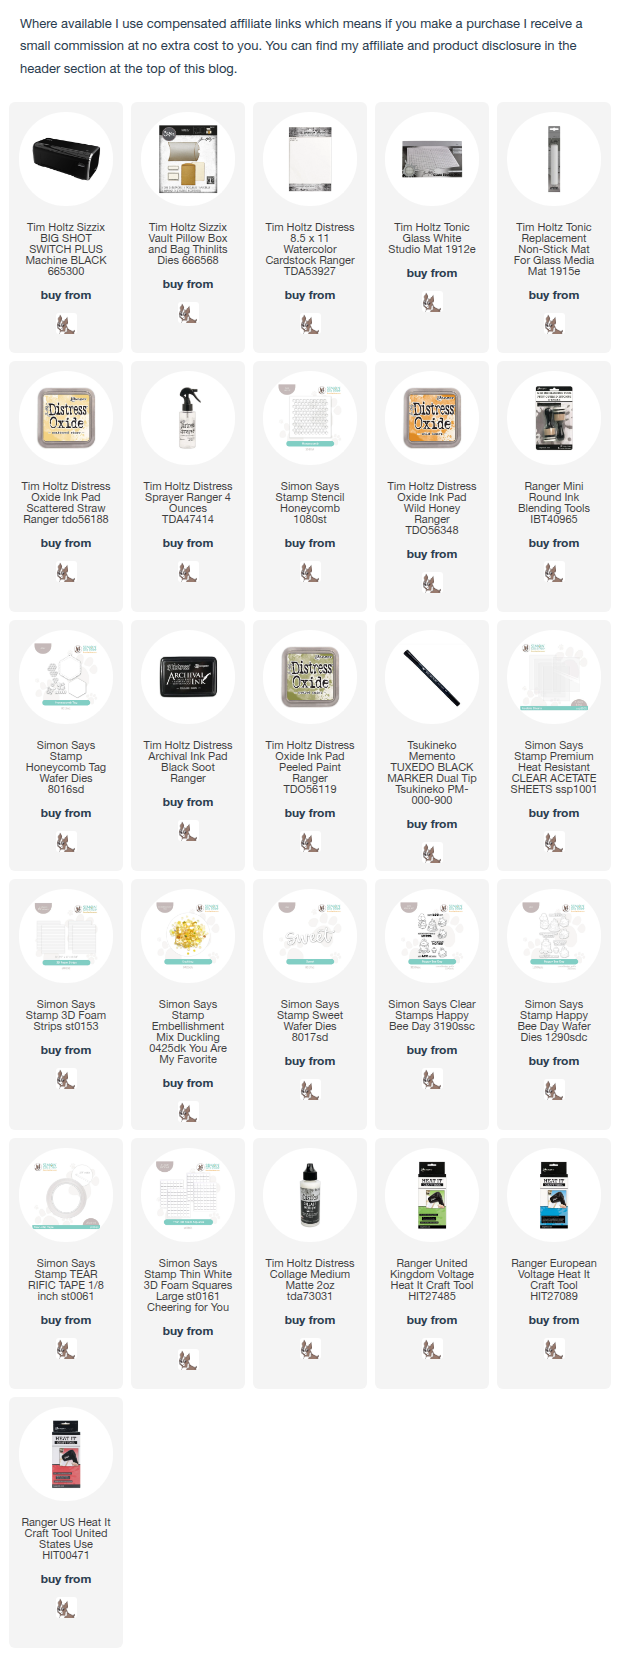
Hello my friends, I'm sharing gift projects I made using the kit from Simon Says Stamp Create Together - Bee Happy Live Class which you can re-watch on Simon Says Stamp YouTube channel HERE. The kit for the class has sold out but individual items from the kit that I used are available to purchase and are linked below.

I decorated a Tim Holtz/Sizzix Vault Pillow Box and created a shaker tag using Simon Says Stamp Happy Bee Day 4" x 6" stamp set and Happy Bee Day co-ordinating dies, Honeycomb Tag and Sweet Wafer Dies and Honeycomb 6" x 6" stencil.
I die-cut the two pillow box sections from Distress Watercolor card using Tim Holtz/Sizzix Vault Pillow Box + Bag Thinlits. I smooshed Scattered Straw Distress Oxide ink on to my media mat, spritzed with water and dragged the panels through the ink, dried, tapped back in to pick up the remaining droplets and dried.
I laid the sections side by side and applied Wild Honey Distress Oxide ink randomly through Simon Says Honeycomb 6" x 6" stencil using a Mini Round Blending Tool and set aside.
I die-cut the tag from Distress Watercolor card using Simon Says Honeycomb Tag dies to create a frame and coloured with Black Soot Distress Archival ink using the direct to paper technique to leave the detail stitching around the tag white. I coloured another scrap of Distress Watercolor card in the same way and die-cut the bees and honeycomb sections.
I assembled the pillow box using the Simon Says Tear-rific Tape included with the kit and added the die-cut bees fixed in place with Distress Collage Medium.
I fixed the acetate included in the kit to the back of the die-cut tag frame and die-cut the tag again from Distress Watercolor card and stencilled with the Honeycomb Stencil. I fixed the 3D foam strips included in the kit around the edges of the stencilled tag, added the Duckling Embellishment Mix also included in the kit and fixed the die-cut tag frame on top. I coloured Distress Watercolor card with Wild Honey and Peeled Paint Distress Oxide inks using a Mini Round Blending Tool, die-cut the flowers and leaves using the Honeycomb Tag die, added the flower centres coloured with a Momento Black Brush Marker and fixed along with the honeycomb sections to the tag using Simon Says 3D Foam Squares and Distress Collage Medium.
I inked the sentiments from Simon Says Stamp Happy Bee Day 4" x 6" stamp set with Black Soot Distress Archival ink and stamped on to a scrap of Distress Watercolor card.
I die-cut Simon Says Stamp Sweet Wafer die 4 times from Distress Watercolor card, layered to create dimension and fixed to the tag with Distress Collage Medium. I die-cut the sentiments using the co-ordinating Bee Happy dies, trimmed the sentiment on the right to remove sweet word and fixed in place with Simon Says 3D foam strips. I die-cut the bees again from Distress Watercolor card and card coloured with Wild Honey Distress Oxide ink and inlaid the pieces into the bee bodies. I added the left over flower and leaf die-cuts to the pillow box and decorated both makes with Black and White Check ribbon from my stash.


I'll be back tomorrow to share a card I made using Simon Says Stamp Moments In Time release which launches tomorrow. In the meantime, have fun with whatever you're making.
Hugs Kath xxx

Monday, May 26, 2025

Simon Says - Emboss It

Hi Everyone...welcome to another week on the Simon Says Stamp Monday Challenge Blog. Thank you for joining us for last week's challenge and we hope you can join us this week too because


and the theme for this week is...
EMBOSS IT
I decorated a Kraft Gift Bag to give to a gardening friend using Tim Holtz/Sizzix Typewriter Texture Fade, the florals from Tim Holtz/Sizzix Vault Floristry Side-Order Thinlits, coloured in Summer Distress Oxide colours - Abandoned Coral and Evergreen Bough and added Tim Holtz/Idea-ology Specimen Remnant Rubs. 
I coloured an A2 panel of Distress Watercolor card with Abandoned Coral and Evergreen Bough Distress Oxides by smooshing the ink pads on to my media mat, spritzed with water, dragged the panel through the inks and dried. I tapped the panel back into the ink to pick up the remaining droplets and dried.
I placed the panel in Tim Holtz/Sizzix Typewriter Texture Fade and ran through my die-cutting machine. I then dragged a Ground Espresso Distress Archival ink pad over the raised embossed sections and around the edges. (I used the original Texture Fade while I await the arrival of it's bigger brother - the 3D Large A5 Typewriter Texture Fade, also linked below).
I tore the embossed panel into strips and fixed to a 5" x 7" panel of Simon Says Stamp Ultra White cardstock popped up with Simon Says 3D Foam Strips to create dimension.
I added Tim Holtz/Idea-ology Specimen Remnant Rubs and splatters of Abandoned Coral Distress Oxide ink.
I die-cut Tim Holtz/Sizzix Vault Floristry Side-order Thinlits from Distress Watercolor card, placed on a sticky mat and coloured with Abandoned Coral, Evergreen Bough, Rustic Wilderness and Scorched Timber Distress Oxide inks using Tim Holtz Distress Tiny Blending Tools.
I flicked water on to the die-cuts and dabbed with a kitchen towel to create the water droplet effect.
I assembled the floral die-cuts and arranged on the panel, fixing the leaves in place with Distress Collage Medium and the florals popped up on 3D Foam Strips cut to size. 

I trimmed the panel to 4.1/2" x 6.1/2" panel, slightly smaller than the front of the gift bag and fixed in place with Distress Collage Medium. I punched holes at the top of the gift bag and used May Arts Faux Wrinkled Silk Ribbon as a closure, tied in a double bow.

You can find all the products I used over at Simon Says Stamp, just click on the links below


Why don't you pop over to the Monday Challenge Blog and check out the amazing creations from my very talented Design Team mates and as always you have until Monday 8am Ohio time...1pm UK time...2pm CET to join in with the chance to win a $25 voucher to spend online at Simon Says Stamp


You can also follow Simon Says Stamp on Instagram
and if you use Instagram...
please add #sssmchallenge to your entry uploads so we can see them on there too

I look forward to seeing what you create this week...
Have Fun and Happy Crafting
Hugs Kath xxx


Friday, May 23, 2025

Simon Says - Create Together

Hello my friends, I'm really looking forward to joining Caly and Heidi for the Create Together - Bee Day Class, live on Simon Says Stamp YouTube Channel today at 12 noon ET or 5PM, if like me, you are in the UK.

The kit is full to bursting with amazing goodies and I couldn't resist a little pre-class playtime to create a simple card with the adorable Thanks Always 4" x 6" stamp set, Thanks Always Co-ordinating dies and Honeycomb 6" x 6" stencil.

I trimmed Distress Watercolor card to 4" x 5.1/2" and applied Dew Pawsitively Saturated Ink randomly through the Honeycomb 6" x 6" stencil.
I stamped the image from the Thanks Always 4" x  6" stamp set on to Distress Watercolor card, inked with Versafine Clair Nocturne Ink. I smooshed the Pawsitively Saturated Mini Ink Cubes on to my glass mat and used to watercolour the image using a Detailer Waterbrush.
I die-cut the image using the co-ordinating Thanks Always die, flicked on water splatters and patted dry with kitchen towel.
I matted the die-cut on to the stencilled panel popped up on 3D foam squares to create dimension and fixed to an A2 top folding white card blank.

I'm off to clear my desk and get ready for tonight's class. I'm super excited to see the inspiration Caly is going to share with us all.
Hugs Kath xxx