Sunday, August 27, 2023

Tim Holtz/Stampers Anonymous - The Obscure

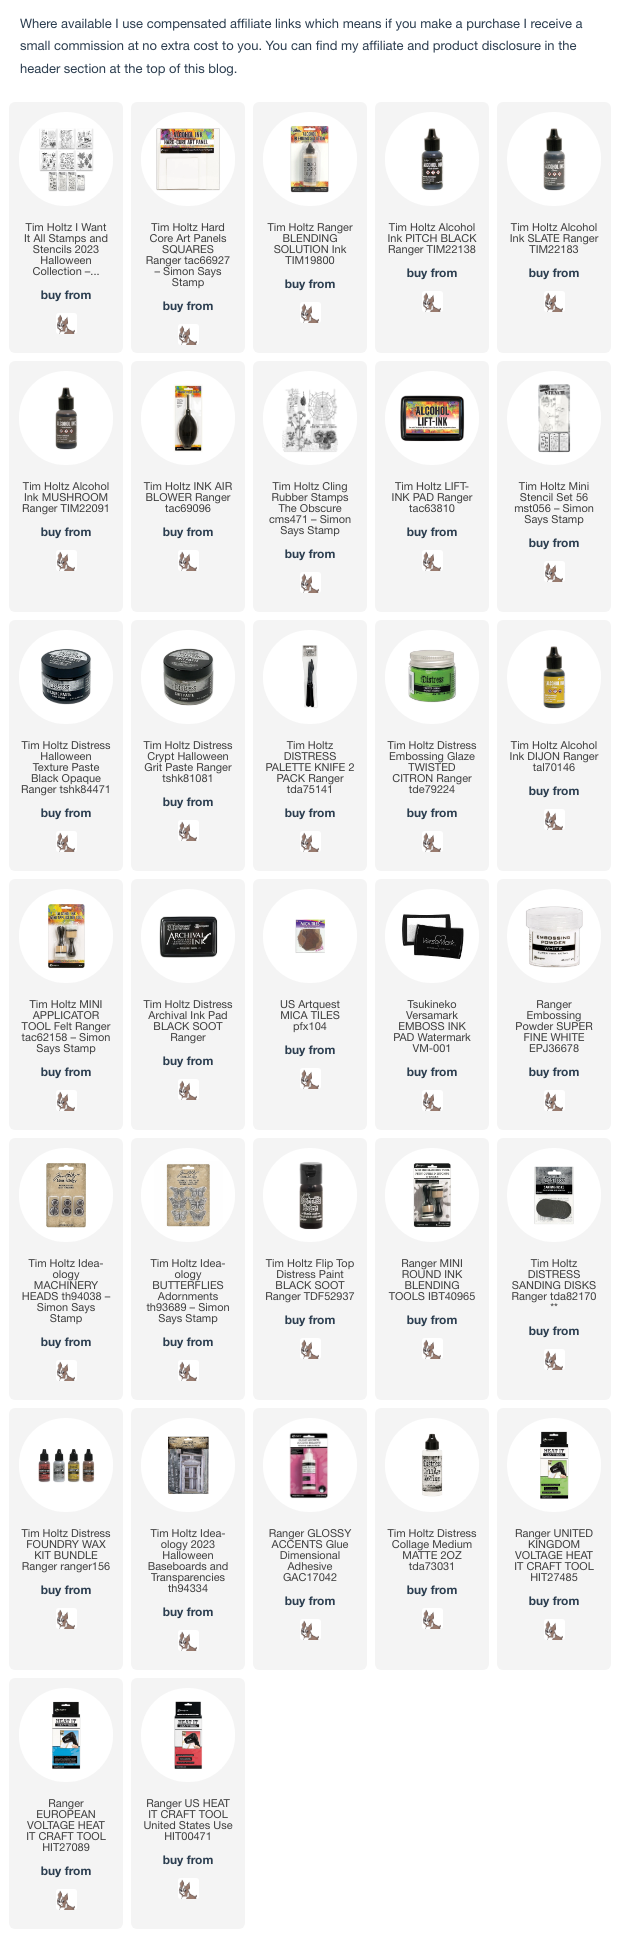
Happy Sunday my friends, I'm sharing the HardCore Art Panel I decorated for the YouTube Live launch of Tim Holtz/Stampers Anonymous Halloween 2023 collection of stamps and stencils using The Obscure stamp set along with Fractured and Spellbound Mini Layering Stencils from Set 56. If you missed the Live, you can check out all the new products and inspiration from the Makers over on Tim's YouTube Channel HERE or Blog HERE.


I added drops of Alcohol Blending Solution and Black, Slate and Mushroom Alcohol Inks on to the 8" x 8" HardCore Art Panel and moved the inks around with the Distress Air Blower until I was happy with the background.
I stamped the images from Tim Holtz/Stampers Anonymous The Obsure inked with Alcohol Lift Ink on to the panel and dabbed them repeatedly with kitchen towel until the images re-appeared as if by magic.
I applied Black Distress Texture Paste from the recent Ranger Halloween 2023 release through the Fractured Mini Layering Stencil.
I created a lighter section on the panel using Blending Solution to remove some of the background and coloured with Dijon Alcohol Ink applied with a mini round blending tool and felt pad. I repeated the Alcohol Lift ink technique and stamped the Halloween Night banner repeatedly, inked with Black Soot Distress Archival ink. 
I applied Distress Crypt Grit Paste through the Spellbound Mini Layering Stencil, sprinkled with Twisted Citron Distress Embossing Glaze and heat set once the paste had dried. (sorry lost the photo for that stage)
I stamped the floral image from The Obscure on to Mica Tiles, inked with Versamark ink, sprinkled with White Detail Embossing Powder and heat set.
I stamped the Halloween Night banner and script stamp on to Distress Plain Collage Paper, inked with Black Soot Distress Archival and Versamark ink. I sprinkled the Versamark stamping with White Detail Embossing Powder and heat set. I went around the images with a water brush and used my finger to tease each one apart.
I applied Ranger Glossy Accents on the back of the stamped Mica pieces and pressed into place. I fixed the strips of stamped Collage Paper in place using Distress Collage Medium.
I painted Idea-ology Machinery Heads and an Adornment Butterfly with Black Soot Distress Paint, sanded to reveal some of the metal, applied Gilded Distress Foundry Wax with my finger, heat set and fixed to the panel with Distress Collage Medium. I added splatters of the Gilded Foundry Wax over the background and heat set.

I sanded an Idea-ology Quote Chip from the Halloween Baseboards pack, fixed in place with Distress Collage Medium and added Black Soot Distress Paint using a mini round blending tool to finish off the edges of the panel.


I'll be sharing another make with the Tim Holtz/Stampers Anonymous Halloween 2023 release soon, in the meantime, enjoy the rest of your weekend and happy crafting.
Hugs Kath xxx

Saturday, August 26, 2023

Tim Holtz/Stampers Anonymous - Tiny Frights

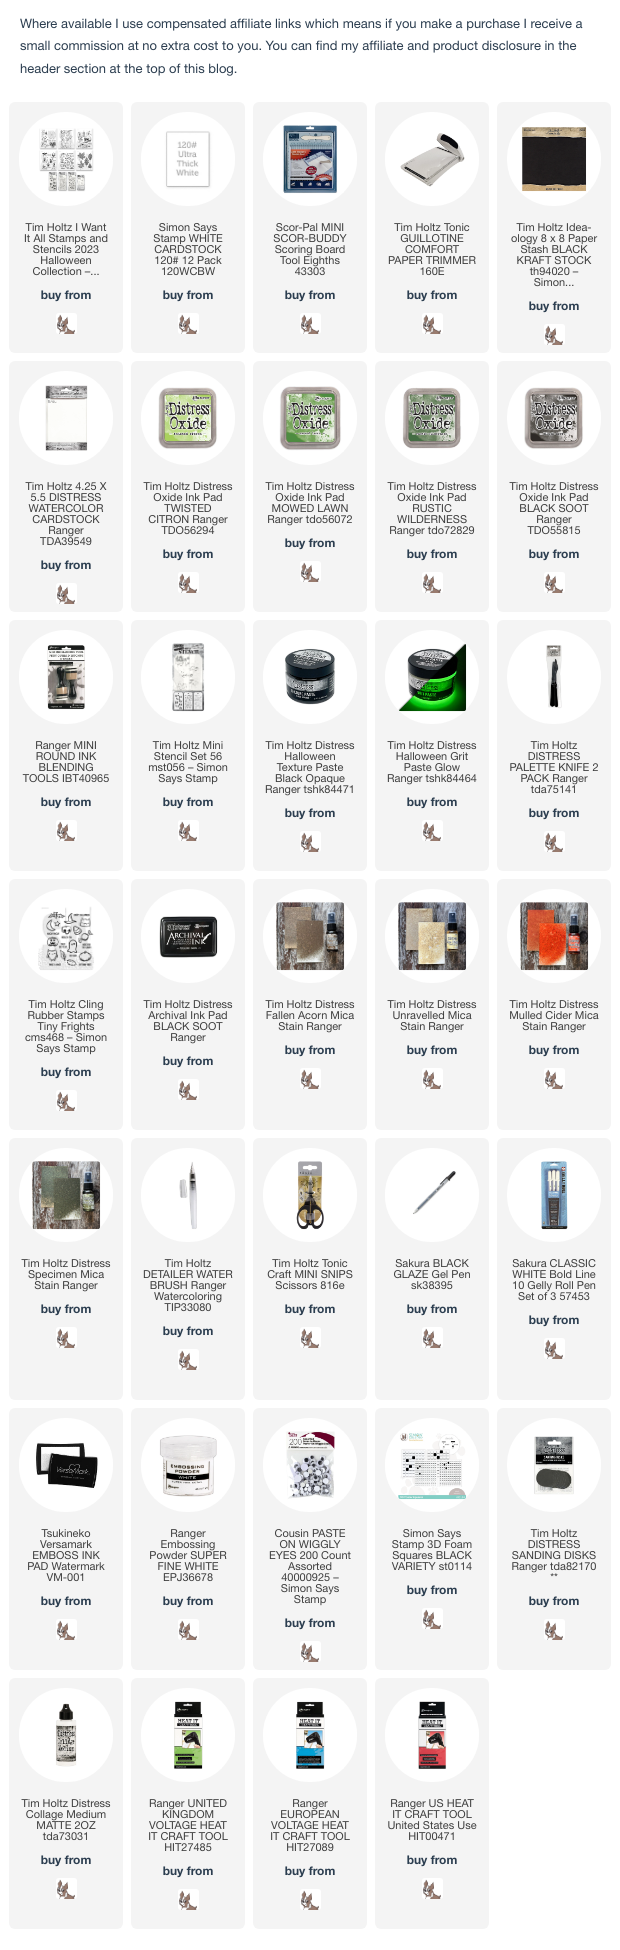
Hi my friends, woohoo, if you've just come from the Tim Holtz YouTube Live officially launching the Stampers Anonymous Halloween 2023 collection of stamps and stencils, you'll know "what a hoot" it was, forgive the pun, but Tim and Mario host the best Live parties. If you missed the Live, you can always check out all the new products and absolutely inspiring projects from the Makers on Tim's YouTube Channel HERE or Blog HERE. I'm sharing the "too cute to spook" cards I made for the Live using the adorable little dudes from Tiny Frights with all the Mini Layering Stencils from Set 56 and no way could I resist using the new Distress Mica Stains, Distress Grit Paste Glow and Distress Black Texture Paste from the Tim Holtz/Ranger Halloween 2023 release.


I began by stamping the images from Tiny Frights, inked with Black Soot Distress Archival ink,  repeatedly on to panels of Distress Watercolor card and any I didn't use for the cards will be stored with the stamp set for later.
I created 2 backgrounds on Distress Watercolor card by blending Twisted Citron, Mowed Lawn, Rustic Wilderness and Black Soot Distress Oxide inks out from the centre of the card using mini round blending tools. On the first background, I applied Distress Black Texture Paste through the Peek-a-boo Mini Layering Stencil and once dry, applied Distress Grit Paste Glow through the Fractured Mini Layering Stencil. 
On the second background, I applied Distress Grit Paste Glow through the Spellbound Mini Layering Stencil and Distress Black Texture Paste through the Fractured Mini Layering Stencil.
I coloured the characters with Unravelled and Falling Acorn Distress Mica Stains using a Distress Detailer Brush, added dots with a Sakura Black Glaze Pen and splatters of Unravelled Distress Mica Stain.

I stamped the sentiment, inked with Versamark ink, on to a scrap of card coloured with Rustic Wilderness and Black Soot Distress Oxides, sprinkled with White Detail Embossing Powder, heat set and trimmed to create individual words. I fixed the ghosts and witch hat in place with Black foam squares to create dimension and added the googly eyes.
I coloured the leaf images with Mulled Cider and Specimen Distress Mica Stains, added splatters of Unravelled and fussy cut.
I fixed the owls and leaves in place with Black Foam  Squares, stamped the sentiment on a scrap of card coloured with Mulled Cider Distress Mica Stain, sanded the edges and fixed to the panel.

I used Sakura Black Glaze pen on the character eyes and owls' beaks and once dry, added white highlights with a Sakura White Gelly Roll Pen. To finish I trimmed both panels to 3.3/4" x 5", fixed to A2 panels of Distress Black KraftStock, sanded to reveal to kraft core and attached to A2 top folding white card blanks.

I'll be back tomorrow to share the Hardcore Art Panel I decorated using The Obscure stamp set, in the meantime, have fun with whatever you are making.
Hugs Kath 
xxx

Simon Says - Hello Sunshine

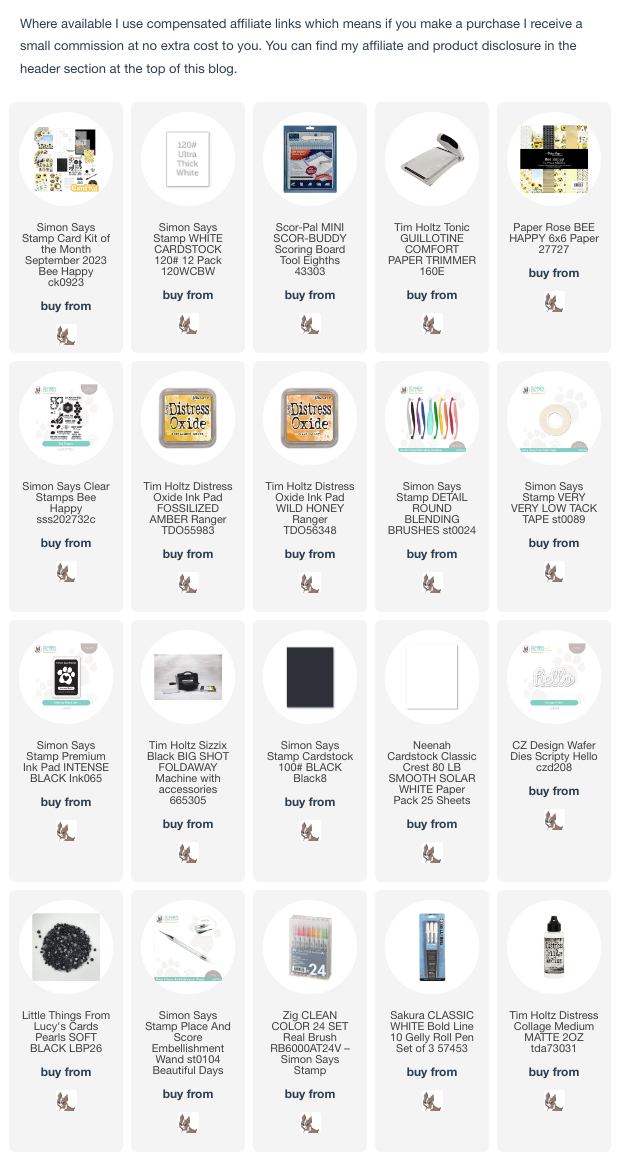
Hi my friends, I'm sharing a quick card I made with the Bee Happy stamp set and the CZ Design Scripty Hello die included in Simon Says Stamp Bee Happy September Card Kit. At the time of writing, the kit is still available to buy or if you wish you can purchase individual items from the kit HERE.


I trimmed one of the Paper Rose Bee Happy patterned papers to 4" x 5.1/4", stamped the honeycomb image from the Bee Happy stamp set with Fossilized Amber on to the paper, inked with Fossilized Amber Distress Oxide ink. I applied Wild Honey Distress Oxide randomly on the stamp using a Simon Says Detail Round Blending Brush and re-stamped to give a slight variation in colour and repeated the pattern.
I masked off the sentiment to leave just the word Sunshine, inked with Simon Says intense Black ink and stamped on to the bottom right corner.
I die-cut the CZ Design Scripty Hello shadow from Simon Says Black cardstock and the word 3 times from Neenah Solar White, layered to create dimension and fixed to the panel using the foam squares also included in the kit.
I stamped the bee image from the stamp set, inked with Simon Says Intense Black ink
Just when I was polishing my halo and thinking that this was probably one of the easiest cards I've ever made, I decided to use some black self adhesive pearls I've had in my stash for many moons to add bee trails and oh boy, did I come back down to earth with a bump. These itty bitty dudes were a nightmare to pick up and place but I gritted my teeth, powered through with the help of my Simon Says Place and Score Embellishment Wand and quickly returned them to their dusty corner probably never to see the light again. 
To finish, I coloured the bee bodies with Yellow and Black Zig Clean Color Markers, used a Sakura White Gelly Roll Pen to add their white fluffy bums, matted the panel on to Simon Says Black cardstock trimmed to A2 and fixed to an A2 white card blank.


I'm loving this kit and will be back soon to share more Bee Happy projects, in the meantime, be happy with whatever you are making. Did you know that "Hello Sunshine" is a term of endearment in the UK and while I'm sharing snippets of information, a little reminder to tune in today to the Youtube Live Launch of Tim Holtz/Stampers Anonymous Halloween 2023 release on Tim's YouTube Channel 9am PT, 12pm ET and 5pm in the UK.
Hugs Kath xxx

Wednesday, August 23, 2023

A Spooky Halloween Garden

Hi my friends, I'm sharing cards I made with Simon Says Stamp Daisy Heads and Windswept Leaves dies and be warned!! I went rogue and turned the iconic daisy with its white petals and yellow centre in to something far more spooky, die-cutting the flowers and leaves from bright coloured cardstock, shaded heavily with Black Soot Distress Ink and added some serious Unravelled Distress Mica Stain splattering, the perfect fit for a spooky Halloween garden.

I began by trimming the wood plank paper from Idea-ology Backdrops 1 to create 2 - 4" x 5.1/4" panels and spritzed with Unravelled Distress Mica Stain.
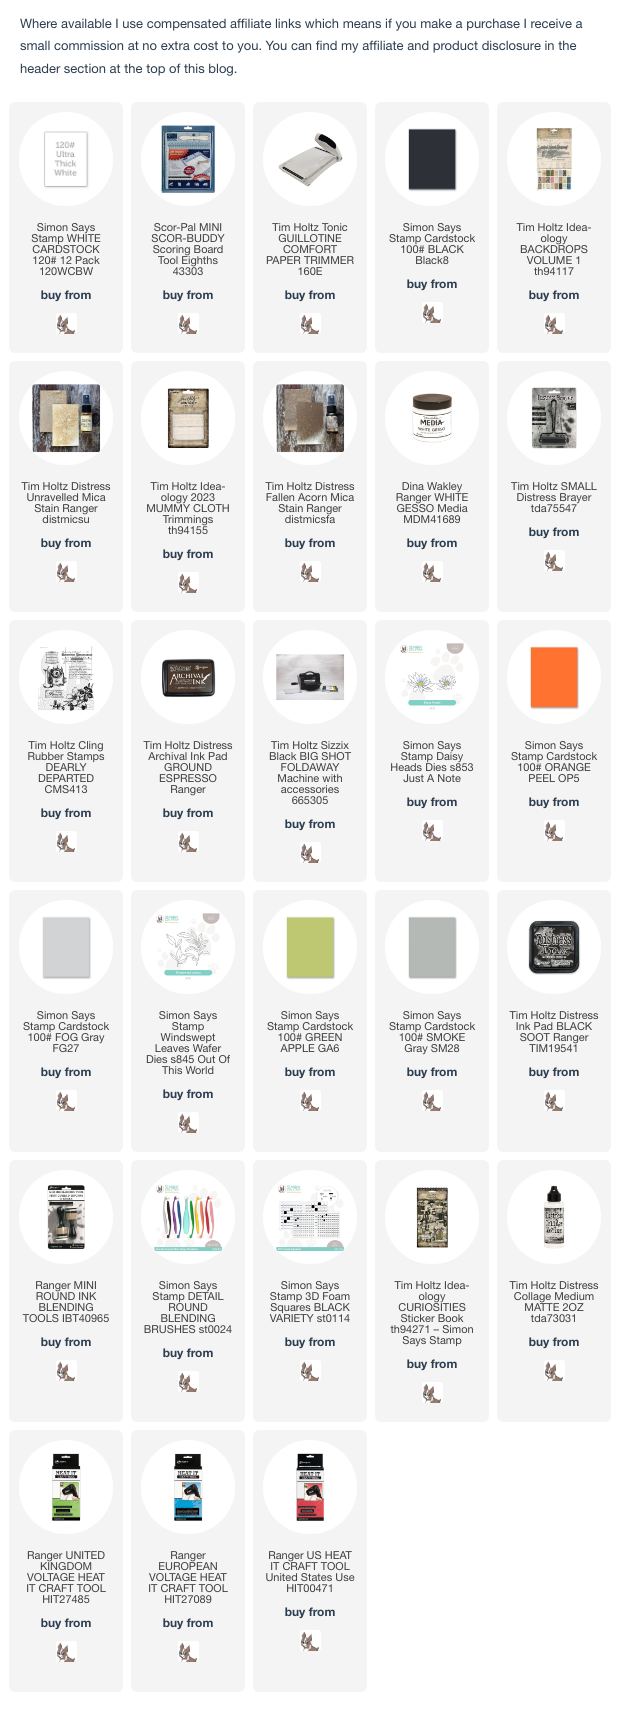
I  added Idea-ology Mummy Cloth to the first panel and splattered with Fallen Acorn Distress Mica Stain.
I applied White Gesso to the centre of the second panel using the Distress Small Brayer
I inked the script stamp from Tim Holtz/Stampers Anonymous Dearly Departed with Ground Espresso Distress Archival ink, stamped randomly on the panel and added more Unravelled Distress Mica Stain splattering.
I die-cut the Daisy Heads from Simon Says Orange Peel and Fog Cardstock and the Windswept Leaves from Green Apple and Smoke Cardstock. I shaded the flowers and leaves heavily with Black Soot Distress Ink using a mini round blending tool for the larger areas and Simon Says Detail Round Blending Brushes to get into the little nooks and crannies.
I fixed the leaves and flowers to the panels, popped up on black foam squares and added more splatters of Unravelled Distress Mica Stain. To finish, I added Clippings Stickers, from the Idea-ology Curiosities Sticker Book, fixed the panels to Simon Says Black Cardstock trimmed to A2 and matted on to A2 white card blanks.


Have fun with whatever you're making
Hugs Kath xxx