Hello my friends, I love love love my Tim Holtz/Sizzix Sidekick, the perfect machine to sit on my workdesk and use for small die-cutting tasks so it follows that I'm over the moon that Tim Holtz and Sizzix have launched a new series of Sidekick Orders, one to suit every occasion and woohoo, each set includes a Texture Fade embossing folder.
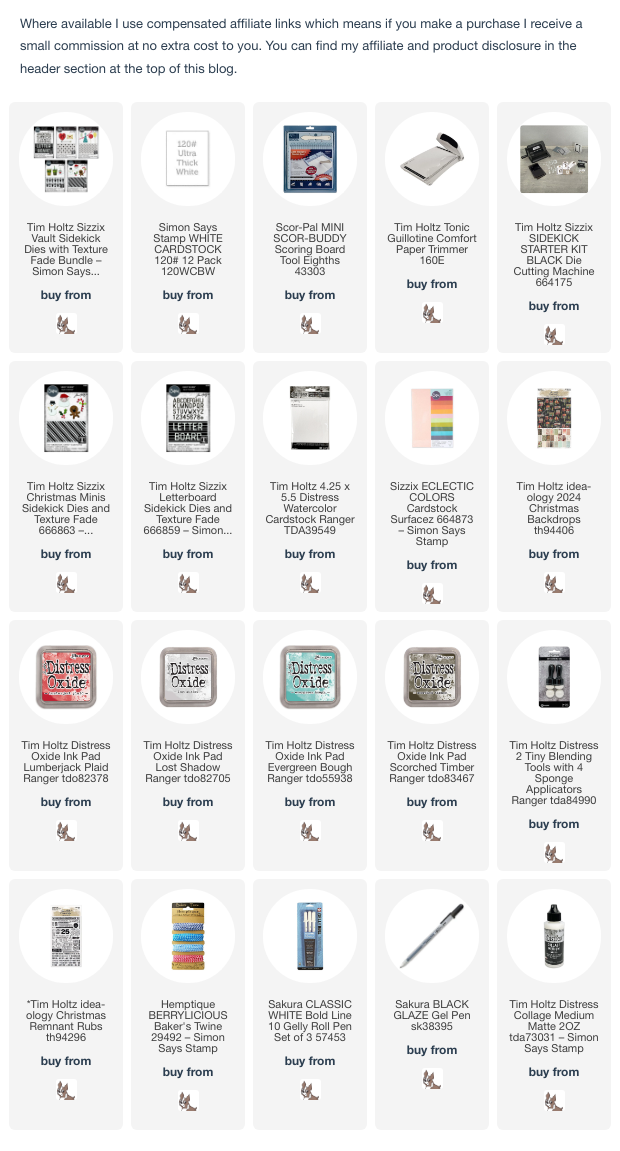
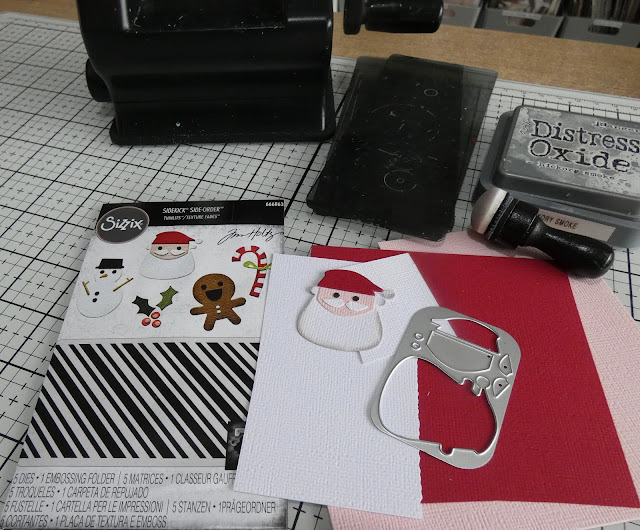
I created small tag cards to either send as cards or to use to decorate gift packages using the Christmas Minis Side Order along with die-cut tags from Stacked Tags Thinlits and the tag included in the Sizzix Sidekick Starter Set.I die-cut tags using the Stacked Tags Thinlits and Sidekick Starter Set from Distress Watercolor card.I inked the debossed side of the embossing folder with Lumberjack Plaid Distress Oxide ink and ran through the Sizzix Sidekick using the embossing plate included with the machine and added the die-cut hole reinforcer cut from Distress Watercolor card.I die-cut the adorable Santa from Red, Black and White Sizzix Surfacez Festive cardstock, added shadows around the die-cuts using Lost Shadow Distress Oxide ink and a Tiny Blending Tool and assembled.I trimmed paper from Tim Holtz/Idea-ology Christmas Backdrops 2024, added to the small tag and fixed Santa in place with Distress Collage Medium. I die-cut the candy cane from the set, the hole reinforcer and numbers from the Letterboard Side Order from Sizzix White, Red and Green Surfacez Festive cardstock.
For the second tag, I embossed the small tag, inked around the edges with Scorched Timber Distress Oxide ink and a Tiny Blending Tool and added a red hole reinforcer. I trimmed Tim Holtz/Idea-ology Christmas Backdrops 2024 paper to be slightly smaller than the 2.1/4" x 4.1/4" white card blank.
I die-cut the Gingerbread Man and Holly using Christmas Minis, the numbers using Letterboard from Brown, Black, Green, Red and White Sizzix Surfacez Festive cardstock, assembled and fixed in place with Distress Collage Medium. I die-cut the holly berries from the green cardstock to fill in the blank space on the top right, added white dots to the eyes using a Sakura White Gelly Roll Pen and Bakers Twine.
I used the same process with the Snowman, embossed the large tag, inked with Evergreen Bough Distress Oxide ink, fixed to the white card blank and added a strip of Tim Holtz/Idea-ology Christmas Backdrops 2024 paper on the left side. I coloured the small tag lightly with Evergree Bough Distress Oxide ink and added Scorched Timber Distress Ink to the edges using a Tiny Blending Tool. I die-cut the snowman, added a snowbank hand cut from Sizzix white cardstock and die-cut the snowman's eyes from white Sizzix Surfacez cardstock to create snow on the background.I die-cut the Letterboard numbers from red Sizzix Surfacez cardstock, trimmed and fixed the negative to the bottom of the tag.To finish I added Sakura Black Glaze Pen to Santa's eyes and fixed the collage of tags to a 2.1/4" x 4.1/4" white card blank.
For the second tag, I embossed the small tag, inked around the edges with Scorched Timber Distress Oxide ink and a Tiny Blending Tool and added a red hole reinforcer. I trimmed Tim Holtz/Idea-ology Christmas Backdrops 2024 paper to be slightly smaller than the 2.1/4" x 4.1/4" white card blank.
I die-cut the Gingerbread Man and Holly using Christmas Minis, the numbers using Letterboard from Brown, Black, Green, Red and White Sizzix Surfacez Festive cardstock, assembled and fixed in place with Distress Collage Medium. I die-cut the holly berries from the green cardstock to fill in the blank space on the top right, added white dots to the eyes using a Sakura White Gelly Roll Pen and Bakers Twine.
To finish I added Tim Holtz/Idea-ology Christmas Remnant Rubs.
I'll be back soon to share more makes with the other Sidekick Side Orders, in the meantime, have fun with whatever you are making.Hugs Kath xxx


A beautiful set of tags, so festive. xx
ReplyDelete