Thursday, September 4, 2025

Simon Says - STAMPtember Best Witches

Hello my friends, I'm back to share more projects using products from the Simon Says Stamp STAMPtember release. You can check out all the amazing products from the release HERE.

I created another two cards using the adorable ghosts from Costume Ghost Parade, CZ Designs Trick or Treat 2 and sentiments from the Best Witches 6" x 8" stamp set.
I began by die-cutting Tim Holtz/Sizzix Cobweb Thinlits once from Distress Black HeavyStock and once from Gina K Masking Paper. This die is discontinued and if you don't have it I have linked Tim Holtz /Sizzix Vault Frights Thinlits below as an alternative. I fixed the black cobweb to Distress Watercolor card using Distress Collage Medium, applying a coat over the panel to ensure it was properly stuck down. I fixed the masking paper cobweb to Distress Black HeavyStock, inked over the panel with Simon Says White Pigment Ink, removed the mask and dried.
I added splatters of Dina Wakley Black Gloss Spray, inked around the edges of the panels with Scorched Timber Distress Ink on the left and Black Soot Distress Crayon on the right.
I trimmed the panels down to 4" x 4.1/2", matted on to A2 panels of Distress Black HeavyStock and added a small strip of Simon Says Stamp Orange Peel and Green Leaf Cardstock. I inked the sentiments from Simon Says Best Witches stamp set with Versamark ink, stamped on to the bottom of the panels, sprinkled with White Embossing Powder and heat set. I die-cut the shadow section from CZ designs Trick or Treat 2 from the same colour cardstock, inked the edges with Scorched Timber Distress Ink, added the wording die-cut from Distress Black HeavyStock and fixed to the panels using Simon Says Thin Foam Squares.
I die cut the Simon Says Costume Ghost Parade from Distress Watercolor card, Distress Black HeavyStock, Orange Peel and Green Leaf cardstocks, assembled and fixed to the panels with Simon Says Thin Foam Squares. I wound Black/White Bakers Twine across the bottom of the panels and tied in a bow.
To finish I matted the panels on to top-folding A2 white card blanks.

Hugs Kath xxx

Wednesday, September 3, 2025

Tim Holtz/Ranger Distress Rock Candy Glitter Release

Hello my friends, today is very exciting with the latest release from Tim Holtz and Ranger. We now have the original Distress Rock Candy Glitter and the new addition to the family, Distress Rock Candy Chunky Glitter, in new sized super cute jars, collector items for sure. I've been a big fan of Distress Rock Candy Glitter forever but the new Chunky Glitter is an absolutely gorgeous mix of sparkly goodness.

I created a card using both new products with Tim Holtz/Sizzix Simple Plaid and BrushStrokes 2 Thinlits and the glittery sparkle is truly amazing.

I trimmed Distress Watercolor card to 4.1/4" x 5.1/2" and covered with a sheet of double sided adhesive. I die-cut Tim Holtz/Sizzix Simple Plaid Thinlits from Sizzix Eclectic Surfacez Lilac cardstock and trimmed to create a top and bottom corner.
I peeled off the Double Adhesive carrier sheet, carefully placed the Simple Plaid die-cuts and poured the Distress Rock Candy Chunky Glitter over the whole panel. I tapped off the excess, placed the panel in a sheet of folded over copy paper and patted it down on to the adhesive.
I die-cut the Tim Holtz/Sizzix BrushStrokes 2 Thinlits from Sizzix Eclectic Surfacez Cardstock.
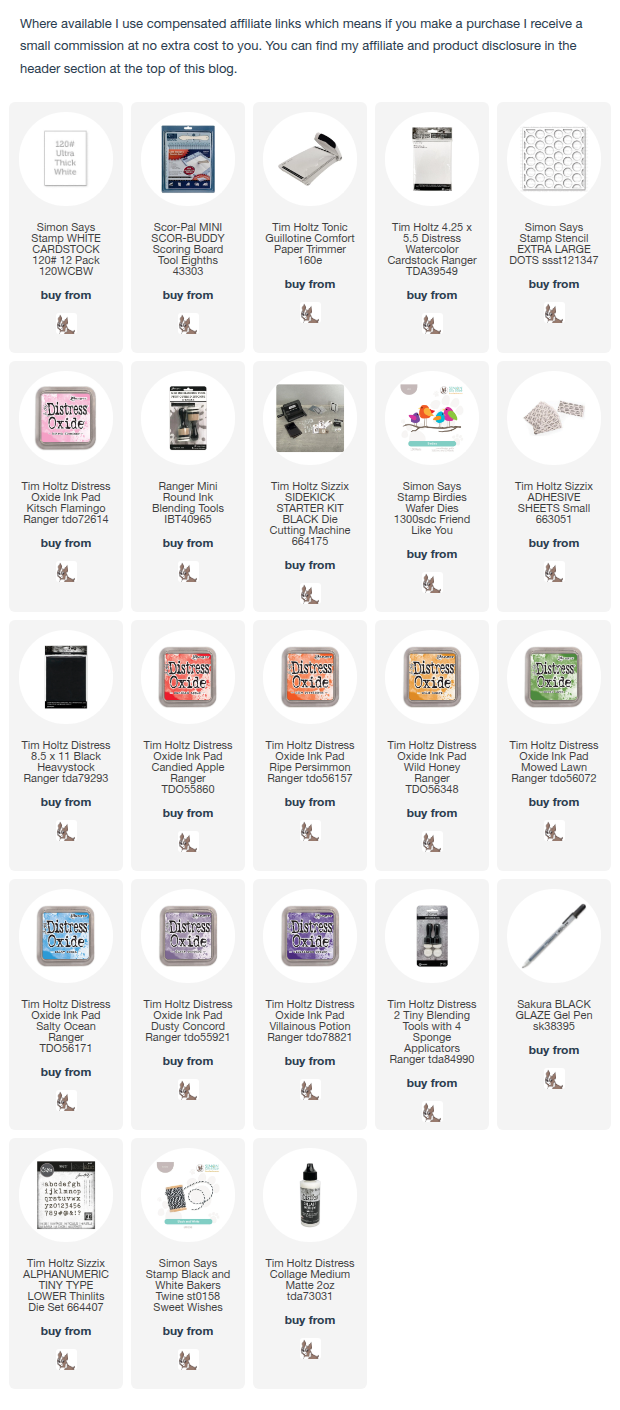
I coloured the accent details and around the edges of the flowers with Rusty Hinge and Seedless Preserves Mini Distress Oxide inks using Distress Mini Blending Brushes and assembled using Distress Collage Medium.
I repeated the process on the leaves using Cracked Pistachio and Peeled Paint Mini Distress Blending Brushes.
I applied a thin coat of Distress Collage Medium to the die-cuts using a small paintbrush, dipped them into Distress Rock Candy Glitter and set aside to dry.
I trimmed the panel to 4" x 5.1/4", shaped the die-cuts to create dimension and fixed in place with Distress Collage Medium and Simon Says Thin Foam Squares.
Check out the beautiful sparkle
To finish I matted the panel on to Distress Black HeavyStock, added Tim Holtz Idea-ology Thoughts Label Stickers, Pink Fresh Studio Starry Sky Glitter Drops and fixed to a white card blank.


Hugs Kath xxx

Tuesday, September 2, 2025

Simon Says - STAMPtember 2025 Blog Party

Hi my friends, woohoo, it's that time of year when we are all excited about the Simon Says Stamp 16th  STAMPtember party, a month long celebration of stamps, dies, stencils and you're invited to join in the fun. You can check out all the fabulous products in the STAMPtember release HERE.

Throughout STAMPtember, Simon Says Stamp will be celebrating every day, posting exclusive collaborations, contests, prizes, special promotions, announcements and even more surprises on Simon Says Stamp Blog. To get the party started, there's a special STAMPtember BLOG PARTY today on Simon's Blog and I'm thrilled to be joining lots of creative friends from around the world to share lots of inspiration using the new products - click HERE to join the party where you can check out the list of many participants. You will also find a promotional code on each blog participating in the party to receive a free gift with any or qualifying purchase so be sure to check out all the participants. And, woohoo, if you follow the instructions below and use the code HPBEE at checkout, you'll get the adorable Happy Bee Day stamp and die set free with a $100+ purchase. The offer is valid until September 3rd at 11.59 pm ET or while supplies last. Don't forget to check out the Simon Says Stamp Gallery HERE for even more STAMPtember inspiration.


I created a fun spooky card using Simon Says Stamp Spooky Eyes 6" x 6" Layering Stencils, CZ Designs Trick or Treat 2 and Costume Ghost Parade dies.

inked through the first of two Spooky Eyes 6" x 6" layering stencils on to an A2 panel of Distress Watercolor card using Twisted Citron and Ripe Persimmon Distress Oxide inks and Mini Round Blending Tools.
I placed the second layering stencil on the panel and traced through with a Momento Black Marker to add the pupils on the spooky eyes.
I inked around the edges of the panel with Black Soot Distress Oxide ink using a Mini Round Blending Tool, added water splatters and dried.
I die-cut CZ Designs Trick or Treat 2 from Distress Black HeavyStock for the shadow section and die-cut the words twice from Distress Watercolor card to create dimension. Before die-cutting the words I fixed a Sizzix Adhesive Sheet to the back of the card which makes fixing the intricate die-cuts in place super easy and eliminates the need for messy glue. I trimmed the panel to 4" x 5.1/4", fixed the sentiment panel in place with Simon Says Thin Foam Squares and fixed to an A2 white card blank covered with Distress Black HeavyStock.
I die-cut the Costume Ghost Parade ghosts and pumpkins from Distress Black HeavyStock, Distress Watercolor card and Distress Watercolor card coloured with the same Distress Oxide inks used on the background, assembled and fixed in place with Simon Says Thin Foam Squares.


I'm off to make myself a cuppa, find a comfy sofa and head on over to the blog party. I can't wait to see all the fabulous inspiration from the participants using products from the STAMPtember release and you can find even more inspiration over on the Simon Says Stamp STAMPtember Gallery HERE.
Hugs Kath xxx

Monday, September 1, 2025

Simon Says - STAMP It in STAMPtember

Hi Everyone...welcome to another week on the Simon Says Stamp Monday Challenge Blog. Thank you for joining us for last week's challenge and we hope you can join us this week too.

As you know STAMPtember® is a very special month in the Simon Says Stamp calendar. This week we are all using some fabulous products from the latest Simon Says Stamp STAMPtember® Release. You don’t have to use them to join in with the challenge but if you have them we would love to see them used. We would like you to use actual clear, cling, wood stamps, no digi images allowed this week. This week we’re welcoming the lovely Carol Gunn into the Designer Spotlight. If you haven’t visited her blog before then you are in for a real treat!


and the theme for this week is...
STAMP IT IN STAMPtember
I created a spooky Halloween card using Simon Says Costume Ghost Parade dies and Best Witches 6" x 8" stamp set from the STAMPtember release along with Tim Holtz/Idea-ology Halloween Backdrops, Halloween Baseboard Windows and Mummy Cloth.
I trimmed Idea-ology Halloween Worn Wallpaper to 4" x 5.1/4" and fixed to an A2 White card blank, covered with Distress Black HeavyStock. If you don't have the Worn Wallpaper, you could use paper from Halloween Backdrops (linked below)
I fixed the smallest Tim Holtz/Stampers Anonymous moon mask temporarily to a panel of Distress Watercolor card, sprayed with Gathered Twigs Distress Spray Stain and Ripe Persimmon Distress Oxide Spray, sprayed lightly with water and let the inks work their magic.
I trimmed the panel and fixed to the card with Distress Collage Medium. I die-cut the characters using Simon Says Costume Ghost Parade dies from Distress Watercolor card and various colours of Simon Says cardstock, linked below. I inked the edges of the ghosts with Stormy Sky Distress Oxide ink using a Tiny Blending Tool, assembled, and fixed in place on the panel.
I fixed Tim Holtz/Idea-ology Mummy Cloth behind an Idea-ology Baseboards Window and fixed the remaining die-cut ghosts on the front. I inked the sentiments from Simon Says Best Witches stamp set with Versamark ink, stamped on to strips of Distress Black HeavyStock, sprinkled with White Embossing Powder, heat set and fixed to the window.
I fixed the window in place on the card using Distress Collage Medium, added Black Hemp Twine to create a string and bow and added the die-cut pumpkins cut from Distress Black HeavyStock and Simon Says Orange Peel cardstock.
To finish I added the hat bands on the witches' hats and used a Tonic Aqua Shimmer pen to add sparkle to the hat bands and pumpkins.

You can find all the products I used over at Simon Says Stamp, just click on the links below


Why don't you pop over to the Monday Challenge Blog and check out the amazing creations from my very talented Design Team mates and as always you have until Monday 8am Ohio time...1pm UK time...2pm CET to join in with the chance to win a $25 voucher to spend online at Simon Says Stamp


You can also follow Simon Says Stamp on Instagram
and if you use Instagram...
please add #sssmchallenge to your entry uploads so we can see them on there too

I look forward to seeing what you create this week...
Have Fun and Happy Crafting
Hugs Kath xxx

Friday, August 29, 2025

A Flock Of Rainbow Birdies

Hello my friends, I'm back to share a "Flock of Rainbow Birdies" card using Simon Says Stamp Birdies wafer die from the Friend Like You release, Extra Large Dots Stencil and Tim Holtz/Sizzix Alphanumeric Tiny Type Lower Thinlits for the sentiment.

I applied Kitsch Flamingo Distress Oxide ink through Simon Says Extra Large Dots Stencil using a Mini Round Blending Tool on to an A2 panel of Distress Watercolor card. I die-cut the branch from Distress Black Two-Tone Woodgrain 3 times using Simon Says Birdies Wafer die and fixed in place with Distress Collage Medium. I die-cut the birdies from Distress Watercolor card and fixed to the panel to help with placement. I fixed Sizzix Adhesive Sheet to Distress Black HeavyStock, die-cut the beaks, feet and eyes and fixed on to the birds.
I die-cut again from Distress Watercolor card and coloured lightly with Candied Apple, Ripe Persimmon, Wild Honey, Mowed Lawn, Salty Ocean, Dusty Concord and Villainous Potion Distress Oxide inks using Tiny Blending Tools.  I fixed the birds onto the panel and added the eyes. I coloured a scrap of Distress Watercolor with the same inks using a heavier application, die cut the wings, fixed to the birds and decorated with dots using a Sakura Black Glaze Pen. I die-cut the sentiment from the left over Distress Black HeavyStock using Tim Holtz/Sizzix Alphnumeric Tiny Type Lower Thinlits and fixed to the panel. I trimmed the panel to 3" x 5" and fixed to a 4" x 6" panel of Distress Black HeavyStock. I wound Black/White Bakers Twine around the panel, tied in a bow and matted the panel on to a white card blank. To finish I added dots on the background using a Sakura Black Glaze Pen.


Enjoy your weekend whatever you have planned.
Hugs Kath xxx