Friday, March 30, 2018

Tim Holtz/Stampers Anonymous Ticket Booth...

Hi folks, today I'm sharing a card made with the Tim Holtz/Stampers Anonymous Ticket Booth stamp set available to buy now. And what a stroke of luck...this stamp set was perfect for making a "theatre ticket" gift card for a male friend who's got a birthday trip to London coming up soon.

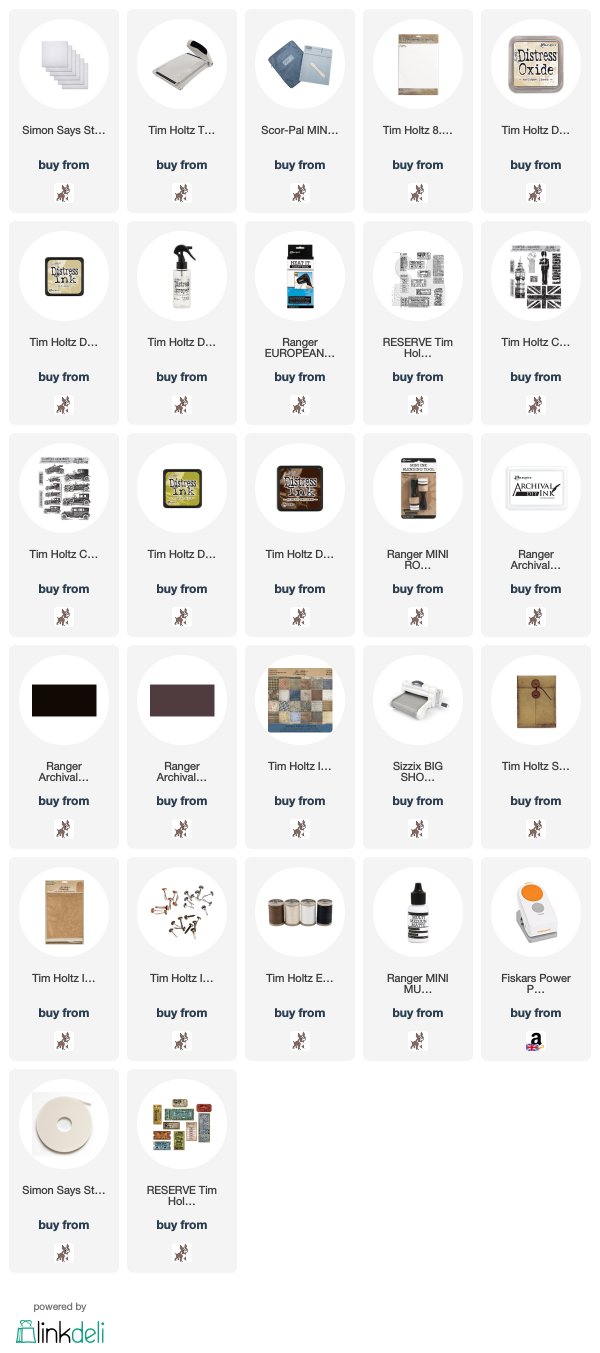
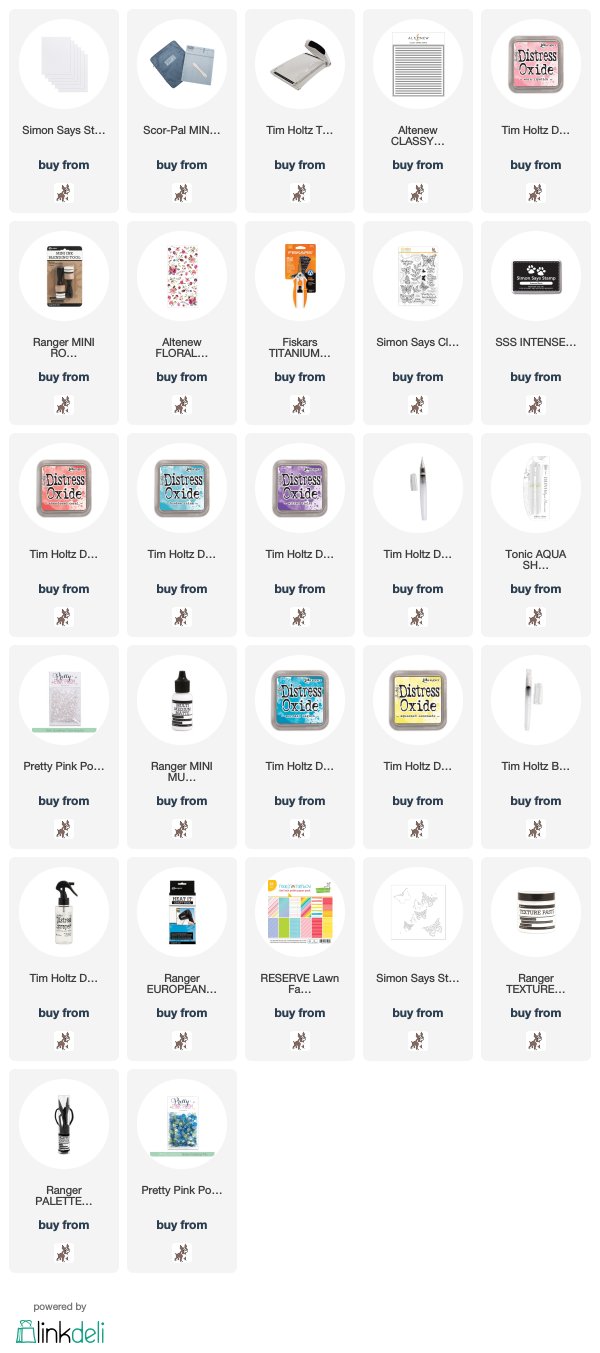
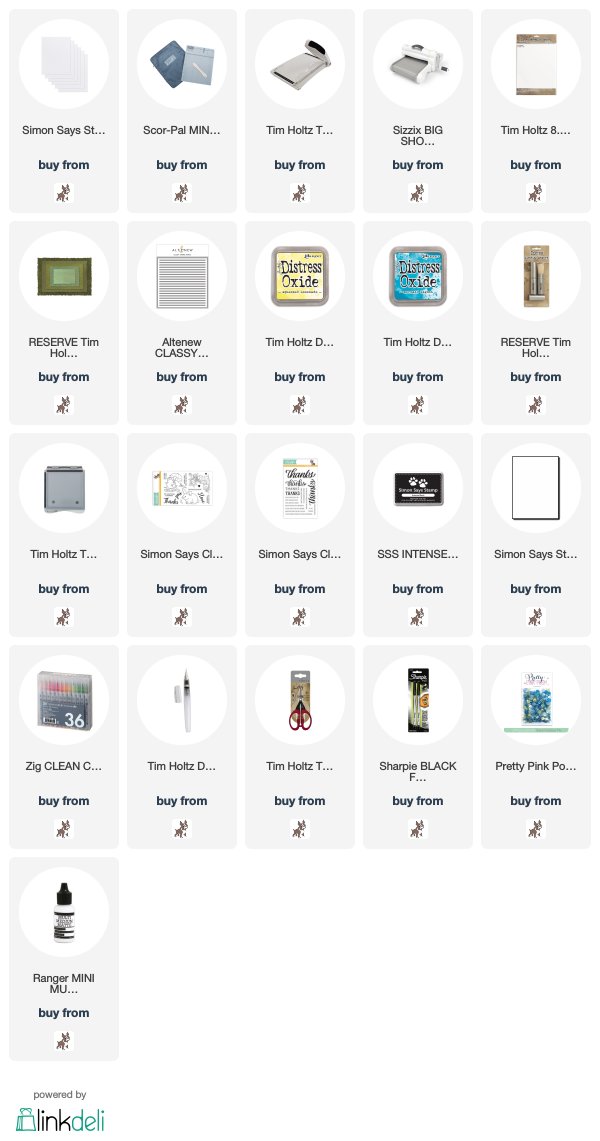
I scored 10" x 7" cardstock at  2.1/2" and 7.1/2" on the long side and folded to create a gatefold card.
I trimmed Distress Watercolor card to 4.1/2" x 6.1/2" and coloured with Antique Linen Distress Oxide and Old Paper Distress Ink using the very familiar by now "smoosh, dry, spritz and tap back in to pick up the remaining droplets" technique.
I stamped the images from Ticket Booth with a mix of Old Paper and Crushed Olive Distress inks...
and stamped parts of the images inked with Black Soot Archival ink
I stamped the images from London Sights and Vintage Auto with Black Soot and Ground Espresso Archival inks.
I coloured scraps of Distress Watercolor card with Antique Linen, Crushed Olive and Ground Espresso Distress inks, stamped the ticket images with the same Archival inks and cut out. There is a set of dies to match this stamp set which is shipping late March and I have added a link below.
I decorated the front panels of the card with paper from the Idea-ology Dapper Stash Pad, trimmed the stamped panel in half and fixed the tickets in place overlapping the centre opening of the card with Ranger Multi Medium Matte. I used clips to hold the card closed while the Multi Medium Matte dried.
I die cut reinforcers from Idea-ology Substrate Sheets using Sizzix Alterations Pocket Envelope Movers and Shapers die
fixed to the front of the card with Idea-ology Long Fasteners and used black Eclectic Elements thread to close
Then it was time to decorate the inside and create a pocket to hold the theatre tickets. I cut a panel of Dapper Paper to fit the centre, coloured with Crushed Olive and Old Paper Distress Inks using a mini round blending tool and stamped the images as before with Archival inks. I cut two panels of Dapper paper, fixed the right hand panel flat, fixed the left hand panel to white cardstock, punched out the notch with my trusty Fiskars Circle Power Punch and fixed in place with foam tape.
I stamped extra tickets on to scraps of Distress Watercolor card using the same inks as before
and added to the inside panels
I won't be out and about rolling my decorated egg this weekend. Memories of an easter egg rolling adventure with the grandkids that went horribly wrong springs to mind. We had spent ages decorating our eggs and then, one very naughty Furry individual chased the eggs down the hill and in typical Golden Retriever style (I should have known) devoured them complete with shells. Result...ONE ANGRY GRANDMA and INCONSOLABLE grandkids. So instead I'll be tucking into the chocolate variety from the comfort of a sofa and as chocolate is toxic to dogs, the aforementioned individual will be out of luck this time round.
Happy Easter Weekend Everyone
Hugs Kath xxx

Thursday, March 29, 2018

Beautiful Day...2 for the price of one

Hi folks...today's blog title is a bit of a misnomer because the days this week have been far from beautiful, in fact it's been all about heavy rain, chilly temperatures and the odd snow flurry thrown in for good measure.
So I'm sharing 2 for the price of one "cheer you up" cards, the first one made with the Altenew Classy Stripes stencil and the gorgeous Floral Flurries Washi Tape.  I also used the butterfly image and sentiment from Simon Says Stamp Beautiful Day stamp set included in the April Card Kit which has SOLD OUT but you can buy individual items from the kit HERE or click on the links below
I taped the stencil down to a 4" x 5.1.4" panel of Simon Says White Cardstock and applied Worn Lipstick Distress Oxide ink using a mini round blending tool...it would have been easier to use a blending brush but I didn't want to contaminate the one I have which is going to be used for all the blues in the Distress Collection.
I fixed the Altenew Floral Flurriies Washi Tape to a panel of white cardstock and fussy cut the flowers and leaf stems leaving a white border.
I masked off a section of the "Have a Beautiful Day" sentiment and stamped with Simon Says Intense Black ink. I used the Beautiful Day stencil from the kit to add a Worn Lipstick butterfly...
but changed my mind and over-stamped with the butterfly and trail from the stamp set. I stamped the butterfly again on to white cardstock and fixed the floral bouquet in place.
I coloured the butterfly with Distress Oxide inks using the Distress Detailer Brush, cut out and fixed in place.


I added Pretty Pink Posh 3mm Clear Sequins and shimmer to the butterfly using the Aqua Tonic Shimmer Pen. I inked the edges of the panel with Worn Lipstick and fixed to an A2 card blank.
For the second card I used the Butterflies 6 x 6 stencil, Lawn Fawn Really Rainbow paper, the Beautiful Day stamp set for the sentiment, Mermaid Lagoon and Squeezed Lemonade Distress Oxide ink pads, all included in the kit.
I created a watercolor wash on Distress Watercolor card using the Mermaid Lagoon Distress Oxide ink and Distress Broad Brush, spritzed the panel with water, flicked on some ink splatters and added narrow strips of the Really Rainbow paper. I applied Ranger Opaque Texture Paste through the Butterflies stencil and when it was dry, repositioned the stencil and coloured the butterflies with Squeezed Lemonade and Worn Lipstick Distress Oxide inks using a mini round blending tool (another task that would have been easier using the new Tim Holtz Blending Brush)
I added Pretty Pink Posh Share Kindness sequins and stamped the sentiment from Beautiful Day with Mermaid Lagoon Distress Oxide.
After 3 days of clean,cute and simple, I'll be back tomorrow with a "back in my comfort zone/happy place" card made with the Tim Holtz/Stampers Anonymous Ticket Booth stamp set.
Toodle-oo for now
Hugs Kath xxx

Wednesday, March 28, 2018

Thanks For Making My Day Brighter...

Hi folks...I'm back to share another card using the Mermaid Lagoon and Squeezed Lemonade Distress Oxide ink pads and the amazing Tim Holtz blending brush which is included in the Simon Says Stamp April Card Kit along with some other new products that arrived in the cubbyhole this month. The April Card Kit has SOLD OUT but you can purchase individual items from the kit HERE or click on the links below.
I die cut a panel of Distress Watercolor Card using the Tim Holtz/Sizzix Stacked Rectangle Thinlits, stamped the image from Simon Says Stamp Showers and Flowers stamp set from the March Card Kit with Intense Black ink and stamped the image again on to masking paper.
I used the Altenew Classy Stripes Stencil to create a plaid effect using Mermaid Lagoon and Squeezed Lemonade Distress Oxides with the blending brush. As I only have one brush at the moment, (woohoo, my pre-order is now on it's way) I applied the Squeezed Lemonade first, wiped the brush clean on a baby wipe and then on to kitchen roll to remove the moisture, turned the stencil sideways and repeated with Mermaid Lagoon.
I coloured the image with Zig Clean Colour Brush Markers and it's time to confess that I mucked up the shading underneath the boot. To save me starting over, I cut off the bottom of the panel and around the bottom of the boots and fixed the panel to the A2 card blank. I then created the shading with Mermaid Lagoon Distress Oxide ink using the Distress Detailer Brush and added the missing detail from the stamp with a Sharpie Black Fine Pen...I won't tell if you don't.
To finish off I stamped the sentiments from Simon Says Stamp Big Thanks Words stamp set from the Best Days release and added Pretty Pink Posh Share Kindness sequins.
I'll be back tomorrow to share another April Card kit make....in the meantime, if the weather forecast is correct, I'll be battening down to the hatches ready for more snow.
Hugs Kath xxx

Tuesday, March 27, 2018

You Make Me Feel Like I Can Fly...

Hi folks, I was delighted when the April Card Kit from Simon Says popped through my letterbox and even more delighted that the kit contained a Tim Holtz Blending Brush. I've been impatiently waiting for my pre-order Blending Brushes to ship but woohoo...now at least, I have one to play with in the meantime.
The kit is still available to buy HERE  or click on the links below to purchase individual items from the kit.
I love the images and sentiments in the 6"x 8" Beautiful Day stamp set and the gorgeous spring zingy colours in the Lawn Fawn Reallly Rainbow paper pad. I made a quick and easy card using one of the papers, stamped the images with Simon Says Intense Black ink on to Distress Watercolor card, cut out and coloured with Zig Clean Color Brush Markers.
I added a few Pretty Pink Posh 3mm cleatr sequins here and there
and stamped the sentiment with Simon Says Intense Black ink
I'll be back tomorrow to share another card using supplies from the April card kit, a gorgeous Altenew Stencil and the Showers and Flowers stamp set from the March Card Kit and the Big Thanks Words stamp set from the Best Days release.
Toodle-oo for now
Hugs Kath xxx

Monday, March 26, 2018

Simon Says...Inside The Box

Hi Everyone...welcome to another week on the Simon Says Stamp Monday Challenge Blog...thank you for joining us for last week's challenge...we hope you can join us this week too because...

and the theme for this week is...
INSIDE THE BOX
I decided to recycle an empty Idea-ology Assemblage Clock box to hold my Dylusions Creative Dyary Stickers and Stamps

I removed the lid from the box, applied Distress Collage Medium to the flaps and folded them back in.
I applied a coat of White Gesso and used my trusty Fiskars Power Punch to create circle notches...
after another coat of White Gesso, I spritzed Distress Resist Spray through the Flourish Layering Stencil (remember to use this spray in some sort container and if you are not going to wash your stencil immediately, place it in a container of water). I then applied Ranger Opague Crackle  Texture Paste randomly on all sides of the box.
While I waited for the crackle paste to work it's magic, I covered the inside of the box (only about halfway down) with left over scraps of Idea-ology Botanical Collage Paper...
I applied a coat of Distress Collage Medium Matte over the entire box and scribbled on Black Soot and Hickory Smoke Distess Crayons, using my fingers to work it into the crackle paste. I then wiped the surface with kitchen towel to reveal the Flourish Stencil areas and applied the Distress Collage Paper.
I cut out two flowers from the Botanical Collage Paper, placed them in my Stamp Platform (hooray for those magnets, which hold the paper in place) and painted the reverse with Distress Paints.
I fixed the flowers to the box using Distress Collage Medium Matte

and moved on to make inserts for the box. I cut 3 different sized lengths of Sizzix Matboard which is nice and sturdy and added left over scraps of the Botanical Collage Paper.
I painted the area around the flowers with watered down Black Soot Distress Paint, added clear Dylusions Creative Dyary Border Stickers and painted the bottom sections with Black Soot.
I used Idea-ology Vial Labels and Label Letters to create the wording
I stamped letters from Idea-ology Block Upper and Block Lower Cling Foam Stamps on to Plain Collage Paper using Picket Fence and Black Soot Distress Paints.
cut them out, fixed the front of the box, added Idea-ology Label Letters, traced around the white letters with a Ranger Black Fude Pen and added white dots with a Sakura Gelly Roll Pen.
now I'm thinking I may have to decorate the cover of my Dylusions Creative Dyary to match

You can find all the products I used over at the fabulous Simon Says Stamp online store...just click on the links below...

Why don't you pop over to the Monday Challenge Blog and check out the amazing creations from my very talented Design Team mates and as always you all have the chance to win a $50 gift voucher to spend at Simon Says StampYou have until Monday 8am Ohio time...1pm UK time...2 pm CET to join in...

You can also follow Simon Says Stamp on Instagram
and if you use Instagram...
please add #sssmchallenge to your entry uploads so we can see them on there too
I look forward to seeing what you create this week...
Have Fun and Happy Crafting
Hugs Kath xxx