Friday, August 30, 2019

Party Like A Panda...

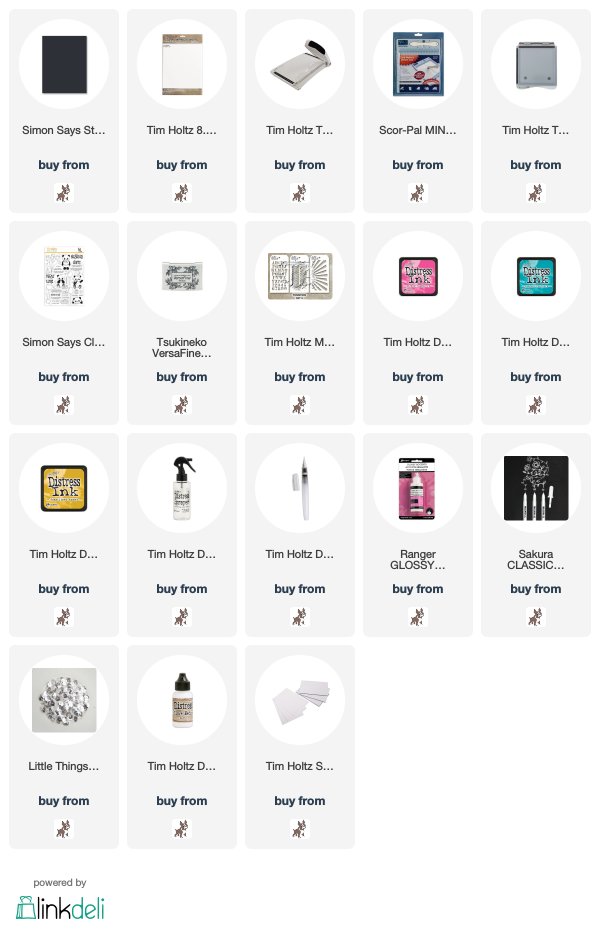
Hi folks, after sharing 3 spooky Halloween projects, I'm finishing off the week with a trio of cute pandas using the Simon Says Stamp "Party Like A Panda" stamp set from the August Card Kit. The kit has sold out but the stamp set is still available to buy individually. I used the same panda image on each card along with a Distress Ink Monoprinting technique using Tim Holtz/Stampers Anonymous Bubble Mini Layering Stencil from Set 5.

So let's get started with the first "very pink" card.
I tapped the Picked Raspberry Distress Ink Pad on to the Bubbles Mini Layering Stencil, spritzed with water and laid the stencil on the Distress Watercolor card. I covered the stencil with kitchen towel and pressed all over with my fingers to transfer the ink. The kitchen towel will absorb any excess ink that might seep out from the stencil. I repeated the process until I was happy with the background. I inked the balloon image with Versafine Onyx Black and stamped 5 times.
I stamped Birthday towards the bottom of the panel and Happy on to scrap card. I fussy cut the letters and fixed them inside the balloons using Distress Collage Medium Matte.
I added Glossy Accents and white highlights using a Sakura White Gelly Roll Pen to each balloon.
I stamped the Panda image on to scrap card, fussy cut, fixed in place with Tim Holtz/Sizzix Mini Foam Adhesive, coloured the bow with Peacock Feathers Distress Ink using a Detailer Brush and added Glossy Accents and a white highlight to his eyes. I matted the panel on to an A2 card blank created from Simon Says Stamp Black card and added Ice Crystal sequins.

I stamped the panda image on to the Distress Watercolor card, stamped a mask to place over the top and created the background as before using Peacock Feathers Distress Ink. I stamped the sentiment on to the panel and also on to a strip of card coloured with Peacock Feathers using Versafine Onyx Black ink. I stamped the parcels from the stamp set on to scrap Distress Watercolor card, coloured with Picked Raspberry and Peacock Feathers Distress Ink using a waterbrush. I fixed the parcels in place with Distress Collage Medium and Tim Holtz/Sizzix Mini Foam Adhesive, added Ice Crystal sequins and Glossy Accents and a white highlight to the panda eyes.


I created the background for the third card in the same way but using Picked Raspberry, Peacock Feathers and Fossilized Amber Distress Inks.
I stamped the sentiments on to the panel inked with Onyx Black ink and the pandas on to scraps of Distress Watercolor card and fussy cut.
I coloured the bows with the three colours of Distress Ink using a waterbrush and fixed them in place with Tim Holtz/Sizzix Mini Foam Adhesive. I added Glossy Accents and a white highlight to their eyes.
I matted the panel on to an A2 black card blank and added Ice Crystal sequins.

It's hard to believe it's almost September already and that means it will soon be time to party over at Simon Says Stamp because the 10th Annual STAMPtember® celebration is only days away. If you have never experienced STAMPtember, you are in for a TON OF AWESOMENESS! It’s a month-long stamping party containing exclusive products, limited editions, prizes, and so many MORE surprises!

Have a great weekend everyone and I'll see you on Monday
Hugs Kath xxx


*** Where available I use compensated affiliate links which means if you make a purchase I receive a small commission at no extra cost to you. You can find my affiliate and product disclosure HERE

Thursday, August 29, 2019

It's Party Time At The Pumpkin Patch...

Hi folks, today I'm sharing a party invitation I made for the Facebook Live launch of  the Tim Holtz/Stampers Anonymous Halloween collection of stamps and stencils using the Monsters Reunion stamp set and some favourite Sizzix Thinlits.


If you missed it, you can check out all the amazing products and fabulous inspiration HERE.

Who wouldn't want to be invited to a fun party at the Pumpkin Patch

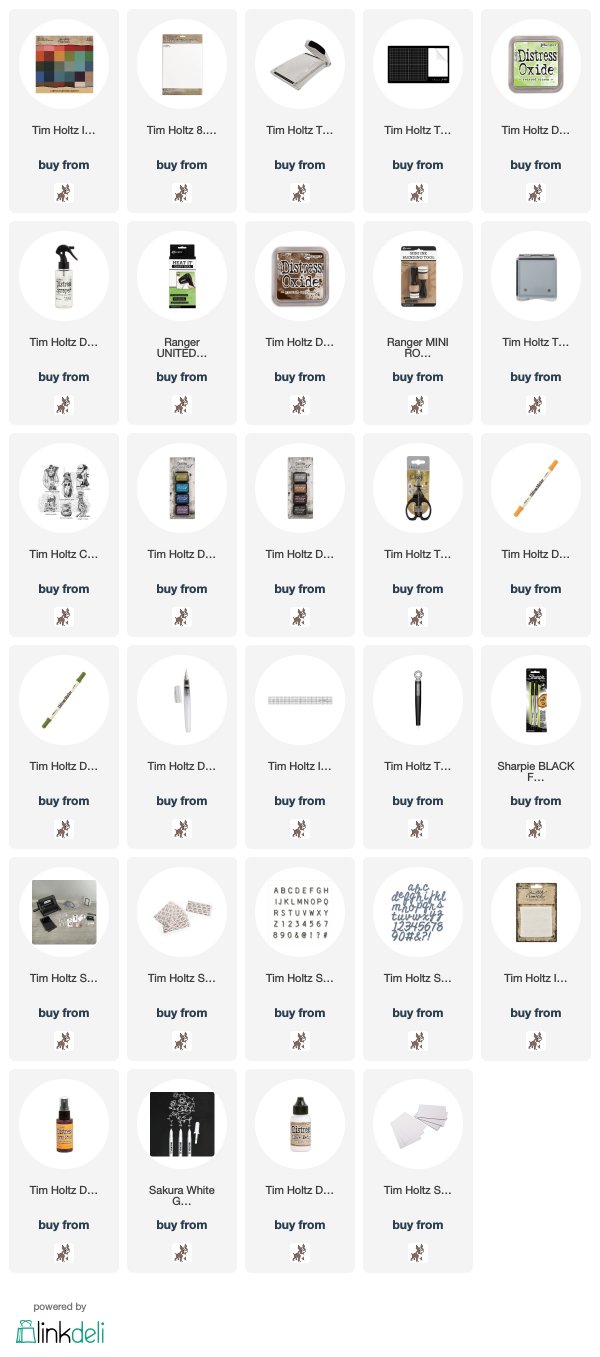
I began by trimming Distress Watercolor card to create 2 panels, one slightly smaller than the other and coloured using Twisted Citron Distress Oxide ink, smooshing the ink on to my glass media mat, spritzing with water and picking up the colour, you all know the drill by now.
I masked off the sentiment and inked the pumpkin image from Monsters Reunion with Peeled Paint Distress Archival and stamped repeatedly on the front panel.
I inked the image again with Ground Espresso Distress Archival and stamped on to the insert for placement and stamped again on to a scrap of Distress Watercolor card, ready to fussy cut.
I used circle punches dies to create the cut-out section on the front panel and the hole on the insert and inked around the edges of the panels with Ground Espresso Distress Ink.
I die-cut the scarecrow, grass and crows from card coloured with Ground Espresso Distress Ink and Idea-ology Classic Kraftstock using Sizzix Scarecrow Thinlits. I coloured a strip of Mummy Cloth with Spiced Marmalade Distress Spray Stain and fixed the die-cuts in place with Distress Collage Medium Matte.
I fixed Tim Holtz/Sizzix Adhesive Sheet to scraps of Idea-ology Classic KraftStock and die cut the wording using Sizzix Alphanumeric Label Letters and CutOut Script Thinlits. I coloured the pumpkins using Distress Markers and a Distress Detailer Brush.
I created faux stitching around the edges of the panels using Tim Holtz Design Ruler, Craft Pick and a black fine liner pen. I matted the front panel on to Idea-ology Black Classic KraftStock using thin strips of Sizzix Mini Foam Adhesive to create a pocket for the insert and tied Mummy Cloth to the insert.
I stamped the sentiment from Monsters Reunion on to a scrap of Distress Watercolor card using Black Soot Distress Archival and fussy cut. To finish I added highlights to the pumpkin eyes using a Sakura White Gelly Roll Pen.


I'll be back tomorrow to share a trio of cuties, until then, have fun with whatever you are creating.
Hugs Kath xxx


*** Where available I use compensated affiliate links which means if you make a purchase I receive a small commission at no extra cost to you. You can find my affiliate and product disclosure HERE

Wednesday, August 28, 2019

Keep Calm & Eat Candy...

Hi folks, today I'm sharing another card I made for the Facebook Live launch of  the Tim Holtz/Stampers Anonymous Halloween collection of stamps and stencils.
If you missed it, you can check out all the amazing products and fabulous inspiration HERE.
I absolutely fell in love with this mischievous dude with his tooth grin from Life Of The Party.  I decided to dress him up with the top hat from The Professor, add some Sizzix Sweet Treats Thinlits and the perfect "great advice" sentiment from Life Of The Party.
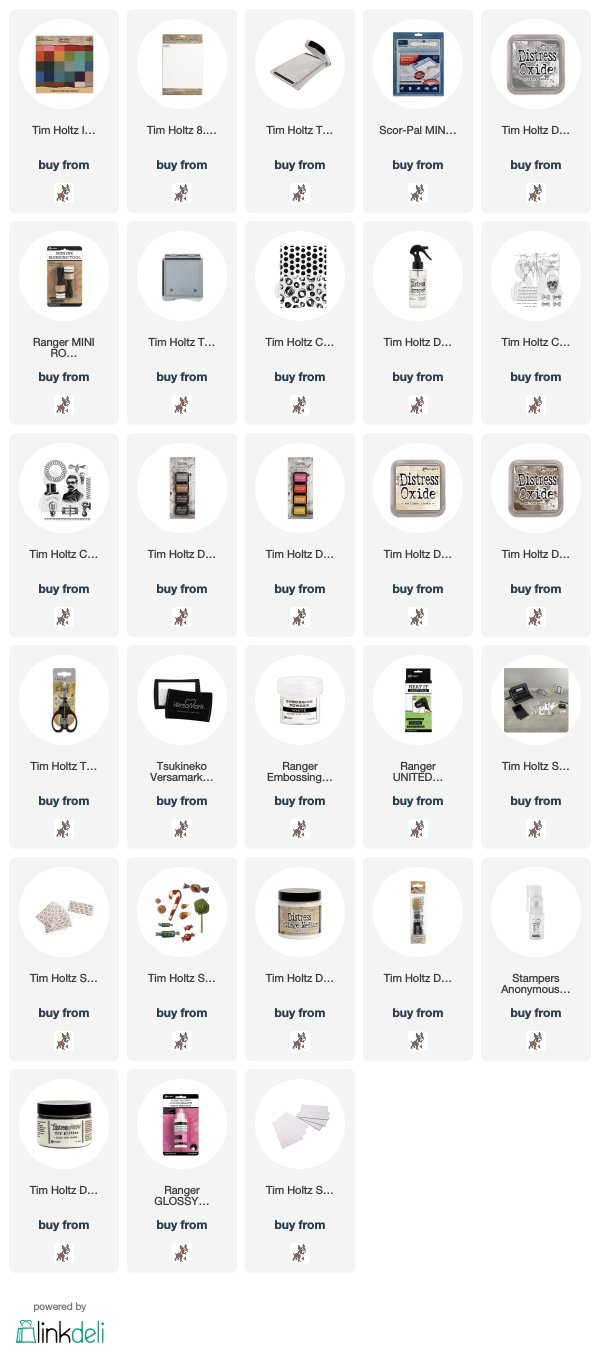
I trimmed Distress Watercolor card to measure 4" x 5.1/4" and lightly applied Hickory Smoke Distress Oxide ink on the textured side of the card using a mini round blending tool. I inked the Circles background from Circles and Dots with Hickory Smoke Distress Archival, stamped on the card, lightly spritzed with water and blotted with kitchen towel to create a tone-on-tone faded look.
I stamped the cobweb image from Life Of The Party inked with Black Soot Distress Archival ink
I coloured a scrap of Distress Watercolor card with Antique Linen and Walnut Stain Distress Oxide inks using the familiar to you by now smooshing technique, stamped 3 skulls (but only used one) inked with Black Soot Distress Archival ink and fussy cut.
I stamped the hat from The Professor and the bow tie from Life Of The Party with Black Soot and Fired Brick Distress Archival inks and fussy cut.
I inked the sentiment with Versamark ink, stamped on to a scrap of black card, heat embossed with Ranger Superfine White embossing powder and trimmed to create individual words.
I die-cut the treats from various colours of Idea-ology Classic KraftStock using Tim Holtz/Sizzix Sweet Treats Thinlits, assembled, coated some with Distress Collage Medium Matte and a sparkly coating of Distress Clear Rock Candy Glitter using the Glitter Duster and some with Glossy Accents.
Then it was time to add all the pieces to the background, popping them up on Tim Holtz/Sizzix Mini Foam adhesive to create dimension.
I added a little Glitter Duster sparkle to his bow tie and to finish I matted the panel on to an A2 card blank, covered with red Classic KraftStock, sanded back to reveal the kraft core.
I'll be back on Friday to share more cards with a party theme. In the meantime, have fun whatever you are creating
Hugs Kath xxx


*** Where available I use compensated affiliate links which means if you make a purchase I receive a small commission at no extra cost to you. You can find my affiliate and product disclosure HERE

Monday, August 26, 2019

Simon Says - 'S' is for...

Hi Everyone...welcome to another week on the Simon Says Stamp Monday Challenge Blog Thank you for joining us for last week's challenge and we hope you can join us this week too because

and the theme for this week is...
"S" is for
I chose SPOOKY and created a shadow box card using Tim Holtz/Stampers Anonymous Decayed Layering Stencil and Sizzix Ghost Town and Frightful Things Thinlits.
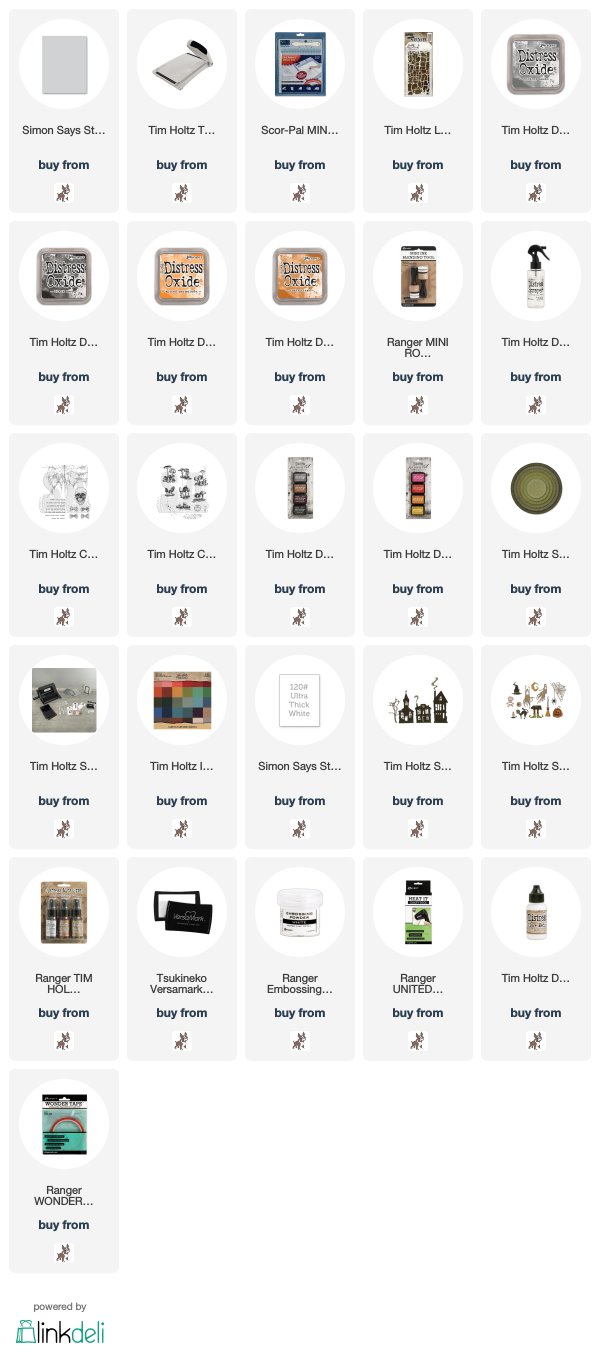
I began by trimming Simon Says Stamp Fog Gray Cardstock to measure 8.1/4" x 5.1/2" and scored at 1/4", 3/4", 4.1/4" and 4.3/4". 
No step-by-step photos from here on, I'm afraid, folks.  Mr Blogger was very naughty yesterday and deleted the whole blog post, including all the photos which I had already deleted from my camera. (Just to let you know that I only fixed the card together once all the stamping and die-cuts had been added.)
I fixed the Decayed Layering Stencil in place with washi tape, applied Hickory Smoke and Black Soot Distress Oxide inks using mini round blending tools and moved the stencil along until the whole card was decorated.
I coloured the inside back of the card using Spiced Marmalade and Rusty Hinge Distress Oxide inks. I folded the card, placed it in my Stamp Platform and stamped the cobweb image from Tim Holtz/Stampers Anonymous Life Of The Party inked with Black Soot Archival. I opened the card and re-stamped the cobweb on the inside back.
I die-cut the houses and branch from Ghost Town and the ghosts and spiders from Frightful Things from Classic KraftStock and white card. I added card coloured with Spiced Marmalade and Rusty Hinge behind each house, trimmed the houses so that they would fit on the side edges, fixed in place with Distress Collage Medium and added Tim Holtz/Sizzix Mini Foam Adhesive to the centre house to create dimension.
I added scraps of Black Classic KraftStock behind the ghosts and fixed them, the branch and spiders in place.
I inked the sentiments from Life Of The Party with Versamark ink, stamped on to Black Classic KraftStock, heat embossed with Ranger Superfine White Embossing Powder, trimmed and added to the card.
I added splatters of White Gouache and Antiqued Bronze Distress Spray, fixed Ranger Wonder Tape to the tab on the card and closed. The card will fold flat to fit in a regular sized envelope.


You can find all the products I used over at Simon Says Stamp, just click on the links below

Why don't you pop over to the Monday Challenge Blog and check out the amazing creations from my very talented Design Team mates and as always you all have the chance to win a $50 gift voucher to spend at Simon Says StampYou have until Monday 8am Ohio time...1pm UK time...2 pm CET to join in...

You can also follow Simon Says Stamp on Instagram
and if you use Instagram...
please add #sssmchallenge to your entry uploads so we can see them on there too

I look forward to seeing what you create this week...
Have Fun and Happy Crafting
Hugs Kath xxx

** Where available I use compensated affiliate links which means if you make a purchase I receive a small commission at no extra cost to you. You can find my affiliate and product disclosure HERE.