Monday, November 30, 2020

Simon Says - Focus On Alcohol Inks

Hi Everyone...welcome to another week on the Simon Says Stamp Monday Challenge Blog. Thank you for joining us for last week's challenge and we hope you can join us this week too because


and the theme for this week is...
FOCUS ON ALCOHOL INKS
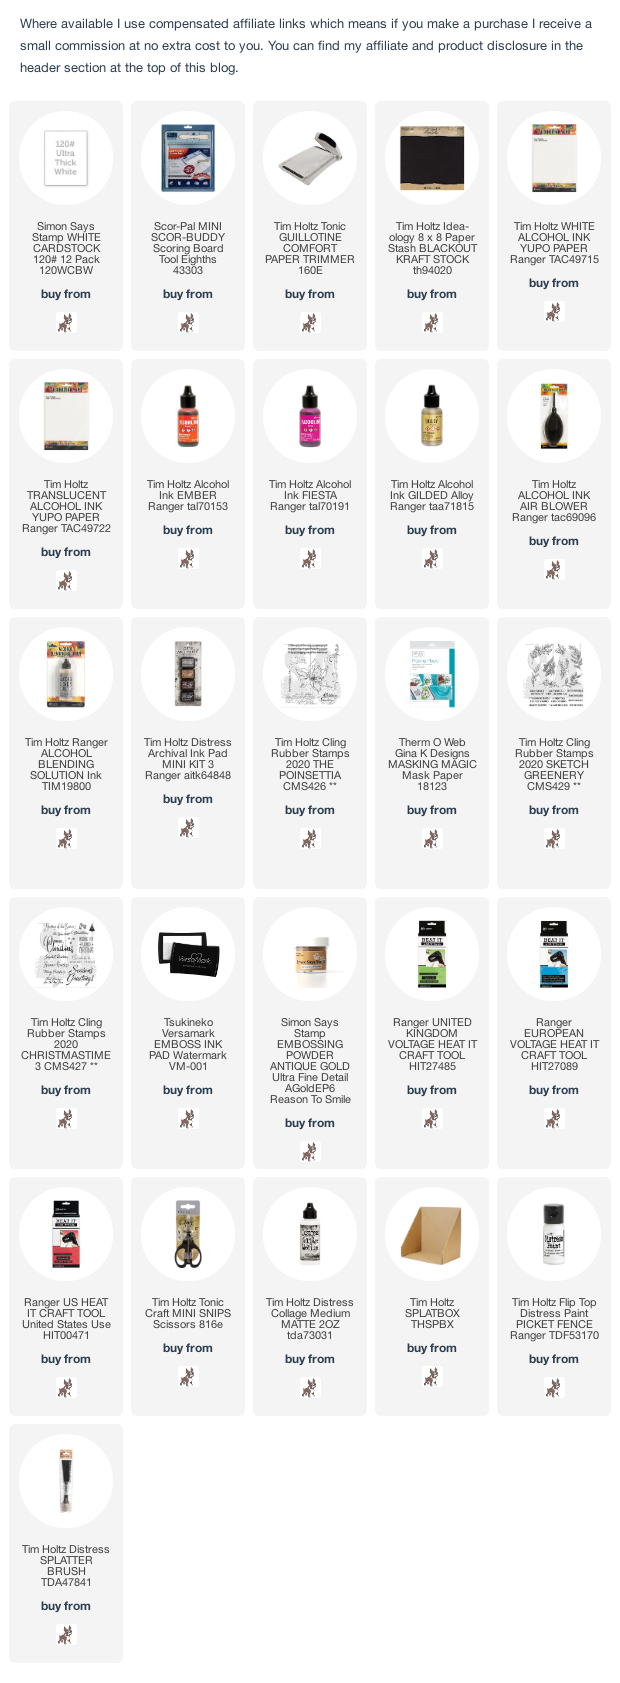
I created a card using Tim Holtz/Stampers Anonymous The Poinsettia, stamped on Tim Holtz Yupo Translucent, coloured with Ember, Fiesta and Gilded Alloy Alcohol inks and fixed to an alcohol ink background created with the same colours on Tim Holtz White Yupo. I also used Tim Holtz/Stampers Anonymous Sketched Greenery to add interest behind the poinsettia and Christmastime 3 for the sentiment.

I began by spritzing a panel of  5" x 7" Tim Holtz Translucent Yupo with Isopropyl Alcohol, added drops of Fiesta and Ember Alcohol Inks and moved around with the Air Blower. I added drops of blending solution and Gilded Alloy, went to work again with the air blower and finished with a very light mist of Isopropyl Alcohol.
For the background panel, I used Tim Holtz White Yupo and used the same method as above with only Fiesta and Ember Alcohol inks to create a lighter coloured background.
I inked the poinsettia image with Black Soot Archival and stamped on the background and masking paper and fussy cut.
With the mask in place, I stamped the image from Sketched Greenery with Vintage Photo Archival ink.
To darken the foliage, I repositioned the stamp ever so slightly and restamped with Black Soot Archival. I stamped the text from The Poinsettia randomly on the background inked with Ground Espresso Distress Archival.
I returned to the Translucent Yupo panel and stamped the poinsettia image with Versamark ink, sprinkled with Simon Says Antique Gold Embossing Powder and heat set. Yupo does not like heat but if you use the Ranger Heat It Tool which diffuses the heat and keep it moving, there will be little or no distortion of the Yupo.
I fussy cut the poinsettia, fixed in place with Distress Collage Medium Matte over the original stamped image. I stamped the sentiment from Christmastime 3 inked with Black Soot Distress Archival.
I added splatters of Picket Fence Distress Paint
I trimmed the panel down to 4.3/4" x 6.3/4" and fixed to a 5" x 7" white card blank the front of which I had covered with Idea-ology BlackOut KraftStock.

Unfortunately the 3 stamp sets that I used for this card are OUT OF STOCK at Simon Says Stamp at the moment, but if you click the NOTIFY ME button on the Simon Says product page, they will e-mail you when they are back in stock.

You can find all the products I used over at Simon Says Stamp, just click on the links below


Why don't you pop over to the Monday Challenge Blog and check out the amazing creations from my very talented Design Team mates and as always you have until Monday 8am Ohio time...1pm UK time...2 pm CET to join in with the chance to win a $25 voucher to spend at Simon Says Stamp Online Store.


You can also follow Simon Says Stamp on Instagram
and if you use Instagram...
please add #sssmchallenge to your entry uploads so we can see them on there too

I look forward to seeing what you create this week...
Have Fun and Happy Crafting
Hugs Kath xxx

Sunday, November 29, 2020

Simon Says Stamp - Slimline Scene Builder - Take 3

Hi my friends, I'm back to share another card made with Simon Says Slimline Scene Builder from the STAMPtember 2020 release, the Bold Merry Christmas stencil from the Make Merry release and Rustic Wilderness, the latest colour to join the Distress Family.

No step by step photos for this one my friends because both my phone and camera had run out of battery and I didn't have time to sit twiddling my thumbs, so here we go.
I trimmed Distress White HeavyStock to 4.3/4" x 6.3/4", fixed the Bold Merry Christmas stencil in place with temporary spray adhesive and coloured the card with Speckled Egg, Rustic Wilderness and Black Soot Distress Oxide inks using a mini round blending tool
With the stencil still in place, I flicked on water and patted dry with kitchen towel to create the water droplet effect. I stamped the small tree from Slimline Scene Builder, inked with Black Soot Stencil, so that it was sitting on top of the letter M of Merry. I removed the stencil and stamped the rest of the trees at the bottom overlapping the bottom 3 letters of Christmas.
I stamped one of the small sentiments over Merry Christmas, inked with Black Soot Archival, the tree ornaments inked with Staz On Metallic Gold and applied Ranger Glossy Accents.
I added splatters of Tarnished Brass Distress Mica Spray
and Picket Fence Distress Paint

To finish, I edged the panel with a black marker and fixed to a 5" x 7" white card blank.
I'll be back tomorrow to share my DT project for Simon Says Stamp Monday Challenge, in the meantime, have fun with whatever you are creating.
Hugs Kath xxx

Saturday, November 28, 2020

Simon Says Stamp - Slimline Scene Builder - Take 2

Hi my friends, it's me again, crikey I'm on a roll, 2 posts in one day and I'm back to share Mini Slimline cards made with the Slimline Scene Builder stamp set from Simon Says Stamp STAMPtember 2020 release and Slimline Christmas Sentiment Strips from the Holly Jolly release.

I trimmed Distress White HeavyStock to 3.1/4" x 6.1/4" to create two mini slimline cards. I taped the card panels to my Glass Media Mat using Painters Tape. I stamped the snowbank from the stamp set, inked with Pumice Stone Distress Oxide ink and coloured the top section with Speckled Egg and Evergreen Bough Distress Oxide inks using a mini round blending tool. I stamped the small tree from the stamp set, inked with Black Soot Distress Archival.
I carefully removed the Painter Tape but on the left hand card, it ripped the edge of the panel, so I had to trim it down to remove the white border (I'll be sticking, excuse the pun, with my trusty Purple Tape from now). I sprinkled on Stampendous Chunky White and Aged Black Embossing Enamels and heat set from underneath. I matted the panels on to SSS Ultra White and Schoolhouse Red Cardstock and fixed to 3.5" x 6.5" white card blanks.
I trimmed down sentiments from Simon Says Slimline Christmas Sentiment Strips and fixed in place with Distress Collage Medium Matte.
I inked the sentiments from the stamp set with Black Soot Distress Archival, stamped at the bottom of the panels and added Ranger Carnation Red Enamel Accents to the trees.

I'll be back tomorrow to share another card, not a slimline one, made with Simon Says Stamp Slimline Scene Builder stamp set, Bold Merry Christmas stencil from the Holly Jolly release and lots of Rustic Wilderness ink blending. In the meantime, have fun with your Christmas makes.
Hugs Kath xxx

Simon Says - Slimline Scene Builder

Hi my friends, I've had Simon Says Stamp Slimline Scene Builder stamp set from the STAMPtember release sitting in the cubbyhole for sometime and thought I'd better get inky before time runs away from me and Christmas is over. So I looked out my trusty Tim Holtz/Tonic Studios Stamp Platform, Distress White HeavyStock and some ink pads and made a start filling up the Christmas card box, if truth be told, up to now, it is the sole occupant but hopefully over the weekend, if I get a wiggle on, it will have some companions.

As the name suggests, the Slimline Scene Builder stamp set is perfect for creating a background on a slimline card so I inked up the large background and small snowbank stamps with Pumice Stone Distress Oxide inks and stamped on to a panel of Distress White HeavyStock. I inked the top half of the background stamp again with Black Soot and the bottom section with Pumice Stone and re-stamped, not a perfect blend of the two colours but I was happy enough with it. I stamped the trees from the stamp set inked with Simon Says Intense Black.

I inked the ornament images with Barn Door Distress Archival and stamped on the trees.
I stamped the sentiment, also inked with Barn Door Distress Archival and trimmed the panel down to 3.1/4" x 8.1/4".
I matted the panel on to a 3/1/5" x 8.1/5" card blank, scored and folded from Simon Says Stamp Schoolhouse Red cardstock.


I love a versatile stamp set that can be used in many different ways so I'll be back tomorrow to share more cards with the "more bang for your buck" Slimline Scene Builder stamp set.

In the meantime, have fun with whatever you're creating. I'll be shutting up shop early to get ready for the Facebook Live party tonight over at Tim and Mario's place, 10.00am PT or 6.00pm if you're in the UK. No need to dress up or brush your hair, just turn up with your favourite snacks and I'll see you there.
Hugs Kath xxx

Thursday, November 26, 2020

Happy Thanksgiving

Hi Everyone, I'm sharing a card I made to wish all my crafting friends in the USA a very Happy Thanksgiving and to say how thankful I am, now more than ever, to be part of the wonderful craft community and for all the friendships I've made along the way. I used Tim Holtz/Stampers Anonymous Faded Type and Pressed Foliage on a Distress Ink background inspired by Tim's fabulous weekly Facebook Lives which I know so many folks, myself included, are thankful for in this crazy lockdown year, along with Simon Says Stamp Thankful For You die.


I trimmed Distress White HeavyStock to 5.3/4" square, stamped the image from Tim Holtz/Stampers Anonymous Pressed Foliage inked with Ground Espresso Distress Oxide ink and heat embossed with Ranger Superfine Clear Embossing Powder.
I created a palette of Aged Mahogany, Rusty Hinge, Fossilized Amber Distress Inks and Peeled Paint, Walnut Stain and Fossilized Amber Distress Oxide inks on my Glass Media Mat, spritzed with water and laid the card into the inks. I dried and tapped back into the remaining droplets of ink, dried and repeated until I was happy with the background.
I inked the image from Tim Holtz/Stampers Anonymous Faded Type with Peeled Paint Distress Archival and stamped randomly on the background.
I die-cut Simon Says Thankful For You from Distress White HeavyStock and a scrap of card coloured with Walnut Stain Distress Oxide and Rusty Hinge Distress Ink.
I trimmed the coloured section to remove "for you" inked the edge with Versamark ink, heat embossed with Simon Says Antique Gold Embossing Powder and fixed over the white die-cut. I die-cut the Thankful section from Distress White HeavyStock, fixed the letters in place with Distress Collage Medium Matte and popped the sentiment panel up on Sizzix Foam Adhesive to create dimension.
I added splatters of Tarnished Brass Distress Mica Spray and fixed the panel to a 6" square white card blank.

Happy Crafting my friends and have fun with whatever you are making
Hugs Kath xxx