Friday, April 30, 2021

Simon Says Stamp - Born To Sparkle Blog Hop - Day 2

Happy Friday my friends, I'm thrilled to be joining so many talented makers on Day 2 of the Simon Says Stamp Blog Hop to celebrate the Born To Sparkle release and am excited to welcome you to my stop on the hop. If you shop during the blog hop you can use the code CRUSH428 to get an Island Crush Ink Cube Set for FREE with a purchase of $25 or more. This promotion will expire on 2 May at 11.59pm EST.

Simon Says Stamp are also giving away a $25 coupon at every stop on the blog hop from the blog comments section so be sure to leave a comment below for your chance to win. The winners will be announced on the Simon Says Stamp Blog on Wednesday 5th May. Do you know that Simon Says Stamp has card/project galleries for each of their releases and card kits and also a video gallery. There is so much inspiration to see and I encourage you to check them out and add your own cards and projects to Simon's Brand Gallery and the Born To Sparkle Gallery

I created a Slimline Card using the Spring Bouquets 6" x 8" stamp set coloured with Distress Re-inkers and a favourite from the release, the Solid Grid Background Cling Stamp designed by my lovely Simon Says Monday Challenge team mate Anna-Karin.


I began by trimming Distress Watercolor card to 3.1/4" x 8.1/4", stamped the image from Spring Bouquets, inked with Simon Says Intense Black slightly off the edge of the panel. I stamped the image again on to Simon Says Masking Paper and fussy cut.
With the mask in place, I inked the centre area of the Solid Grid Background stamp with Scattered Straw Distress Oxide ink, spritzed lightly with water and pressed the stamp randomly on to the panel.
I watercoloured the image using Scattered Straw, Wild Honey, Shabby Shutters and Peeled Paint Distress Re-inkers using a Distress Detailer Brush, drying between layers to create depth of colour and shadows.
I stamped the sentiment from Spring Bouquets, inked with Simon Says Intense Black, on to the bottom of the panel.
I used a Sakura Black Glaze Pen to colour the dots in the flower centres, added splatters of Black Gesso and while the flower centres and gesso were still wet, sprinkled with Black and Gold Embossing Powders and heated until melted to create dimension.
To finish I coloured the edges of a white Slimline card with the Scattered Straw Distress Oxide ink pad using the direct to paper method and fixed the panel in place using Distress Collage Medium Matte.

You should have arrived here from Mindy Eggen's blog and your next stop on the hop is Norine Borys but if you get lost along the way or would like to start at the beginning of the hop, head over to Simon Says Stamp Blog HERE or click on the list of makers below.
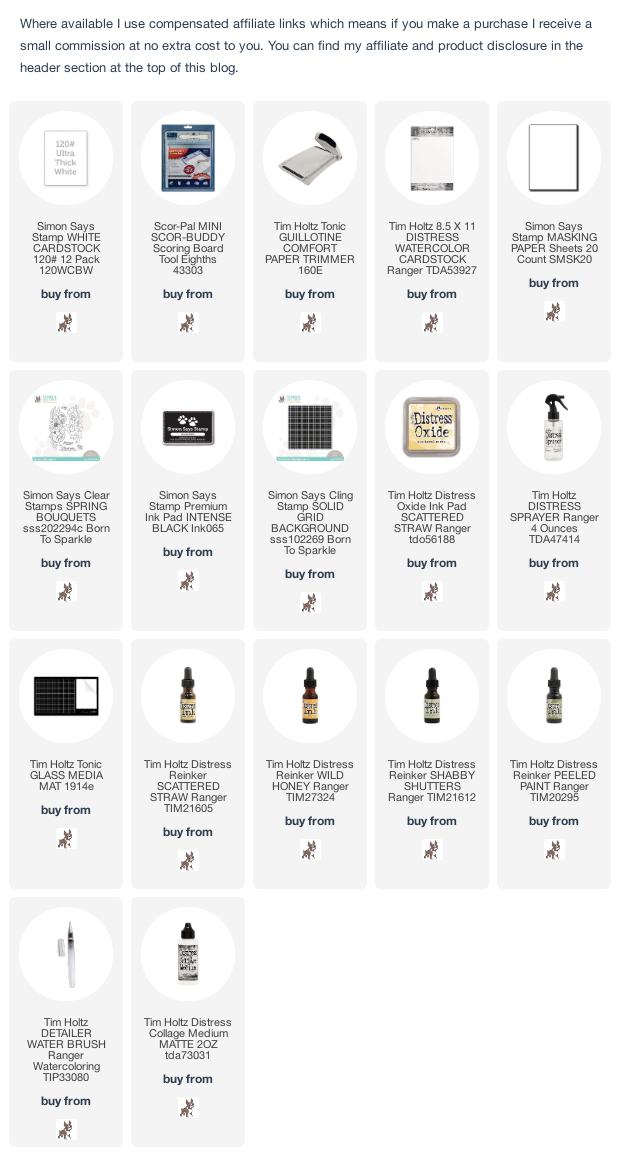
You can find all the products I used over at Simon Says Stamp by clicking on the links below
I'm off to make myself a cuppa, find a comfy sofa and check out all the amazing projects on the hop. I hope you all have a great weekend whatever you are planning to do.
Hugs Kath xxx

Thursday, April 29, 2021

Simon Says Stamp - Born To Sparkle Release

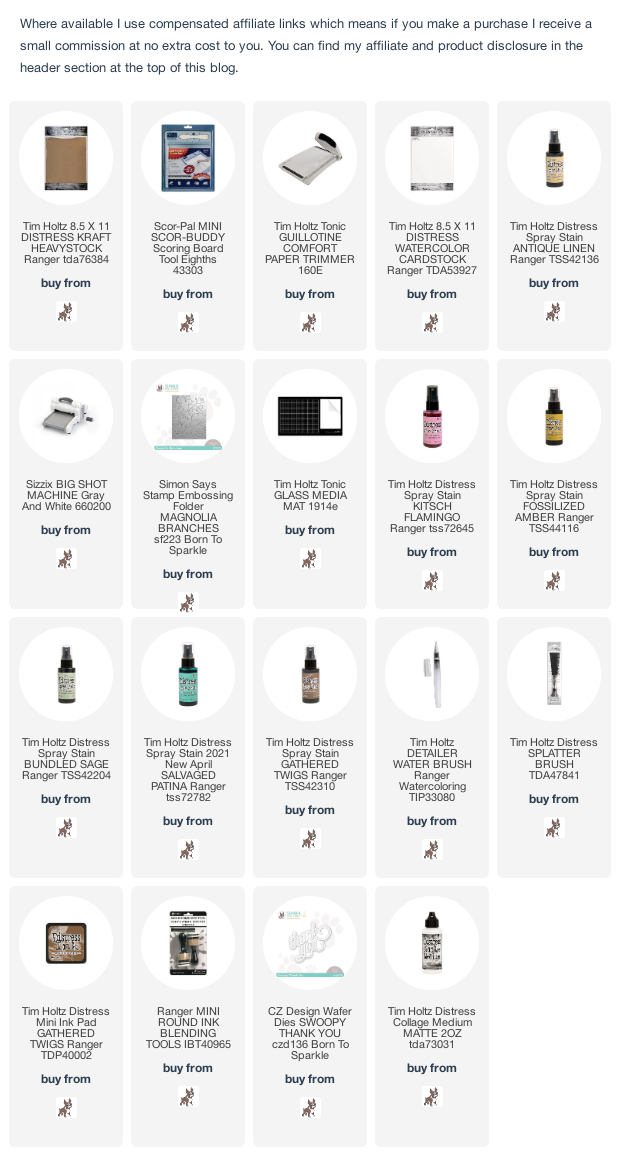
Hi my friends, I'm sharing a Slimline card I created using the Magnolia Branches Embossing Folder and CZ Designs Swoopy Thank You die from the Simon Says Stamp Born To Sparkle Release and you can check out all the new products from the release HERE. I couldn't resist sneaking in a little bit of Salvaged Patina, the newest colour to join the Tim Holtz Distress family.


I trimmed Distress Watercolor card to 5" x 8.5", spritzed with Antique Linen Distress Spray Stain, dried and embossed using Simon Says Magnolia Branches Embossing Folder. I spritzed Kitsch Flamingo and Fossilized Amber Distress Spray Stains on to my Glass Media Mat and used to watercolor the flowers using a Distress Detailer Brush.
I repeated the process with Bundled Sage and Salvaged Patina Distress Spray Stains.
I spritzed Gathered Twigs on to my Glass Media Mat and used to colour the flower centres and add splatters to the panel.
I trimmed the panel down to 3.1/4" x 8.1/4", tore diagonally across the bottom, inked the edges with Gathered Twigs Distress ink using a mini round blending tool and fixed to a Distress Kraft HeavyStock Slimline card. I spritzed a scrap of Distress Watercolor card with Kitsch Flamingo and Fossilized Amber Distress Spray Stains and die-cut the CZ Designs Swoopy Thank You. I die-cut the words again twice from Distress Watercolor card, layered to create dimension and fixed to the panel using Distress Collage Medium Matte.


I'll be back tomorrow to share another Slimline card made with more products from the Born To Sparkle release. In the meantime, have fun with whatever you are creating
Happy Crafting
Hugs Kath xxx

Monday, April 26, 2021

Simon Says - Add A Quote

 Hi Everyone...welcome to another week on the Simon Says Stamp Monday Challenge Blog. Thank you for joining us for last week's challenge and we hope you can join us this week too because


and the theme for this week is...
ADD A QUOTE
I created an Art Journal page in my Dylusions Small Creative Journal and I can't believe I'm working on the last page in this journal which contains so many memories of past projects using stamps, stencils and die-cuts with so many different techniques. 
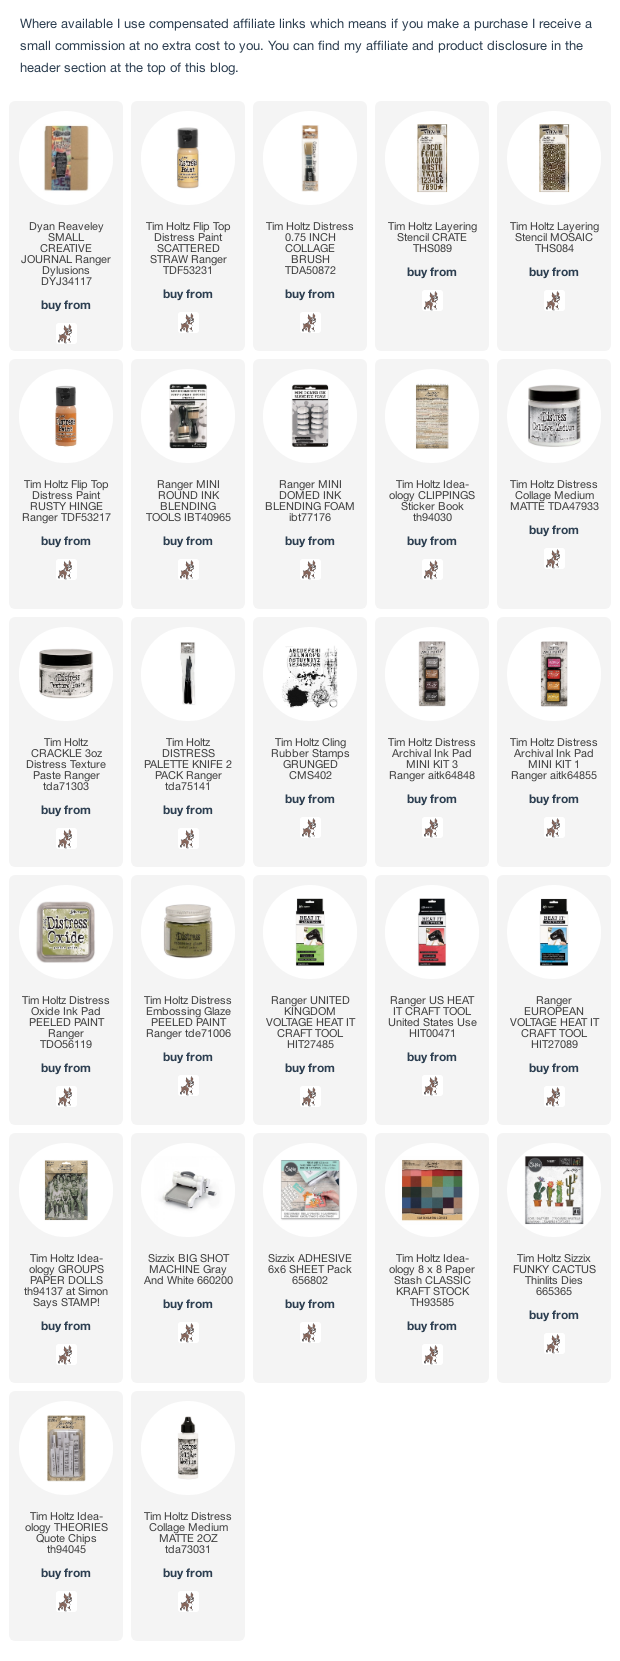
I used Distress Paints with Tim Holtz/Stampers Anonymous Crate and Mosaic Layering Stencils, Grunged stamp set, Idea-ology Clipping Stickers and Distress Crackle Texture Paste to create the background. I added an Idea-ology Groups Paper Doll, Theories Quote Chip, trimmed into sections and decorated with Sizzix Funky Cactus Thinlits.

I began by applying a light patchy coat of Scattered Straw Distress Paint using a Distress Collage Brush
I applied Scattered Straw Distress Paint through the Tim Holtz/Stampers Anonymous Crate Layering Stencil using a mini round blending tool and domed foam to create a tone-on-tone effect.
I applied Rusty Hinge Distress Paint through Tim Holtz/Stampers Anonymous Mosaic Layering Stencil to kick things up a notch in the colour department.
I trimmed a sheet of Tim Holtz Idea-ology Clipping Stickers to create a border, removed the backing sheet, pressed on to thin copy paper, trimmed along the edge and fixed to the pages using Distress Collage Medium. I applied Distress Collage Medium over the top of the stickers, coloured with a Rusty Hinge Distress Crayon, smudged with my finger and wiped back slightly using a slightly damp sheet of kitchen towel.
I added individual Idea-ology Clippings Stickers on the page to create word panels, inked the stamps from Tim Holtz/Stampers Anonymous Grunged with Ground Espresso and Spiced Marmalade and stamped randomly on the pages. To add more interest, I added Distress Crackle Texture Paste applied thinly with a palette knife.

To finish off the background, I inked the splatter stamp from Tim Holtz/Stampers Anonymous Grunged with Peeled Paint Distress Oxide ink, sprinkled with Peeled Paint Embossing Glaze and heated until melted.
I added an Idea-ology Groups Paper Doll
Theories Quote Chip
and Tim Holtz/Sizzix Funky Cactus Thinlits die-cut from Idea-ology Classic KraftStock


You can find all the products I used over at Simon Says Stamp, just click on the links below


Why don't you pop over to the Monday Challenge Blog and check out the amazing creations from my very talented Design Team mates and as always you have until Monday 8am Ohio time...1pm UK time...2pm CET to join in with the chance to win a $25 voucher to spend online at Simon Says Stamp


You can also follow Simon Says Stamp on Instagram
and if you use Instagram...
please add #sssmchallenge to your entry uploads so we can see them on there too

I look forward to seeing what you create this week...
Have Fun and Happy Crafting
Hugs Kath xxx

Wednesday, April 21, 2021

More Friendly Flowers

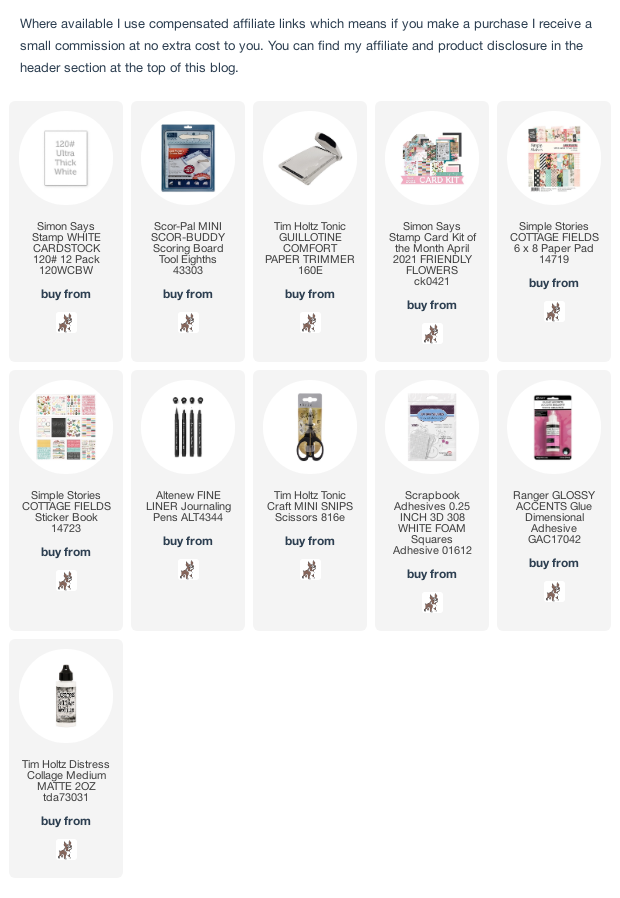
Hi my friends, I'm back to share another 3 cards made with the Simon Says Stamp Friendly Flowers April Card Kit using the Simple Stories Simple Vintage Cottage Fields 6" x 8" papers and co-ordinating stickers. 

All three cards were created using one of the papers trimmed to 4" x 5.1/4" and matted on to an A2 top-folding white card blank. I added scraps of paper to create a collage effect, images trimmed from the papers and some of the co-ordinating image and sentiment stickers.

I added faux stitching around the edges of the collaged papers using a fine line black marker pen


To finish I added Ranger Glossy Acccents to the heart stickers and butterfly bodies. Have fun with whatever you are creating.
Hugs Kath xxx

Tuesday, April 20, 2021

Tim Holtz/Sizzix Chapter 2 - Bernice Colorize

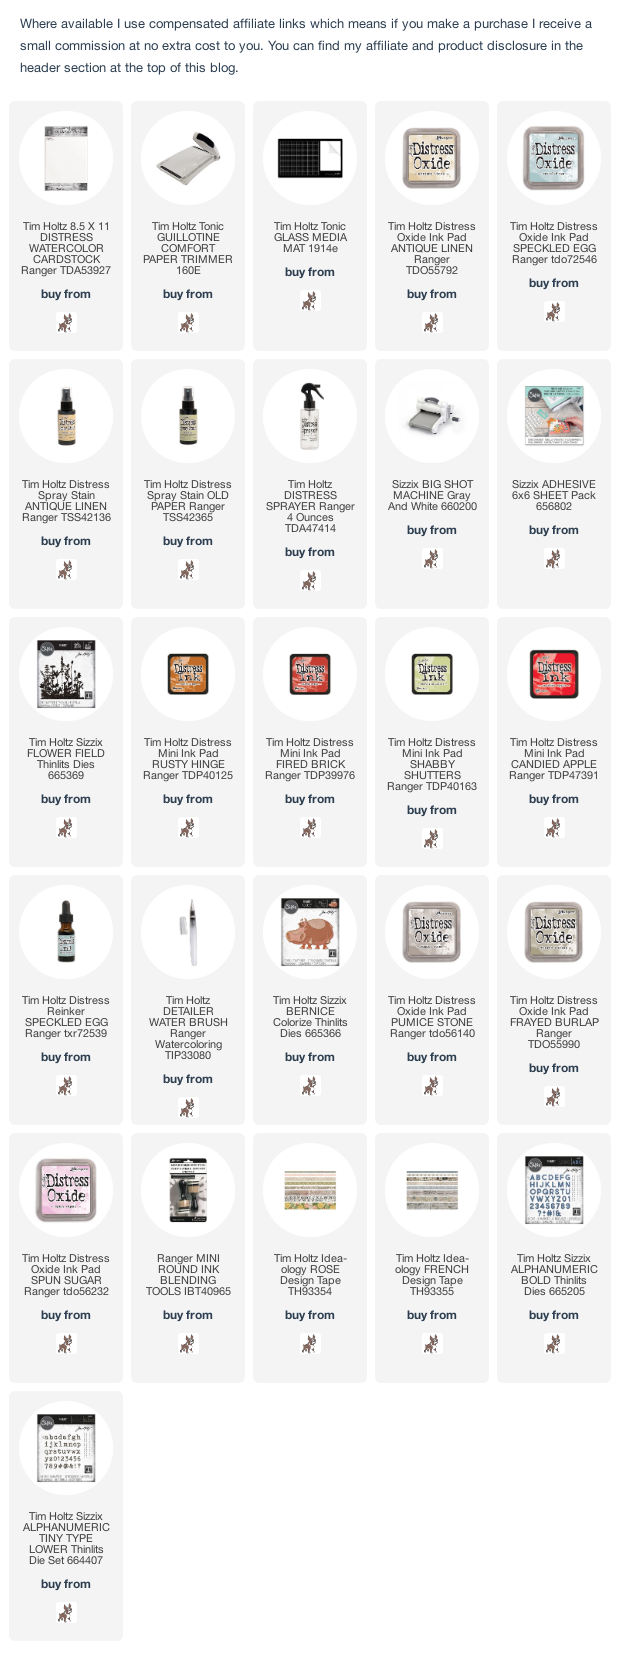
Hi my friends, I'm sharing the last of the projects I made for the YouTube Live launch of Tim Holtz/Sizzix Chapter 2 release using Bernice Colorize, Flower Field and Alphanumeric Bold and Tiny Type Thinlits. If you missed the Live, you can catch up with all the new dies and amazing samples from all the Makers over on Tim's blog HERE.


I began by trimming Distress Watercolor card to 6" x 6", smooshed Antique Linen and Speckled Egg Distress Oxide ink pads on to the craft mat of my Glass Media Mat and sprayed Antique Linen and Old Paper Distress Spray Stains. I laid the panel on to the inks, dried and then tapped back in to pick up the remaining droplets.
I fixed Sizzix Adhesive Sheets to Distress Watercolor card and die-cut the Flower Field  Thinlits. The die does line up to cut a continuous panel but the gap would be hidden by the gorgeous Bernice so I just cut it twice.
I smooshed Distress inks and added drops of Distress Ink re-inkers on to my glass media mat and water coloured the Field Flowers panel using a Distress Detailer Brush.
I fixed Sizzix Adhesive Sheets to Distress Watercolor card coloured with a mix of Pumice Stone, Frayed Furlap and Spun Sugar Distress Oxide inks using a mini round blending tool and die-cut using the Bernice Colorize Thinlits.
I added a selection of Tim Holtz Idea-ology Design Tapes to match in with the soft colours and added Bernice popped up on Sizzix Foam Adhesive.
I fixed Sizzix Adhesive sheets to scraps of Sizzix Pastel and Neutral card and die-cut using Alphanumeric Bold and Tiny Type Thinlits
To finish I matted the panel on to white card and pink card trimmed slightly larger to create a frame.


I'll be back tomorrow to share more Friendly Flowers cards using Simon Says Stamp April Card Kit, in the meantime, have fun with whatever you are creating.
Hugs Kath xxx