Thursday, April 27, 2023

Simon Says - Best Year Yet

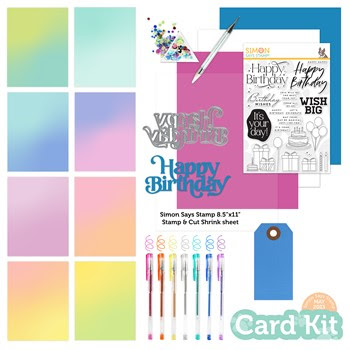
Hi my friends, when you have two left over Distress Paint "Back From The Vault" backgrounds that you don't want to waste and Simon Says Stamp Best Year Yet May Card Kit sitting on your workdesk, it's time to make some quick cards. 

The kit is still available to purchase at time of writing or if you wish, you can purchase individual items from the kit HERE.


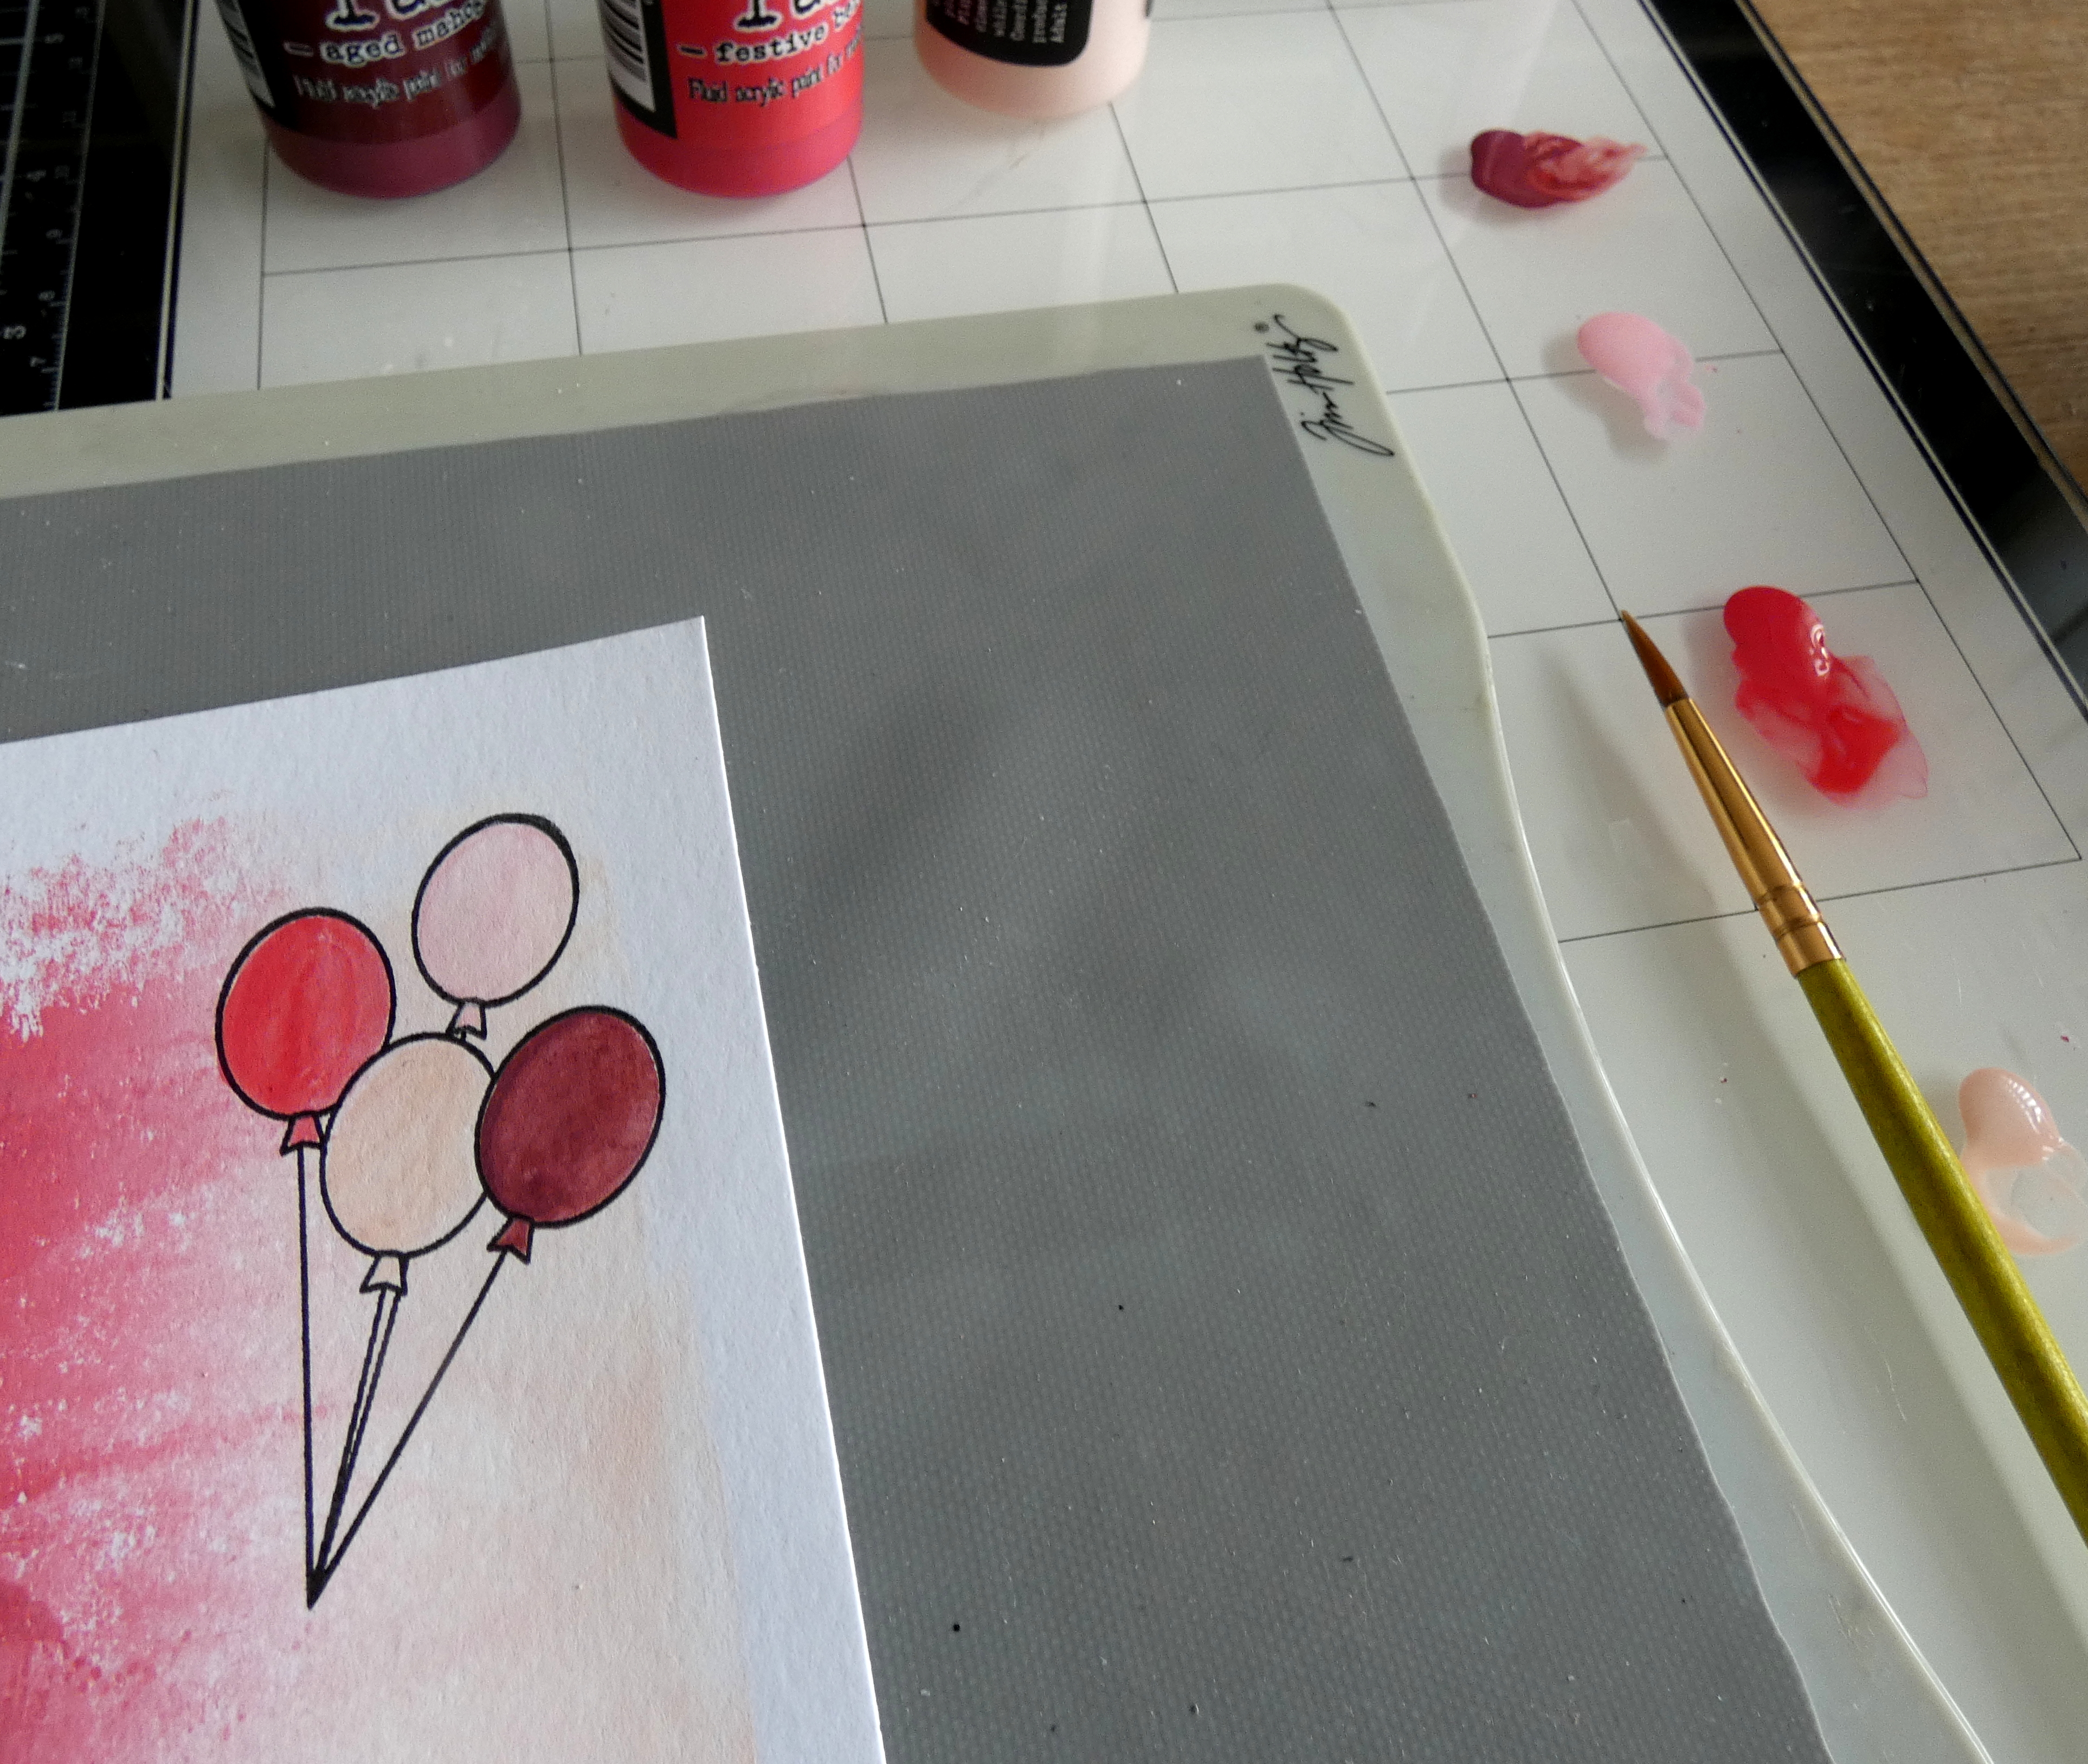
I stamped the balloons image from Simon Says Stamp Best Year Yet, inked with Simon Says Intense Black ink, on to the panel created with Tattered Rose, Spun Sugar, Festive Berries and Aged Mahogany Distress Paints.
I coloured the balloons using the same 4 paints using a small paintbrush
I stamped the large script Happy Birthday sentiment and stars from the stamp set, inked with Simon Says Intense Black ink and the stars again, inked with Versamark ink, sprinkled with Simon Says White Embossing powder and heat set. I added Ranger Glossy Accents to the balloons and set aside to dry.

I stamped the parcel images from the stamp set, inked with Simon Says Intense Black ink on to the background created with Dried Marigold, Wild Honey, Ripe Persimmon and Rusty Hinge Distress Paints.
I coloured the ribbon, bows and candle on the images with the Orange Violet Studio Glitter Gel pen included in the kit and added details using a Sakura White Gelly Roll Pen and Black Marker.
I stamped the sentiment with Wild Honey Distress Oxide ink and stencilled the dots from Tim Holtz/Stampers Anonymous Everyday Art Element Stencils using Picket Fence Distress Paint and a blending tool with a domed foam.
I added Simon Says Surprise Party sequins, included in the kit, to both cards, trimmed the edges with Tim Holtz/Tonic Studios Deckle Edge Trimmer and fixed to A2 white card blanks.

Have fun with whatever you are making
Hugs Kath xxx

Tuesday, April 25, 2023

Distress Paints "Back From The Vault" Collection

Hi my friends, I was over the moon when Tim Holtz and Ranger announced they were bringing back 20 colours of Distress Paints which had been previously retired.And there was more exciting news, the release of  the Multi Storage Tin which has two separate inserts to store 20 - Distress Paints, 24 - Distress Re-inker bottles or 20 - Mini Distress Sprays. A big thank you to Tim and Ranger for making this organisation obsessed crafter very happy.

decided I wanted to create a project using all 20 of the Distress Paints but hey 20 colours on one sheet of card was probably going to end up looking like a hot mess. But thanks to my plans for a weekend in the garden being scuppered by heavy rain on Saturday and Sunday, I headed to the cubbyhole with flowers on my mind and had the most fun production line adventure showcasing all 20 delicious colours using Tim Holtz/Stampers Anonymous Bold Botanicals, Floral Trims and Noteworthy stamp sets.
I began by adding a small drop of the first 4 colours to my Glass Media Mat
spread with my Tim Holtz Distress Medium Brayer to create an ombre effect
and applied to the Tim Holtz/Stampers Anonymous Bold Botanicals stamp
I stamped the image on to an A2 panel of Distress Watercolor card and brayered the rest of the paint on to a second panel.
I repeated this process with the other 4 sets of Distress Paints.
I trimmed all the panels to 4" x 5.1/4" using Tim Holtz/Tonic Studios Deckle Edge Trimmer.
I stamped the sentiments from Tim Holtz/Stampers Anonymous Noteworthy, inked with Black Soot Distress Archival ink.
I stamped more sentiments from Noteworthy on to strips of Distress Black HeavyStock, inked with Versamark ink, sprinkled with Simon Says White Embossing Powder, heat set and trimmed with Tim Holtz/Tonic Studios Mini Trimmer. Nothing beats having the right tools for the job.
I fixed the embossed sentiment strips in place with Simon Says Foam Squares to create dimension and matted the panels on to white card blanks trimmed to A2 using the mighty Tim Holtz/Tonic Studios Rotary Media Trimmer.
Here are the photos of the different colour combinations using all 5 sets of the Back From The Vault Distress Paint Collection. These were quick to make and would make a perfect gift for a non-crafting friend.


I love all the colour combos but I have to say this one is my favourite
Have fun and happy crafting
Hugs Kath xxx

Monday, April 24, 2023

Simon Says - Make Your Mark

Hi Everyone...welcome to another week on the Simon Says Stamp Monday Challenge Blog. Thank you for joining us for last week's challenge and we hope you can join us this week too because


and the theme for this week is...
MAKE YOUR MARK
I used Tim Holtz/Stampers Anonymous Tiny Prints to create the background on my card, added marks using the Mini Brush Hex and Brush Mark Layering Stencils from Set and Exquisite stamp set. I added a Tim Holtz/Sizzix Wildflower Stems Thinlits die-cut, Note Quotes sentiment, Idea-ology Specimen Remnant Rubs and doodled a black line around the edges.

I inked the Tim Holtz/Stampers Anonymous Tiny Prints background stamp with Evergreen Bough and Rustic Wilderness Distress Oxide inks, spritzed with water and stamped on to an A2 panel of Distress Watercolor card. I spritzed Rustic Wilderness Distress Spray Stain on to my Glass Media Mat, tapped the Brush Hex Mini Layering Stencil into the ink and pressed randomly on to the panel to create a monoprint effect. I applied Distress Texture Paste Crackle through the Mini Brush Mark Layering Stencil and once dry, stamped the script from Tim Holtz/Stampers Anonymous Exquisite, inked with Villainous Potion Distress Oxide ink. 
I die-cut Tim Holtz/Sizzix Wildflower Stems Thinlits from Distress Watercolor card 3 times and layered to create dimension. I coloured with Rustic Wilderness, Wild Honey and Villainous Potion Distress Watercolor Pencils using a Distress Detailer Brush to pick up the colour from the pencils and added splatters of Black Soot Distress Paint.
I added Idea-ology Specimen Remnant Rubs to the background
I added shading to the Brush Mark/Texture Paste Crackle stencilling use a Walnut Distress Crayon and Distress Blending Brush. I fixed the die-cut flower to the panel with Foam Squares.
I stamped the outline circle and sentiment from Tim Holtz/Stampers Anonymous Note Quotes on to acetate, inked with StazOn Jet Black ink, fussy cut and fixed to the panel by applying Ranger Glossy Accents to the back of the acetate with my finger.
I inked around the edges of the panel using Rustic Wilderness Distress Oxide ink and a Blending Tool and added an Idea-ology Mummy Cloth bow, coloured with Wild Honey Distress Oxide Spray. To finish, I matted the panel on to a white card blank.


You can find all the products I used over at Simon Says Stamp, just click on the links below


Why don't you pop over to the Monday Challenge Blog and check out the amazing creations from my very talented Design Team mates and as always you have until Monday 8am Ohio time...1pm UK time...2pm CET to join in with the chance to win a $25 voucher to spend online at Simon Says Stamp


You can also follow Simon Says Stamp on Instagram
and if you use Instagram...
please add #sssmchallenge to your entry uploads so we can see them on there too

I look forward to seeing what you create this week...
Have Fun and Happy Crafting
Hugs Kath xxx

Wednesday, April 19, 2023

Happy Sunshine Cards

Hi my friends, yellow is not a colour I use very often but I do love it when combined with black so I decided to embrace this happy sunshine colour to create cards using the beautiful floral images from Tim Holtz/Stampers Anonymous Bold Botanicals. Seeing as it was going to be an out of my comfort zone adventure anyway, I decided to throw images from The Inspector, Tiny Prints and Creative Blocks into the mix along with some stencilling. "Just go for it" may be my new motto.coloured A2 panels of Distress Watercolor card with a mix of Fossilized Amber and Wild Honey Distress Oxide inks, spritzed with water and dried.
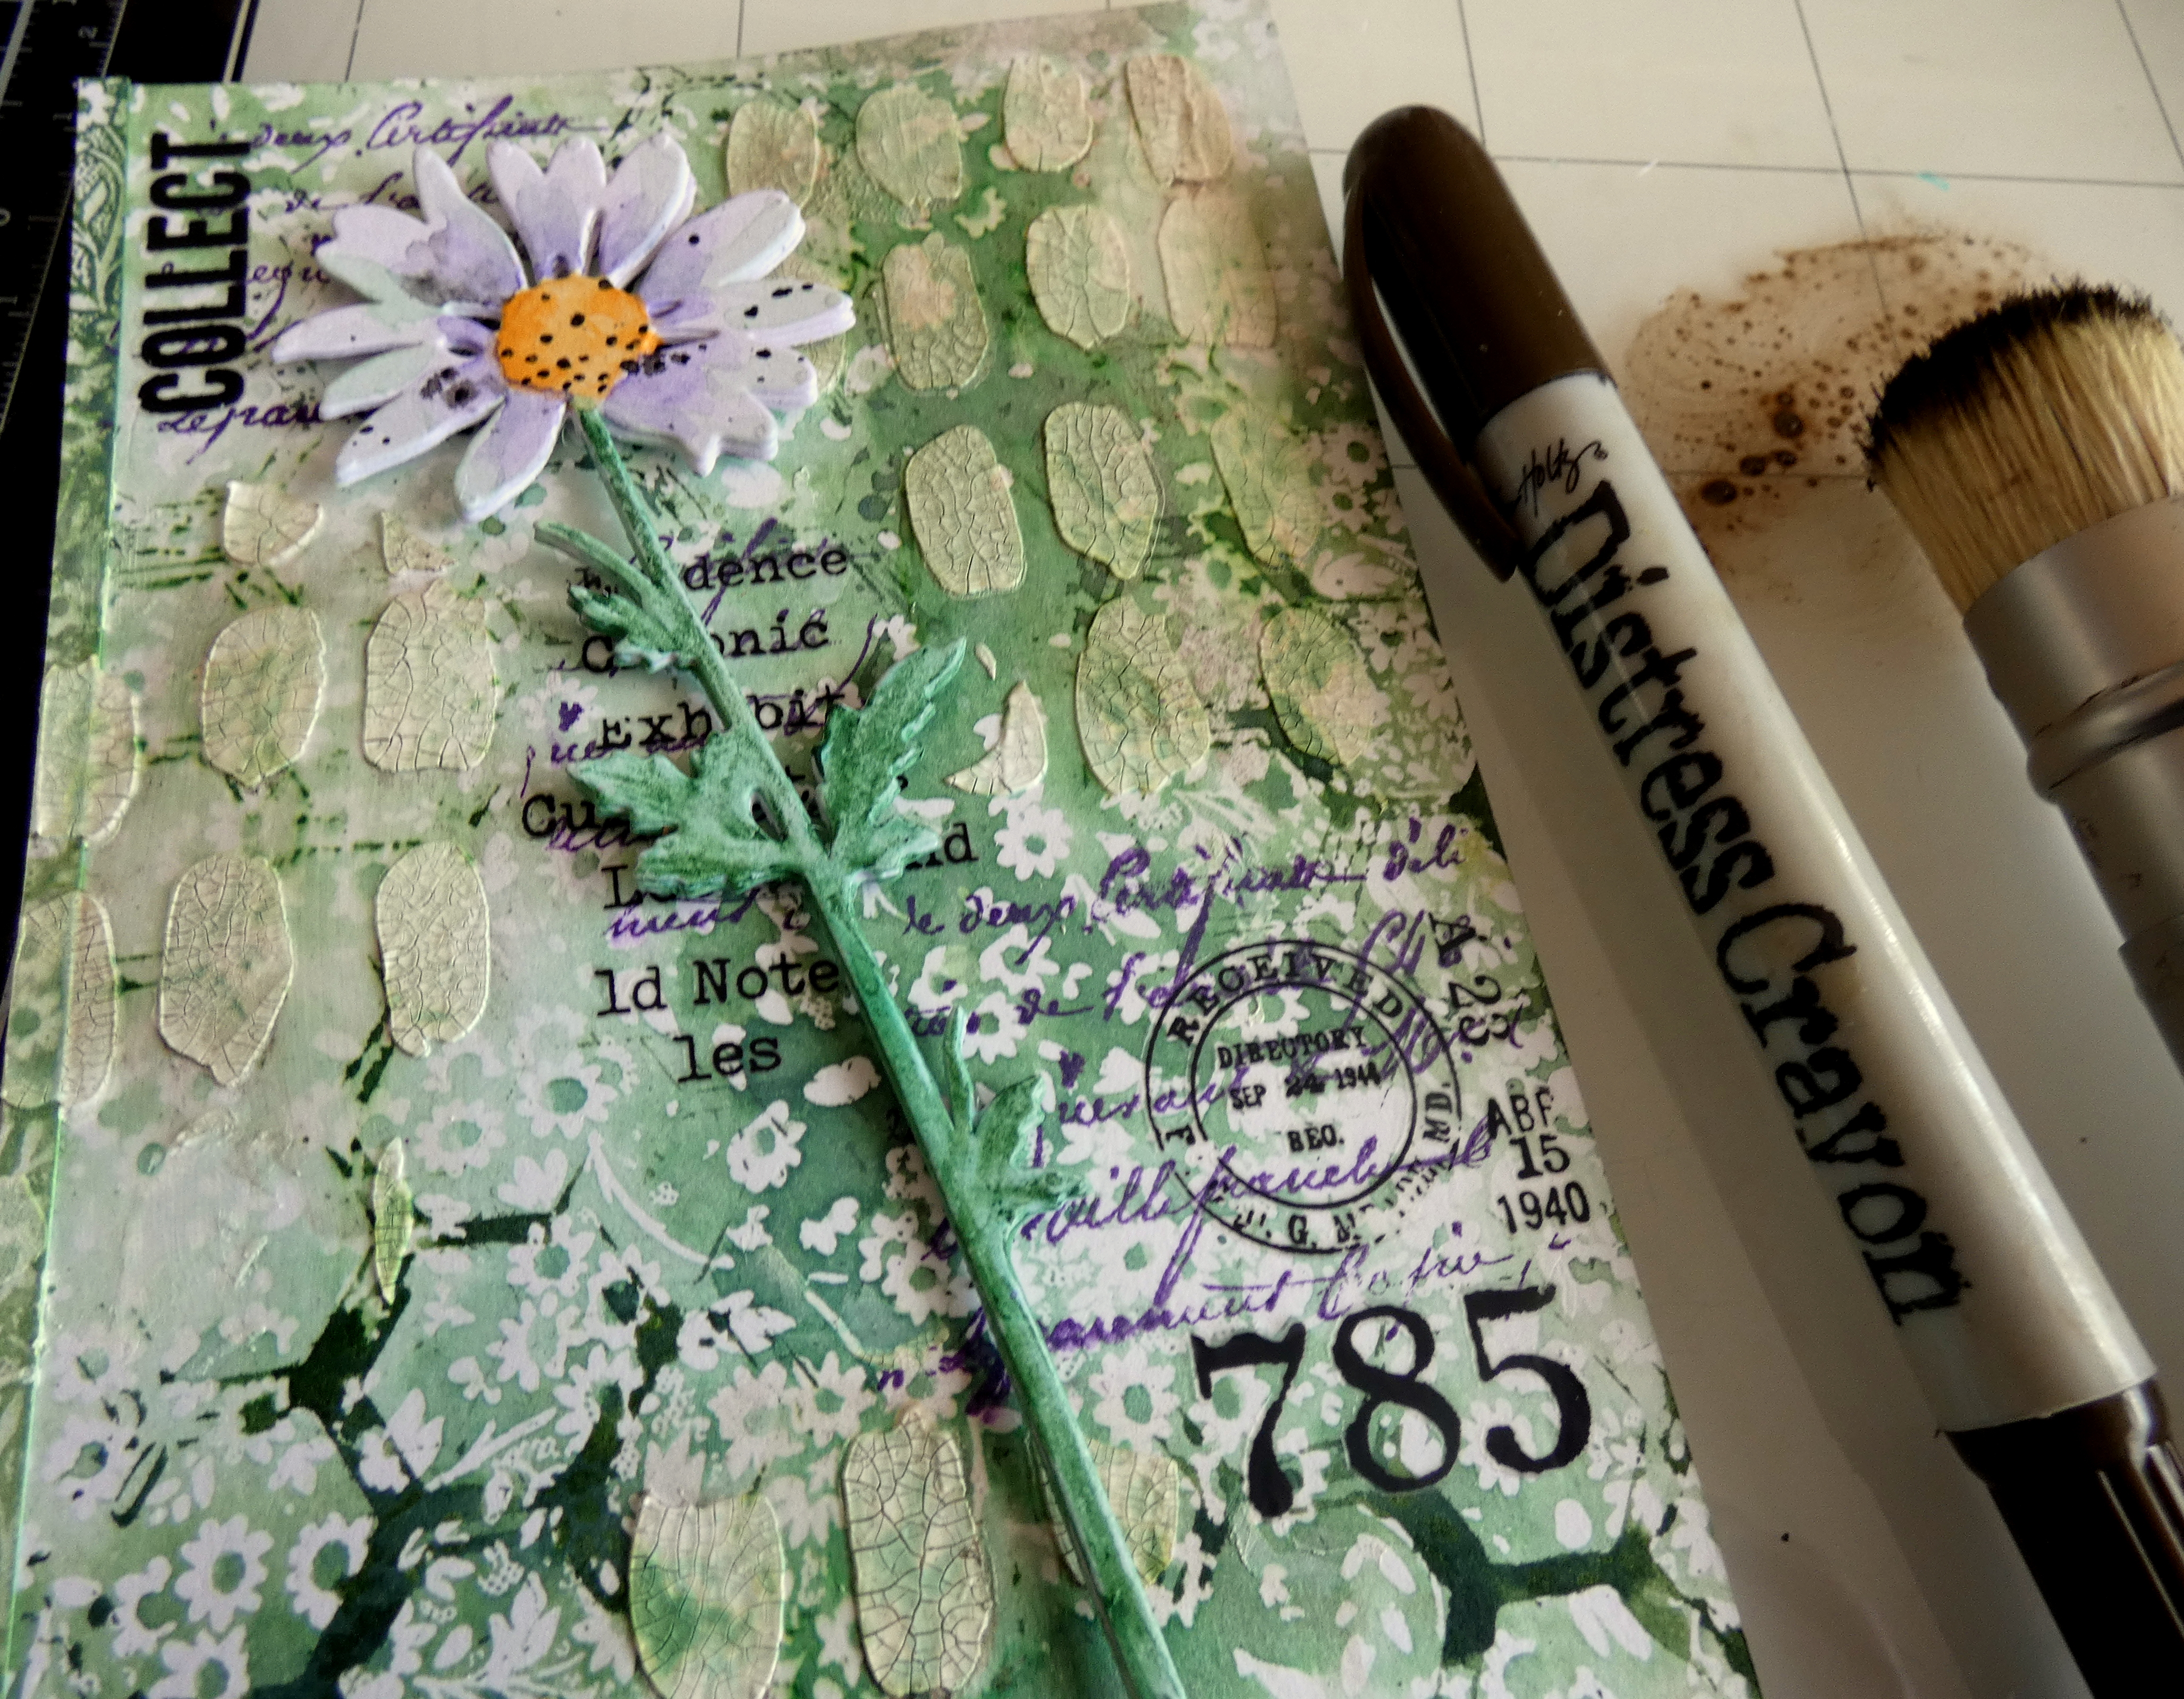
I applied Wild Honey Distress Oxide ink through the Tim Holtz/Stampers Anonymous Brush Hex, Brush Mark and Brush Arch Layering Stencils to create a tone-on-tone effect.
I inked both Tiny Prints background with Ground Espresso Distress Oxide ink and holding the stamps in my hands, stamped randomly around the edges of the background panels.
I inked the images from Tim Holtz/Stampers Anonymous Bold Botanicals with Black Soot Distress Archival ink, stamped on to Distress Watercolor card and trimmed to leave a small border using Tim Holtz/Tonic Studios Deckle Edge Trimmer.
I coloured the images with Distress Watercolor Pencils by picking up the colour from the tip of the pencil with a Detailer Brush. I dried each layer of colour before adding more until I was happy with the colours and the shading.
Then came a big oops moment. I had intended to re-stamp the image after colouring to re-define the details but realised the error of my ways as I removed the first stamp from the lid of my stamp platform. But hey, I wasn't going to start over so I looked out my trusty Simon Says Stamp Grid Transparency, tucked into the corner of the stamp platform, lined up the stamp and stamped the image on the Grid Transparency, inked with Black Soot Distress Archival ink.
I slid the stamped image under the Grid Transparency until the images lined up perfectly, carefully removed the Grid Transparency and re-stamped over the original image. I repeated this step with the other stamped images.
I stamped the typography background and playing card icons from The Inspector on to the backgrounds, inked with Black Soot Distress Archival and Crackling Campfire Distress Oxide ink and fixed the Bold Botanicals panels to the backgrounds. I stamped the images from Creative Blocks on to acetate. inked with StazOn Jet Black and fussy cut. I dabbed White Gesso sparingly on to the backs of the acetate tiles to make them slightly less transparent and fixed to the backgrounds with staples using Tim Holtz Tiny Attacher. I stamped the sentiment banner from The Inspector, inked with Black Soot Distress Archival, on to scraps of Distress Watercolor card, coloured with Fossilized Amber and Wild Honey Distress Watercolor Pencils, trimmed and highlighted the inside of the letters with a Sakura White Gelly Roll Pen. I added Distress Crackle Texture Paste through the dots EveryDay Art Element Stencil randomly over the backgrounds.


To finish I matted the panels on to A2 panels of Black Distress HeavyStock and fixed to A2 white card blanks.


Hugs Kath xxx