Thursday, July 30, 2020

Joy To The World

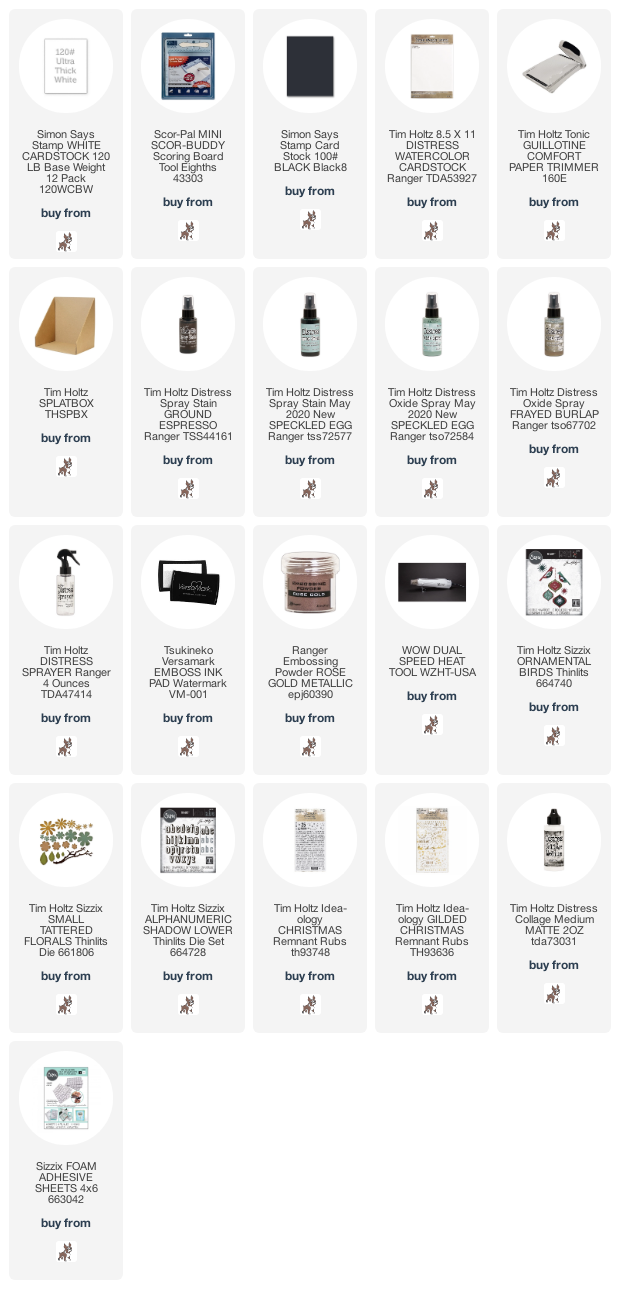
Hi my friends, I'm sharing a card I made for the Facebook Live launch of Tim Holtz/Sizzix Chapter 3 collection of Christmas dies using the ornaments from Ornamental Birds Thinlits and Alphanumeric Shadow Lower Thinlits for the sentiment.
If you missed the launch, you can catch up over on Tim's Blog HERE and check out all the new Dies, Texture Fades and so many inspirational samples.

I began by creating several backgrounds on Distress Watercolor Card using Ground Espresso Distress and Speckled Egg Spray Stain, Speckled Egg and Frayed Burlap Distress Oxide Spray, decided to use this one as the card background and trimmed to be slightly smaller than A2.
I die-cut the ornaments from the remaining backgrounds and a scrap of card which I heat embossed with Versamark ink and Ranger Rose Gold Embossing Powder to match in with the gold embossing around the edges of the die-cuts. I assembled each ornament using Distress Collage Medium Matte and Sizzix Foam Adhesive.
I die-cut the branch 4 times from one of the darker backgrounds using Tim Holtz/Sizzix Small Tattered Florals Thinlits and layered to create dimension.
I repeated the gold embossing around the edge of the panel, fixed gold threads on the back of branch and fixed in place with Distress Collage Medium Matte. I added the ornaments popped up on Sizzix Foam Adhesive to create dimension.
I die-cut the letters from black card and the gold embossed card using Alphanumeric Shadow Lower Thinlits and fixed in place slightly offset to create a drop shadow. I added an Idea-ology Christmas Remnant Rub to a strip of the gold embossed card to complete the sentiment.
I die-cut the ornament string again from the gold embossed card and added the waste dots from the die-cut to create the look of berries around the branch and one in the centre of the ornament.

To finish off, I added stars from Idea-ology Gilded Christmas Remnant Rubs
and matted the panel on to a white A2 card blank, covered with black cardstock
The weather in my neck of the woods has turned decidedly chilly and more Autumnal than Summer so I'll be heading to the cosy cubbyhole to continue with a fun Halloween Dress Up project, in the meantime, I hope you are having fun with whatever you are making.

Hugs Kath xxx
Tuesday, July 28, 2020

Papercut Christmas Colorize

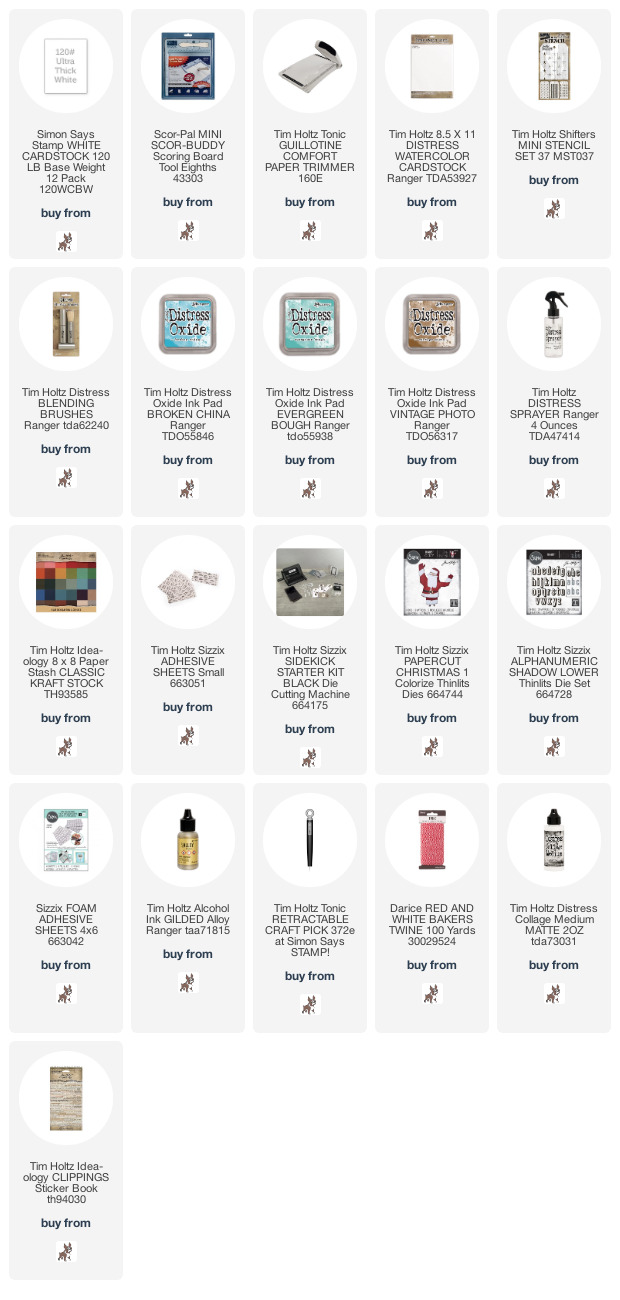
Hi my friends, I'm sharing a card I made for the Facebook Live launch of Tim Holtz/Sizzix Chapter 3 collection of Christmas dies using Papercut Christmas, a wonderful whimsical addition to the Colorize Collection.
If you missed the launch, you can catch up over on Tim's Blog HERE and check out all the new Dies, Texture Fades and so many inspirational samples.


I began by trimming Distress Watercolor card to 3.3/4" x 5.3/4" and working on the textured side of the card, applied Broken China and Evergreen Bough through the Trees Mini Layering Shifter Stencil from Set 37 using a Distress Blender Brush. I love how the Blender Brush allows you to get subtle variations in colour and let's you get into all the nooks and crannies of the stencil.
I used scrap paper as a mask and worked my way up the stencil adding Vintage Photo Distress Oxide ink to shade the tree trunks.
I spritzed the panel with water and blotted with kitchen towel to create a softer look.
I fixed Tim Holtz/Sizzix Adhesive Sheets to scraps of Distress Watercolor and Idea-ology Classic KraftStock and die-cut using the Papercut Christmas Colorize Thinlits.
shaded the edges of each piece very lightly with Black Soot Distress Ink and assembled, following the indented marks left on each die-cut piece
I coloured the edges of the panel lightly with Vintage Photo Distress Oxide ink, spritzed with water, blotted with kitchen towel to create the water droplet effect and fixed to a slightly larger panel of Idea-ology Christmas paper. I die-cut HO HO HO from Distress Watercolor card and Idea-ology Classic KraftStock using Alphanumeric Shadow Lower Thinlits, removed the adhesive backing from the letters and fixed in place.
I dripped Distress Alloy Gilded Alcohol Ink into a plastic cup, added the Idea-ology Jingle Brads (now retired) swirled around until they were coated with the ink, tipped out on to kitchen towel and left to dry.
I machine stitched around the panel and fixed the Papercut Santa in place, popped up on Sizzix Foam Adhesive to create dimension. I pierced holes in the panel, fixed the brads in place and added Idea-ology Jute String held in place behind the brads with small dots of Distress Collage Medium Matte.
and added stickers from the Idea-ology Clippings Stickers Book.
I matted the finished panel on to a 4" x 6" white card blank.

I'll be back soon to share more Tim Holtz/Sizzix Chapter 3 makes, in the meantime, have fun with whatever you are creating.
Hugs Kath xxx


Where available I use compensated affiliate links which means if you make a purchase I receive a small commission at no extra cost to you. You can find my affiliate and product disclosure HERE

Monday, July 27, 2020

Simon Says - Art Journal

Hi Everyone...welcome to another week on the Simon Says Stamp Monday Challenge Blog. Thank you for joining us for last week's challenge and we hope you can join us this week too because

and the theme for this week is...
ART JOURNAL
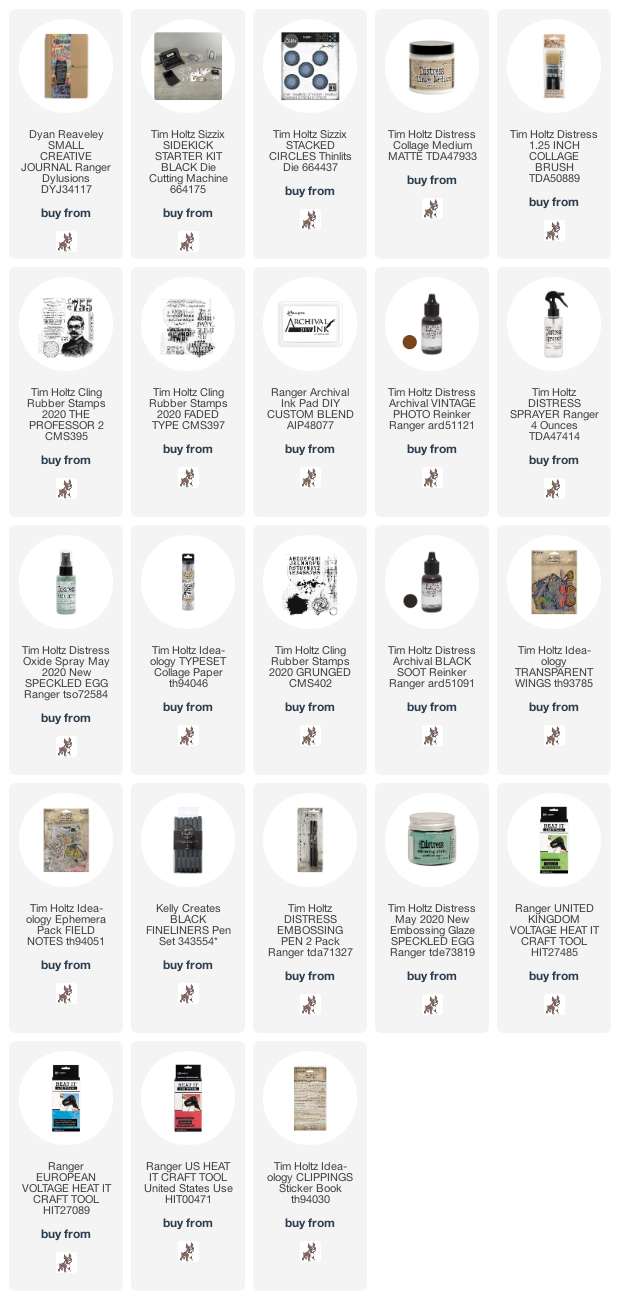
I created an Art Journal Page in my Dylusions Creative Journal dedicated to my garden, my oasis of calm and peace at times when this crazy world has me running around in circles. I used Tim Holtz/Sizzix Stacked Circles Thinlits, Tim Holtz/Stampers Anonymous The Professor 2, Grunged and Faded Type and Idea-ology Typset Collage Paper, Field Notes Ephemera, Transparent Wings and Clippings Sticker Book on a background of Speckled Egg Distress Oxide Spray.

I began by die-cutting various sizes of the Stacked Circle Thinlits from scraps of Distress Mixed Media HeavyStock and fixed them to the pages using Distress Collage Medium Matte. I inked the images from The Professor 2 and Faded Type with Vintage Photo Distress Archival ink and stamped randomly on the circles. I sprayed the pages with water, followed by Speckled Egg Distress Oxide Spray, allowing the spray to run down the pages and pool around the circles. Once dry, I inked the images from Grunged with Vintage Photo and Black Soot Distress Archival and stamped randomly over the pages.
I added small torn strips of the Idea-ology Typeset Paper, Transparent Wings and Field Notes, all fixed in place with Distress Collage Medium. To make the circles stand out more from the background, I used the Distress Embossing Pen to draw around the edges of the circles, sprinkled with Speckled Egg Embossing Glaze and heat set to melt.
I scribbled around the edges of the Field Notes Ephemera using a Kelly Creates Black Fineliner pen and added stickers from the Idea-ology Clippers Stickers book.


You can find all the products I used over at Simon Says Stamp, just click on the links below


Why don't you pop over to the Monday Challenge Blog and check out the amazing creations from my very talented Design Team mates and as always you have until Monday 8am Ohio time...1pm UK time...2 pm CET to join in with the chance to win a $25 voucher to spend at Simon Says Stamp Online Store.


You can also follow Simon Says Stamp on Instagram
and if you use Instagram...
please add #sssmchallenge to your entry uploads so we can see them on there too

I look forward to seeing what you create this week...
Have Fun and Happy Crafting
Hugs Kath xxx


Where available I use compensated affiliate links which means if you make a purchase I receive a small commission at no extra cost to you. You can find my affiliate and product disclosure HERE

Friday, July 24, 2020

Off On A Tangent Cards

Hi my friends, it's Friday, the end of another week and one that hasn't been very productive because my mojo decided to disappear down the crafting rabbit hole on Monday and refused to be tempted out. So yesterday in an attempt to get back on track, I dived into the backgrounds box containing piles of creative playtime adventures inspired by Tim's 16 weeks of Facebook Live Masterclasses and I can't be the only one who's missing our Saturday night parties over at Tim and Mario's place.
I decided to try and make something out of two of my "didn't go as well as I hoped" attempts at spraying through stencils with Distress Resist Spray over Alcohol Ink Backgrounds, heat embossing and then hosing down with Isopropryl.
and while I was having a delve through my stamps and dies, I came across these two long forgotten "as old as the hills" favourites, French Flight and Joy Framelits (stamps with matching dies). So mixing the old with the new, I created two cards


And just as I was winding down for the day, Happy Mail deliveries arrived and no prizes for guessing that I might just be re-organising my Distress stash this weekend.
And the Speckled Egg Distress Pin is also very happy, now that he has some company thanks to the kindness and generosity of  Tim, my adorable Professor and Mario, the sweetest Master Shipper and BTS man.

Enjoy your weekend, whatever you have planned and I'll see you all on Monday to share my DT project for Simon Says Stamp Monday Challenge. You still have time to join in with this week's "Day At The Beach" Challenge with a chance to win a $25 voucher to spend online at Simon Says Stamp.
Hugs Kath xxx