Saturday, September 30, 2023

Tim Holtz STAMPtember 2023

Hi my friends, if you've just come from the YouTube Live party release of the Tim Holtz STAMPtember 2023 collaboration with Simon Says Stamp, you'll know our adorable Professor has knocked it out of the park again with a fantastic bundle of adorable stamps, two stencils and mini pots of Distress Texture Paste Sparkle and Distress Grit Paste Glow. The set is limited edition, exclusive to Simon Says Stamp and only available while stocks last, so if you want it, don't delay, you need to go get it NOW. I'm sharing the first card I made using the stamps, stencils and Texture Paste Sparkle from the bundle.

There are no step-by-step photos this time around because I was on a super speedy mission to get the cards made and sent on their merry way across the pond but I will do my best to explain the how-to's.
But before we continue, I want to give a huge shout out to Parcelforce/Royal Mail who are much maligned when it comes to deliveries. On this occasion the delivery schedule was very tight but they absolutely nailed it. The package was picked up late on Thursday afternoon and delivered safe and sound, halfway across the world, on the following Monday lunchtime.  It's easy to complain and criticise when things go wrong but just as easy to give credit where credit is due and might just make someone's day. So, it's a big thank you from me to all the folks at Parcelforce for a job well done.
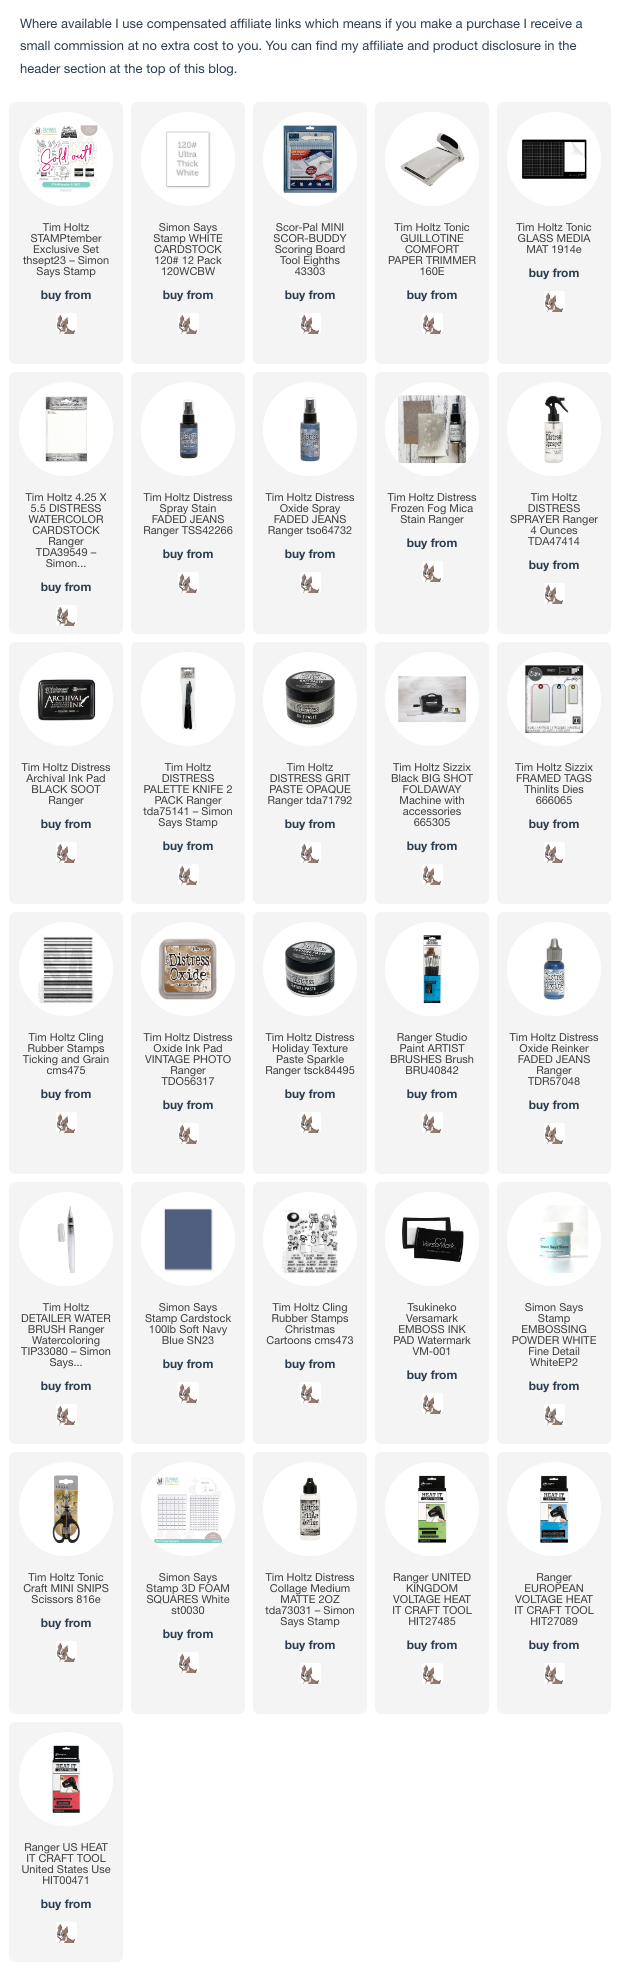
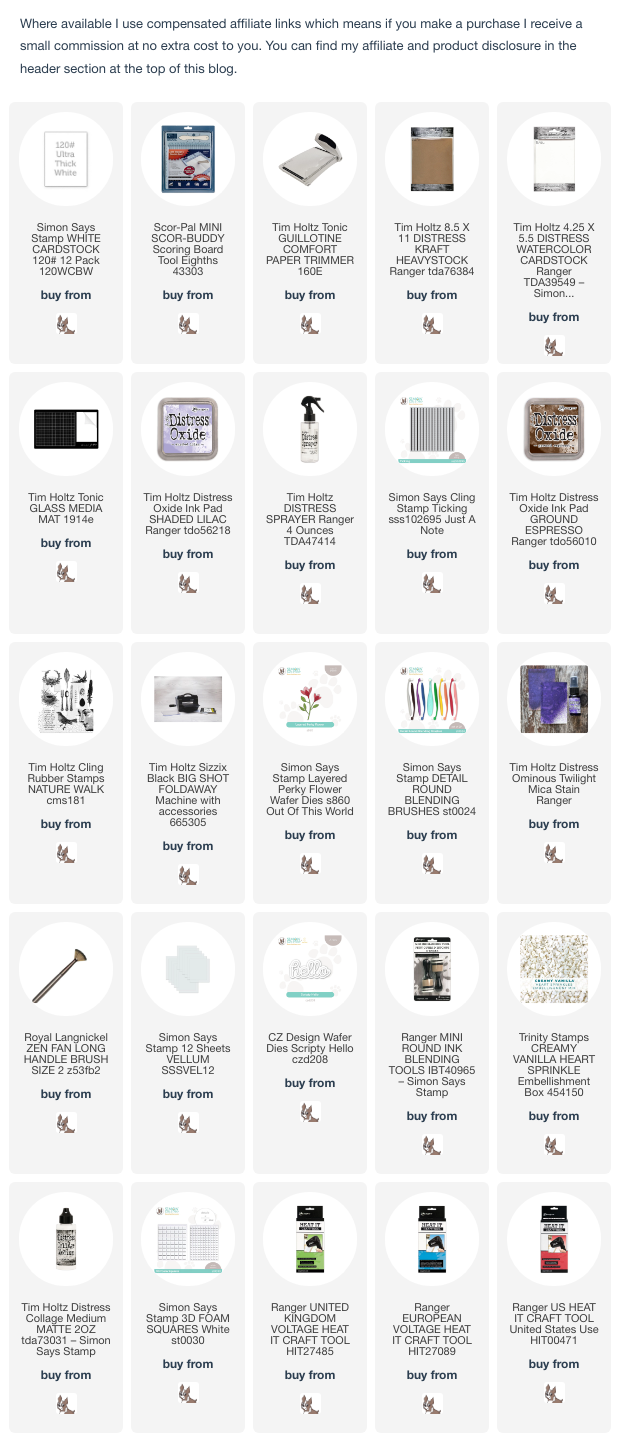
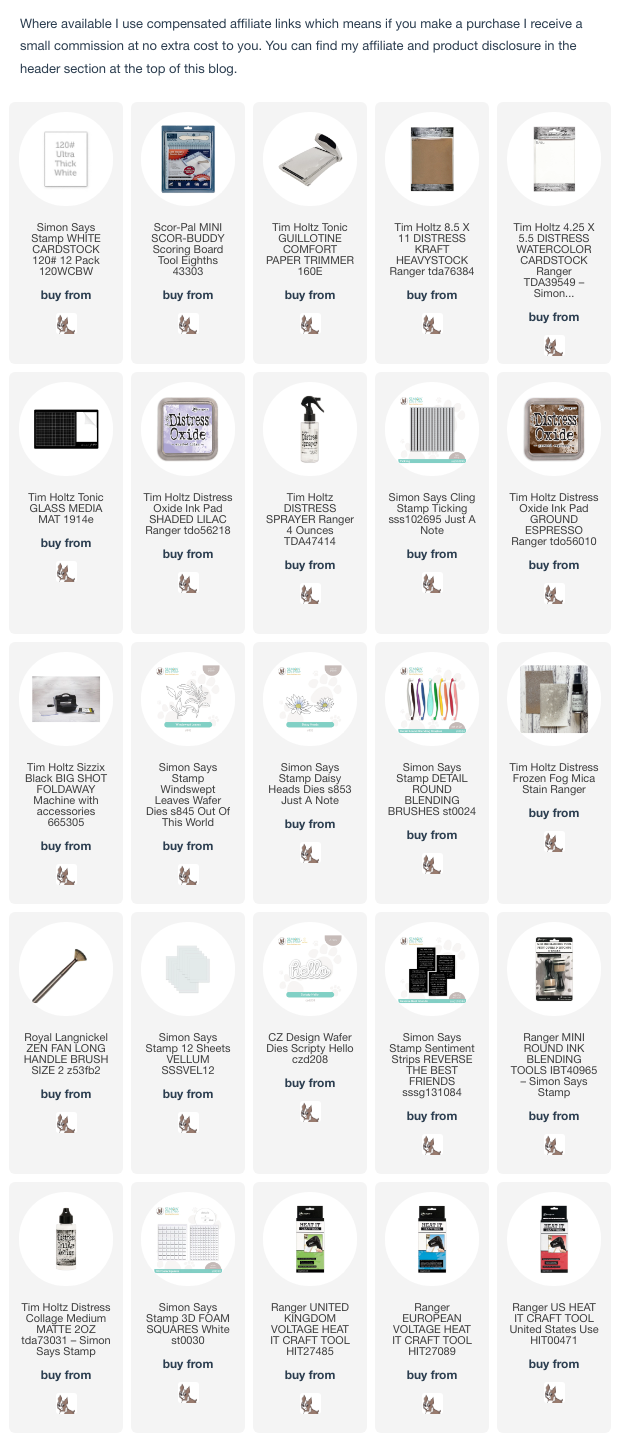
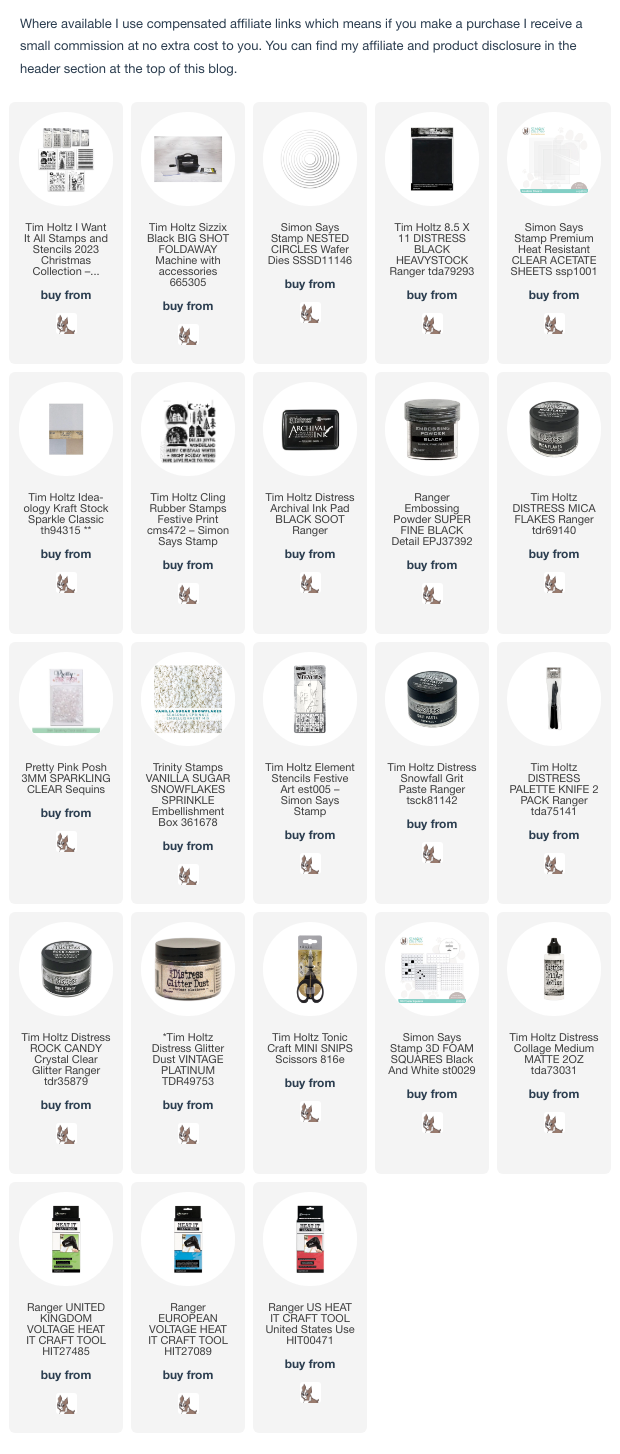
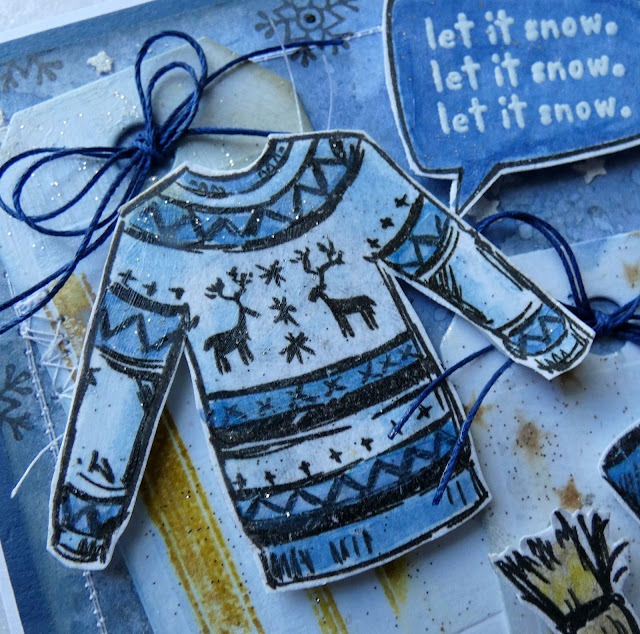
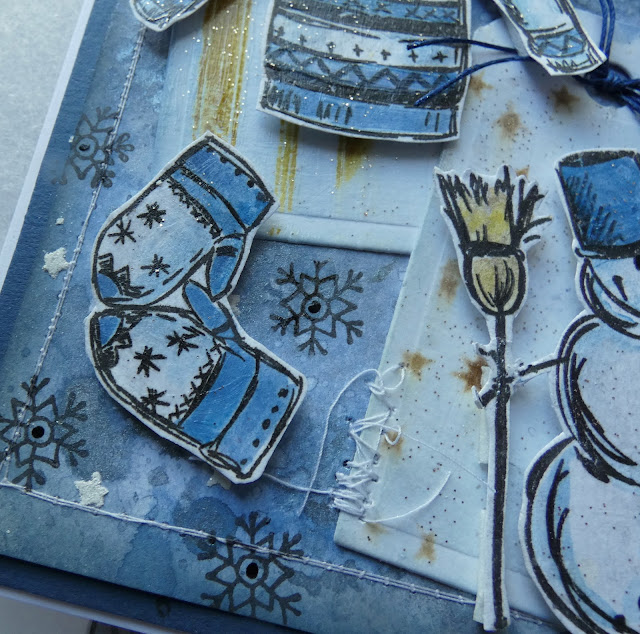
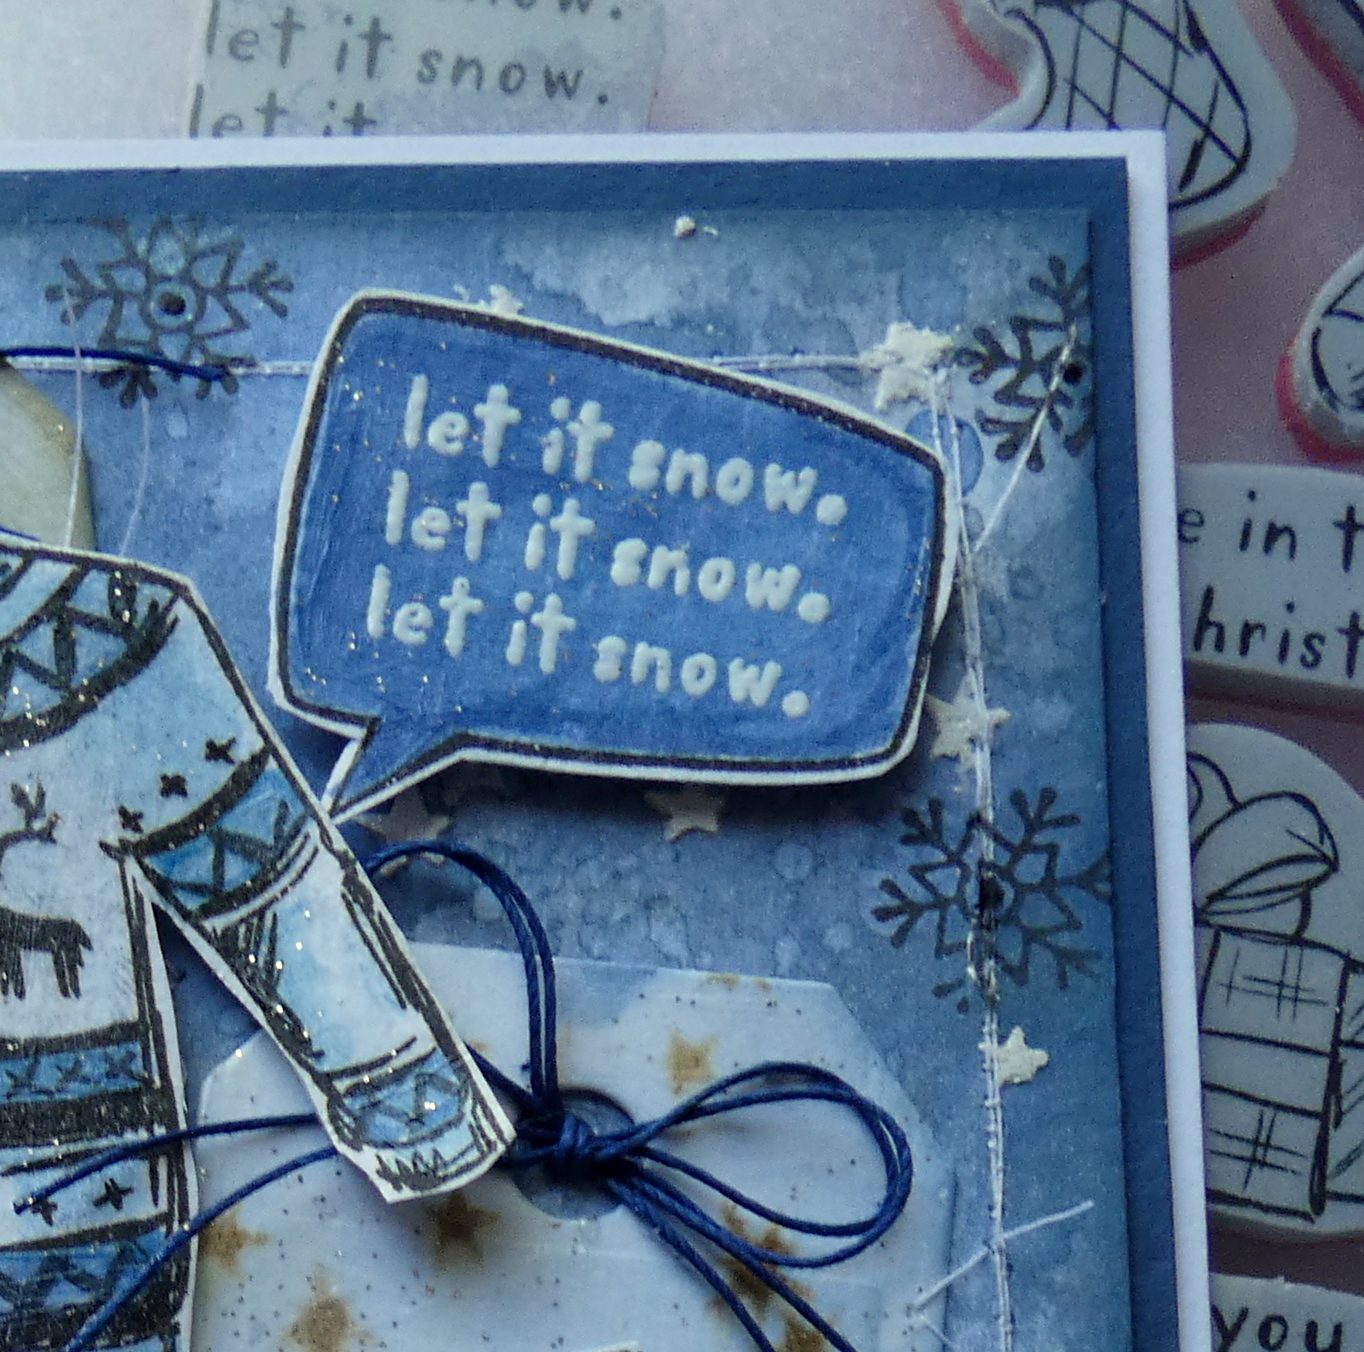
I trimmed Distress Watercolor card to 4" x 5.1/4", spritzed Faded Jeans Distress Spray Stain, Faded Jeans Oxide Spray and Frozen Fog Distress Mica Stain on to the craft mat on my Glass Media Mat, dragged the panel through the inks, dried, tapped back into the inks repeatedly to pick up the remaining droplets and dried. I stamped the small snowflake images on to the background, inked with Black Soot Distress Archival and applied Distress Grit Paste Opague through the smaller star stencil around the edges. I die-cut two tags from Distress Watercolor card using Tim Holtz/Sizzix Stacked Tags, coloured lightly with Faded Jeans Distress Oxide ink, using a mini round blending tool and stamped with Tim Holtz/Stampers Anonymous Ticking background stamp inked with Vintate Photo Distress Oxide ink. I stencilled the stars on to the 2nd tag using the same ink and applied a light coat of Distress Texture Paste Sparkle using a large brush. I stamped the images on to Distress Watercolor card, inked with Black Soot Distress Archival and coloured with Faded Jeans Distress Oxide re-inker using a Distress Detailer Brush and again applied Distress Texture Paste sparkle over the images using a small brush. I fixed the tags to the panel and machined stitched in a few places using a zig zag stitch and stitched around the edge of the panel, matted on to a panel of Simon Says Soft Navy cardstock and fixed to an A2 white card blank. I fussy cut around the images to leave a small border and fixed in place with foam squares. I stamped the speech bubble from Tim Holtz/Stampers Anonymous Christmas Cartoons, inked with Black Soot Distress Archival, on to Distress Watercolor Card, coloured with Faded Jeans Distress Oxide re-inker, stamped the sentiment from the STAMPtember 2030 stamp set, inked with Versamark, sprinkled with white embossing powder, heat set, trimmed to leave a small border and fixed in place with foam squares. To finish I added navy twine bows to the tags.


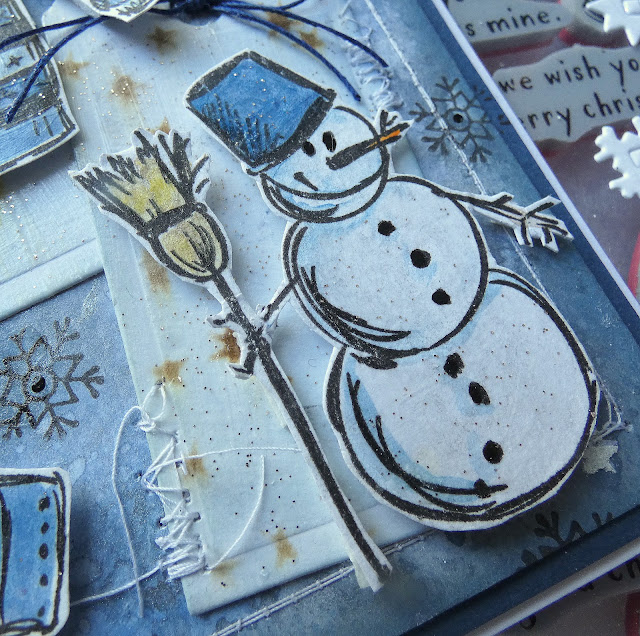
I'll be back soon to share the 2nd card I made, in the meantime, have fun shopping and making when your STAMPtember 2023 bundle arrives.
Hugs Kath xxx

Friday, September 29, 2023

A Simple Hello

Hi my friends, I'm sharing another card made with Simon Says Ticking Background Cling stamp, Scripty Hello die and Distress Shaded Lilac and Ground Espresso colour combo as yesterday's card but using Simon Says Layered Perky Flower as the floral focal point.

I trimmed Distress Watercolor card to 3.3/4" x 5" and used my trusty technique for making a quick background. I smooshed the Shaded Lilac Distress Oxide ink pad on to my Glass Media Mat, spritzed with water, picked up on a piece of plastic and pressed repeatedly on to the card until I was happy with the coverage. I inked a section of the Ticking Background Cling stamp with Ground Espresso Distress Oxide ink, spritzed with water and stamped second generation randomly on the background.
To add a little more interest on the background, I inked the script stamp from Tim Holtz/Stampers Anonymous Nature Walk with Shaded Lilac Distress Oxide ink and stamped randomly to fill in the blanks.
I die cut Simon Says Layered Perky Flower from Distress Krafty HeavyStock and Distress Watercolor card and added shading using Simon Says Round Detail Blending Brushes.
I fixed the flower to the panel, popped up on foam squares and added splatters of Distress Ominous Twilight Distress Mica Stain.
I fixed a torn piece of vellum across the bottom of the panel. I die-cut the Scripty Hello 4 times from Distress Watercolor card, layered to create dimension, added a little Shaded Lilac shading on the bottom and fixed in place with Distress Collage Medium.
I fixed the panel to Distress Kraft HeavyStock, trimmed 1/8" larger and fixed to an A2 white card blank. To finish I added Trinity Stamps Creamy Vanilla Heart Sprinkles.


It's the weekend and I am looking forward to joining Tim and Mario over on Tim's YouTube Channel for the much anticipated launch of Tim's STAMPtember 2023 collaboration with Simon Says Stamp - Saturday 9am PT, 12pm ET and 5pm UK - make sure you set your alarm, you don't want to miss this fun party.
Hugs Kath xxx

Thursday, September 28, 2023

Hello Friend

Hello my friends, I'm sharing a card I made using Simon Says Daisy Heads and Windswept Leaves dies and Ticking Background Cling stamp from recent releases and Scripty Hello dies from a recent card kit.

I trimmed Distress Watercolor card to 4" x 5.1/4", smooshed Shaded Lilac Distress Oxide ink on to the craft mat on my Glass Media Mat, spritzed with water and pulled the card through the ink. I dried and then tapped back on to the ink to pick up the remaining droplets. I inked the Ticking Background Cling stamp with the same ink and stamped randomly on the background for a tone on tone effect. I inked the Ticking Background Cling stamp again with Ground Espresso Distress Oxide ink, stamped on to Distress Watercolor card, die-cut using Simon Says Windswept Leaves dies and fixed in place with Distress Collage Medium.
I die-cut Simon Says Daisy Heads from Distress Watercolor card, coloured with Shaded Lilac and Ground Espresso Distress Oxide inks using Simon Says Round Detail Brushes. assembled and fixed to the panel with Distress Collage Medium on the smaller flowers and foam squares on the two larger flowers.
I added splatters of Frozen Fog Distress Mica Stain to add a little silver shimmer.
I die-cut the Scripty Hello shadow from vellum and the word 4 times from Distress Watercolor card and layered to create a dimensional sentiment.
I fixed to the panel and added the word FRIEND trimmed from Simon Says Reverse Best Friends. I inked the edges of the panel lightly with Ground Espresso Distress Oxide ink using a mini round blending tool, matted on to Distress Kraft HeavyStock, trimmed 1/8" larger and fixed to an A2 white card blank.


I'll be back tomorrow to share another card with the Simon Says products still sitting on my desk. In the meantime, have fun with whatever you are making.
Hugs Kath xxx

Wednesday, September 27, 2023

Festive Print Christmas Shaker Ornaments

Hi my friends, I'm sharing the Christmas Tree Shaker Ornaments I made for the Tim Holtz/Stampers Anonymous Christmas 2023 YouTube Live using Festive Print and Idea-ology Sparkle KraftStock. If you missed the Live, you can watch replay to check out the amazing new stamps and stencils and the fabulous and inspiring projects from the Makers over on Tim's Youtube Channel HERE or Tim's Blog HERE.


I began by stamping the snowglobe images from Festive Prints on to Idea-ology Gold and Silver Sparkle KraftStock, inked with Black Soot Distress Archival ink, basically to gauge the size of circle die I needed to use so that the image would fit inside the Christmas Tree Ornament frame. The Black Soot Distress Archival ink impression was not as dark as I wanted on this cardstock, so I sprinkled the images with Ranger Black Embossing Powder and heat set.
I used the same circle die to cut 2 circles from acetate and 2 circles to use as backing panels from Distress Black HeavyStock.
I selected a circle die one size smaller and fixed the dies together with parcel tape to create the ornament frames. Having made lots of ornament frames over the years, I find that parcel tape stands up far better to repetitive die-cutting than washi tape.
I die-cut 8 frames for each ornament from Distress Black HeavyStock and yes, after cutting 16 frames, the parcel tape was still good to go. You may be thinking this is a lot of work, why not use foam tape. In my opinion, going around a narrow circle with foam tape can be a nightmare and in my opinion, this method makes a more sturdy ornament.
Also you have a nice deep well to drop in your shaker bits. I fixed the stamped circle to the black backing circle and fixed all the die-cut frames in place using Distress Collage Medium. I added Distress Mica Flakes, Sparkle Clear sequins, Sizzix Tiny Gold and Silver Stars and Trinity Stamps Snowflakes from my stash and they are all contained in the centre with no sticky foam tape sides to gravitate towards.
I applied Distress Snowfall Grit Paste through the Festive Art Element Stencil on to the acetate circles and sprinkled with Distress Rock Candy and Vintage Platinum Glitter. 
I fixed the acetate circles to the frames and added the top frames die-cut from Idea-ology Gold and Silver Sparkle KraftStock. I stamped the trees and sentiments from Festive Prints, inked with Black Soot Distress Archival on to scraps of the Idea-ology Gold and Silver KraftStock as before, fussy cut and fixed to the ornaments with black foam squares.
To finish I added a hanging loop and double bow to each ornament using Silver and Black Sparkle thread from my stash.

You may not know it but I love making Christmas Tree shaker ornaments for family and friends each year, just a little keepsake to decorate their trees and here are some I made from previous years - click on the photos for a link to the blog post with instructions.


and a variation fixed to family and friends Christmas cards

Hugs Kath xxx

Tuesday, September 26, 2023

Winter Woodlands Gift Card Tag/Gift Wrap

Hi my friends, I'm back to share the Gift Card Tag and Gift Wrap projects I made for the Tim Holtz/Stampers Anonymous YouTube Live Christmas release with the beautiful Winter Woodlands and Ticking and Grain stamp sets and if you missed the Live, you can watch the replay to check out all the fabulous stamps and layering stencils and amazing projects from the Makers on Tim's YouTube Channel HERE or Blog HERE.
created the Gift Card Tag from one of the backgrounds I made for the 3 projects I made for the Live using Winter Woodlands and Ticking and Grain background stamps and you can see the process on the blog post for the card and envelope HERE
I
I stamped the large collage stamp and smaller banners on to a sheet of clear shrink plastic, inked with Rustic Wilderness, Ground Espresso and Barn Door Distress Archival inks.
I trimmed the large collage piece, punched holes (remember to make the hole bigger than what you think you need, as it will shrink too) and shrank with my heat tool.
I used Tim Holtz/Sizzix Stacked Tag Thinlits to die-cut the panel, stamped the images from Winter Woodlands, inked with Barn Door Distress Archival on to scraps of the coloured card, fixed in place using Distress Collage Medium and added one of the shrink plastic pieces.
I spritzed Antique Linen and Rustic Wilderness Distress Spray Stain on to my Media Surface Mat, spritzed with water and used to colour Idea-ology Crinkle Ribbon. Once dry, I added to the tag, tied in a double bow and added Idea-ology Bells attached with red thread.
I decorated the back of the tag to match the front and added a pocket to hold a gift card.

To customise the wrapping paper, I stamped the tree from Winter Woodlands, inked with Versamark ink, randomly on to a piece of  "the perfect colour" M&S wrapping paper left over from last Christmas, sprinkled with Rustic Wilderness and Peeled Paint Distress Embossing Glazes and heat set. I repeated on a smaller piece of paper to use for the gift tag for the parcel.
I inked the large collage image from the stamp set with Versamark ink, held the stamp in my hands and stamped on the paper, sprinkled with Ranger Platinum Embossing Powder and heat set.
I wrapped the gift and die-cut two tags using the Tim Holtz/Stacked Tags Thinlits from Distress Kraft HeavyStock. I attached the stamped and embossed paper to one of the tags, added the gold embossing and splatters to match the package, Idea-ology Metallic Stickers, fixed the tags together and added to the package. I die-cut hearts from left over stamped card using Tim Holtz/Sizzix Heartfelt Big Z die, added one to the tags and the other to the tag on the back of the package for my personal message.

I added coloured Idea-ology Crinkle Ribbon, a black thread bow and a hanging decoration using lots of Idea-ology bits and pieces from my stash and two of the shrink plastic pieces.
Hugs Kath xxx