Thursday, May 31, 2018

More Beautiful Flowers...

Hi folks, it's hard to believe it's the last day of May already and that the weather's been absolutely glorious for most of the month. I love being out in the fresh air so I've been taking advantage while it lasts, out and about on little road trips in the beautiful Aberdeenshire countryside, with no route in mind, just driving, enjoying the views and stopping off for a coffee when the mood takes me. After all, it's not often this far flung corner of the UK gets almost 4 weeks of glorious wall-to-wall sunshine in a row.

or I'm just as happy pottering around in the garden with my Furry Helper and as always at this time of year, the azaleas are stealing the show.

With flowers in mind, I'm sharing another card made with the Beautiful Flowers stamp set from Simon Says Stamp Fly Me Away June Card Kit
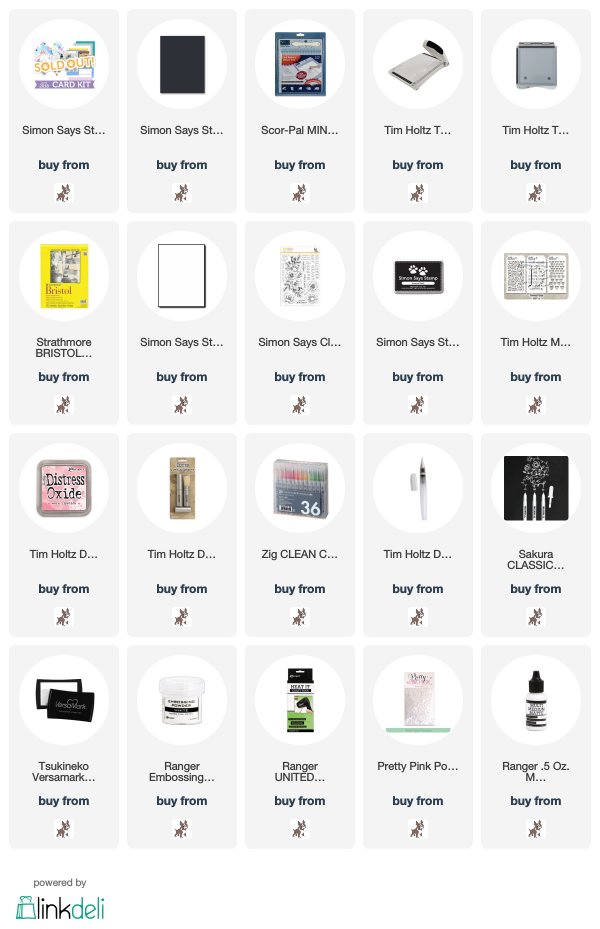
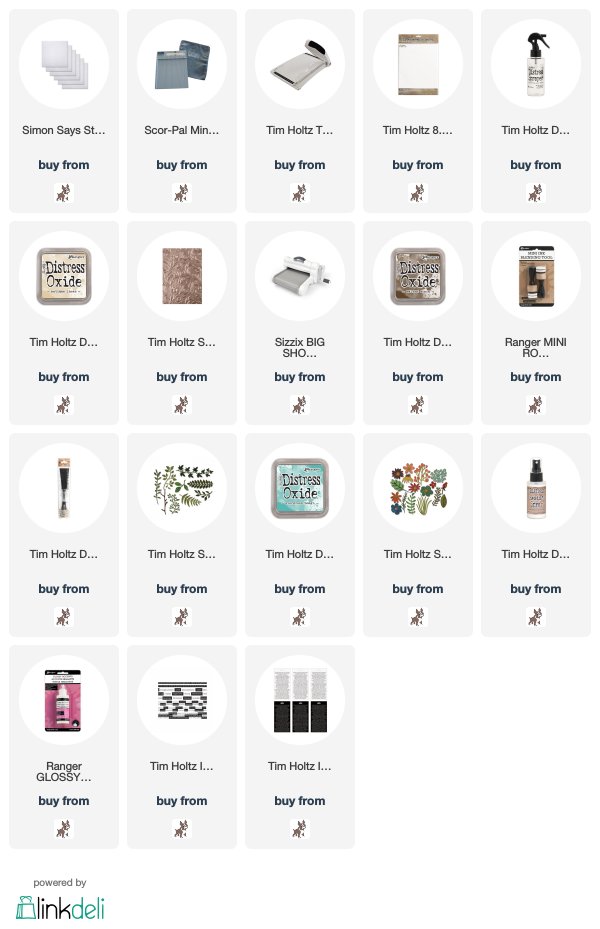
I stamped the image with Simon's Intense Black ink on to a panel of Strathmore Bristol Smooth Paper, stamped again on to Simon's Masking Paper, cut out and placed over the image.
I applied Worn Lipstick Distress Oxide ink through the Hearts Mini Layering Stencil from Set 6 using a Distress Blending Brush and I love how you can get a gradient of colour by shortening or lengthening the bristles, it's one cool tool. I removed the mask, coloured the image using Zig Clean Color Brush Markers and a Distress Detailer Brush and used a Sakura White Gelly Roll Pen to add highlights to the stamens.
I stamped "Loved" from Beautiful Flowers with Intense Black on to the panel and "you are"with Versamark ink on to black card and heat embossed with Ranger Super Fine White Embossing Powder. I added Pretty Pink Posh Clear Droplets and matted the panel on to a black card blank.
I'll see you all tomorrow with June Card Kit Cards Nos 3 and 4
Toodle-oo for now
Hugs Kath xxx

Wednesday, May 30, 2018

It's another botanical card...

Hi folks, I'm sharing a card made with the gorgeous Beautiful Flowers stamp set from Simon Says Stamp June Card Kit- Fly Me Away and the Tim Holtz/Sizzix Lumber 3D Texture Fade.
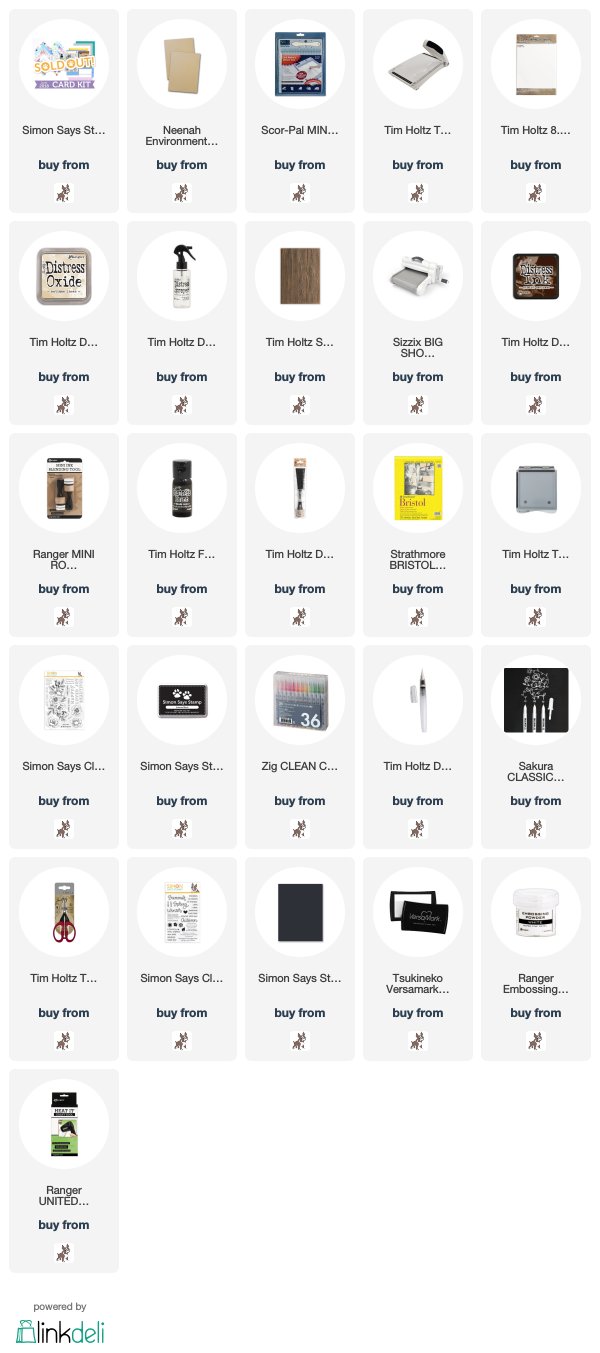
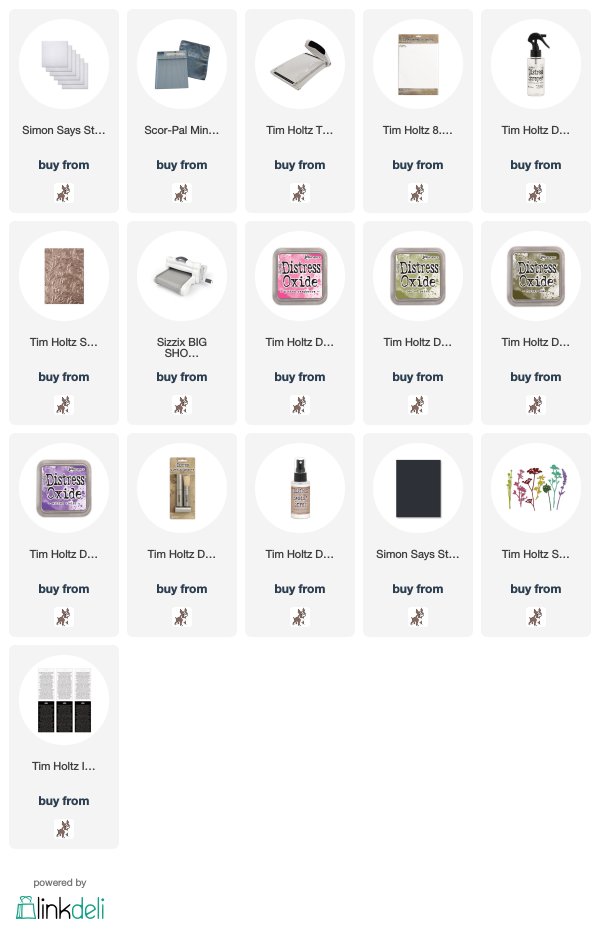
I trimmed a piece of Distress Watercolor card to be slightly smaller than the A2 Neenah Desert Storm card blank, coloured with Antique Linen Distress Oxide ink, spritzed back and front with water, placed in the Texture Fade and ran it through the Big Shot 3 times. I created splatters with Black Soot Distress Paint, inked around the edge and over the detail with Ground Espresso Distress Ink.
I stamped the beautiful large floral image from Beautiful Flowers with SSS Intense Black Ink on to Strathmore Bristol Smooth Paper, coloured with Zig Clean Color Brush Markers and a Distress Detailer Brush, fussy cut leaving a white border around the edges and highlighted the stamens with a Sakura White Gelly Roll Pen. I used word stamps from Beautiful Flowers and Four Seasons Sayings to create the sentiment, stamped in Versamark on black card and heat embossed with Ranger Super Fine White Embossing Powder.
The June Card Kit has sold out but individual items from the kit are still available to buy HERE and I'll be back tomorrow to share another card.
Hugs Kath xxx

Monday, May 28, 2018

Simon Says...Masculine

Hi Everyone...welcome to another week on the Simon Says Stamp Monday Challenge Blog...thank you for joining us for last week's challenge...we hope you can join us this week too because...

and the theme for this week is...
MASCULINE
and I couldn't resist playing with the amazing Tim Holtz/Sizzix
3-D Lumber and Foundry Texture Fade embossing folders
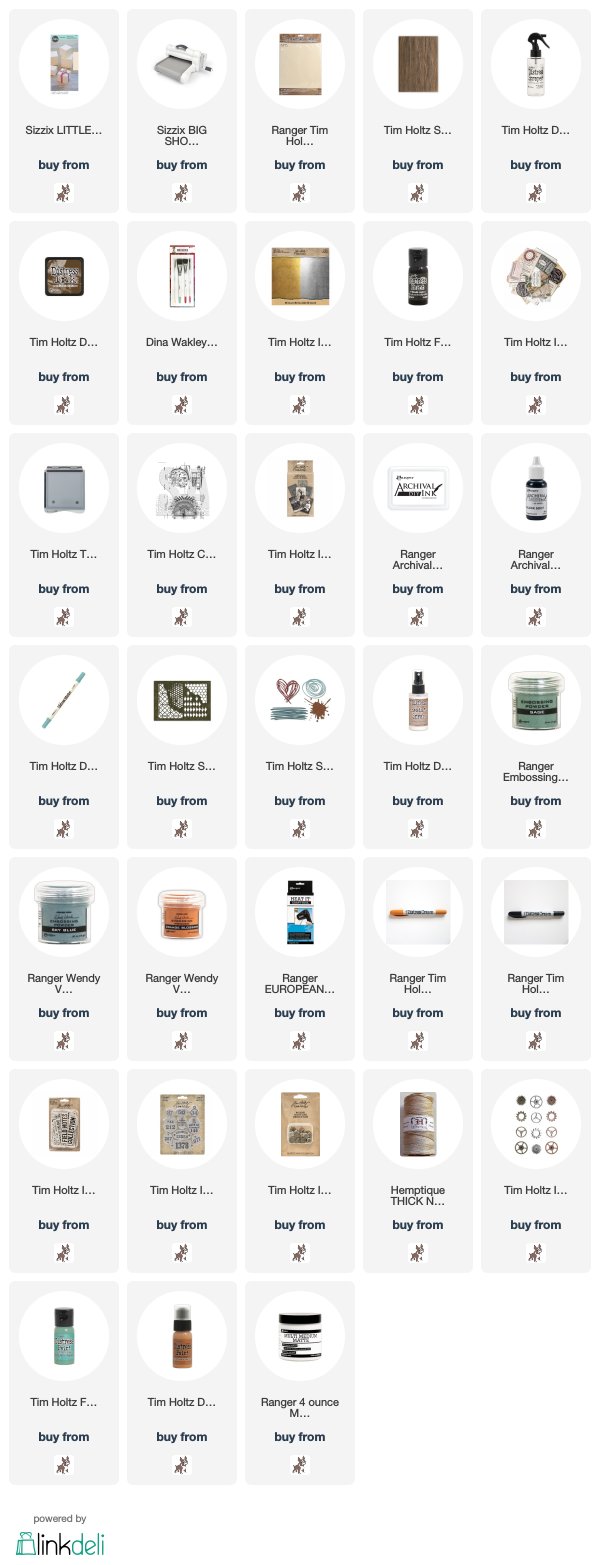
To create the faux wood panel background, I cut two pieces of Ranger Mixed Media Heavystock to fit the embossing folder, spritzed both sides with water and ran them through the Big Shot three times as recommended by Tim and seriously, taking time to do both these steps really does give the best results.
I then dragged the Walnut Stain Mini Distress Ink pad across the panels and used a wet paintbrush to spread out the colour
I embossed a panel of Tim Holtz Idea-ology Silver Metallic Kraft Stock using the Foundry 3D-Texture Fade, painted it with Black Soot Distress Paint, wiped it back with kitchen roll and then brushed on Rusty Hinge Distress Paint here and there with a stiff dry brush.
I fixed both Lumber panels to a panel of  Sizzix Mat Board, coloured the edges of an Idea-ology Collector Layer with Rusty Hinge Distress Paint, fixed in place with Ranger Multi Medium Matte and added a strip of the Foundry embossed card.
I placed the panel in the Stamp Platform and stamped the image from Tim Holtz/Stampers Anonymous Inventor 1 with Black Soot Archival ink. I also stamped sections of the image on to a Idea-ology Found Relative.
I added more pieces of Collector Layers and fixed everything in place with Ranger Multi Medium Matte.
I die cut Tim Holtz/Sizzix Mixed Media and Scribbles and Splats Thinlits from Silver Metallic Kraft Stock and the remaining piece of the Foundry embossed card.
I used a Black Soot Distress Crayon to create shadows around the Collector Layers and Found Relative. I spritzed the panel with Distress Resist Spray, sprinkled on a mixture of Ranger Orange Blossom, Sage and Sky Blue embossing powders and heat set. I used the Black Soot and Rusty Hinge Distress Crayons to darken or highlight the embossed areas.
I added a Foundry Adornment coloured with Evergreen Bough and Rusty Hinge Distress Paint, a chopped up Quote Chip, Idea-ology Nailheads, twine circles and twine to the Collector Layer Tag and the Foundry Adornment. I coloured the Found Relative gentleman's tie with Evergreen Bough Distress Marker.
I tapped Rusty Hinge and Evergreen Bough Distress Paints with my finger on to Idea-ology Sprocket Gears, sprinkled with a mix of the three embossing powders I had used previously and heat set.
Note to Self: don't try to pick up heat embossed metal elements until they have cooled down....ouch.

You can find all the products I used over at the fabulous Simon Says Stamp online store...just click on the links below...

Why don't you pop over to the Monday Challenge Blog and check out the amazing creations from my very talented Design Team mates and as always you all have the chance to win a $50 gift voucher to spend at Simon Says StampYou have until Monday 8am Ohio time...1pm UK time...2 pm CET to join in...

You can also follow Simon Says Stamp on Instagram
and if you use Instagram...
please add #sssmchallenge to your entry uploads so we can see them on there too
I look forward to seeing what you create this week...
Have Fun and Happy Crafting
Hugs Kath xxx

Friday, May 25, 2018

Guess What...It's Another Botanical...

Hi folks...surprise surprise, one more card made with the gorgeous 3-D Botanical Texture Fade...
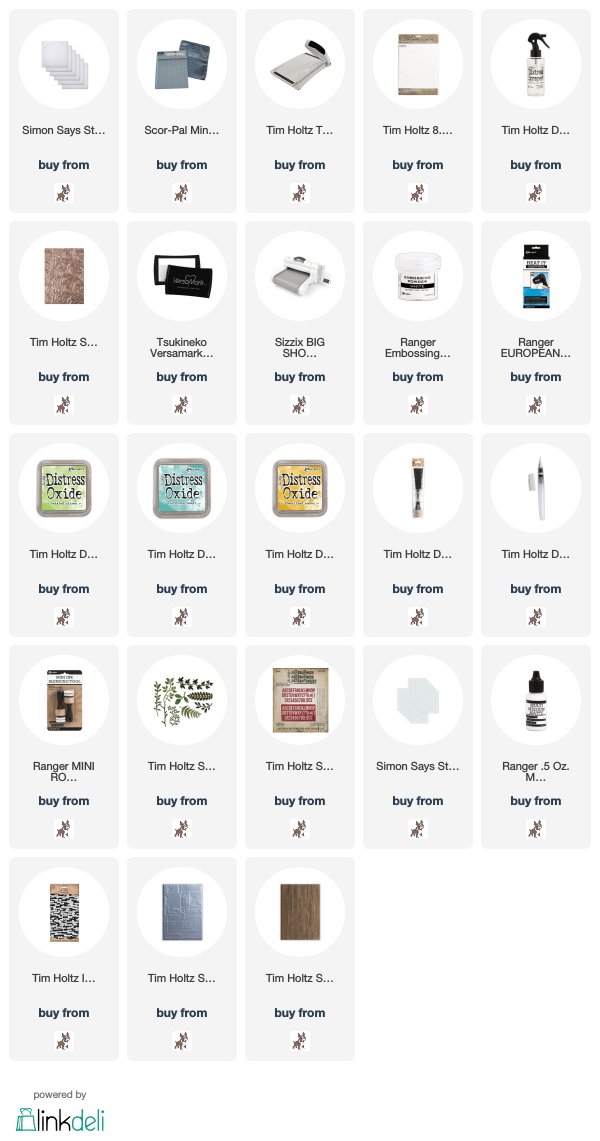
this time I inked up the raised side of the Texture Fade with Versamark ink, placed a panel of Distress Watercolor card in the folder, ran it through the Big Shot 3 times and heat embossed with Ranger Super Fine White Embossing Powder. I may have been a bit heavy handed with the inking because, as you can see, some of it landed on the background. I could have used a small paintbrush to remove it from those areas but hey I quite like the effect. I then spritzed the panel generously with water and used the Ranger Distress Detailer Brush to drop in Twisted Citron, Evergreen Bough and Fossilized Amber Distress Oxide inks, letting the water do the blending to achieve a watercolor effect. I then created splatters using Evergreen Bough and inked around the edge using a mini round blending tool.
I coloured scraps of card with Evergreen Bough and Fossilized Amber and die cut the leaves using Tim Holtz/Sizzix Garden Greens and Alphanumeric Thinlits for the sentiment. I fixed a torn strip of vellum across the panel, fixed the die cuts in place with Ranger Multi Medium Matte and added Idea-ology Chit Chat Stickers to complete the sentiment.
and check out the gorgeous texture and dimension.
But I need to get my skates on and get creative for next week's Simon Says Stamp Monday Challenge project and guess what, the challenge is a perfect excuse to play with two of the other 3-D Texture Fades...don't you just love when a plan comes together.
and if you love the texture and detail on Botanical, believe me folks, you are going to go nuts for Lumber and Foundry...seriously, check out the very realistic look of riveted metal and the "oh so touchy feely" plank of wood.
but, you definitely have not seen the last of Botanical, I can't wait to try it out with the absolutely gorgeous "Beautiful Flowers" stamp set from the Simon Says Stamp June Card Kit.
Have a great Bank Holiday weekend everyone and I'll see you all on Monday with my "3-D Texture Fade" project for Simon Says Stamp Monday Challenge and a little reminder that you still have time to join in with this week's Inspired By A Song Challenge with the chance to win a $50 dollar voucher to spend in Simon Says Stamp store...a chance to get yourself some 3-D Texture Fades to play with, perhaps.
Toodle-oo for now
Hugs Kath xxx

Thursday, May 24, 2018

I'm in love with Botanical...

Hi folks, I'm back to share another card made with the Botanical 3D Texture Fade using a faux letterpress technique and I have to say I'm love with these 3D Texture Fades, the detail and texture is just so amazing.
I inked up the flat debossed side of the Texture Fade with Antique Distress Oxide ink, placed Distress Watercolor card in the folder and ran it 3 times (as recommended by Tim) through my Big Shot. The ink transfers to the background and leaves the raised detail white. I inked around the edge with Walnut Stain Distress Oxide and added splatters with the same color. I coloured scraps of  Distress Watercolor card with Walnut Stain and Evergreen Bough Distress Oxides and die cut the flowers and leaves using Tim Holtz/Sizzix Funky Florals 1 and Garden Greens Thinlits.
I spritzed the panel with Distress Resist Spray which creates a slightly textured sheen which unfortunately doesn't show up in the photos. I then added Idea-ology Design Tape Chatter, Small Talk Occasions stickers and glossy accents to the centres of the flowers.

I have one more Botanical card to share with you tomorrow, 
In the meantime Happy Crafting.
Hugs Kath xxx

Wednesday, May 23, 2018

It's Back To The Day Job...

Hi folks, we've been enjoying almost 3 weeks of glorious spring sunshine in my neck of the woods and the cubbyhole crew have been spending much of that time outdoors, with one member doing lots of this...
this...
and this...
while the other member has been enjoying lots of days out with her lady who lunches hat on and of course, it goes without saying, we finished off the week by taking time out to enjoy the Royal Wedding and wasn't it amazing.

So I could hardly complain about waking up yesterday to a bit of light drizzle, a little reminder that it was time I was back in my happy place for some playtime with the FABULOUS 3D Texture Fades and Distress Blending Brushes from our adorable Professor...
If you're like me and inclined to rush in where angels fear to tread, I would highly recommend that you watch Tim's video for lots of 3D Texture Fade Embossing helpful hints and tips before you dive in.

and here's the first of many cards I suspect using beautiful Botanical
 I embossed Botanical on to Distress Watercolor card, coloured the amazing texture with Distress Oxide inks using the Distress Blending Brushes and added a generous splattering of Distress Resist Spray.

I die cut flowers from white and black cardstock using Tim Holtz/Sizzix Wildflowers Thinlits and added Idea-ology Small Talk Occasions Stickers.
and check out that TEXTURE, amazing...amazing...amazing.
I'll be back tomorrow to share another Botanical card, in the meantime, have fun whatever you are creating.
Hugs Kath xxx