Thursday, December 30, 2021

Simon Says Stamp - Warm Cozy Wishes

Hi my friends, I'm sharing my last card of 2021 using Simon Says Warmest Wishes 6" x 8" stamp set and the Scattered Snowflakes 6" x 6" stencil from the Warmest Wishes January 2022 Card Kit. The kit is still available to purchase at the time of writing and the individual items from the kit can also be purchased separately HERE.


I trimmed Distress Watercolor card to 4" x 5.1/4" and used the Simon Says Scattered Snowflakes Stencil with Tumbled Glass and Twisted Citron Distress Oxides to create a blended background.
I fixed a hand-cut snowbank to the bottom of the panel and stamped the sentiment and snowflakes from the Warmest Wishes stamp set inked with Simon Says Intense Black and Tumbled Glass Distress Oxide ink.
I stamped one of the snowmen images and trees, inked with Simon Says Intense Black, on to scraps of Distress Watercolor card and coloured with Distress Re-inkers using a Distress Detailer Brush.
I fussy cut the images, fixed the trees flat on to the panel with Distress Collage Medium and the snowman popped up on foam adhesive to create dimension. If fussy cutting is not your thing, there are matching dies available (linked below). I added Glossy Accents to the nose and buttons on the snowman and once they were dry, used a Nuvo Aqua Shimmer pen to add sparkle on the snowman's body.
To finish I added shading around the edges of the panel using Tumbled Glass Distress Oxide ink with a mini round blending tool, Crystal Collection sequins and matted the panel on to an A2 white card blank.
I'll be back in 2022 to share more cards and craft projects, in the meantime, I'm wishing you and your families a very Happy and Healthy New Year.
Hugs Kath xxx

Wednesday, December 29, 2021

Simon Says Stamp - So Much Love

Hi my friends, I'm sharing a card made using the So Much Love stamp set and Polka Hearts Stencil from the recent Simon Says Stamp To The Moon release and Tim Holtz Distress Tattered Rose Distress Oxide ink to create a tone on tone background. You can check out all the fabulous new products from the release HERE.

I trimmed Distress Watercolor card to create an A2 panel, smooshed Tattered Rose Distress Oxide ink on to the craft mat on my Glass Media Mat, spritzed with water and laid the panel into the ink. I dried and tapped the panel back in to the ink to pick up the remaining droplets. I applied Tattered Rose Distress Oxide ink through Simon Says Polka and Hearts Stencil using a mini round blending tool. I stamped the large Love sentiment from Simon Says So Much Love inked with Simon Says Intense Black ink and die-cut the panel with Simon Says Wonky Rectangles die. I inked the smaller sentiment with Versamark ink, stamped on to a scrap of Simon Says Black cardstock, sprinkled with Simon Says White Embossing Powder, heat set, die-cut using Simon Says Nested Banners and fixed to the panel with foam adhesive to create dimension.
I added tiny hearts from Sizzix Sorbet Beads and Sequins 
I inked the smaller sentiment with Tattered Rose Distress Oxide ink and stamped randomly over the panel to add a little more interest to the background.
To finish I fixed the panel to an A2 white card blank.

I'll be back soon to share a card made with Simon Says Warmest Wishes January Card Kit, in the meantime, have fun with whatever you are making.
Hugs Kath xxx

Tuesday, December 28, 2021

Simon Says Stamp - To The Moon

Hi my friends, I hope you all had a lovely Christmas and were able to celebrate with your loved ones. I'm back to share a card made with Tim Holtz/Stampers Anonymous Moon Mask Stencil and Simon Says Stamp So Much Love stamp set, Layered Chickadee Die and Polka Heart Stencil from the recent To The Moon release and Etched Berry Branch die from the Handmade Holiday release. You can check out all the fabulous products from the To The Moon release HERE

I trimmed Distress Watercolor card to 4.1/2" x 6.1/2", attached Sizzix Sticky Grid to the back of the largest of the Tim Holtz/Stampers Anonymous Moon Masks and fixed to the panel. I smooshed the Custom Blend Ink Pad (Antique Linen/Old Paper Distress Inks, Speckled Egg/Frayed Burlap Distress Oxide inks) on to the craft mat on my Glass Media Mat, spritzed with water and laid the panel into the inks. I removed the mask, dried the panel and tapped it back into the inks to pick up the remaining droplets.I stamped the sentiments from Simon Says So Much Love, inked with Candied Apple Distress Oxide ink and Black Soot Distress Archival ink, over the moon section on the panel.I die-cut Simon Says Etched Berry Branch from the Handmade Holiday release from Distress Watercolor card, coloured the leaves and stems with Frayed Burlap and Walnut Stain Distress inks and the berries with Candied Apple Distress Oxide ink using a mini round blending tool and fixed to the panel with Distress Collage Medium Matte.I applied Candied Apple Distress Oxide ink through Simon Says Polka Heart Stenciladded splatters of White Gesso to the panel. I die-cut Simon Says Layered Chickadee from Distress Watercolor card and coloured using Frayed Burlap and Candied Apple Distress Oxides, Walnut Stain Distress Ink and a black marker for the eye and beak. I fixed the bird in place with foam adhesive to create dimension.To finish I added white dots to the berries using a Sakura Gelly Roll Pen and covered with Glossy Accents. I inked the edges of the panel with Walnut Stain Distress ink using a mini round blending tool and fixed the panel to a 4.1/2" x 6.1/2" white card blank.

I'll be back soon to share more cards made with products from the To The Moon release. In the meantime, have fun with whatever you are making.
Hugs Kath xxx

Friday, December 24, 2021

Tim Holtz/Sizzix Paper Village

Merry Christmas Eve my friends. I've been under the weather for the last week or so with the Christmas sniffles (just a cold, tested negative for Covid) which meant that my preparations for Christmas Day ended up being a last minute scramble to get everything done. BUT with ONE day to spare, fortified with coffee and Costco mince pies, I finally finished my Festive Table decoration made using Tim Holtz/Sizzix Paper Village Thinlits for the houses, Village Collection Thinlits to decorate the roofs and lots and lots of Idea-ology Woodland Trees.


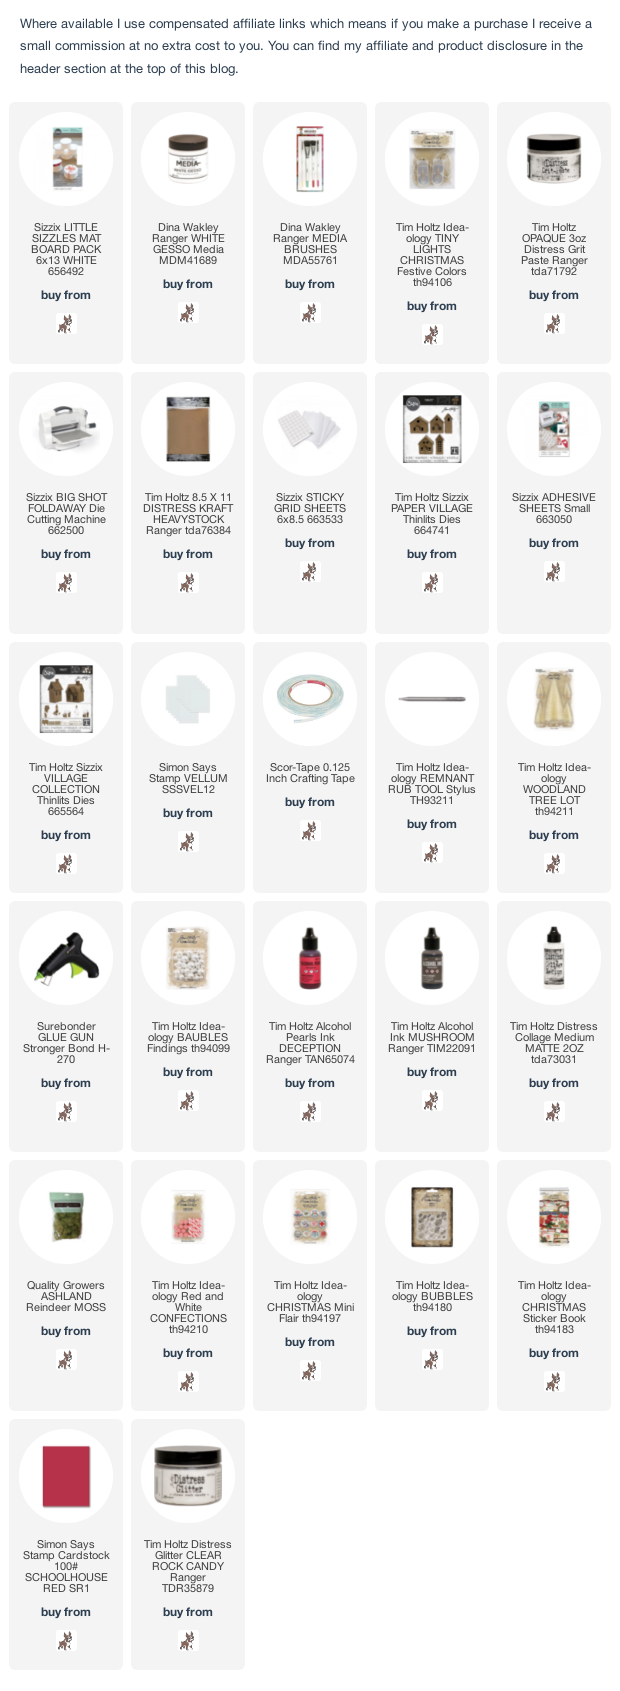
I painted the tops of wood slices with White Gesso, attached to a piece of Sizzix Matboard using hot glue. I added a second layer and used a pencil to roughly mark where each house would go and attached the 2 sets of Idea-ology Tiny Lights with hot glue. I covered most of the exposed wires with coats of Distress Grit Paste. I die-cut the houses and roofs from Distress Kraft HeavyStock using Tim Holtz/Sizzix Paper Village Thinlits. I added Sizzix Adhesive Sheet to the roofs, die-cut the shingles using Tim Holtz/Sizzix Village Collection Thinlits, fixed in place and drybrushed the houses and roofs with White Gesso.
I fixed vellum behind the windows and doors of the houses and added splatters of White Gesso. I added Scor-Tape to the flaps on the house, lined up one side against the roof and pressed the second side into place. I used Tim Holtz Remnant Rub Tool to burnish the flaps inside to ensure good adhesion.
I added Distress Grit Paste with my fingers to the Idea-ology Woodland Trees, sprinkled with Distress Rock Candy Glitter
and placed on a sheet of Sizzix Sticky Grid until dry.
I fixed the houses and trees to the base using hot glue, applied Distress Grit Paste to the roofs using a palette knife, added piles of sticks from my stash, pieces of moss, Idea-ology Baubles Findings coloured with Deception Pearl and Mushroom Alcohol inks and fixed to one of the Woodland Trees. 
I used Idea-ology Christmas Confections to create a sign post, added an Idea-ology Bubble on top, a Christmas Mini Flair button and a Christmas Clipping Sticker fixed to red cardstock for the North Pole sign. I added Distress Grit Paste to the sign and here and there over the base and sprinkled liberally with Distress Rock Candy Glitter.
Just when I thought I was done, I decided to add one more set of Idea-ology Tiny Lights on the Idea-ology Woodland Trees.

My festive table centre piece is ready and waiting for my Christmas guests to arrive, let the party begin.

I wish you all a very Merry Christmas and hope you enjoy the festive celebrations with your family and friends and that Santa pops down your chimney with lots of crafty parcels.
Hugs Kath xxx 

Monday, December 20, 2021

Simon Says - Party

Hi Everyone...welcome to another week on the Simon Says Stamp Monday Challenge Blog. Thank you for joining us for last week's challenge and we hope you can join us this week too because


and the theme for this week is...
PARTY
I created a Party themed Infinity Shaker Birthday card using Tonic Studios Shaker Creator Pockets, Simon Says Birthday Candles and It's Your Birthday dies, Tim Holtz/Sizzix Swirling Stars Thinlits and filled with a mix of Sizzix Gold and Silver Star Sequins and Distress Mica Flakes.
I trimmed Simon Says Ultra White card to be 1/8" less than 6" square and die-cut using the Birthday Candles and It's Your Birthday dies from the Diecember release.
I fixed the panel to Sizzix Gold Glitter Card from the Opulent Surfacez pack, die-cut the Birthday Candles die again and paper pieced the white sections of the candles.
I repeated using Sizzix Charcoal Glitter Opulent card, fixed Sizzix Adhesive sheets to scraps of the Gold and Charcoal Glitter card and die-cut using the individual star dies from Tim Holtz/Sizzix Swirling Stars Thinlits.
I placed the panel into the Tonic Studios 6" x 6" Shaker Creator Pocket, removed the backing from the tape on 3 sides and folded over along the score lines to secure.

I added a mix of Sizzix Gold and Silver Star Sequins and Distress Mica Flakes, removed the backing from the top tape and secured as before.

To finish I fixed the shaker panel to a 6" square white card blank.


You can find all the products I used over at Simon Says Stamp, just click on the links below


Why don't you pop over to the Monday Challenge Blog and check out the amazing creations from my very talented Design Team mates and as always you have until Monday 8am Ohio time...1pm UK time...2pm CET to join in with the chance to win a $25 voucher to spend online at Simon Says Stamp


You can also follow Simon Says Stamp on Instagram
and if you use Instagram...
please add #sssmchallenge to your entry uploads so we can see them on there too

I look forward to seeing what you create this week...
Have Fun and Happy Crafting
Hugs Kath xxx