Sunday, June 30, 2019

Happy Birthday Buddy

Hi folks, it's a very special day in the cubbyhole, my adorable Furry Partner is celebrating his 13th birthday, crikey where does time go. He's gone from hooligan pup to well behaved senior citizen in the blink of an eye. I have to say I've noticed a big change in him over the last 3 months, there are definite signs that old age is catching up with him. He's not as nifty on his pins as he used to be and seems to get a little confused on occasions but hey, I've already joined that club so he's in good company.


So I'm savouring every moment we spend together, taking each day as it comes with the sweetest, most loving and faithful friend anyone could wish for. And on that note, we, the not as quick off the mark nowadays/senior citizen duo, are off to enjoy our morning stroll.
Toodle-oo for now
Hugs Kath & the Birthday Boy xxx

Friday, June 28, 2019

Busy Bees...

Hi folks, It's Friday and it looks like the heatwave has travelled up the country to my neck of the woods, 3 beautiful sunshiney days in a row, fingers crossed, the sun will decide to stay and that Summer has finally arrived. I have been having lots of alfresco coffee breaks, sitting in the garden listening to the bumble bees as they busy themselves collecting pollen from the flowers, non-stop from dawn to dusk. They are truly phenomenal little creatures and we should be doing all we can to ensure they survive because without them we won't survive either.
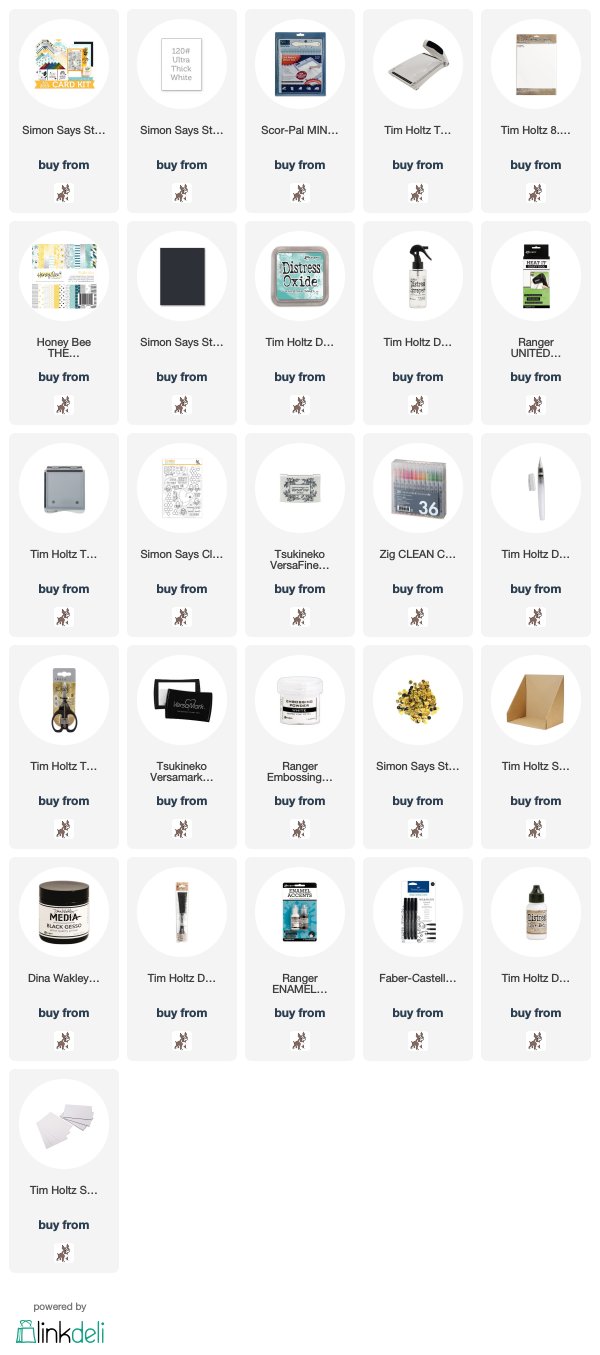
I'm back to share another two cards made with the Bee Yourself July Card Kit from Simon Says Stamp. At the time of writing the card kit is still available to buy along with individual items from the kit (see the links below).

 I die-cut Distress Watercolor card using Simon Says Stamp Wonky Rectangles Wafer Thin die,
 smooshed Evergreen Bough Distress Oxide ink on to a piece of cellophane and spritzed with water.
I placed the cellophane on the panel, pressed with my fingers to spread out the ink and left the cellophane in place for a few seconds to let the paper absorb the ink. I repeated the process until I was happy with the coverage, spritzed the panel with water and blotted with clean kitchen towel.
I fussy cut the flowers from the Honey Bee "Bee's Knees" paper included in the kit and coloured the centres with a Zig Clean Colour Brush Marker.
I stamped the trail and sentiment from the Bee Yourself stamp set with Versafine Onyx Black ink on to the panel and a scrap of the "Bees Knees" paper
I coloured the "B" with a Black Zig Clean Colour Brush Marker, fussy cut the other letters from the paper and fixed in place with Distress Collage Medium Matte.
 I added splatters of Black Gesso, fixed the flowers in place with Tim Holtz/Sizzix Mini Foam Adhesive and added Ranger Black Enamel Accents to the centres.
I added my favourite bee from the Bee Yourself stamp set, looking so adorable in his geeky spectacles, popped up on Mini Foam Adhesive to create dimension and matted the panel on to a Black A2 card blank using the card included in the kit.
I had a bit of an adapt and overcome adventure with the second card
I covered the whole of an A2 card blank with left over strips of the Honey Bee "Bee's Knees" papers and stamped the Heart Trail and sentiment from the Bee Yourself stamp set with Versafine Onyx Black ink but then I dropped the ink pad (inky side down of course) on to the panel. Time to take myself off to the garden to have a coffee and a feel sorry for myself tantrum. Well, the coffee seemed to kick start the brain cells and I trimmed around the strips to make them look as they were always meant to be, inked the hexagon image with Versamark ink on to Black cardstock and heat embossed with Ranger Superfine White Embossing Powder.
I matted the "who would ever know" panel to an A2 white card blank and added previously stamped bees coloured with Zig Clean Color Brush Markers, Buzzy Bees sequins and Ranger Black Enamel Accents to the centres.
I die-cut a flower from a scrap of the Bee's Knees paper fixed in place with Tim Holtz/Sizzix Mini Foam Adhesive and added Enamel Acccents to the centre. I finished off by adding faux stitching using a Faber Castell Black Pitt Pen.

Have a great weekend whatever you have planned and I hope the weather will be glorious where you are too. I'll be back on Sunday to share a special "cubbyhole crew" celebration.
Toodle-oo for now
Hugs Kath xxx


*** Where available I use compensated affiliate links which means if you make a purchase I receive a small commission at no extra cost to you. You can find my affiliate and product disclosure HERE

Thursday, June 27, 2019

BEE Yourself

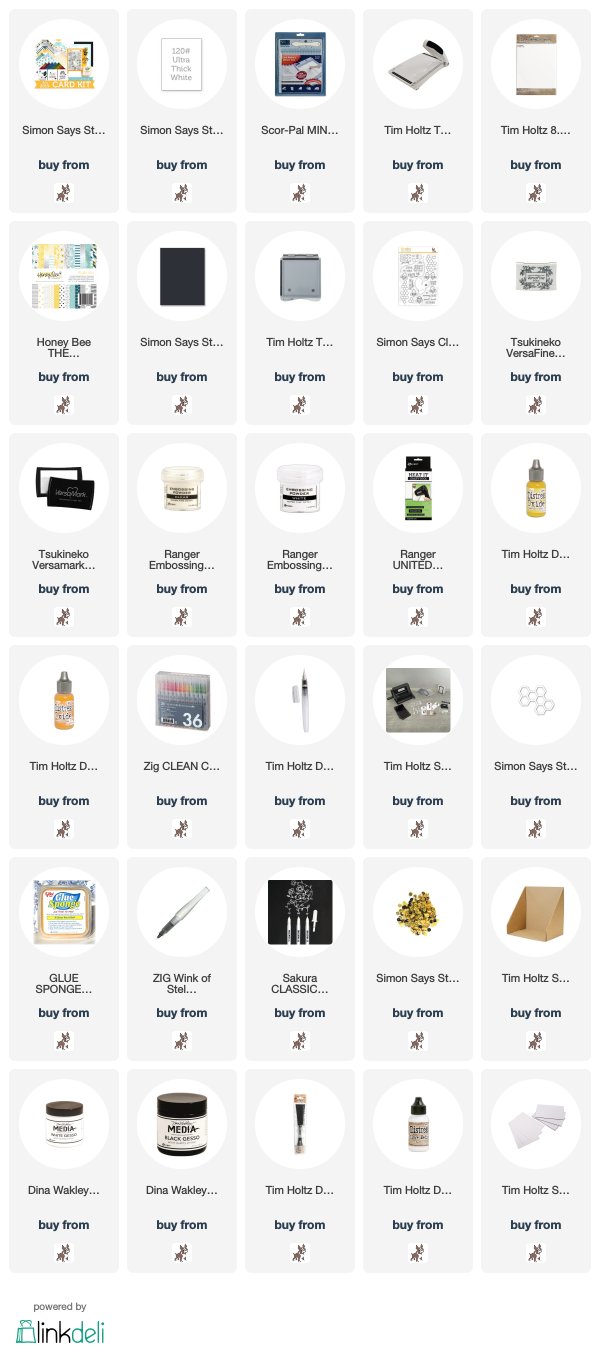
Hi folks, I was buzzing with excitement when my Simon Says Stamp BEE Yourself July Card Kit arrived.
The kit is still available to buy at the time of writing and individual items from the kit are also available to buy separately. (click on the links below)
I couldn't wait to get inky with the adorable bumble bees in the stamp set, just like the busy bees that keep me company in the garden while I have my morning coffee, although I haven't spotted any wearing spectacles yet.

I trimmed Distress Watercolor card to create a 4" x 5.1/4" panel, inked the hexagon image from the Bee Yourself stamp set with Versamark ink, stamped randomly on the panel and heat embossed with Ranger Clear Superfine Embossing Powder
I thoroughly wet the panel with water, dropped in Mustard Seed and Wild Honey Distress Oxide reinkers and let the water work it's magic. I spritzed the panel with water and dabbed with kitchen towel to create some variation in the colour.
I inked the trail, sentiment and bees with Versafine Onyx Black ink and stamped on the panel.
I stamped a whole swarm of bees on to Strathmore Bristol Smooth Watercolor paper and coloured with Zig Clear Color Brush Markers. It was just as easy to colour a swarm as it was two or three and I have loads left over for other cards.
I fussy cut the bees, fixed to the card with Distress Collage Medium Matte and added Wink of Stella Clear Glitter to the wings.
I added splatters of White and Black Gesso, the Buzzy Bees sequins from the kit and matted the panel on to an A2 White Card blank using the cardstock included in the kit.

For the second card, I trimmed one of the papers from the Honey Bee "The Bee's Knees" 6 x 6 Paper Pad and matted on to an A2 white card blank. I inked the heart shaped trail from the Bee Yourself stamp set with Versafine Onyx Black and stamped on the panel.
I die-cut the Small Hexagon Cluster Wafer Thin die twice included in the kit from black card and pressed the die-cuts on to the Glue Sponge that also came with the kit. I did find that it transferred glue to my fingers because of the open areas on the die cuts so I had to wipe my fingers before placing the die cuts on the card.
I inked the sentiment with Versamark, stamped on to a scrap of black card, heat embossed with Ranger White Superfine Embossing Powder, trimmed and added faux stitching using a Sakura White Gelly Roll Pen. I added some of the left over hexagons back into the die-cuts and to the bottom of the card. I fixed the sentiment and bees in place with Tim Holtz/Sizzix Mini Foam Adhesive.

and finished off by adding Buzzy Bees Sequins.
I'll BEE back soon with more cards made with this fabulous kit
Toodle-oo for now
Hugs Kath xxx 


*** Where available I use compensated affiliate links which means if you make a purchase I receive a small commission at no extra cost to you. You can find my affiliate and product disclosure HERE

Tuesday, June 25, 2019

AALL& Create...Flowers and Gears

Hi folks, it's Tuesday and that means it's time to share my Guest Designer project for AALL&Create. Are you as much in love with the new stamp release as I am. Being a big fan of anything floral I was feeling a bit giddy when I saw the gorgeous Flowers and Gears #195 stamp set designed by Olga Heldwein and who knew that flowers and gears would go so well together on an Art Journal page.

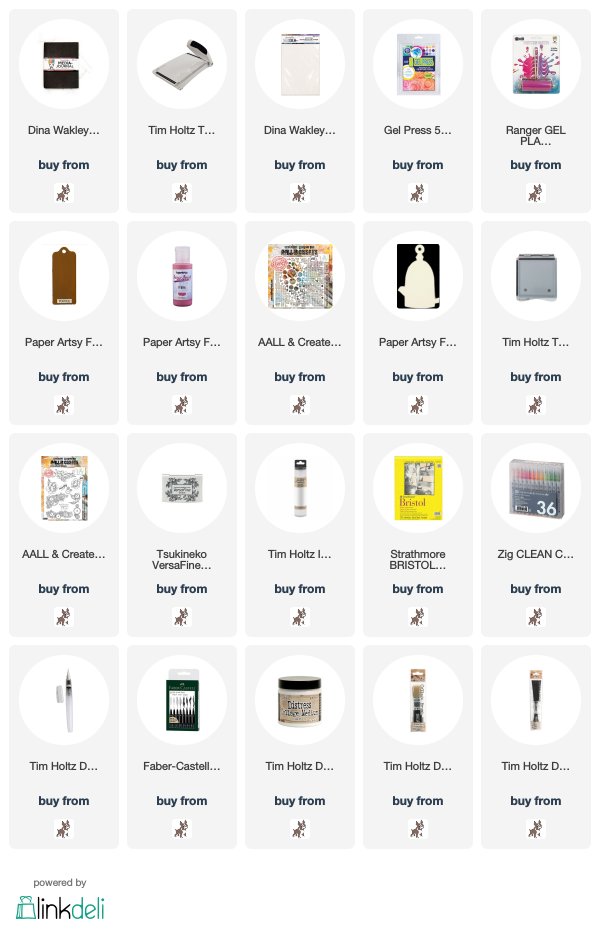
I decided to work in my Dina Wakley Media Journal and trimmed a piece of Dina Wakley Cotton Watercolor Paper to use as a panel to add to the burlap page.
Inspired by Tracy Evans' Facebook Live video, I decided to use my neglected Gelli Press Plate and brayer to add colour and texture to the panel but keeping it simple to showcase the beautiful floral images. I added a small amount of PaperArtsy Fresco Finish Toffee to the Gelli Press Plate, brayered, tapped the panel on to the plate to pick up the colour randomly and repeated with Fresco Finish Rose. I repeated these steps several times to build up the layers of colours and added a touch of Fresco Finish Prawn into the mix.
I laid Stencil #53 Florastella on to the Gelli Press Plate, added a small amount of Fresco Finish Mud Splat and brayered the paint through the stencil on to the plate.
I removed the stencil and tapped the panel on to the Gelli Press Plate to pick up the paint.
I dabbed Fresco Finish Snowflake through my favourite Stencil #39 Lotza Dotz using Ranger Cut 'n Dry Foam.
To add interest to the plain left hand page, I added torn strips of the paper I used to clean off my brayer after each step and  fixed in place with Distress Collage Medium Matte.
I inked the gear images from Flowers and Gears #195 with Versafine Onyx Black ink and stamped several times on to Tim Holtz Idea-ology Plain Collage Paper.
I drew around the images with a wet paintbrush, teased them apart with my fingers
and added to the pages using Distress Collage Medium Matte. I fixed the panel on to the burlap page and doodled a border and faux stitching around the edge using a Faber Castell Black Pitt Pen. I stamped the sentiment from the stamp set inked with Versafine Onyx Black randomly on the pages.
I inked the floral images from Flowers and Gears #195 with Versafine Onyx Black, stamped on to Strathmore Bristol Smooth Watercolor card, coloured using Zig Clean Color Brush Markers with a water brush and fussy cut.
I fixed the flowers and leaves in place with Distress Collage Medium Matte. To create the illusion of dimension, I applied a coat of Distress Collage Medium Matte over the flowers and leaves and used the Faber Castell Black Pitt Pen with a water brush to add shadows around each flower and leaf.
I added extra gear images coloured with Zig Clean Color Brush Markers and splatters of Fresco Finish Prawn and Snowflake to the background. I inked the sentiment from the stamp set with Versafine Onyx Black and stamped on to Idea-ology Plain Collage Paper, fixed to the panel using Distress Collage Medium Matte and doodled around the edges as before.


Have fun whatever you are creating
Toodle-oo for now
Hugs Kath xxx

You can find AALL&Create products and where to buy HERE


or click on the links below


*** Where available I use compensated affiliate links which means if you make a purchase I receive a small commission at no extra cost to you. You can find my affiliate and product disclosure HERE