Friday, November 30, 2018

Holiday Hacks Production Line

Hi folks, I had a bit of a lightbulb moment while watching the first of Tim's Facebook Live Holiday Hacks and you can watch both videos HERE if you missed them first time round.
I loved the cute and easy to make cards Tim made using the Stampers Anonymous Brushstrokes stamp and Distress Inks and thought they would be perfect to make up more boxes of cards for my local charity's Christmas Fair.


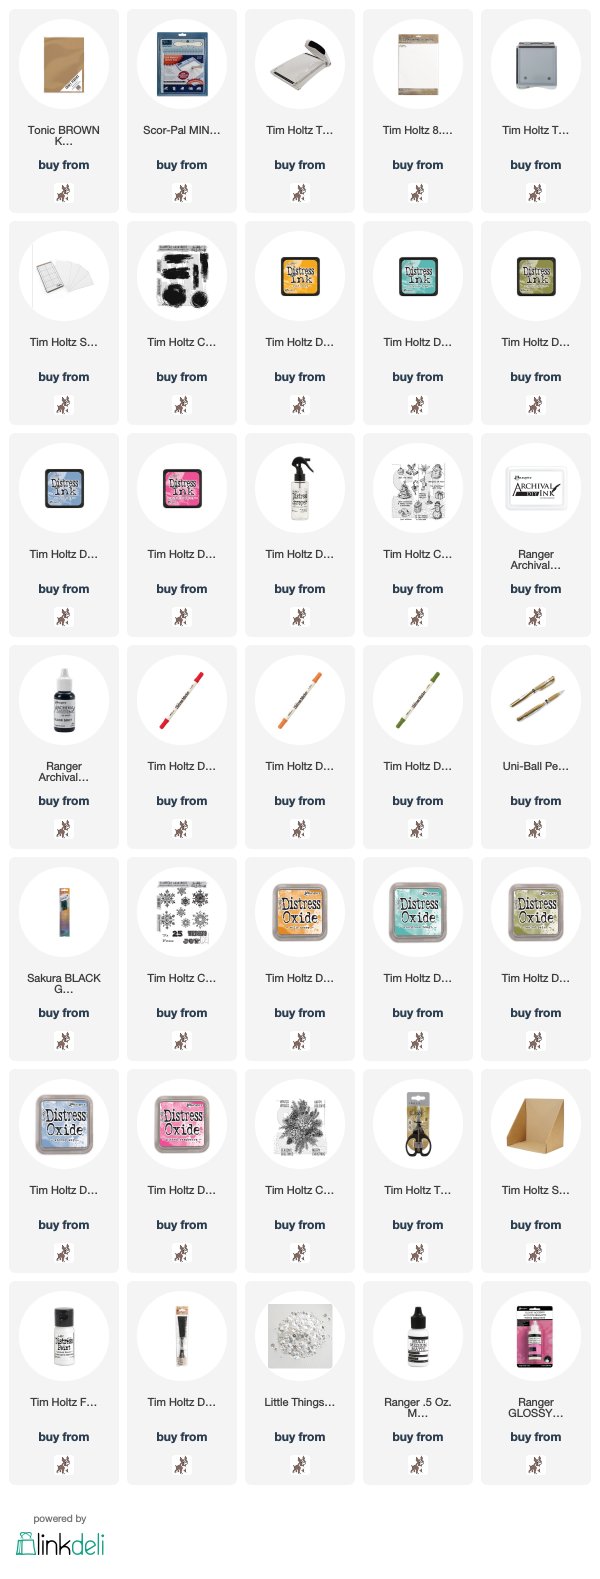
I cut a sheet of Distress Watercolor card and 2 left over scraps to make 10 panels measuring 2.3/4" x 4.1/4", fixed the panels to my Stamp Platform using a Sticky Grid Sheet. I inked the image from Tim Holtz/Stampers Anonymous Brushstrokes with Distress Inks, spritzed with water and stamped on to the smooth side of the Distress Watercolor card.
I don't have the December Doodles stamp set that Tim used but had a quick flick through my Christmas stamps and decided that the images on Tattered Christmas would work just as well. I stamped the images and sentiments from the stamp set with Black Soot Archival and added small colour accents to the snowman's nose, baubles on the trees and ribbon on the bells with Distress Markers, Gold Metallic accents to the parcels and used a Sakura Black Gelly Roll Pen to add shine to the snowman's eyes and buttons.
I fixed the panels to Kraft Cards measuring 3.3/4" x 5.3/4" and stamped a small snowflake from Tim Holtz/Stampers Anonymous Mini Weathered Winter with the matching Distress Oxide ink which will show up better on the kraft card
I popped the cards in my trusty friend, the Splat Box and created splatters with Picket Fence Distress Paint using a Distress Splatter Brush
 and added sequins to the centres of the snowflakes
I scored and folded Kraft cardstock to create a box and lid
and decorated a panel of Distress Watercolor card as before but added the sentiment from Tim Holtz/Stampers Anonymous Glorious Gatherings...I cut two sentiments apart which is fine, you can always realign on your stamp platform or grid block if necessary
I fixed the panel to the lid of the box ,added splatters
and added glossy accents to the baubles and stars on the tree and to the centre of the snowflakes instead of sequins which I thought might get knocked off in handling.
 Here are all 10 cards
 and close-ups of a few


I can't believe I made 10 cards and the box in just over an hour and that included scoring, folding and trimming Kraft cardstock to make the cards and box.So I took Tim's advice and headed to my local Hobbycraft where I picked up a bumper pack of 50 Kraft cards and envelopes for £6.00. So guess who will be spending today snuggled up in the cubbyhole, watching the frightful windy, wet weather outside, batch making cards, on a mission to make another 5 boxes for my local charity.
and look what else I found there, super cute mini mason jar tree ornaments just waiting to be decorated with Idea-ology Bottle Brush Trees or the Salvage Santa or Snowman. Crikey I suspect I may be burning the midnight oil for the next few weeks and Christmas Dinner may well end up being beans on toast.
Have a great weekend whatever you have planned and I'll see you all on Monday with my DT project for the Simon Says Stamp Monday Challenge.
Toodle-oo for now
Hugs Kath xxx
*** Where available I use compensated affiliate links which means, if you make a purchase, I receive a small commission at no extra cost to you. You will find my affiliate and product disclosure HERE.

Wednesday, November 28, 2018

Whimsy Decor...

Hi folks, can you believe we are only 2 days away from December. Before you know it will be time to deck the halls with boughs of holly and decorate the tree with sparkly glittery baubles all ready for the Christmas celebrations. I'm going to let you into a little secret, despite my blog name, I very rarely use glitter on my projects, not a big fan to be honest and it seems neither is my camera BUT I have a friend who LOVES Glitter and Sparkle, is also an "everything in my wardrobe is BLACK" kind of a girl and of course, she's Scottish so I had to add a bit of TARTAN to the "Whimsy Decor with Loads of Glittery Sparkle" card that will be popping through her letterbox this year

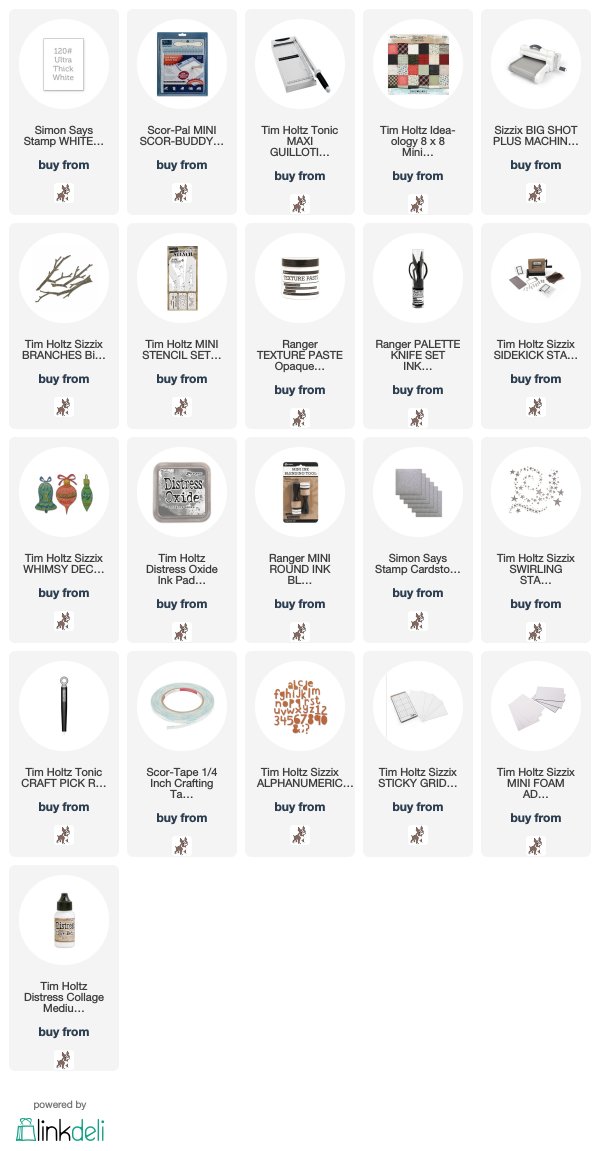
I trimmed Tim Holtz/Idea-ology Christmas Stash Paper to create a panel measuring 4" x 8" and added contrasting paper strips. I die-cut a branch from white card using Tim Holtz/Sizzix Branches BigZ die and fixed in place with Distress Collage Medium Matte.
I machine stitched with silver sparkly thread around the edges, along the branch and back and forth over the bottom strip of paper.
I applied Ranger Texture Paste Opaque Matte through Tim Holtz Mini Falling Stars Layering Stencil from Set 38
I die-cut each of the Tim Holtz/Sizzix Whimsy Decor Thinlits ornaments from white card 3 times and layered together to create a dimensional embellishment
I die cut the elements for each ornament from card coloured with Hickory Smoke Distress Oxide ink and Simon Says Stamp Silver Glitter card which is so gorgeous and very very sparkly and used Distress Collage Medium Matte to fix them in place.
I threaded the ornaments with silver thread and fixed them to the panel with Tim Holtz/Sizzix Mini Foam Adhesive. I poked holes in the branch with my craft pick, pushed the threads through to the back and secured with double sided tape. I die-cut stars from SSS Silver Glitter card using Tim Holtz/Sizzix Swirling Stars Thinlits, added randomly on the background and over the holes I had created for the threads.

Now it was time to try out the latest game changing product from our adorable Professor...Sticky Grid Sheets. I peeled off the printed release paper and fixed the Sticky Grid Sheet to my Sidekick Cutting Plate smoothing it down to make sure it was completely flat. I then peeled off the top release paper and arranged the Sizzix CutOut Lower Alphanumeric Thinlits on the sticky surface. Normally I wouldn't arrange so many small dies so close to each other for fear of them sliding together when I lift the sandwich but, as it says on the tin, the sticky grid sheet held them all securely in place. This is going to be so useful when cutting those negative die cut letter panels or using my favourite Stitched Rectangles and Ovals to create shaker frames, no more holding the dies together with washi tape and hoping for the best and, bonus, each sheet can be used multiple times. This time-saving, game changing product has definitely been added to my list of crafty essentials. If you watched Tim's Holiday Hacks Facebook Lives at the weekend, you will know there are more ingenious ways  to use these little packs of magic but if you missed all the fun and time-saving inspiration you can catch up HERE.

I fixed the 4 layers of letters in place with Distress Collage Medium Matte, added a teeny Swirling Stars die-cut star and matted the panel on to a 4.1/4" x 8.1/4" white card blank.


I put the crafty deadlines on the back burner yesterday and had a little "just for me" playtime to make more cards for my local charity using another of our adorable Professor's Holiday Hacks and those magic Sticky Grid Sheets...I will share the 10 cards "done in the flick of a coo's tail" I made soon.

Have fun whatever you are creating and I'll see you all soon
Hugs Kath xxx


*** Where available I use compensated affiliate links which means, if you make a purchase, I receive a small commission at no extra cost to you. You will find my affiliate and product disclosure HERE.

Tuesday, November 27, 2018

AALL&Create Guest Designer Project - Checkmate

Hi folks, I'm sharing another AALL&Create Guest Designer project using Chess Art #115 and Chess Pieces #122 designed by Bipasha BK and For The Record  #125 designed by Aida Domisiewicz along with Stencils #21, #30 and #39 all designed by Autour De Mwa. I love the detail on the Chess Art stamp set and it reminds me that life is very like a game of chess, all about strategies and making good moves. You can find all the products I used and a list of stockists HERE
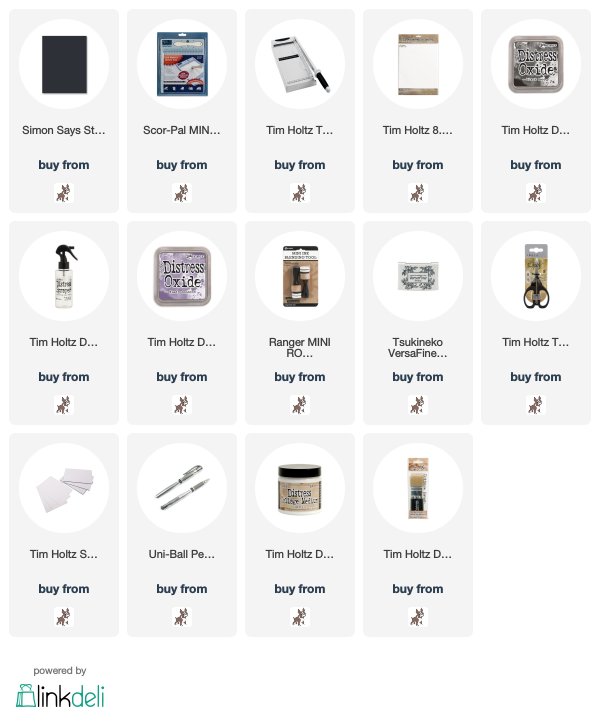
I trimmed Distress Watercolor card to measure  9" x 4", applied Black Soot Distress Oxide ink through Stencil #30 using a mini round blending tool,spritzed with water and blotted with a paper towel
added dots using Stencil #21
and more dots using Stencil #39 with Dusty Concord Distress Oxide ink
I stamped the image from Chess Art #115 on to the panel with Versafine Onyx Black
added the circle images from For The Record #125 inked with Dusty Concord
I stamped the image from #115 again on to a scrap of Distress Watercolor card, fussy cut and added shading with diluted Dusty Concord.
I stamped the circle numbers from #125 with Dusty Concord, attached the chess pieces with Tim Holtz/Sizzix Mini Foam Adhesive and added highlights to the chess pieces with a Signo Uniball Silver Gel Pen.

I stamped "Checkmate" from Chess Pieces #122, trimmed, edged with Dusty Concord and fixed in place with mini foam adhesive.

I added strips of striped paper from my stash to the top and bottom edges and matted the panel on to a 4.1/2" x 7.1/2" Black card blank.

Hugs Kath xxx


SUPPLIES:


*** Where available I use compensated affiliate links which means, if you make a purchase, I receive a small commission at no extra cost to you. You will find my affiliate and product disclosure HERE