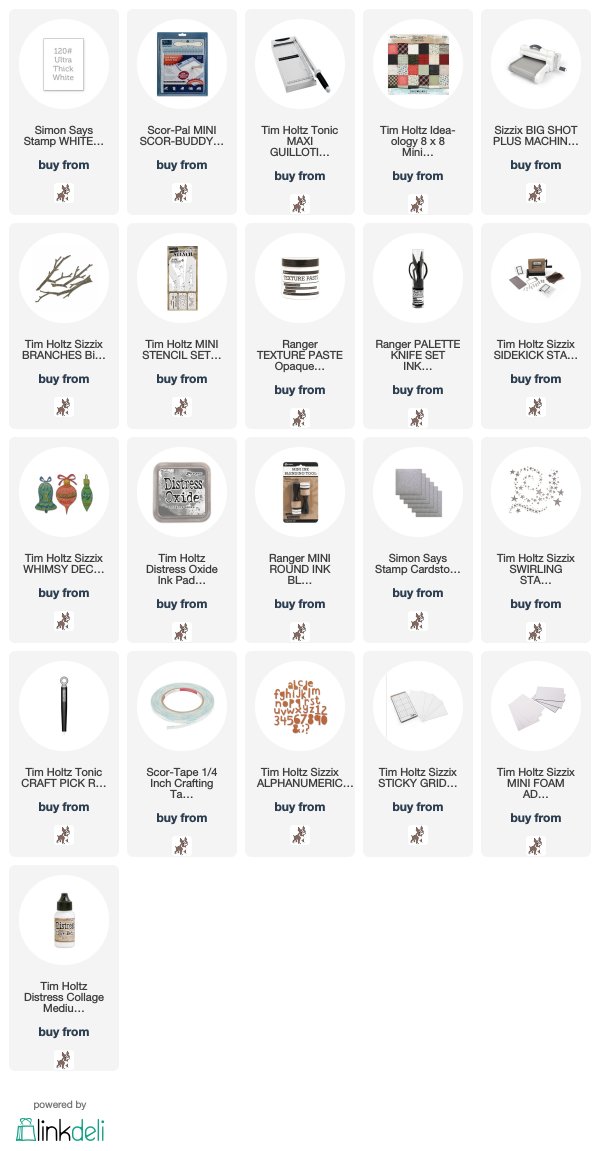
I trimmed Tim Holtz/Idea-ology Christmas Stash Paper to create a panel measuring 4" x 8" and added contrasting paper strips. I die-cut a branch from white card using Tim Holtz/Sizzix Branches BigZ die and fixed in place with Distress Collage Medium Matte.
I applied Ranger Texture Paste Opaque Matte through Tim Holtz Mini Falling Stars Layering Stencil from Set 38
I die-cut each of the Tim Holtz/Sizzix Whimsy Decor Thinlits ornaments from white card 3 times and layered together to create a dimensional embellishment
I die cut the elements for each ornament from card coloured with Hickory Smoke Distress Oxide ink and Simon Says Stamp Silver Glitter card which is so gorgeous and very very sparkly and used Distress Collage Medium Matte to fix them in place.
I threaded the ornaments with silver thread and fixed them to the panel with Tim Holtz/Sizzix Mini Foam Adhesive. I poked holes in the branch with my craft pick, pushed the threads through to the back and secured with double sided tape. I die-cut stars from SSS Silver Glitter card using Tim Holtz/Sizzix Swirling Stars Thinlits, added randomly on the background and over the holes I had created for the threads.
Now it was time to try out the latest game changing product from our adorable Professor...Sticky Grid Sheets. I peeled off the printed release paper and fixed the Sticky Grid Sheet to my Sidekick Cutting Plate smoothing it down to make sure it was completely flat. I then peeled off the top release paper and arranged the Sizzix CutOut Lower Alphanumeric Thinlits on the sticky surface. Normally I wouldn't arrange so many small dies so close to each other for fear of them sliding together when I lift the sandwich but, as it says on the tin, the sticky grid sheet held them all securely in place. This is going to be so useful when cutting those negative die cut letter panels or using my favourite Stitched Rectangles and Ovals to create shaker frames, no more holding the dies together with washi tape and hoping for the best and, bonus, each sheet can be used multiple times. This time-saving, game changing product has definitely been added to my list of crafty essentials. If you watched Tim's Holiday Hacks Facebook Lives at the weekend, you will know there are more ingenious ways to use these little packs of magic but if you missed all the fun and time-saving inspiration you can catch up HERE.
I fixed the 4 layers of letters in place with Distress Collage Medium Matte, added a teeny Swirling Stars die-cut star and matted the panel on to a 4.1/4" x 8.1/4" white card blank.
I put the crafty deadlines on the back burner yesterday and had a little "just for me" playtime to make more cards for my local charity using another of our adorable Professor's Holiday Hacks and those magic Sticky Grid Sheets...I will share the 10 cards "done in the flick of a coo's tail" I made soon.
Have fun whatever you are creating and I'll see you all soon
Hugs Kath xxx

*** Where available I use compensated affiliate links which means, if you make a purchase, I receive a small commission at no extra cost to you. You will find my affiliate and product disclosure HERE.


A wonderful card design Kath xx Love those baubles and a great background too x
ReplyDeleteHuge hugs Annie xx
I take my hat off to you Kath, your amazing, this is yet another fabulous creation..we will be 'Decking the halls' at the weekend....the grandchildren are beside themselves, can't wait...xx
ReplyDeleteThe glittery baubles are delightful and I just love the beautiful background with the stars and shiny stitching. This will be a real mantle pleaser for sure! Hugs, Anne xx
ReplyDeleteThe papers are gorgeous and just loving the glittery baubles.
ReplyDeleteHugs
Linda xxx
love it.Sorry not visited for ages,just very busy with stuff.Hugs to all and a Huge Cuddle for Buddy.xxxx
ReplyDelete