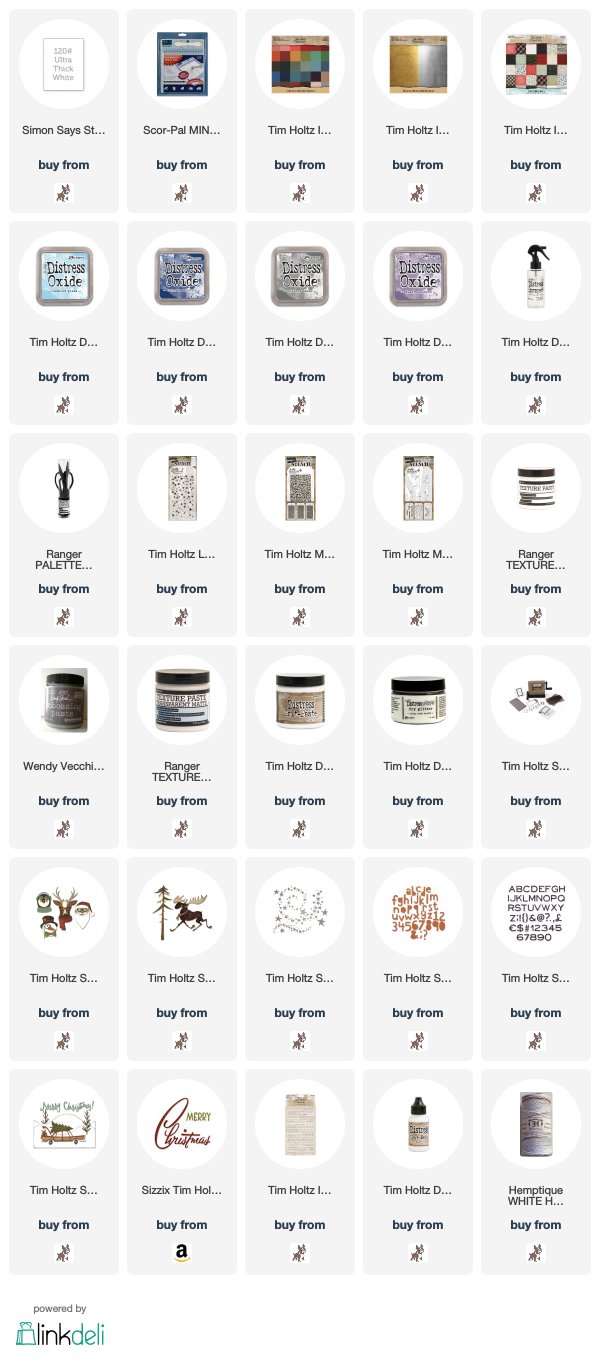
I didn't do step-by-step tutorials for each individual card because, basically they were all made in a similiar way with a little additon here and there using the Tim Holtz/Sizzix Cool Yule and Merry Moose Thinlits
and Retro Merry Christmas, Lower Cut Out, Home For The Holidays and Alphanumeric Thin Thinlits for the sentiments.
Let's start off with Santa, the adorable guy in the red suit who pops down our chimneys on Christmas Eve.
I trimmed a panel of black Classic Craftstock to be slightly smaller than an A2 card blank, sanded it slightly to reveal the kraft core, applied Ranger Texture Opaque White Texture Paste through the Falling Stars Layering Stencil, sprinkled with Distress Clear Rock Candy Glitter while the paste was wet and left to dry.
I fixed the chimney behind a piece of paper from the Idea-ology Christmas Paper Stash Pad, added Distress Grit Paste through the Snowcap Mini Layering Stencil from Set 38 and sprinkled with Distress Clear Rock Candy Glitter.
I added the Cool Yule Santa die cut from Classic Kraftstock and white card and Christmas Clippings Stickers for the sentiment.
Stepping up next is the Dashing Deer,wrapped up snug in his cosy scarf and I think this may well be my favourite Cool Yule Gang character
made similiar to the Santa card but I added a snowbank at the bottom, the sentiment die cut with Home For The Holidays and Retro Christmas Thinlits and stars die cut with Swirling Stars Thinlits
Then it was the turn of Mr and Mrs Snowman on a Distress Oxide background die cut with Swirling Stars Thinlits. I die cut extra stars and the sentiments using Word Play BigZ die and Lower CutOut Thinlits from white card.
Next up are a trio of penquins wishing you a Merry Merry Merry Christmas
I used Home For The Holidays Thinlits to die cut Merry 3 times on a panel of white card, backed with red Classic Kraftstock and Alphanumeric Thin Thinlits for the rest of the sentiment. I added a twine bow and Ranger White Enamel Accents to the background and snowbank.
This set of Christmas cuteness would not have been complete without the adorable Mr Merry Moose.
I masked off the bottom section of the card panel and applied a wash of Tumbled Glass Distress Oxide ink, applied Wendy Vecchi Silver Embossing Paste through the Falling Stars Layering Stencil and spinkled with Distress Clear Rock Candy Glitter. I added a Christmas Remnant Rub for the word Merry and die cut the sentiment and stars from red Classic Kraftstock using Swirling Stars and Lower CutOut Thinlits
Cards suitable for all age groups and guaranteed to put a great big Christmas smile on anyone's face.
You are going to have so much fun if these adorable characters have arrived in your crafty space.
Have a great weekend everyone and I'll see you Monday with my DT project for Simon Says Stamp Monday Challenge. You still have time to join in with this week's Take Flight Challenge with the chance to win a $50 gift card to spend in Simon Says Online Store.
Toodle-oo from me, the Furry Boy,
The Cool Yule Gang and Mr Merry Moose
Hugs Kath xxx


These cards look even more special close up Kath - they are amazing (still waiting for my minis to arrive), your designs are wonderful and of course, I just loooove Merry Moose!! Have a lovely weekend my friend. Hugs, Anne xxx
ReplyDeleteThese are all fabulous Kath, love the designs.
ReplyDeleteHugs
Linda xxx
Hi Kath x I am so in love with these amazing dies too and the Christmas cards you have made are simply divine. Thanks for sharing and apologies for my lack of comments but I have had issues with blogger, preventing me from publishing comments...so frustrating !!!!!
ReplyDeleteHave a lovely weekend
Annie x