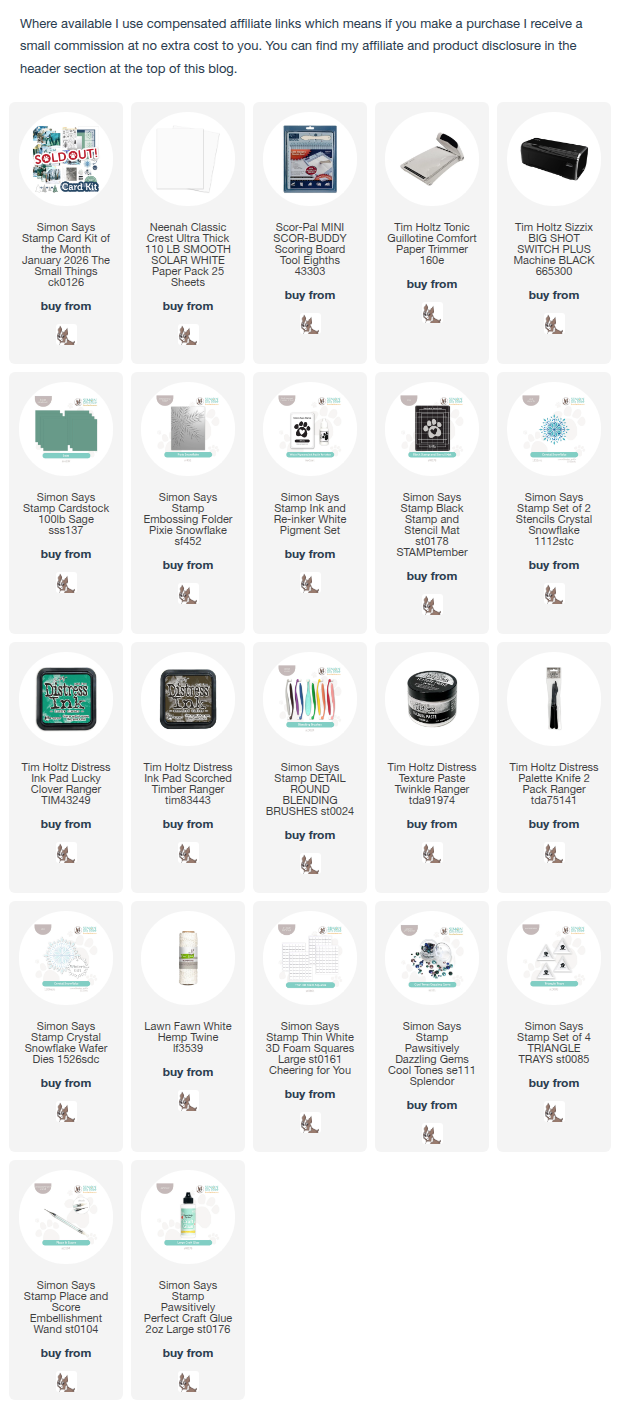
Friday, December 5, 2025

Simon Says Stamp - DieCember Blog Hop

Hi my friends, welcome to my stop on Day 1 of the Simon Says Stamp Blog Hop for the DieCember 2025 release. I'm thrilled to be joining lots of talented friends and designers to share inspiration using products to celebrate this fabulous release and you can check out all the products in the release HERE.


Si
mon Says Stamp has a blog hop exclusive give-away, the Exclusive and Not Yet Released Bundled Snowman  die set will be automatically added to your cart when you make any purchase from the DieCember release. This gift with purchase will expire on December 7 at 11:59 pm EDT or while supplies last.

Simon Says are also giving away a $25 coupon to every stop on the hop so make sure you leave a comment on each participant's blog to be in with a chance of winning. The winners will be chosen and posted on Simon Says Stamp Blog on Wednesday December 10, and if you are a lucky winner, you can e-mail Simon Says Stamp to claim your prize. 

I created a shaker card using the Antique Snowglobe Emboss and Cut Folder and Forest Background die.

I die-cut the Antique Snowglobe Emboss and Cut on a 4" x 5.1/4" panel of Distress Watercolor card.
I coloured the bottom section of the Snowglobe using Simon Says Cappucinno and Mocha Pawsitively Saturated Ink Cubes and a Detail Round Blending Brush.
I coloured the rest of the panel with Dew Pawsitively Saturated Ink, added water splatters and dried.
I die-cut Simon Says Stamp Forest Background from Distress Watercolor card, coloured the bottom 3 layers with Mist, Dew and Raindrop Pawsitively Saturated Inks and fixed together with tape on the reverse.
I fixed the die-cut forest sections in place on a 4" x 5.1/4" panel of Distress Watercolor card. I die-cut the shaker aperture from 4 sheets of cardstock using a circle die slightly larger than the aperture on the front panel, fixed in place and added Distress Rock Candy Glitter, Simon Says Starbright Embellishment Mix and snowflakes and silver stars from my stash.
I fixed acetate behind the snowglobe aperture, applied Distress Grit Paste Opaque through Simon Says Detailed Snowflakes Stencil and sprinkled with Distress Rock Candy Chunky Glitter while the paste was still wet.
I poked holes at the top edge of the snowglobe base, threaded with Simon Says Silver Metallic Cord and tied in a bow. I fixed the Reverse Merriest Christmas Sentiment Strip in place popped up on Simon Says 3D Thin Foam Squares.
To finish I added Gina K Black Mini Pearls to the centre of the stars and snowflakes and matted the shaker panel on to an A2 white card blank.


If you've arrived from Cheiron Brandon's Blogyou're in the right place but if you happen to get lost along the way, the list of participants below will help you get back on track.

You'll find more inspiration from the release on Simon Says Stamp DieCember 2025 Gallery HERE and if you make anything with the release, we would love you to share with us all in the Gallery. There will be more fabulous inspiration for you on Day 2 of the Blog Hop tomorrow. In the meantime, I'm off to make myself a cuppa, find a comfy sofa and enjoy an afternoon of blog hopping and being inspired by all the makes.

Hugs Kath xxx

Wednesday, December 3, 2025

All Things Distress

Hello my friends, you probably already know that Tim Holtz and Ranger have released the last 24 colours of Distress Mini Oxide ink pads along with Distress Labels to organise all your favourite Distress products.

 
I am over the moon that my collection of Distress Mini Oxide ink pads is now complete but being someone who is obsessed with organisation, a place for everything and everything in it's place, the release of the Distress Labels was music to my ears.

First task was to create swatches for the ink pads, so I die-cut mini tags from Distress Watercolor card, smooshed each ink pad on to my craft media mat, spritzed with water, tapped the tag into the ink and dried. I stamped one of the images from Tim Holtz/Stampers Anonymous Nature's Wonder on to the tag, inked with the same colour. I attached the corresponding Small Circle Distress Label to the swatch and the Small Rectangle Distress Label to the ink pad. There are bundles available for the Distress Mini Oxide Ink Pads, storage tins and re-inkers HERE.


The labels are available with colour names in either black or white and are sold as individual sheets or in packs of 4. (Large Rectangle, Small Rectangle, Large Circle, Small Circle) or in bundles and you check out all the options HERE.
After my swatching adventure, I'm on a mission to label All Things Distress and suddenly realising just how many "All Things Distress" products I have collected over the years. It's going to be a take it easy marathon, not a sprint and I've made a start with my Distress Oxide Re-inker palette. One down, so many more to go.
Hugs Kath xxx

Monday, December 1, 2025

Tim Holtz Cyber Monday Surprise

Hello my friends, if you tuned into the Simon Says Stamp YouTube Live revealing the Cyber Monday Surprise from Tim Holtz, you 'll know it's the most gorgeous Snowflake Rosette die. If not, you can join the Live HERE for lots of inspiration and hints and tips from Tim on how to assemble. The Snowflake Rosette die is limited edition and is free with the purchase of $30 or more of Tim Holtz products from Simon Says Stamp only while supplies last. No code required, the die will be automatically added to your cart.

and here's what I made with the Snowflake Rosette die.
I trimmed Distress Watercolor card to 4" x 5.1/4" and coloured by smooshing Dusty Concord and Prize Ribbon Distress Oxide ink pads on to the craft mat on my White Studio Glass Mat, spritzed with water and tapped the panel repeatedly into the inks, drying between layers.
I die-cut the detailed snowflake strip twice and the circle once from Distress Watercolor card. I folded the strips on the score lines made by the die and fixed the strips together with Distress Collage Medium, overlapping the end sections to create stability. (The image on the packaging shows the rosette die-cut using 3 strips but I only used 2 so that the snowflake rosette would fit on the card.)
I pressed the folded edges together and fixed the snowflake rosette to the circle using hot glue. I die-cut the smaller snowflake 6 times from Distress Watercolor card, layered to create 3 snowflakes and coloured the edges of one with Prize Ribbon Distress Oxide ink using a Tiny Blending Tool. I painted a thin layer of Distress Collage Medium over the snowflake rosette and small snowflakes, sprinkled with Distress Rock Candy Chunky Glitter and once dry, fixed to the panel with Simon Says Stamp 3D Thin Foam Squares.
I stamped the sentiment from Tim Holtz Festive Sentiments STAMPtember exclusive on to Distress Watercolor card, inked with Prize Ribbon Distress Oxide ink, sprinkled with Clear Embossing Powder and heat set. I die-cut with the co-ordinating Festive Sentiments die and fixed to the panel using Simon Says 3D Thin Foam Squares.
To finish I added a Tim Holtz/Idea-ology Metallic Sentiment Sticker to complete the sentiment and matted the panel on to an A2 white card blank.


I'm off to die-cut more Snowflake Rosettes, this time using 3 panels to make bigger, glittering, sparkling snowflake ornaments to hang on my tree. Have fun with whatever you are making.
Hugs Kath xxx

Simon Says - Use Dies in DieCember

Hi Everyone...welcome to another week on the Simon Says Stamp Monday Challenge Blog. Thank you for joining us for last week's challenge and we hope you can join us this week too because


The first challenge of the month is when the Design Team feature one particular brand/company and to celebrate the start of DieCember, we are all using the fabulous products from our very own Simon Says Stamp.
We are also welcoming back the lovely and talented Carrie Swift as our Designer In The Spotlight. If you haven't visited Carrie's Instagram Gallery before, please pop over, you are in for a real treat.
The theme for this week is....
USE DIES
I created a Christmas snowy scene card using Simon Says Stamp Cozy Birdhouse and Birdies dies, Tim Holtz/Stampers Anonymous Flurries Mini Layering Stencil from Set 50 with Distress Grit Paste and Distress Rock Candy Chunky Glitter and Reverse Merriest Christmas Sentiment Strips.
I trimmed Tim Holtz/Idea-ology Christmas 2025 Backdrops paper to 4" x 5.1/4", fixed to white cardstock and added a light layer of White Gesso using a Distress Small Brayer.
I inked the edges of the panel lightly with Vintage Photo Distress Oxide ink using a Mini Round Blending Tool, applied Distress Grit Paste Opaque through the Flurries Mini Layering Stencil from Set and sprinkled with a mix of Distress Rock Candy and Rock Candy Chunky Glitter, while still wet.
I die-cut Simon Says Stamp Cosy Birdhouse from Distress Watercolor card, coloured the birdhouse section and edges of the shutters with Vintage Photo Distress Oxide, popped the shutters, roof and window sill up on Simon Says 3D Thin Foam Squares, applied a coat of Ranger Glossy Accents to these pieces and sprinkled with the Distress Rock Candy and Rock Candy Chunky Glitter mix.
I die-cut the branch from Distress Woodgrain card using Simon Says Birdies die, coloured with Vintage Photo Distress Oxide ink by dragging the ink pad over the die-cuts and fixed in place with Distress Collage Medium. I die-cut the birds from Distress Watercolor card, coloured lightly with Vintage Photo Distress Oxide ink using a Mini Round Blending Tool and fixed in place with Simon Says 3D Thin Foam Squares. I die-cut the legs, beaks and eyes from Distress Black HeavyStock and the heart from Lipstick Red cardstock. I added Silver Cord behind the birdhouse and attached to the panel with Distress Collage Medium.
I die-cut the foliage from Simon Says Emerald cardstock using the Pine and Post Envelope Gift Card Holder dies. I used my Crop A Dile to create the berries from Lipstick Red cardstock, fixed in place with Distress Collage Medium and added Ranger Glossy Accents to the berries and heart.
I trimmed the Reverse Merriest Christmas Sentiment Strip to separate the wording and fixed to the panel popped up on 3D Thin Foam Squares.
To finish I inked the edges of the panel with Scorched Timber Distress Ink to darken and added water splatters. I matted the panel on to an A2 panel of Lipstick Red cardstock and fixed to an A2 white card blank.


You can find all the products I used over at Simon Says Stamp, just click on the links below


Why don't you pop over to the Monday Challenge Blog and check out the amazing creations from my very talented Design Team mates and as always you have until Monday 8am Ohio time...1pm UK time...2pm CET to join in with the chance to win a $25 voucher to spend online at Simon Says Stamp


You can also follow Simon Says Stamp on Instagram
and if you use Instagram...
please add #sssmchallenge to your entry uploads so we can see them on there too

I look forward to seeing what you create this week...
Have Fun and Happy Crafting
Hugs Kath xxx

Friday, November 28, 2025

Tim Holtz - Festive Collage

Hello my friends, I'm back share cards I made with Tim Holtz/Stampers Anonymous Festive Collage stamps and the recently released co-ordinating dies from the Simon Says Stamp Holiday Collection. You can check out all the dies released in this collection HERE and pop over to the YouTube Live on Simon Says Stamp YouTube channel for lots of inspiration HERE.


I began by creating background panels from Distress Watercolor card by smooshing a Distress Custom Blend Ink pad (re-inker colours linked below) on to the craft mat on my White Glass Studio Mat, spritzed with water, dragged the panels through the ink, dried and tapped back in to pick up the remaining ink droplets.
I inked the 2 large images from Festive Collage with Scorched Timber Distress Ink, spritzed with water and stamped on to the backgrounds. I trimmed the panels to 3.3/4" x 5", distressed and inked the edges with Scorched Timber Distress Ink using a Tiny Blending Tool. I re-stamped the images on to Distress Watercolor card, inked with Versafine Nocturne ink, coloured with Twisted Citron, Peeled Paint and Lumberjack Plaid Distress Watercolor Pencils using a Distress Detailer Waterbrush, die-cut using the co-ordinating Festive Collage dies and fixed over the original stamped image using Thin 3D Foam Squares. I coloured the postage stamps on the stamped panels with the Lumberjack Watercolor Pencil, fussy cut and fixed to the panels with Thin 3D Foam Squares.
I added splatters of Flickering Candle Distress Spritz and dried.
I scored and folded Distress Watercolor card to create 2 - A2 blank cards with the textured side on the outside, fixed the panels in place, added Tim Holtz/Idea-ology Cello Stickers and White Twine Bows.

Have fun with whatever you're making and enjoy your weekend.
Hugs Kath xxx