Hello my friends, I'm thrilled to be joining lots of creative friends from around the world at a great big blog party to celebrate Simon Says Stamp DieCember 2024, the start of a month long celebration of dies.
You can check out all the party participants HERE and all the products in the DieCember release HERE. To celebrate Die-Cember Simon Says Stamp has a special gift for you, spend $100 or more on DieCember release products and you will receive the exclusive Fancy Ornaments Embossing Folder and die set with a retail value of $24.99. The free gift will be automatically added to your cart once you meet the dollar amount requirement.
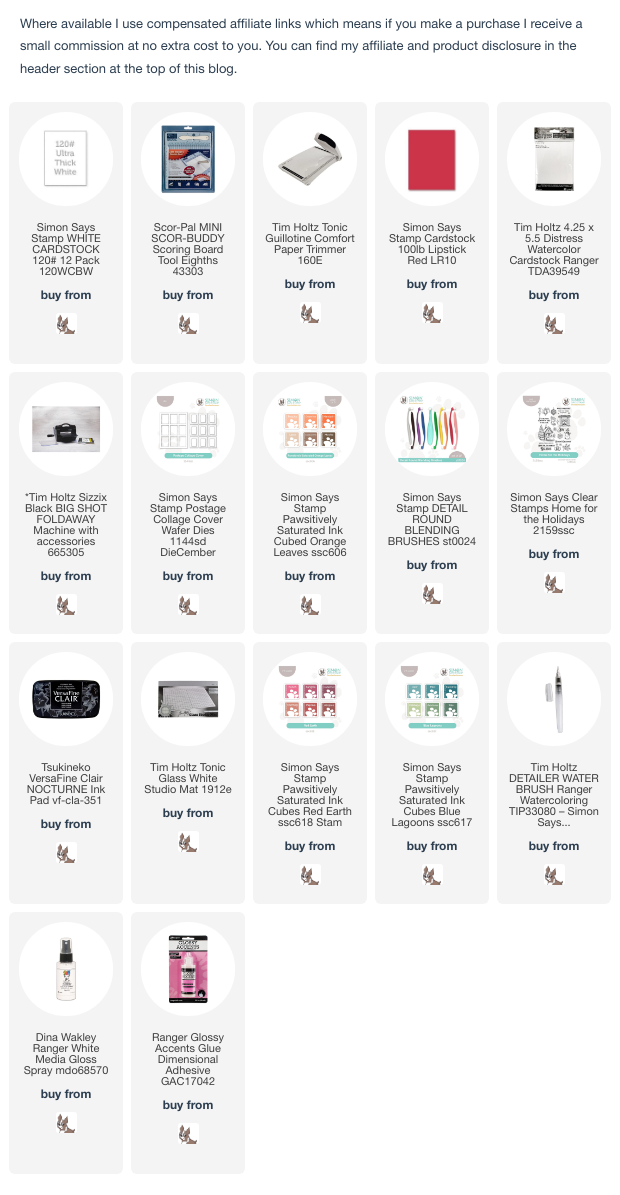
I created a card using Simon Says Stamp Postage Collage Cover die decorated with images and a sentiment from Simon Says Stamp Home For The Holidays stamp set.I began by die-cutting the Postage Collage Cover die from white card, popped out the inner sections and fixed temporarily to an A2 panel of Distress Watercolor card to use as a stencil.I inked through the Postage Collage Cover die-cut using Simon Says Stamp Latte Pawsitively Saturated Ink and a round detail blending brush.This is what it looks like when the Postage Collage cover die-cut is removed.
With the cover die-cut back in place, I stamped the holly and snowflake images from Simon Says Stamp Home For The Holidays stamp set, inked with Versafine Clair Nocturne ink.I carefully trimmed the sentiment from Simon Says Stamp Home For The Holidays stamp set and stamped the individual words, inked with Sangria Pawsitively Saturated Ink. You can easily fit the stamp back together if you wish to stamp it as shown on the stamp set.I smooshed the Sangria and Artichoke Pawsitively Saturated ink pads on to my glass media mat and coloured the holly leaves and berries using a Distress Detailer Waterbrush. I replaced the cover die-cut and added splatters of Dina Wakley White Gloss Spray.I trimmed the panel to 4" x 5.1/4", matted on to a panel of Simon Says Stamp Lipstick Red cardstock, added Ranger Glossy Accents to the holly berries and fixed to an A2 white card blank.Hugs Kath xxx


I absolutely love this card! Thanks for showing steps.
ReplyDeleteWow! This card is absolutely stunning! You totally nailed the vintage style ~ it looks authentic! And everything else is also perfect ~ from the design to the colors to the chosen font. This piece is my #1 pick from the blog party so far, and I’m about 3/4 or more of the way through. Fantastic work!
ReplyDeleteVintage va va voom!!!! Love it!!
ReplyDelete