Saturday, August 23, 2025

Happy Birthday Ducky

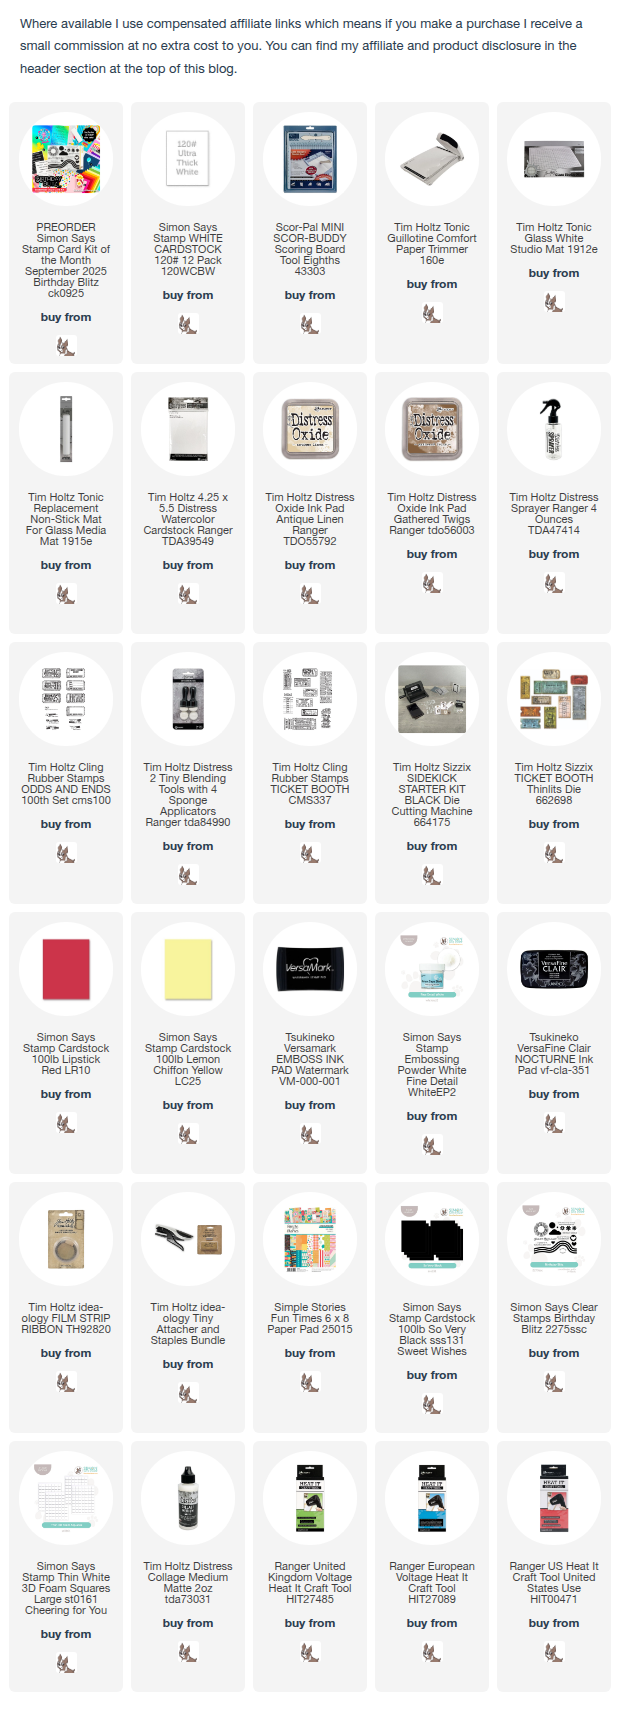
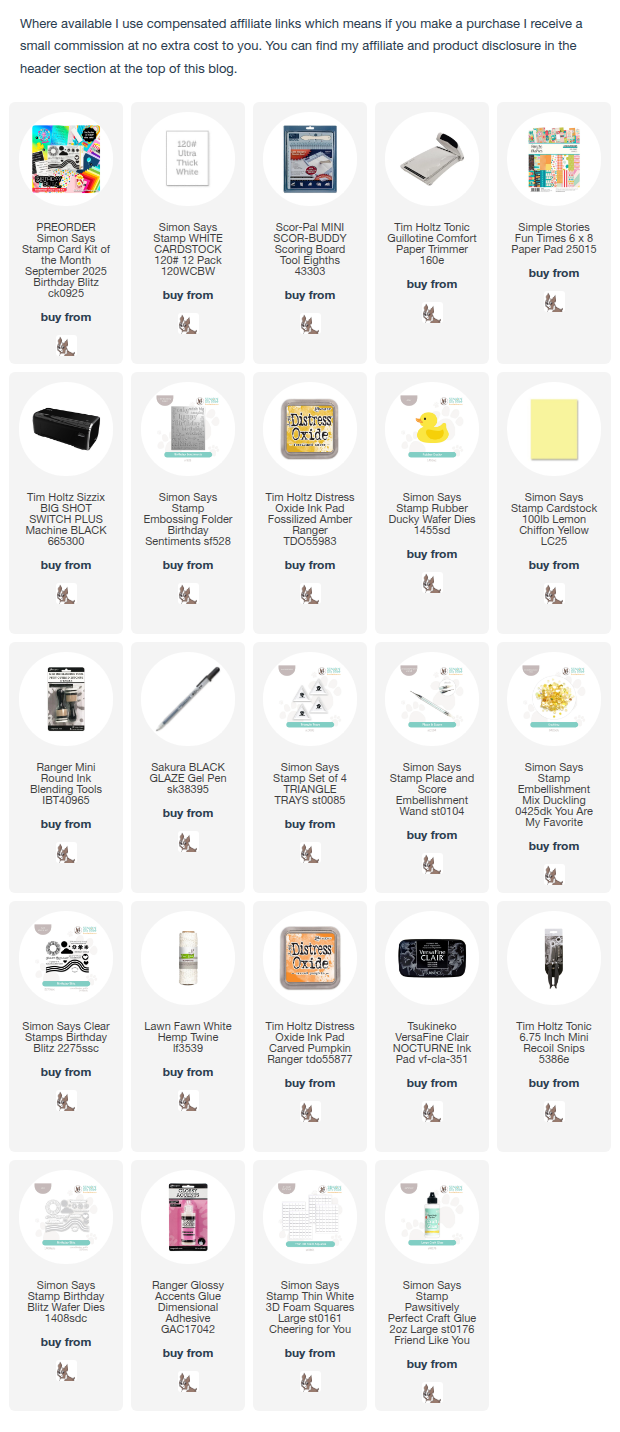
Hello my friends, I'm back to share another birthday card using the Rubber Ducky die, Birthday Sentiments Embossing Folder, Birthday Blitz 6" 8" stanp set and Simple Stories Fun Times 6" x 8" patterned papers from Simon Says Stamp Birthday Blitz September 2025 card kit. Just in case you are wondering about the blog title, Ducky and Duck are cockney terms of endearment mostly heard in the East End of London. You can find all the details of what is included in the kit, subscribe if you don't already and purchase individual items from the kit HERE.
I trimmed one of the patterned papers from Simple Stories Fun Times 6" x 8" paper pad to 4" x 5.14" and fixed to an A2 white card blank, fussy cut two of the tags from the patterned papers and fixed in place with Simon Says Pawsitively Perfect Craft Glue and Thin 3D foam squares. I used the Birthday Sentiments Embossing Folder on Distress Watercolor, trimmed, dragged the Fossilized Amber Distress Oxide ink pad over the detail and fixed at the bottom of the panel.
I die-cut the Rubber Ducky from Simon Says Lemon Chiffon cardstock included in the kit, added shading with Fossilized Amber Distress Oxide ink using a Mini Round Blending Tool, assembled and added to the panel with Thin 3D foam squares.
I added a white hemp twine bow to the tag and Simon Says Duckling Sequins.
I then decided to fussy cut the Birthday Blitz stamped flowers, inked with Carved Pumpkin Distress Oxide ink, left over from yesterday's card, fix to the panel with Thin 3D foam squares and add Glossy Accents to the flower centres and the centre of the rosette on the tag.


Enjoy your weekend whatever you have planned.
Hugs Kath xxx

Friday, August 22, 2025

Who doesn't love a cute Rubber Ducky

Hello my friends, I'm back share a birthday card using the cute Rubber Ducky die and Birthday Blitz 6" x 8" stamp set from Simon Says Stamp Birthday Blitz September 2025 card kit. You can find all the details of what is included in the kit, subscribe if you don't already and purchase individual items from the kit HERE.


I trimmed Distress Watercolor card to 4" x 5.1/4", inked the sunburst image from the Birthday Blitz stamp set with Fossilized Amber Distress Oxide ink and stamped randomly over the panel to create a background.
I stamped the flower images from the stamp set, inked with Kitsch Flamingo and Carved Pumpkin Distress Oxide inks and the centres, inked with Versafine Clair Nocturne ink, on to Distress Watercolor card but only used the pink flowers.
I die-cut Simon Says Fruitful Berries from Distress Watercolor card and coloured with Kitsch Flamingo, Salvaged Patina and Peacock Feathers Distress Oxide inks using Simon Says Round Detail Blending Brushes.
I stamped the sentiment from the Birthday Bliz stamp set on to Distress Watercolor card, inked with Versafine Clair Nocturne ink, trimmed with Tim Holtz/Tonic Studios  Deckle Edge Trimmer and fixed to the card with the Simon Says Stamp Foam Strips included in the kit. I die-cut the Rubber Ducky from Lemon Chiffon cardstock, also included in the kit, shaded with Fossilized Amber Distress Oxide ink, added his eyes using a Sakura Black Glaze pen and fixed in place also with Foam Strips. I fussy cut the flowers (there are dies available for the stamp set, linked below) and added to the panel along with the Fruitful Berries die-cuts. I stamped the heart from the stamp set, inked with Kitsch Flamingo Distress Oxide ink.
To finish, I added sparkle to the berries and heart using Tonic Studios Nuvo Aqua Shimmer Pen and once dry, a coat of Glossy Accents and matted the panel on to an A2 white top folding card.

I'll be back soon to share another card using this adorable rubber ducky. In the meantime, have fun with whatever you are making and enjoy your weekend.
Hugs Kath xxx

Wednesday, August 20, 2025

Simon Says - Happy Birthday Balloons

Hello my friends, it's that woohoo time of the month when the Simon Says Stamp Card Kit arrives and this month's Birthday Blitz kit is amazing, choc-a-bloc with lots of goodies to inspire your creativity including 4 NEW exclusive dies. You can check out the products in the kit, subscribe if you don't already and also purchase individual items from the kit, if you so wish, HERE.

I created a fun colourful birthday card using the Birthday Sentiments Embossing Folder, Party Balloon die, the Simon Says Colour Cardstock and Simple Stories Fun Times patterned papers, all included in the kit.
I created a background panel from the Audrey Blue cardstock included in the kit using the Birthday Sentiments Embossing Folder, dragged Simon Says White Pigment Ink pad over the embossed detail to highlight and dried.
I die-cut the Party Balloon from the Cotton Candy, Lemon Chiffon and Lavender cardstock panels included in the kit and shaded lightly on the right hand side with Kitsch Flamingo, Mustard Seed and Dusty Concord Distress Oxide inks using Tiny Blending Tools. I die-cut the balloon highlight from white cardstock and fixed to the balloons with Simon Says Pawsitively Perfect Glue.
I trimmed the embossed panel to 4" x 5.1/4" and fixed to an A2 white card blank. I die-cut a circle from one of the Simple Stories Fun Times patterned paper, fixed in place and added faux stitching using a Memento Black Marker. I fixed White Hemp Twine behind the balloons and added them to the circle using Simon Says Thin Foam Squares to add dimension. I trimmed the banner from one of the Simple Stories patterned papers and fixed in place over the balloon strings with Thin Foam Squares.
To finish I added Simon Says Stamp Clear Pawsitively Dazzling Gems to add some birthday sparkle.

I'll be back soon to share more makes using this fabulous kit, in the meantime, have fun with whatever you're making.
Hugs Kath xxx

Monday, August 18, 2025

Simon Says - Fun With ATC's

Hi Everyone...welcome to another week on the Simon Says Stamp Monday Challenge Blog. Thank you for joining us for last week's challenge and we hope you can join us this week too because


and the theme for this week is...
FUN WITH ATC's
I created a trio of ATC Christmas Gift Card holders using Tim Holtz/Idea-ology Large Christmas Collage Strips, Flashcards, Postmarked and Christmas Sticker Books and Tim Holtz/Ranger Distress Texture Paste Twinkle with Stampers Anonymous Starry, Snowflakes and Poinsettia Layering Stencils to add texture and a splattering of Simon Says Pawsitively Perfect White Splatter Medium to give a snowy look.
I trimmed Distress Watercolor card to create 3 - 3.1/2" x 2.1/2" ATC panels and covered with the Christmas Large Collage Strips.
I sanded the edges of the ATC panels with a Distress Mini Round Blending Tool and Sanding Disk and fixed to Simon Says Stamp Schoolhouse Red card blanks, trimmed to be 1/8" larger.
I fixed Tim Holtz/Idea-ology Holiday Flashcards to the panels with Distress Collage Medium. These Holiday Flashcards are discontinued but I have linked to a newer version of Idea-ology Flashcards below which contain words that could also be suitable for Christmas
I applied Tim Holtz/Ranger Distress Texture Paste Twinkle through Stampers Anonymous Starry, Snowflake and Poinsettia Layering Stencils. Texture Paste Twinkle is a translucent gloss paste with added glitter which will dry clear but create texture on the panels.
After the paste had dried I inked over the flashcards with Scorched Timber Distress Ink using a Tiny Blending Tool, wiped the ink off the textured areas and added splatters of Simon Says Pawsitively Perfect White Splatter
I added stamps from Tim Holtz/Idea-ology Postmarked and the very last of the white Christmas Remnant Rubs from my stash. How I wish Tim would bring these back, living in hope. To finish I fixed the sentiments from Tim Holtz/Idea-ology Christmas Sticker Book to scraps of white card, trimmed, fixed to the cards using Simon Says Thin Foam Squares to create dimension. 


You can find all the products I used over at Simon Says Stamp, just click on the links below


Why don't you pop over to the Monday Challenge Blog and check out the amazing creations from my very talented Design Team mates and as always you have until Monday 8am Ohio time...1pm UK time...2pm CET to join in with the chance to win a $25 voucher to spend online at Simon Says Stamp


You can also follow Simon Says Stamp on Instagram
and if you use Instagram...
please add #sssmchallenge to your entry uploads so we can see them on there too

I look forward to seeing what you create this week...
Have Fun and Happy Crafting
Hugs Kath xxx

Sunday, August 17, 2025

Tim Holtz/Ranger Distress Texture Paste Twinkle

Hello my friends, I had fun making funky textured cards with a hint of a twinkle using the new Distress Texture Paste Twinkle from Tim Holtz and Ranger along with Stampers Anonymous Splotches and Flourish Layering Stencils, Faded Type stamp set, Sizzix Artsy Stems Thinlits and Idea-ology Sentiments Label Stickers.

I began by creating the backgrounds on A2 panels of Distress Watercolor card. On the left hand side panel, I applied Distress Texture Paste Twinkle through the Splotched Layering Stencil and once dry, coloured the background with Abandoned Coral, Wild Honey and Twisted Citron Distress Ink using mini round blending tools and added splatters of water to create the waterdroplet effect. I inked the sentiment from the Faded Type stamp set with Black Soot Distress Archival ink and stamped randomly on the background. I then applied the Distress Texture Paste Twinkle through the Flourish Layering Stencil to add tone on tone texture on the background.

On the second panel, I applied the same 3 colours of Distress Oxide inks randomly through the Splotches Layering Stencil using a mini round blending tool and with the stencil still in place, inked the Faded Type stamp with Black Soot Distress Archival ink and pressed the stamp on to the stencil. Without moving the stencil I then applied the Distress Texture Paste Twinkle through the stencil and set aside to dry.
To add extra texture on the first panel, I mixed the Distress Texture Paste Twinkle with Abandoned Coral Distress Oxide re-inker, placed the stencil on the panel (not lined up with the original paste) and reapplied the coloured paste. I coloured the background on the second panel lightly with Wild Honey Distress Oxide ink using a mini round blending tool and applied the rest of the coloured Distress Texture Paste Twinkle through the Flourish Layering Stencil.
I applied the Distress Texture Paste Twinkle through the Bubble Mini Layering Stencil from Set 5 repeatedly to cover an A4 sheet of Distress Black HeavyStock.
I
I
To finish I added Tim Holtz/Idea-ology Sentiments Label Stickers, trimmed the panels to 4" x 5.1/4", matted on to Distress Black HeavyStock cut 1/8" larger and fixed to Simon Says Stamp top folding A2 white card blanks.


Hugs Kath xxx