

THIS...

TO THIS...


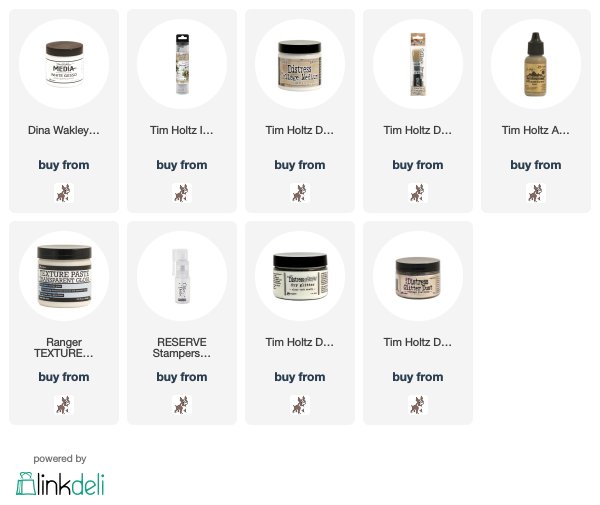
I wanted the background for the Collage Paper to be bright white but didn't fancy painting on a couple of coats of Gesso because the chances of achieving a nice smooth finish were NIL. I separated the baubles into two halves by removing the cap (I think they were intended to use with photographs) and used a tried and tested method for applying paint to the inside of objects from my ceramic painting days. I diluted White Gesso to a pouring consistency, poured into each half of the bauble, swirled it around until the entire surface was coated and let the excess drip back into the container.


VOILA, lovely white shiny smooth baubles.

I coloured the bauble caps using a nifty trick from our adorable Professor, adding drops of Alcohol Ink Gold Mixative into a plastic cup, dropped in the caps, swirled them around until covered and then left them to dry on kitchen towel


I tore Idea-ology Holly Collage Paper into sections and applied to the baubles with Distress Collage Medium Matte using a Collage Brush


but as the name suggests, Distress Collage Medium Matte dries MATTE so I applied Ranger Texture Paste Clear Gloss, brushing it on as smoothly as I could, to one half of the baubles and left them to dry on top of rolls of kitchen towel. Once dry, I coated the other half and repeated the process giving them 2 coats to create a nice shine.

but there was something missing and right on cue, a "perfect timing" parcel of yummy gorgeous Glitter Dusting goodies arrived from Santa Tim & Mario

and in the blink of an eye, the Distress Glitter Dusters were primed and ready to go, filled with Distress Clear Rock Candy and Vintage Platinum, my favourite glitter of all time, absolutely gorgeous and the sparkliest glitter ever.


I added Idea-ology Ribbon and a bow before hanging on the tree

I'll be planning the Christmas menus over the weekend and next week, I'll be heading to the kitchen with my Furry Wingman to make a start on this year's festive cooking.
Have a great weekend whatever you have planned and I'll see you all on Monday with my DT project for Simon Says Stamp,in the meantime, here's a little sneaky peek

Toodle-oo for now
Hugs Kath xxx
SUPPLIES:
*** Where available I use compensated affiliate links
which means, if you make a purchase, I receive a small commission at no extra
cost to you. You will find my affiliate and product disclosure HERE.
Wow, wow and wow again! Just when I think you cannot amaze me more, you go and do it - these baubles are absolutely stunning Kath!! I would never have thought to do the inside gesso in that way, thank you for the great tip! The photo of your tree could grace a very posh magazine, it is so beautiful. Just in case I didn't make it clear enough - I LOVE THESE !!! Big hugs, Anne xxx
ReplyDeletePS. Lovely gift too and your Monday project looks wonderful.... Hope you have a good weekend too. xxx
ReplyDeleteAbsolutely stunning Kath, I know I say it alot, but these are so pretty and gorgeous and would be a delight on any tree, also can't wait to see the Monday challenge project....enjoy your weekend clever lady.xx
ReplyDeleteWOW Kath these are stunning!
ReplyDeleteHugs
Linda xxx
As always your work is amazing! Your "cheaper than chips"balls look fabulous.Again thank you for clear instructions.
ReplyDeleteGorgeous as ever! Certainly would make a great attachment to a gift or a hostess gift! And the gift from Tim and Mario, what perfect timing for you! Can't wait to see your Monday project! Enjoy the holidays...
ReplyDeleteKath your baubles are beautiful and they look fairly easy to make...maybe next year!
ReplyDeleteAnne
these are fantastic!!
ReplyDeletewow,absolutely Stunning.xx
ReplyDelete