Hi my friends, welcome to my stop on Day 1 of the Simon Says Stamp Blog Hop for the DieCember 2025 release. I'm thrilled to be joining lots of talented friends and designers to share inspiration using products to celebrate this fabulous release and you can check out all the products in the release HERE.
Simon Says Stamp has a blog hop exclusive give-away, the Exclusive and Not Yet Released Bundled Snowman die set will be automatically added to your cart when you make any purchase from the DieCember release. This gift with purchase will expire on December 7 at 11:59 pm EDT or while supplies last.S
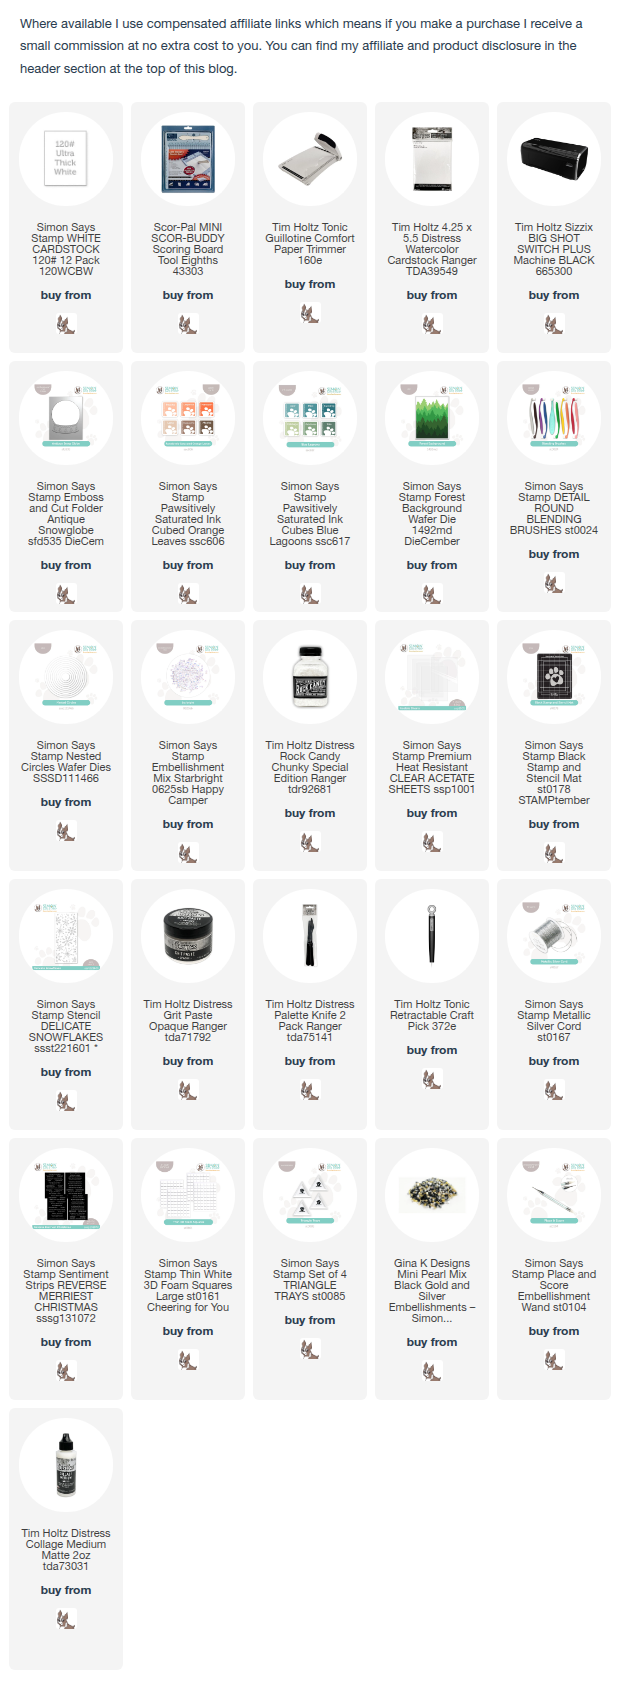
imon Says are also giving away a $25 coupon to every stop on the hop so make sure you leave a comment on each participant's blog to be in with a chance of winning. The winners will be chosen and posted on Simon Says Stamp Blog on Wednesday December 10, and if you are a lucky winner, you can e-mail Simon Says Stamp to claim your prize. I created a shaker card using the Antique Snowglobe Emboss and Cut Folder and Forest Background die.
I die-cut the Antique Snowglobe Emboss and Cut on a 4" x 5.1/4" panel of Distress Watercolor card.
I coloured the bottom section of the Snowglobe using Simon Says Cappucinno and Mocha Pawsitively Saturated Ink Cubes and a Detail Round Blending Brush.
I coloured the rest of the panel with Dew Pawsitively Saturated Ink, added water splatters and dried.
I die-cut Simon Says Stamp Forest Background from Distress Watercolor card, coloured the bottom 3 layers with Mist, Dew and Raindrop Pawsitively Saturated Inks and fixed together with tape on the reverse.
I fixed the die-cut forest sections in place on a 4" x 5.1/4" panel of Distress Watercolor card. I die-cut the shaker aperture from 4 sheets of cardstock using a circle die slightly larger than the aperture on the front panel, fixed in place and added Distress Rock Candy Glitter, Simon Says Starbright Embellishment Mix and snowflakes and silver stars from my stash.
I fixed acetate behind the snowglobe aperture, applied Distress Grit Paste Opaque through Simon Says Detailed Snowflakes Stencil and sprinkled with Distress Rock Candy Chunky Glitter while the paste was still wet.
I poked holes at the top edge of the snowglobe base, threaded with Simon Says Silver Metallic Cord and tied in a bow. I fixed the Reverse Merriest Christmas Sentiment Strip in place popped up on Simon Says 3D Thin Foam Squares.
To finish I added Gina K Black Mini Pearls to the centre of the stars and snowflakes and matted the shaker panel on to an A2 white card blank.
If you've arrived from Cheiron Brandon's Blog, you're in the right place but if you happen to get lost along the way, the list of participants below will help you get back on track.You'll find more inspiration from the release on Simon Says Stamp DieCember 2025 Gallery HERE and if you make anything with the release, we would love you to share with us all in the Gallery. There will be more fabulous inspiration for you on Day 2 of the Blog Hop tomorrow. In the meantime, I'm off to make myself a cuppa, find a comfy sofa and enjoy an afternoon of blog hopping and being inspired by all the makes.


I absolutely love snow globes and your card is beautiful!
ReplyDeleteThis card is gorgeous! I love those trees, and your inspiration has my mind reeling!
ReplyDeleteLovely card and great step by step pics!
ReplyDeleteEspecially love the snowglobe shaker card - so pretty!
ReplyDeleteWhat a sweet shaker! I LOVE the colors and inking! WOW!
ReplyDeleteAwesome card! Love the colors!
ReplyDeleteBeautiful! Your color choice and coordination of products is always stunning. Just lovely!
ReplyDeleteWhat a beautiful snow globe. I love the colors, and the scene in general...
ReplyDeleteLove your shaker card.
ReplyDeleteFabulous snow globe shaker!
ReplyDeleteLove your use of blues!
ReplyDeleteBee-utiful snowglobe. Ordered snowglobe.
ReplyDeleteSuch a great combo with the Mountain die behind the snowglobe. Great colors.TY
ReplyDeleteNice way to show off both the snow globe and the mountain background. Just beautiful.
ReplyDeleteAbsolutely Beautiful as always!!!
ReplyDeleteWow, you rocked this one! Love it.
ReplyDeleteI love it!
ReplyDeleteThat is such a perfect blue for the snow globe!
ReplyDeleteOh my dadum. This is beautiful. The colors are lovely. You were brave poking holes at the base. [Bunny]
ReplyDeleteWhat a beautifully serene card - I love the colors that you used and the added sparkle. All the added layers are just lovely!
ReplyDeleteBeautiful card
ReplyDeleteLove the snow globe and your card is gorgeous!!
ReplyDeleteI love your card, the colors are amazing. However, I really appreciate your step by step instructions. They are very helpful.
ReplyDeleteThis is really beautifully done. Love those trees!
ReplyDeleteSo lovely Kath!! Love those blues and all the sparkle.
ReplyDeleteSuch a great way to incorporate so many of the new products! Love those sparkly snowflakes!
ReplyDeleteLove your card. The concept and colors are great, I love how you used the background die as well. Thank you for sharing your talent.
ReplyDeleteSnow globe extraordinaire
ReplyDeleteLove your card!
ReplyDeleteLOVE, LOVE, this card. The colors are my favorite. Really need to get the snow globe, now!
ReplyDeleteLove how you put different dies together on this beautiful shaker card!
ReplyDeleteI don't know if you got me at "shaker" or "snowglobe" but you and your card captured my attention at first glance. Your card is absolutely stunning, you took the new Antique Snow globe embossing cut & die folder and a portion of the Forest backgound die and made them look as if they were made for each other. I am totally smitten with your card, it is amazing and I thank you for sharing it.
ReplyDeleteKath, your card is so striking with the beautiful colors used and the added embellishments. You did a great job providing the details about how you developed the card. Great job!
ReplyDeleteAbsolutely stunning!!! That snow globe is going in my basket soon!!!
ReplyDeleteStunning card with so much detail in your snow globe. Thanks for explaining your process, too.
ReplyDeleteLove this snow globe shaker card.
ReplyDeletesuper fun shaker card - love all the little elements you have added
ReplyDeletenice job combing the new plates and parts
ReplyDeleteKath,
ReplyDeleteWay to combine new elements to make a winner! This is BEAUTIFUL!!!
Lori S in PA
What a lovely snow globe!
ReplyDeleteBeautiful snow globe and colors!
ReplyDeleteKath, I love the idea of using the trees behind the cutout as a shaker. I appreciate the inspiration. This is what blog hops are for!
ReplyDeleteLove love LOVE this card!!
ReplyDeleteBeautiful card.
ReplyDeleteAbsolutely gorgeous winter scene for your beautiful snowglobe! Wonderful shaker card!
ReplyDeletePretty Shaker!
ReplyDeleteAbsolutely stunning!!!
ReplyDeleteThis is just stunning!
ReplyDeleteBeautiful Card and a shaker!!
ReplyDeleteImpressive card and thanks for showing how you made it. I like how you combined different items from the release into a snow globe. Thanks for the inspiration.
ReplyDeleteLove this beautiful shaker!
ReplyDeleteReally beautiful Kath. xx
ReplyDeleteSuch a great card! Thanks for showing the step by step process, it's always helpful
ReplyDeleteWow! Your card is gorgeous! I love all the detail and texture!
ReplyDeleteGreat tutorial! Love your pretty snowy trees snow globe! Merry Merry!
ReplyDeleteWhat an absolute gorgeous snowglobe. That ink blending is so gorgeous
ReplyDeleteLove this ideas for this card, it’s stunning. Thanks for sharing your time and talent.
ReplyDeleteI love the blues for Christmas. This is a beautiful card. Love it!
ReplyDeleteSuch a fun shaker.
ReplyDeleteWow your card is absolutely stunning. Love the colors and textures. Thanks for sharing.
ReplyDeleteALL your cards are so well put together with every finishing touch. 👏
ReplyDeleteLovely snow globe card! I love the color you used as well as the added textures in the card!
ReplyDeleteLove your snowglobe card!
ReplyDeleteLoe the color and design!
ReplyDeleteWow! You knocked it out of the park with this design!! Superb! Thank you for sharing
ReplyDeleteGreat cards!!!
ReplyDeleteI love how you combined there dies! Gorgeous card!!
ReplyDeleteLove this snow globe
ReplyDeleteGorgeous snow globe!
ReplyDeleteOh my the third one with the Snowglobe die. Going on my wish list
ReplyDeleteGreat photo tutorial of your festive shaker card. Thank you for sharing! I especially appreciate the phrase "Happy Christmas"!
ReplyDeleteYour creation is magical. Love the step by step photos--thank you.
ReplyDeleteAbsolutely gorgeous! love the textures and colours of the mountains and the shaker is so fun :D
ReplyDeleteSo pretty is your card x
ReplyDeleteWow! What a great snow globe card! Using the forest background layers is stunning!
ReplyDeleteLove your peaceful snow globe scene!
ReplyDeleteBeautiful snowglobe. I love your tutorial, TFS!
ReplyDeleteYour snow globe card is very pretty
ReplyDeleteStunning! Love the colors you chose!
ReplyDeleteWhat a gorgeous card! I love the inside and outside of your snowglobe. Dorothy Ayotte
ReplyDeleteSquee! I love shaker cards and this one is awesome!
ReplyDeletePretty cards
ReplyDeleteLOVE the combined use of those 2 die sets. Brilliant!
ReplyDeleteAbsolutely gorgeous Snow globe.
ReplyDeleteBeautiful card and I love the color choices!
ReplyDeleteLove the shaker.
ReplyDeleteYour shaker card is beautiful! Love these colors :)
ReplyDeleteOh my Goodness!! This card is beautiful!! (and two of my favorite things...snow globes and shaker cards!)
ReplyDelete