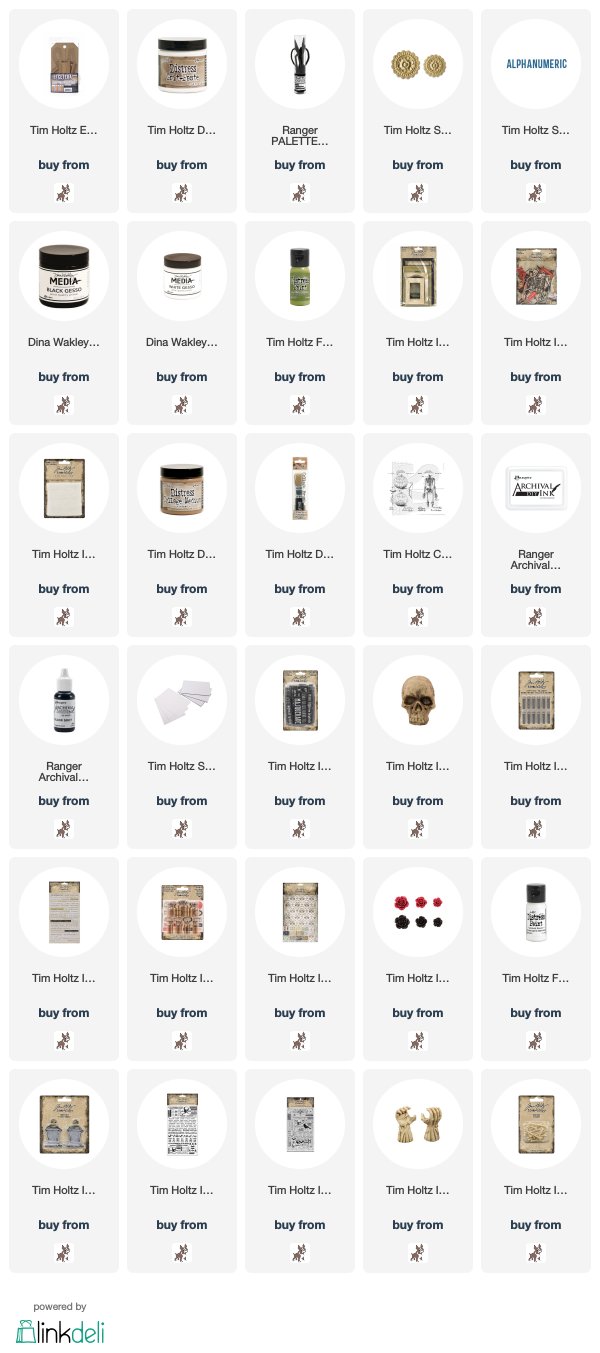
I started off by applying Distress Grit Paste to the top and bottom overlay sections and while they were still wet, I pressed a Tim Holtz/Sizzix 3D Impresslits Medallion into the top section
and letters and numbers die cut using Tim Holtz/Sizzix Alphanumeric Thinlits into the bottom section. Any random old date was my thought at this stage but you will see later on that I should have given it more thought because the gentleman in question (Edgar Allan Poe I believe) certainly isn't dressed in 14th Century attire.
I attached the overlays to the tag with Distress Collage Medium Matte and applied Grit Paste to the middle section. Then the marathon began to transform this ghostly tombstone into something that wouldn't look out of place in an ancient graveyard. I mixed Black and White Gesso to create a dark shade of grey and applied all over the tag scrubbing the paint down into the detail and oh boy was there a lot of detail.
Then I applied layer after layer of drybrushing, lightening the gesso with more white each time and lastly drybrushing randomly and very lightly with Peeled Paint
I fixed a Baseboard Frame which I had coated lightly with Grit Paste, painted with gesso, sanded and drybrushed to a crunched up and distressed "perfect Undertaker" photo from Idea-ology Halloween Ephemera.
At this point I had another "should have planned this out" moment and decided that I wanted to use the bottom overlay section as a shelf, so throwing caution to the wind I managed to prise it off without too much damage and fitted it back on the tag with 4 layers of Tim Holtz/Sizzix Black Mini Foam Adhesive.
I stamped the image from Tim Holtz/Stampers Anonymous Inventor 4 on to Distress Watercolor card twice with Black Soot Archival ink and fussy cut. I layered them to create a bit more stability, applied a coat of Distress Vintage Collage Medium and fixed to the panel with Tim|Holtz/Sizzix Mini Foam Adhesive.
an Idea-ology Tombstone and Boneyard Findings
I covered an Idea-ology Apocethary Vial with Grit Paste, coloured with Black Soot and Picket Fence Distress Paint to create a stone effect. I fussy cut a flower image from Idea-ology Halloween Worn Wallpaper and added Heirloom Roses highlighted with Picket Fence Distress Paint.
an Idea-ology Zombie Hand distressed with Black Soot Distress Paint and added an Idea-ology Halloween Remnant Rub on a strip of Halloween Worn Wallpaper.
an Idea-ology Zombie Hand distressed with Black Soot Distress Paint and added an Idea-ology Halloween Remnant Rub on a strip of Halloween Worn Wallpaper.
and that date was bugging me, so I switched the 8 and the 3 around, put my feet up and enjoyed a well deserved cuppa before tackling the task of removing the grit paste from my hands and most of the cubbyhole surfaces.
Toodle-oo for now
Hugs Kath xxx


Wow, wow wow Kath! I love this! So cool! The textures and details are awesome!
ReplyDeleteBRAVO!!!
ReplyDeleteHow cool is this Kath
ReplyDeleteWonderful!
ReplyDeleteI just love every single little detail of this Kath. Edgar A Poe would be thrilled with this tombstone and he would be delighted to have his photo on the front - he adds a lovely touch of spookiness! The background is aged so beautifully and the headless skeleton is such a wonderful addition. Love, love, love this!!! I think you should back light it and put it in the window on All Hallows Eve... you are a spooky creative genius my friend! Hugs, Anne xx
ReplyDeleteIts a master piece it really is, and God bless you for owning up to the mistakes along the way kath, but talk about a major success...I can't say how blown away this makes me feel, fantastic...the best halloween creation by far...xx
ReplyDeletelove, love, love your tombstone. and all the detail is amazing. I have one on order. I just hope I can do it justice like you have. thanks as always for sharing.
ReplyDeleteOh wow Kath you always get it right with or without forward planning this is totally stunning x
ReplyDeleteFantastic project with so many wonderful details.
ReplyDeleteThanks for the clear instructions and step-out photos.
This is stunning Kath. My favorite part is the ledge with urn...I never would have thought to use an Apothecary bottle covered in Grit Paste to replicate a stone urn. SO cool!
ReplyDeleteMost excellent!!! I LOVE the texture you created and then the way you painted it...looks so real! How fun with all the elements too...a spooktacular treasure!
ReplyDeleteLove this Kath
ReplyDeleteOMG,that is seriously scary but oh how I LOVE IT.Very clever.xx
ReplyDeleteYour tombstone turned out awesome! I love every detail.
ReplyDeleteHello Kathy. I admire your completed project for the tombstone etcetera tag. You crafted such an amazing transformation and even better, you documented your steps to educate those of us less talented. I really appreciate the time it took to take the pictures as you were in the heat of creation. It was very helpful! Thank you very much for sharing your creativity.
ReplyDelete