Monday, February 6, 2023

Simon Says - Love Is In The Air

Hi Everyone...welcome to another week on the Simon Says Stamp Monday Challenge Blog. Thank you for joining us for last week's challenge and we hope you can join us this week too because


The first Monday of the month is when the Design Team showcase a particular brand or company and this month we are all using fabulous products from PaperArtsy.
We are also welcoming the lovely and very talented Laura Cassina as our February Designer In The Spotlight. If you haven't visited Laura's Instagram page yet, pop over, you are in for a real treat.
The theme for this week is...
LOVE IS IN THE AIR
I created a Valentine's Day card using PaperArtsy Are You Cerise, Lemoncello and The Sage Infusions with Tim Holtz/Sizzix Mosaic 3D Texture Fade, Sizzix True Love Colorize, Brushstroke Flowers Mini Thinlits, Simon Says Fancy Love die and Love You Greetings stamp set for the sentiments.
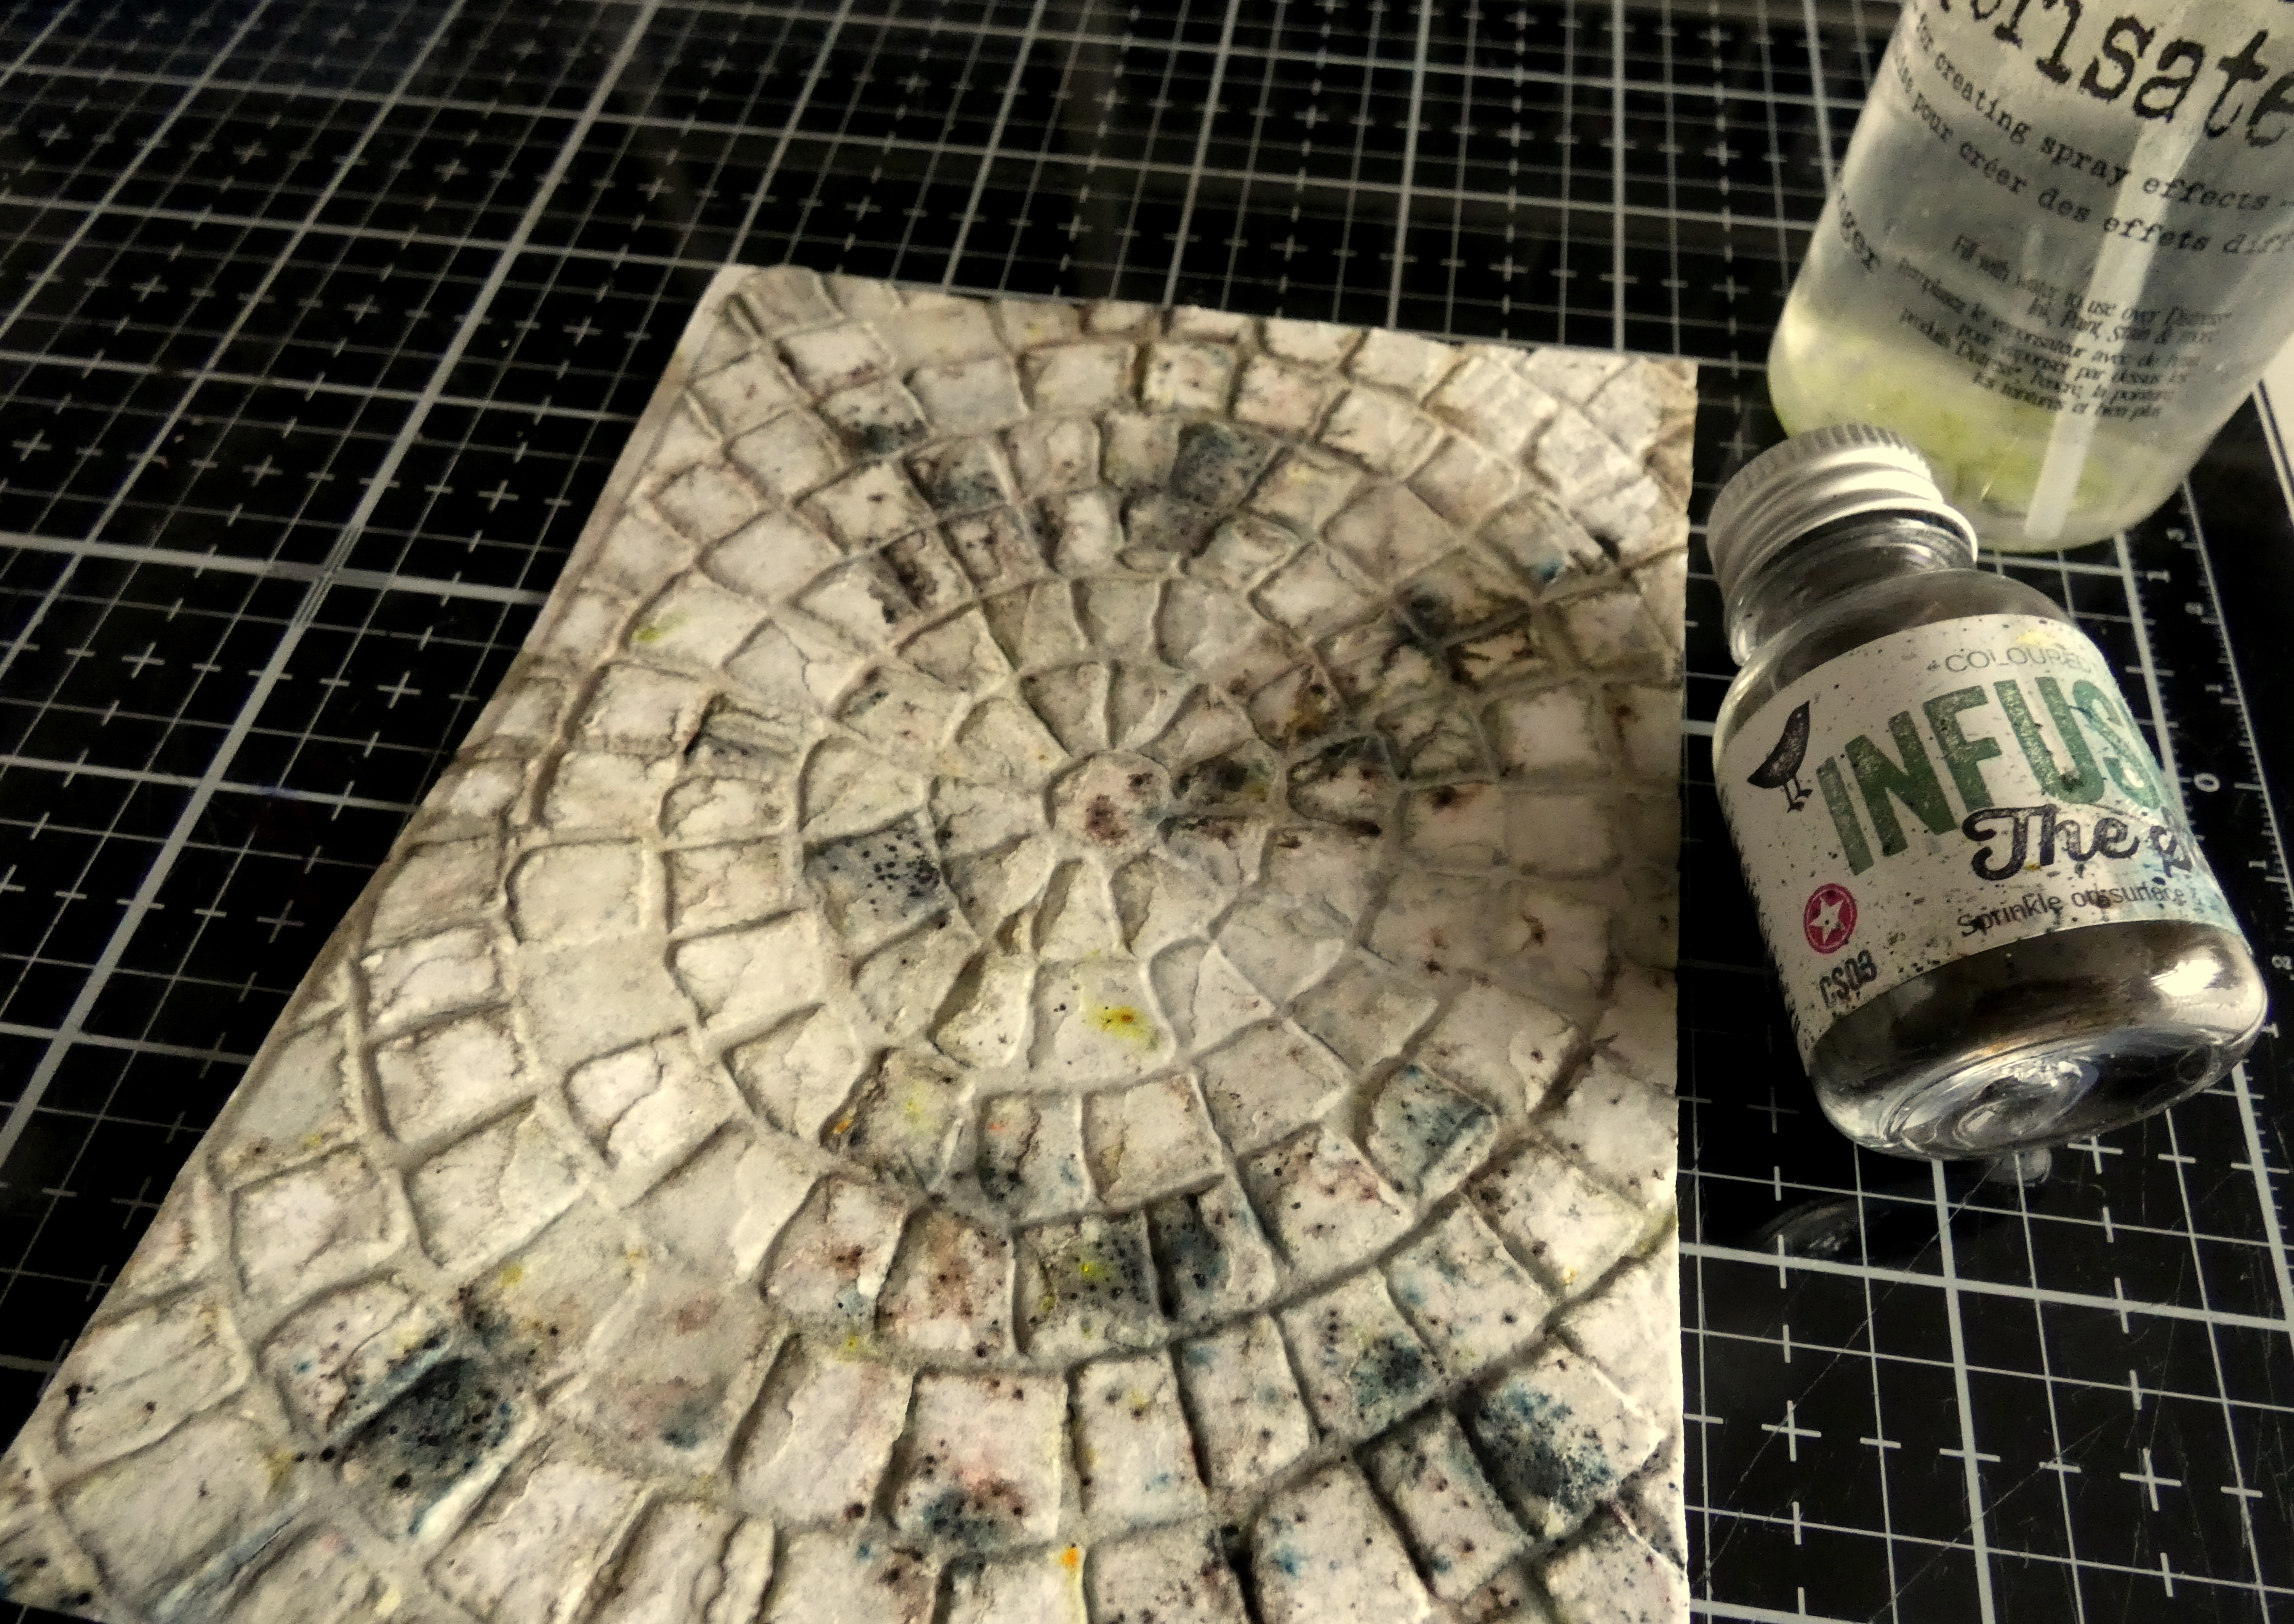
I sprayed an A2 panel of Distress Watercolor card with Lost Shadow Distress Spray Stain and Distress Oxide Spray and embossed with Tim Holtz/Sizzix Mosaic 3D Texture Fade.
I sprinkled PaperArtsy The Sage Infusions on to the panel, spritzed with water, allowed the colour to run into the debossed areas and dried. 
I die-cut the hearts from Vellum and Distress Watercolor card using Tim Holtz/Sizzix True Love Colorize Thinlits.
I sprinkled PaperArtsy Infusions on A2 panels of Distress Watercolor card, Are You Cerise and Lemoncello on the left panel and In the Sage on the right, spritzed with water to allow the colours to run and blend and dried.
I die-cut Simon Says Fancy Love
and Tim Holtz/Sizzix Brushstroke Flower Mini Thinlits
I die-cut the arrow using Tim Holtz/Sizzix Lovestruck Colorize and attached with the Fancy Love die-cut to the Vellum heart using Distress Collage Medium. I added dots of Distress Collage Medium behind the Fancy Love die cut on the back of the vellum and fixed to the smaller Distress Watercolor card heart.
I attached the heart to the panel using Distress Collage Medium Matte and fixed the outline heart die-cut with True Love Colorize Thinlits, in place at an angle.
I assembled the flowers and leaves and fixed in place popped up on Simon Says Foam Squares to add dimension.
I added the extra die cut layers to the arrowhead die-cut from black card and Silver Idea-ology Metallic cardstock.
and to the arrow flight section die-cut from Distress Watercolor card coloured with Lost Shadow Distress Spray Stain and Distress Oxide Spray.
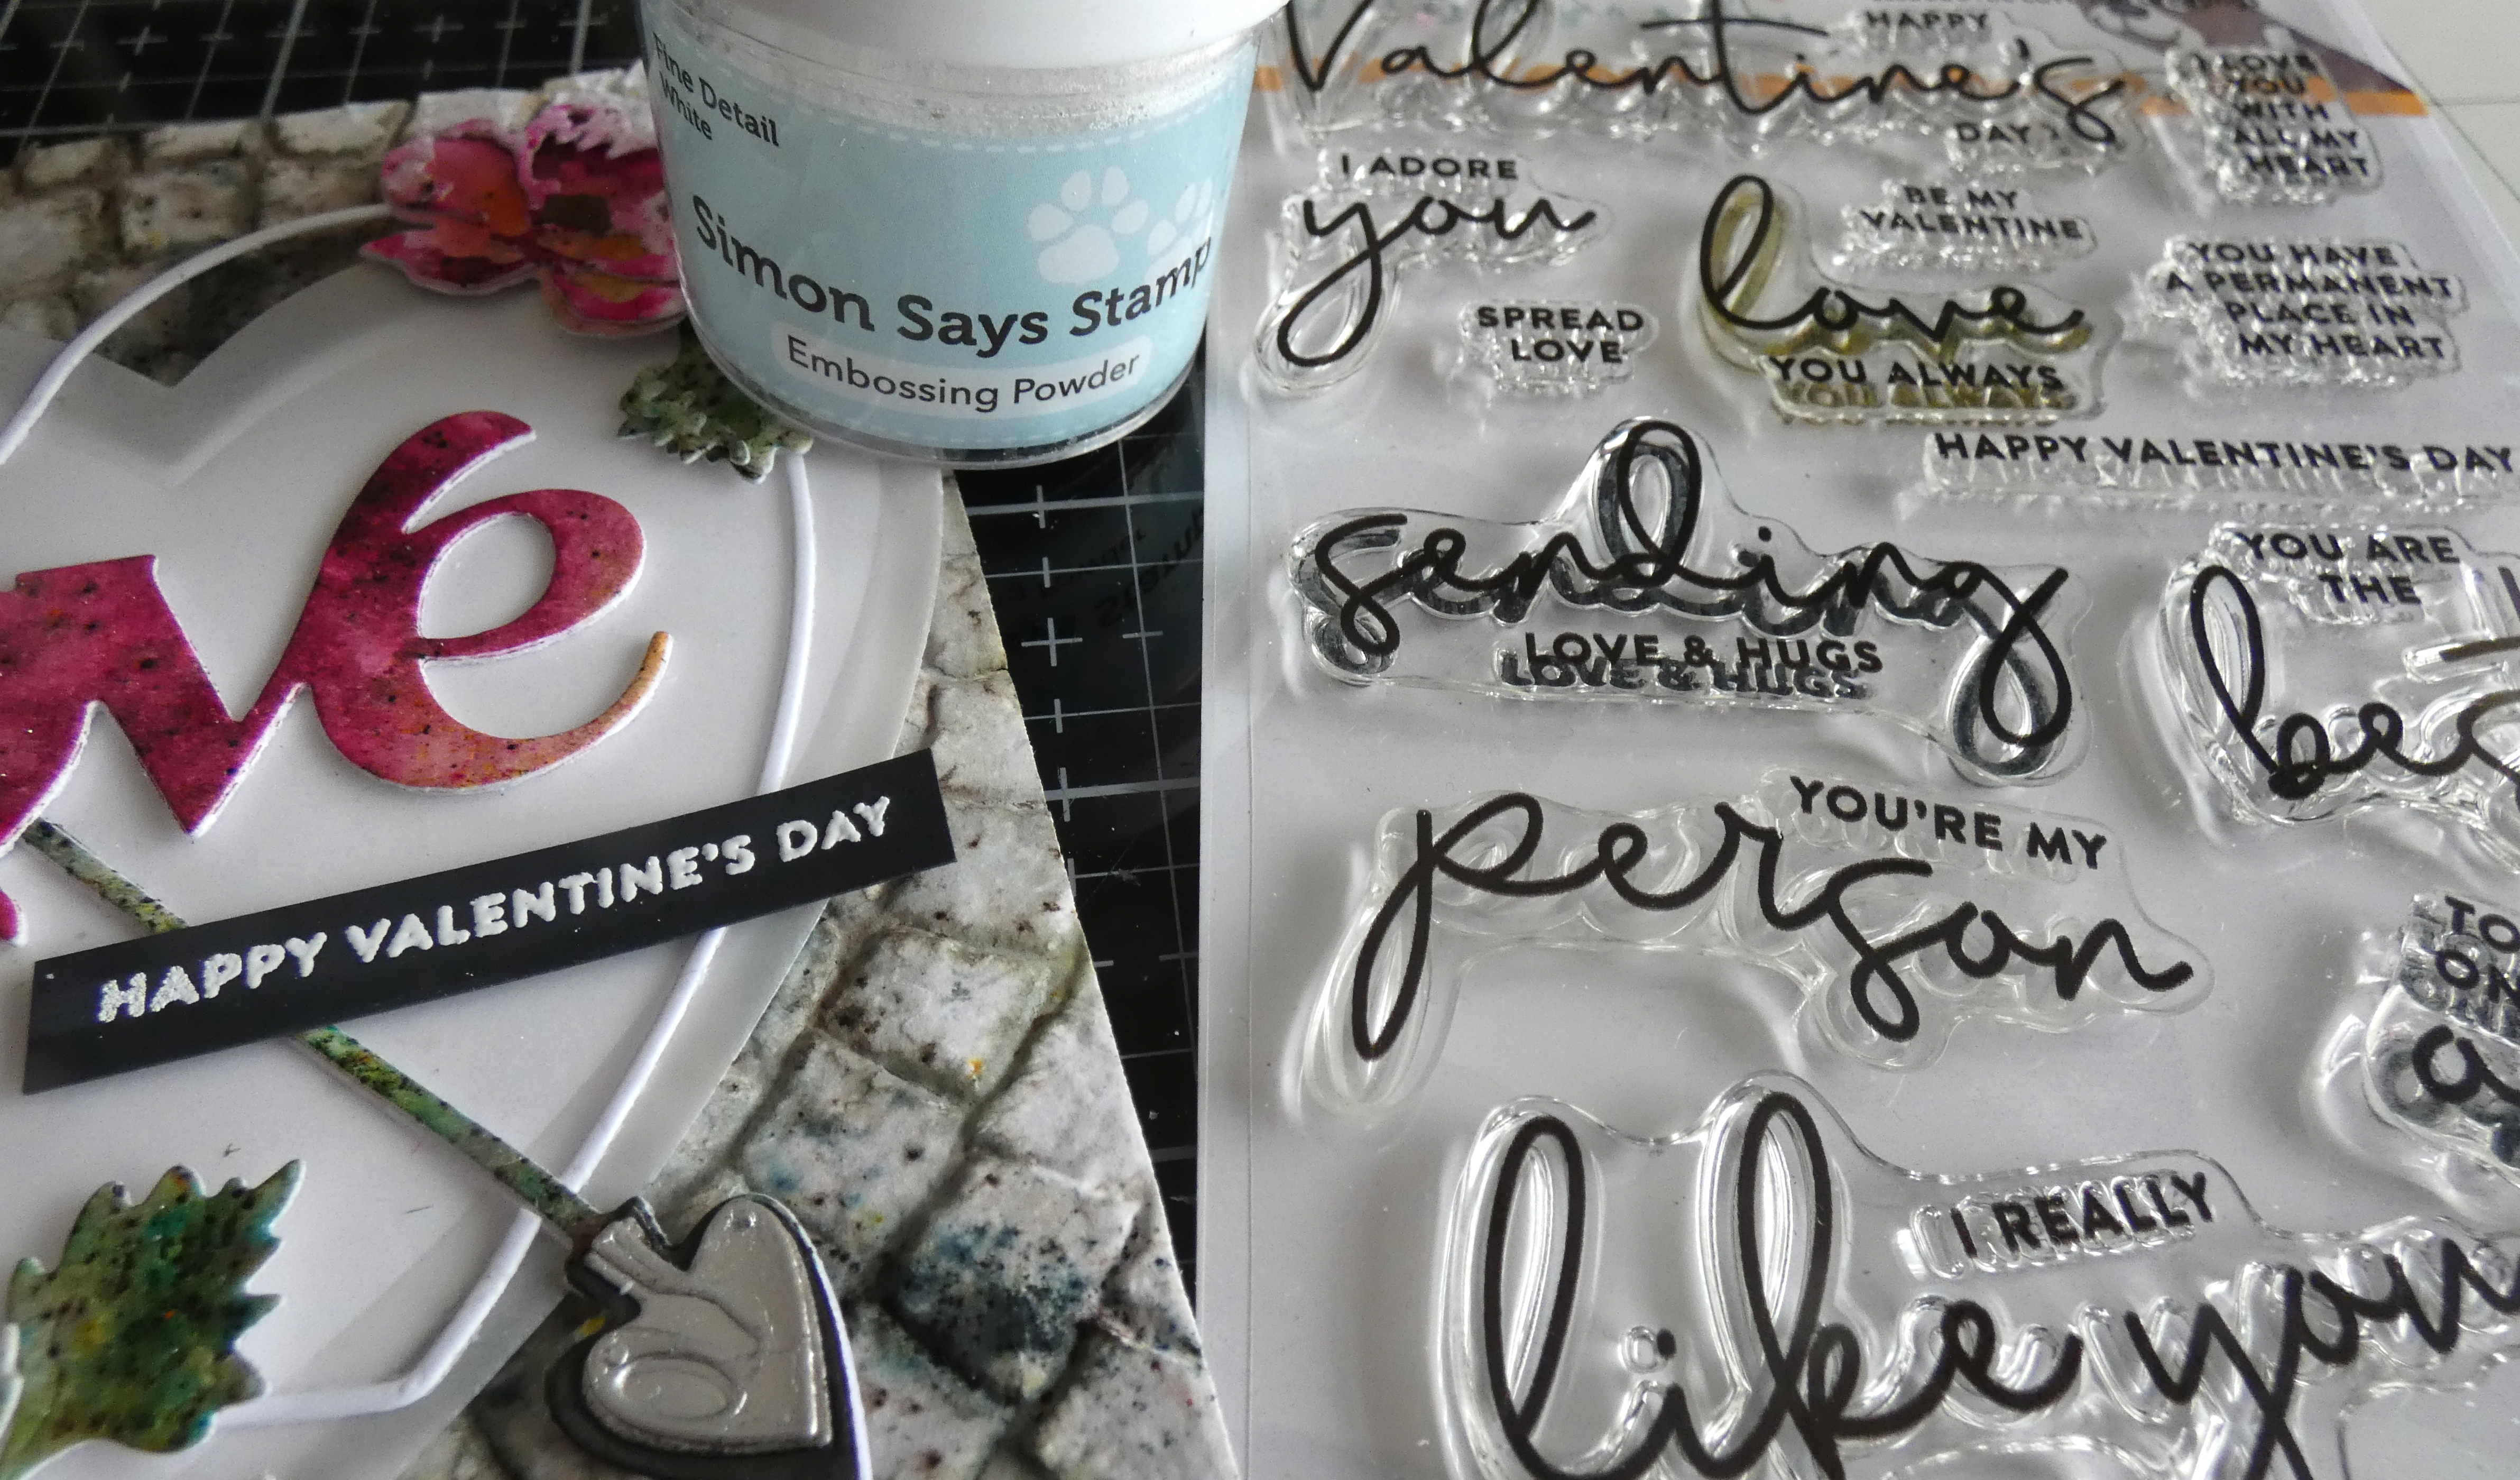
I stamped the sentiment from Simon Says Love You Greetings on to a thin strip of black card, inked with Versamark ink, sprinkled with Simon Says Detail White Embossing Powder, heat set and fixed in place with foam squares.
To finish, I matted the panel on to Distress Black HeavyStock trimmed to be slightly larger and fixed to a white card blank.


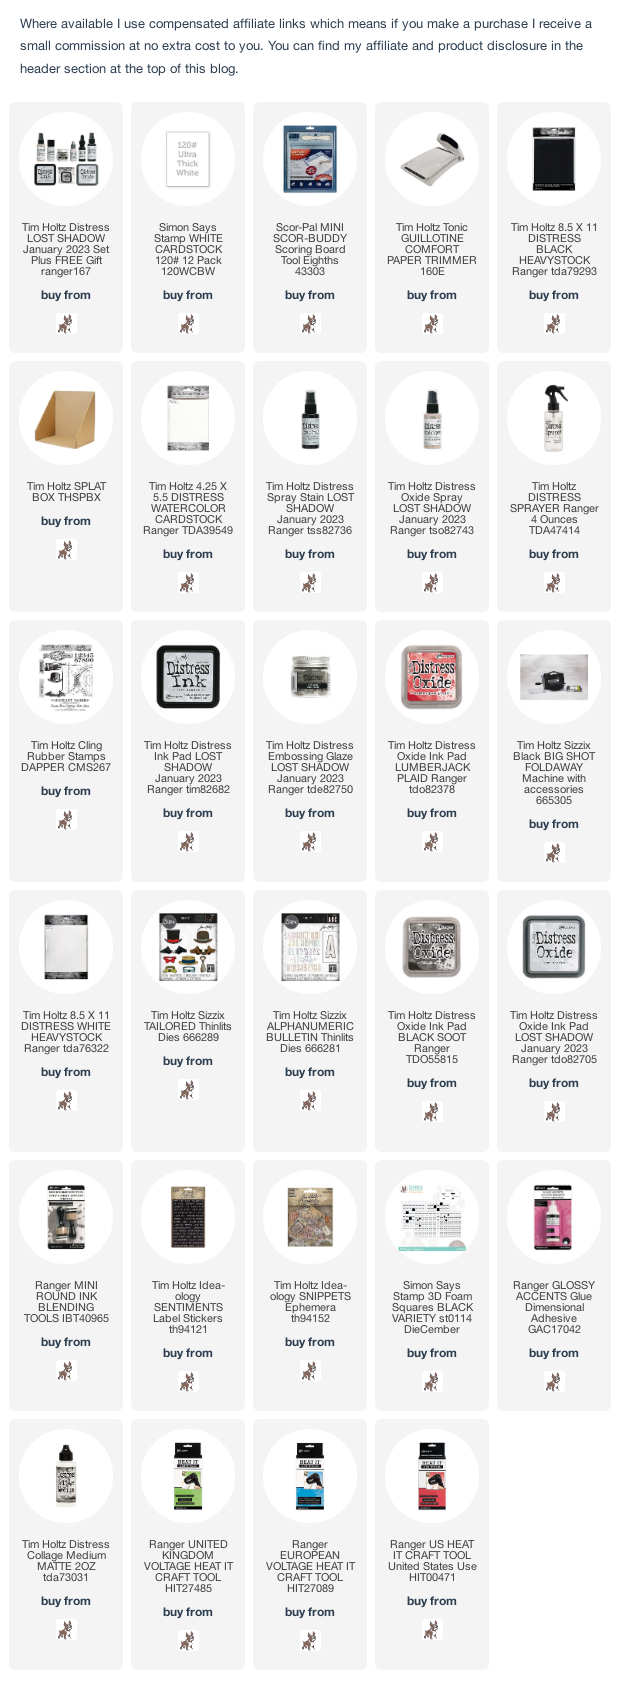
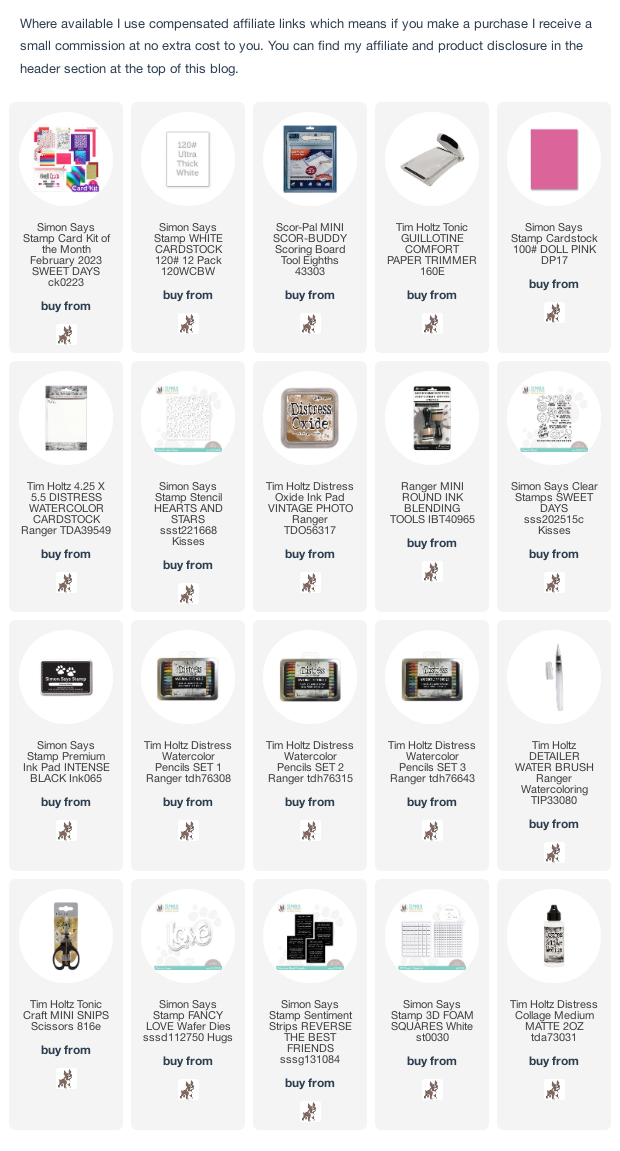
You can find all the products I used over at Simon Says Stamp, just click on the links below


Why don't you pop over to the Monday Challenge Blog and check out the amazing creations from my very talented Design Team mates and as always you have until Monday 8am Ohio time...1pm UK time...2pm CET to join in with the chance to win a $25 voucher to spend online at Simon Says Stamp


You can also follow Simon Says Stamp on Instagram
and if you use Instagram...
please add #sssmchallenge to your entry uploads so we can see them on there too

I look forward to seeing what you create this week...
Have Fun and Happy Crafting
Hugs Kath xxx
Friday, February 3, 2023

My 2023 " Remember The Now" Notebook

Hi my friends, I'm back with the second post of the day, can you tell I've been having lots of fun with the new Distress colour Lost Shadow. Because my memory is not as sharp as it once was I now have to rely on lots of aide memoires, the calendar on my phone, the calendar on my laptop,the calendar on the cubbyhole wall and just to cover all the bases, my trusty black notebook which I decided to decorate with a little Tim holtz goodness. Another chance to play with Lost Shadow, Distress Black HeavyStock and a favourite Stampers Anonymous Layering Stencil along with Blossom and Alphanumeric Bulletin Thinlits from the Tim Holtz/Sizzix Everyday 2023 release.

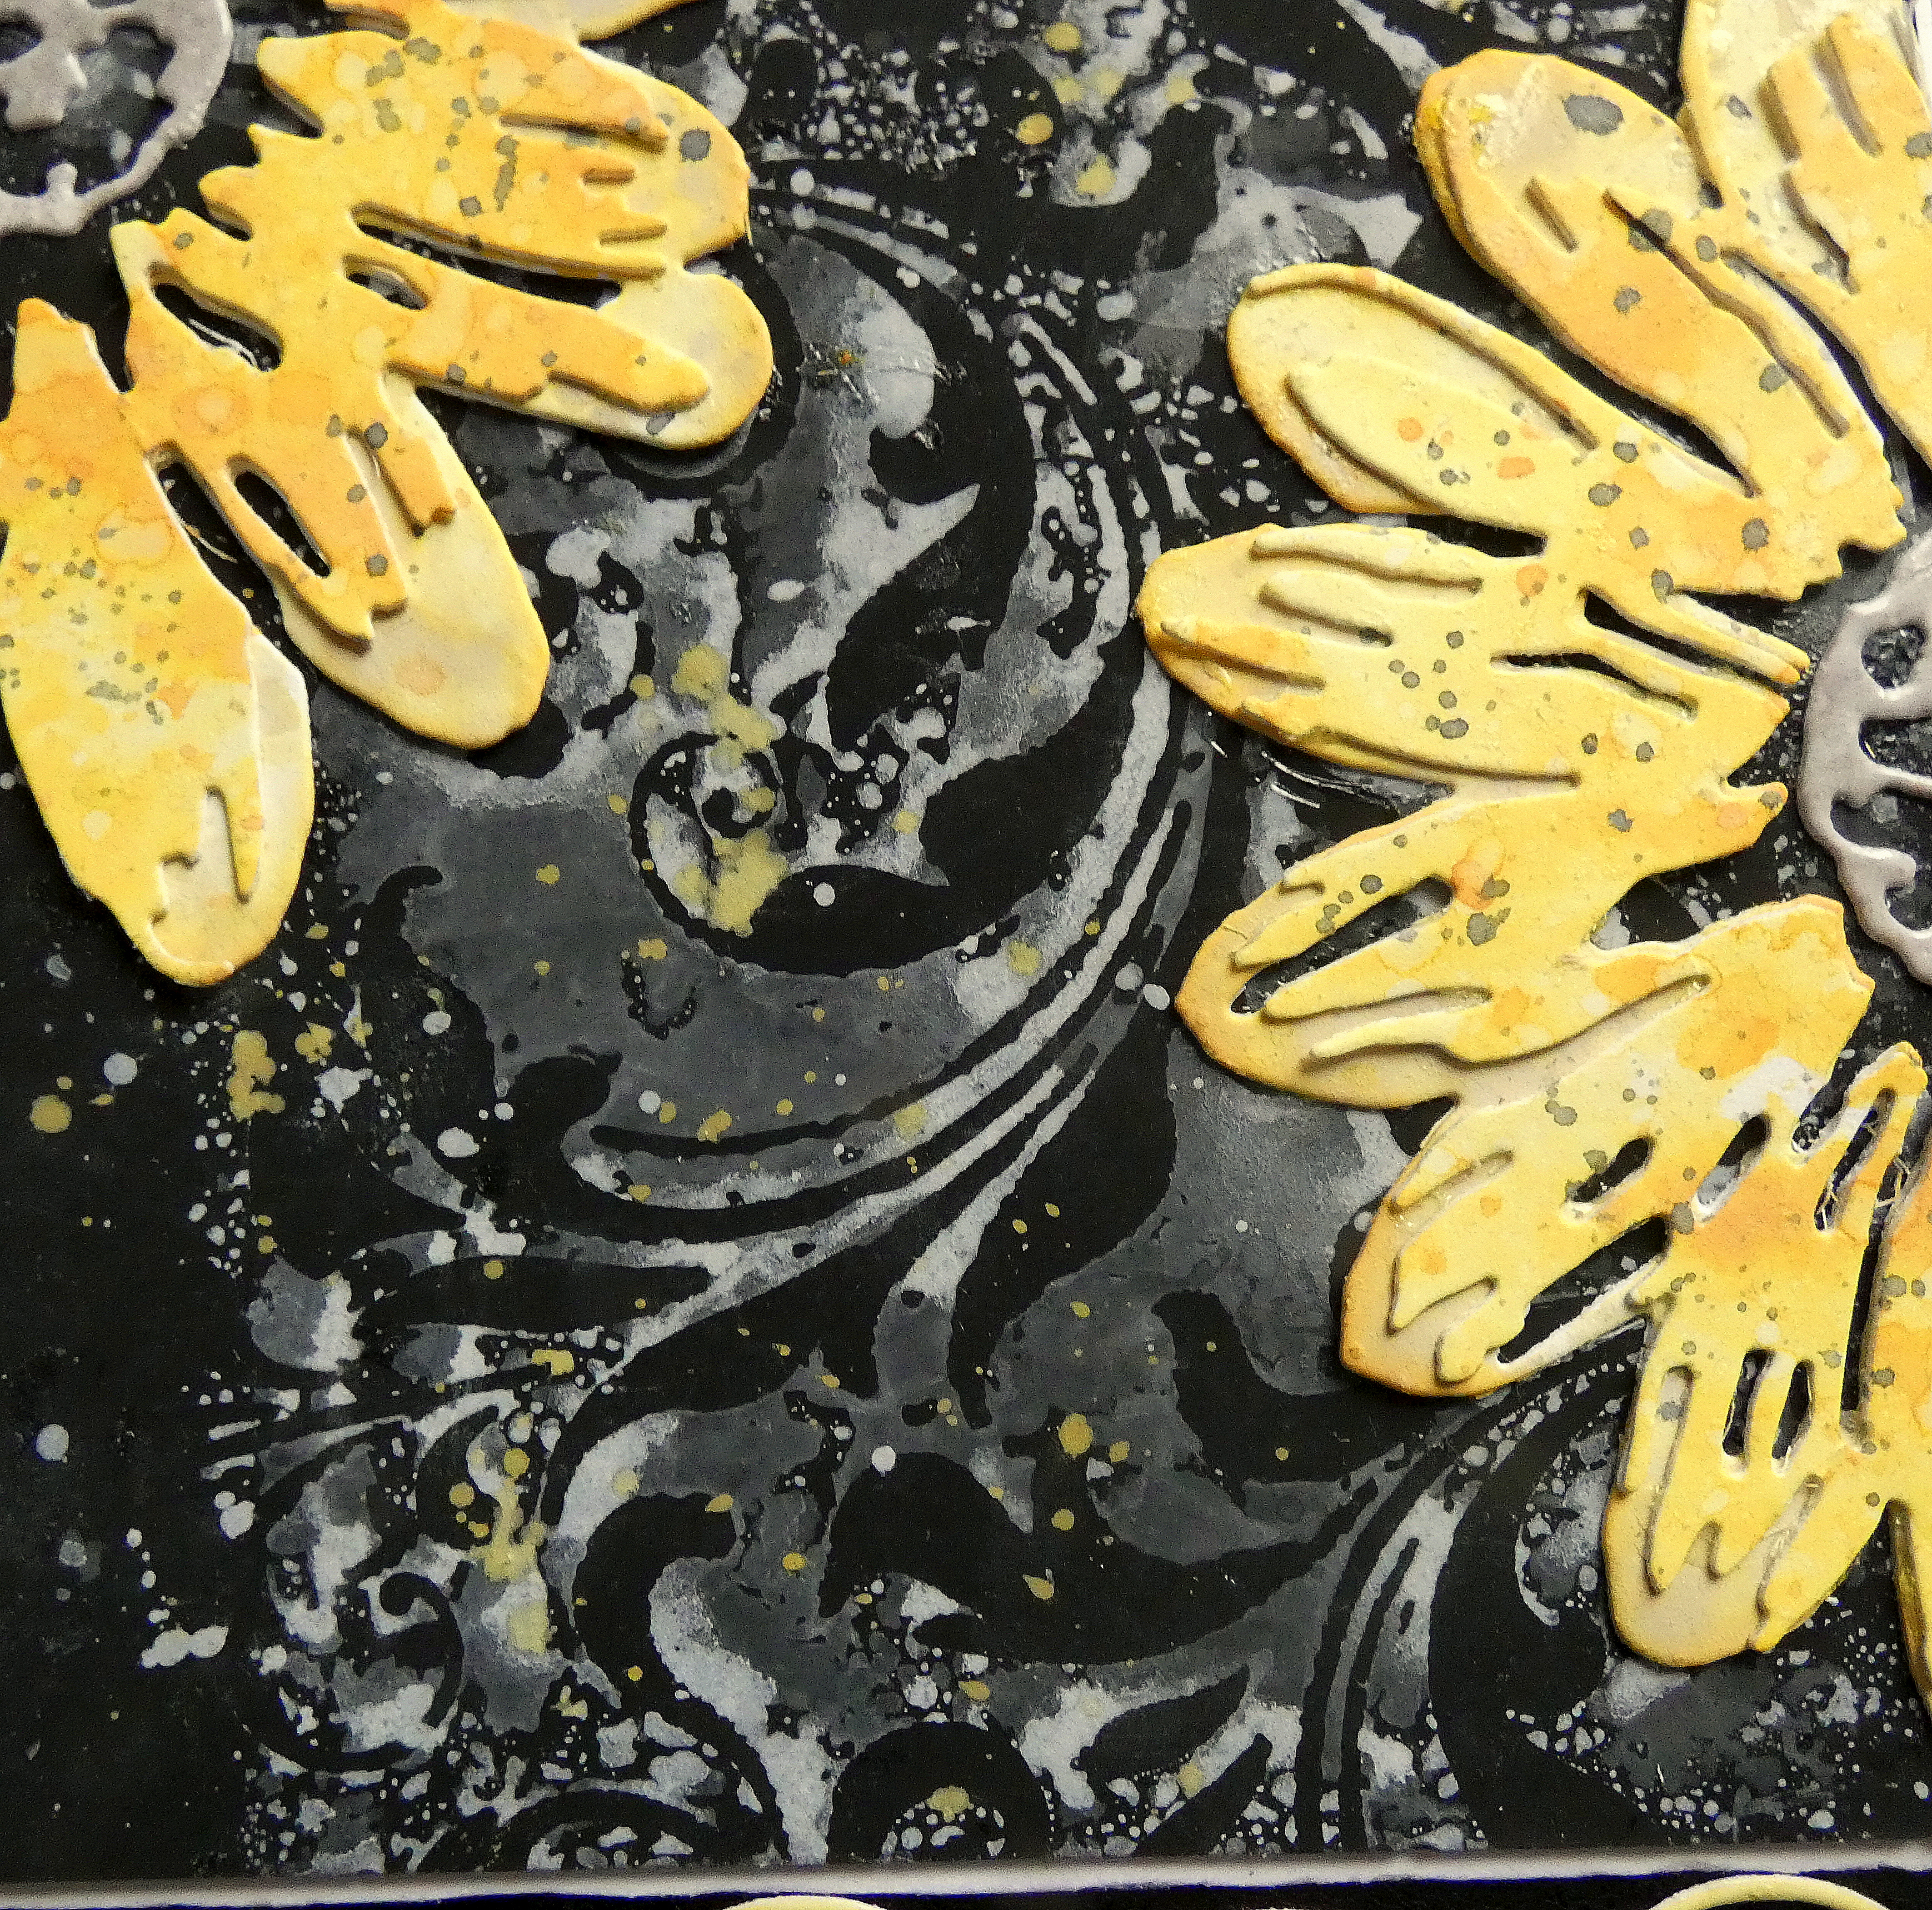
I trimmed Distress Black HeavyStock (I'm in love with this cardstock by the way) to create 2 - A2 panels. I sprayed Lost Shadow Distress Oxide ink through Tim Holtz/Stampers Anonymous Flourish Layering Stencil on the first panel, turned the stencil over, spritzed lightly with water and pressed on to the second panel. I forgot to take a photo of the second panel which I used for the notebook and you can see the effect in the photo above.
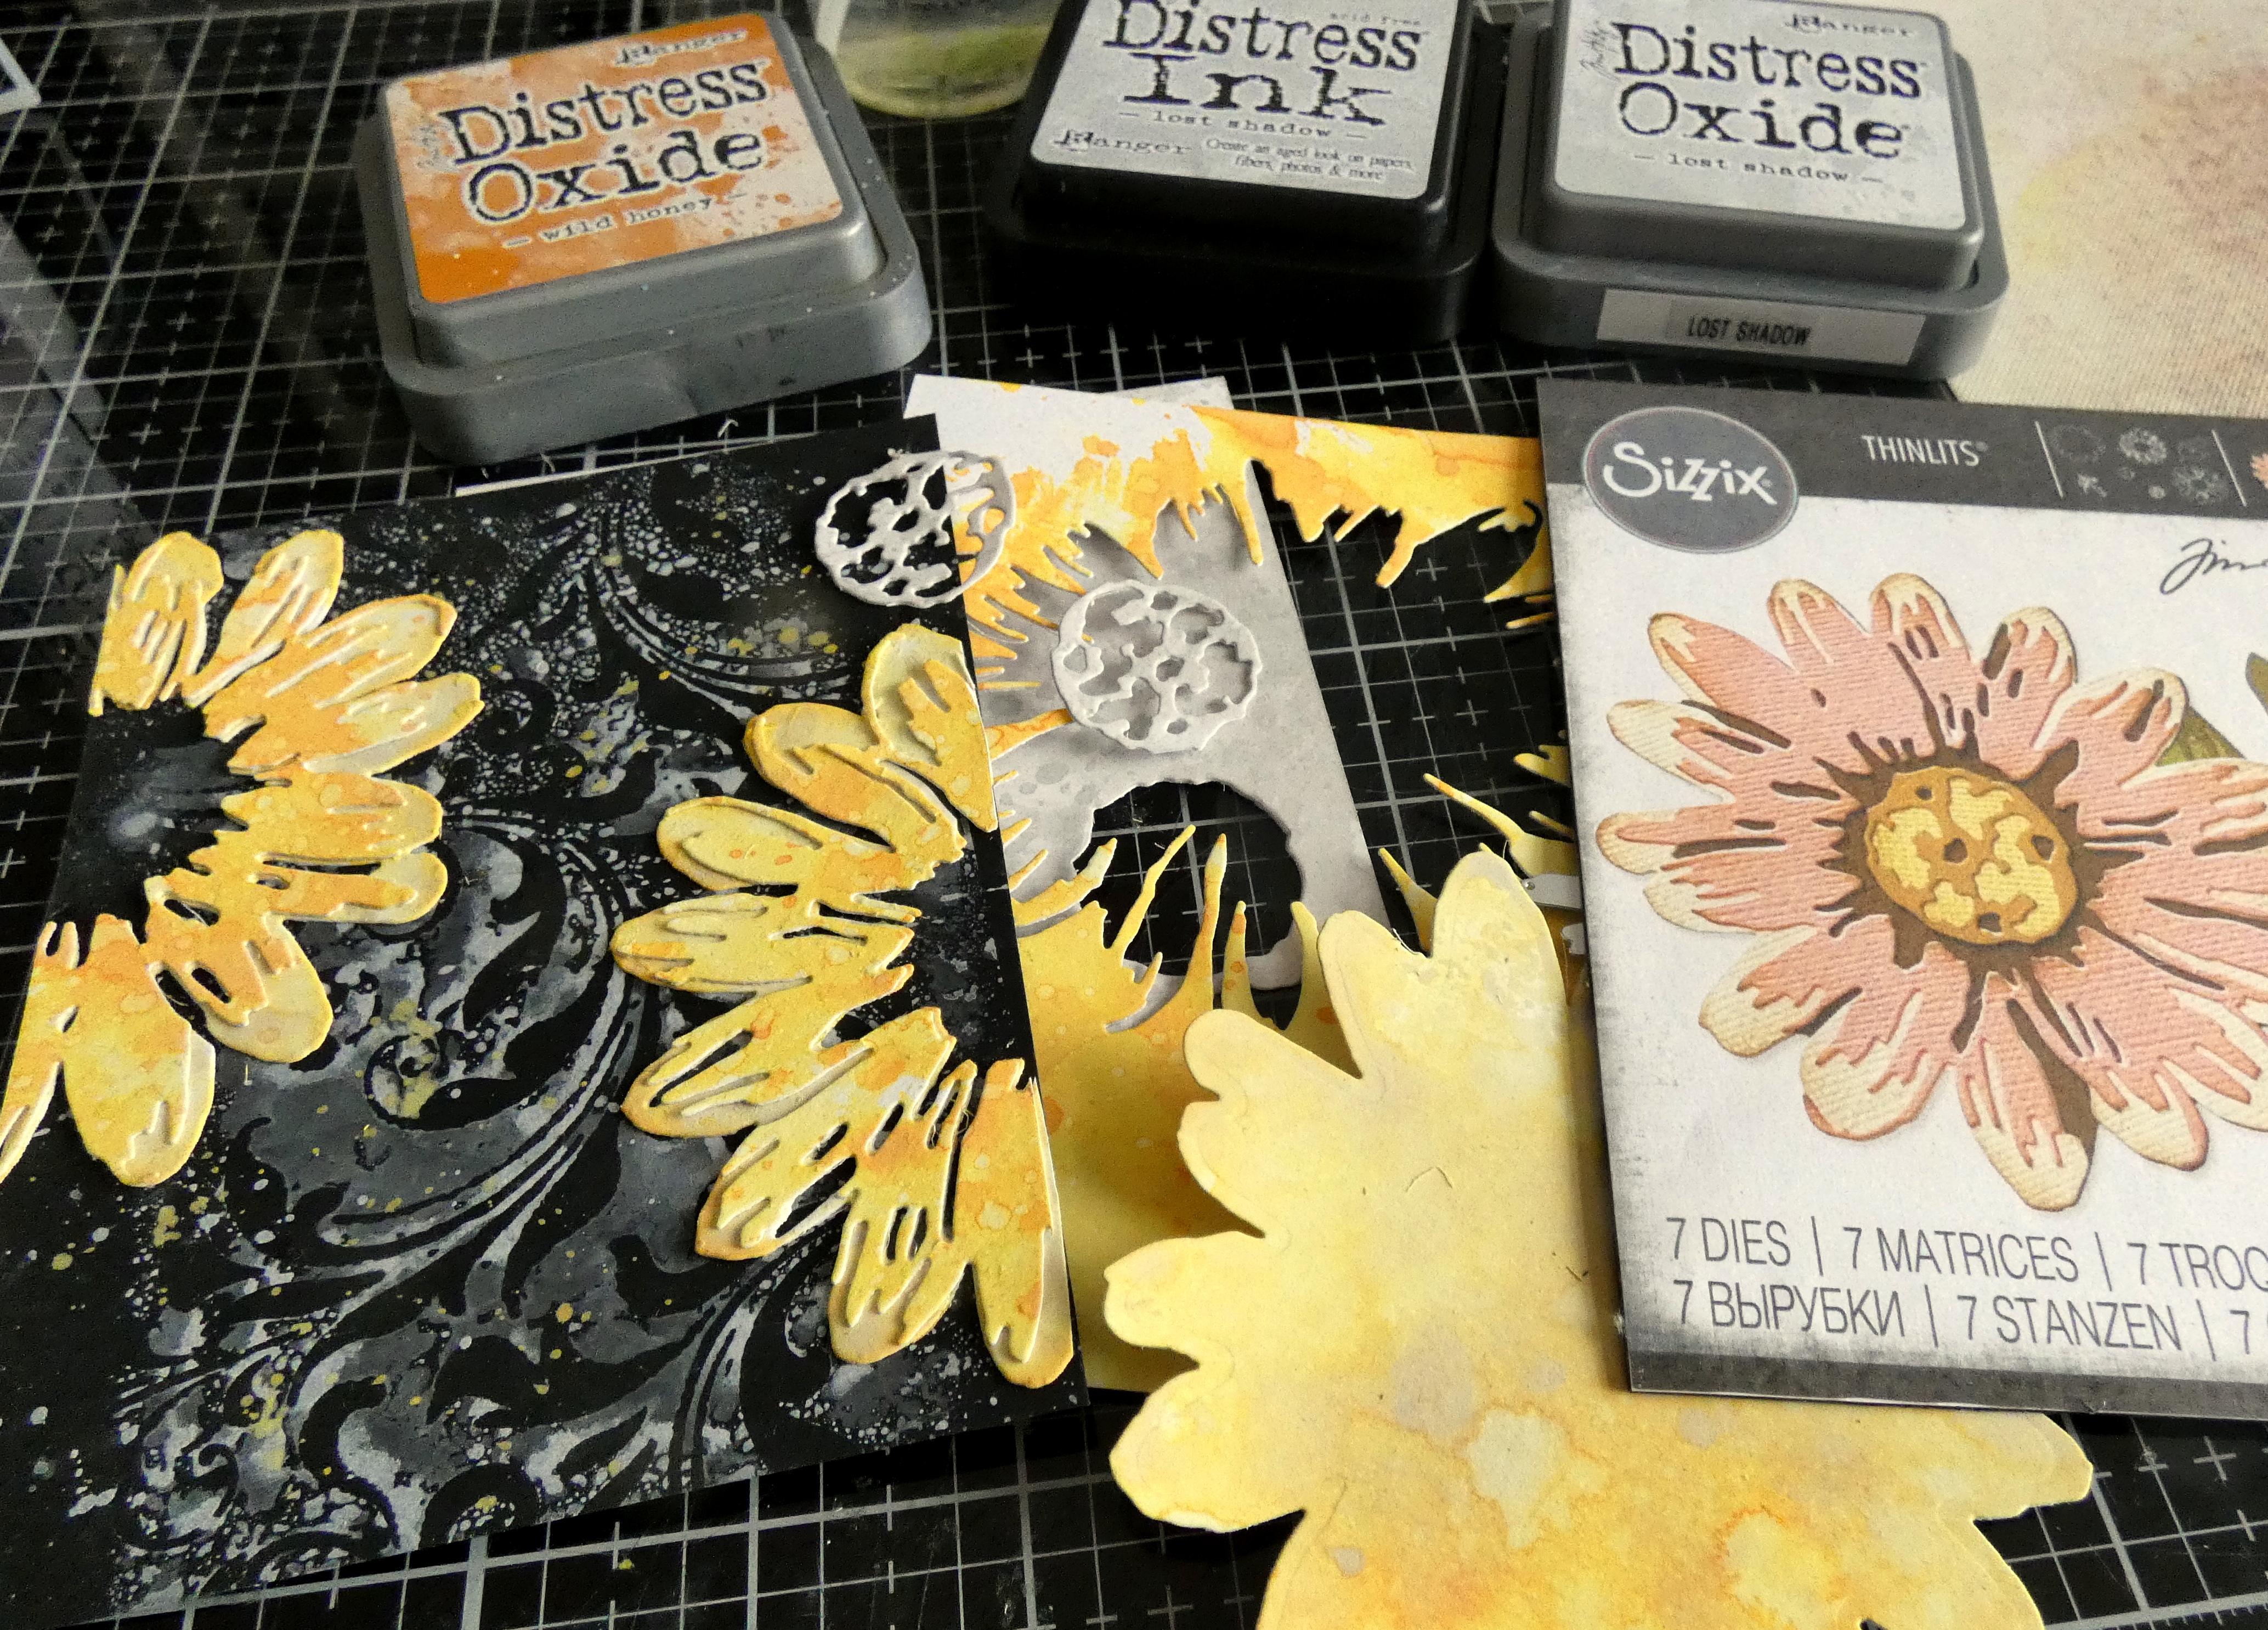
I coloured A2 panels of Distress Watercolor card by smooshing ink pads on to the craft mat on my Glass Media Mat and spritzed with water. I used Lost Shadow Distress Ink and Distress Oxide ink for the panel on the left and a mix of Lost Shadow Distress Ink, Distress Oxide ink and Wild Honey Distress Oxide ink for the other two panels.
I die-cut the flower layers and flower centre from the coloured panels using Tim Holtz/Sizzix Blossom Thinlits. I discarded the base layer of the flower and fixed the top layers in place on the background using Distress Collage Medium.
I tapped a Distress Embossing ink pad over the flower centres and around the edges of the Idea-ology Quote Chip, sprinkled with Lost Shadow Distress Embossing Glaze and heat set.
I matted the panel on to Distress Watercolor card, trimmed to leave a small border, fixed to the front of the notebook using Distress Collage Medium. I peeled most of the layers from the back of the Idea-ology Quote Chip before fixing it in place because I didn't want it to be too dimensional on an item which will be used everyday and therefore, handled a lot. 
To finish I die-cut the numbers from the left over coloured card using Tim Holtz/Sizzix Alphanumeric Bulletin, using the solids and outlines and fixed in place with Distress Collage Medium.
I added splatters of Wild Honey Distress Paint to the background and splatters of Lost Shadow Distress Paint to the flowers.


Have fun with whatever you are making
Hugs Kath xxx

Hey - You Do You

Hi my friends, woohoo the brand new colour to join the Tim Holtz Distress Family, the gorgeous soft silvery Lost Shadow has arrived in the cubbyhole and after swatching, labelling


and a quick spray and spritz session with my SplatBox to make some backgrounds, I was itching to make a card.

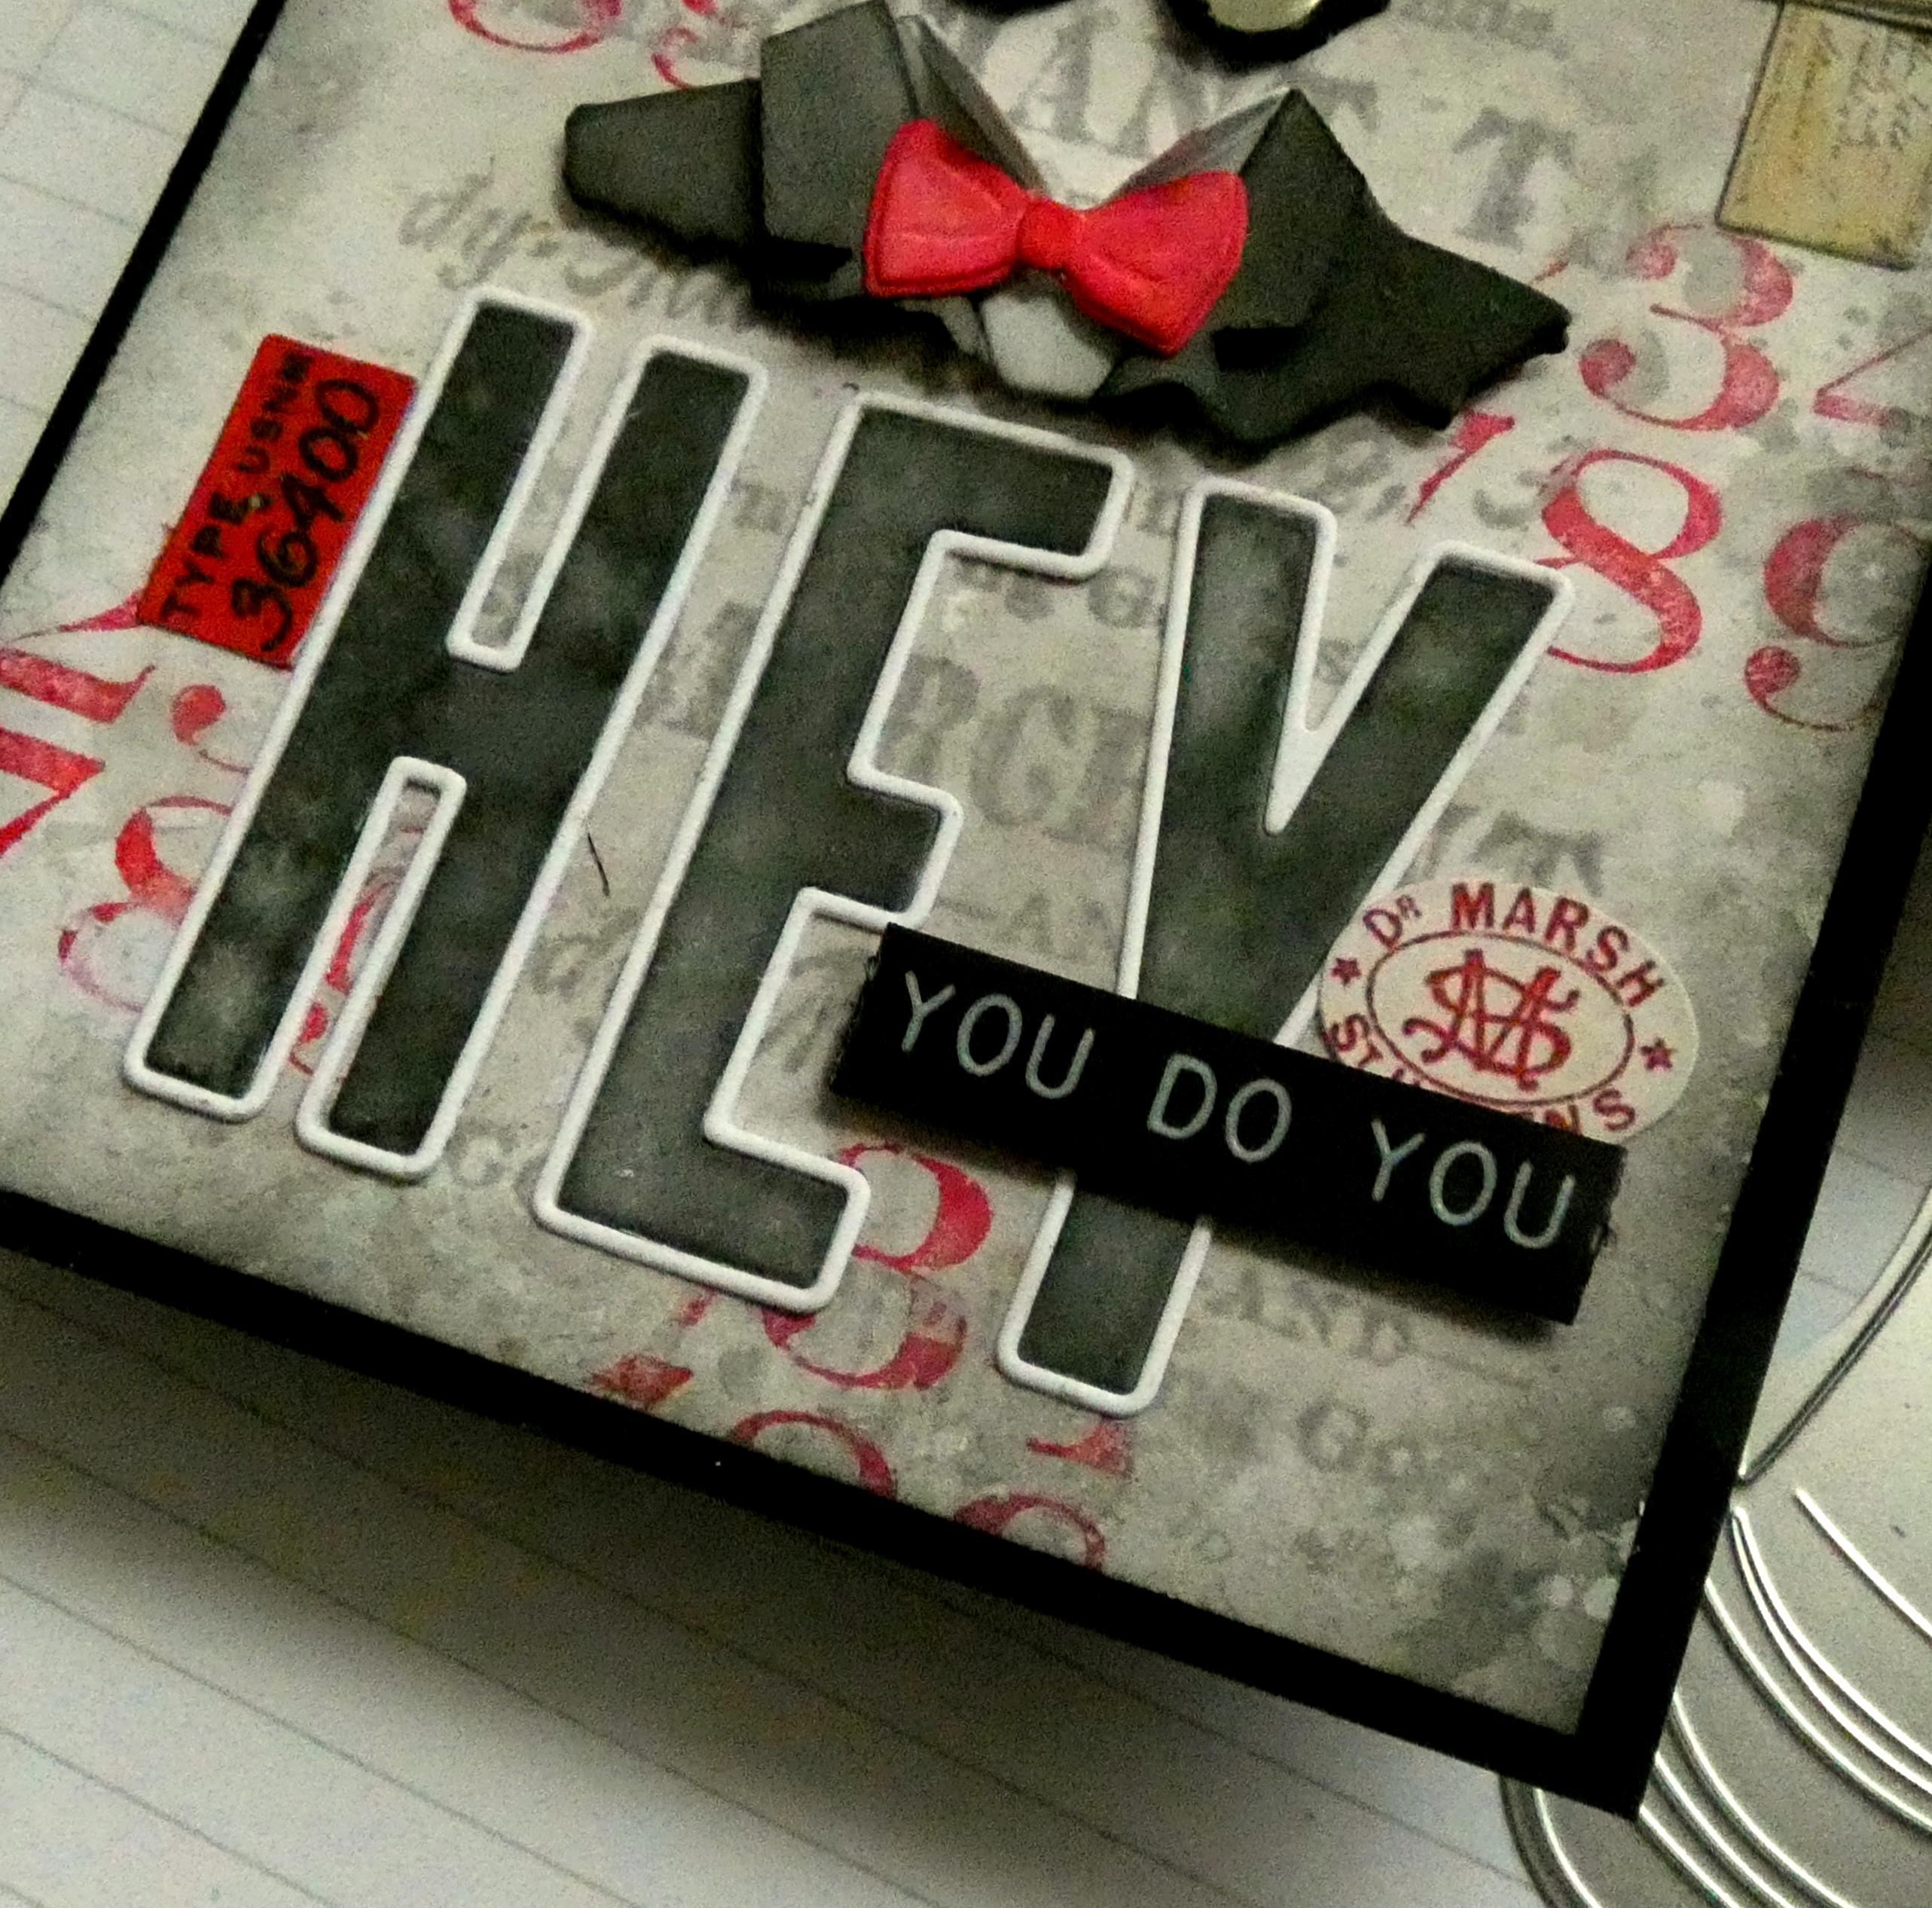
I chose the background I made using Lost Shadow Distress Spray Stain and Distress Oxide Spray and decorated with Tim Holtz/Sizzix Tailored and Alphanumeric Bulletin Thinlits.
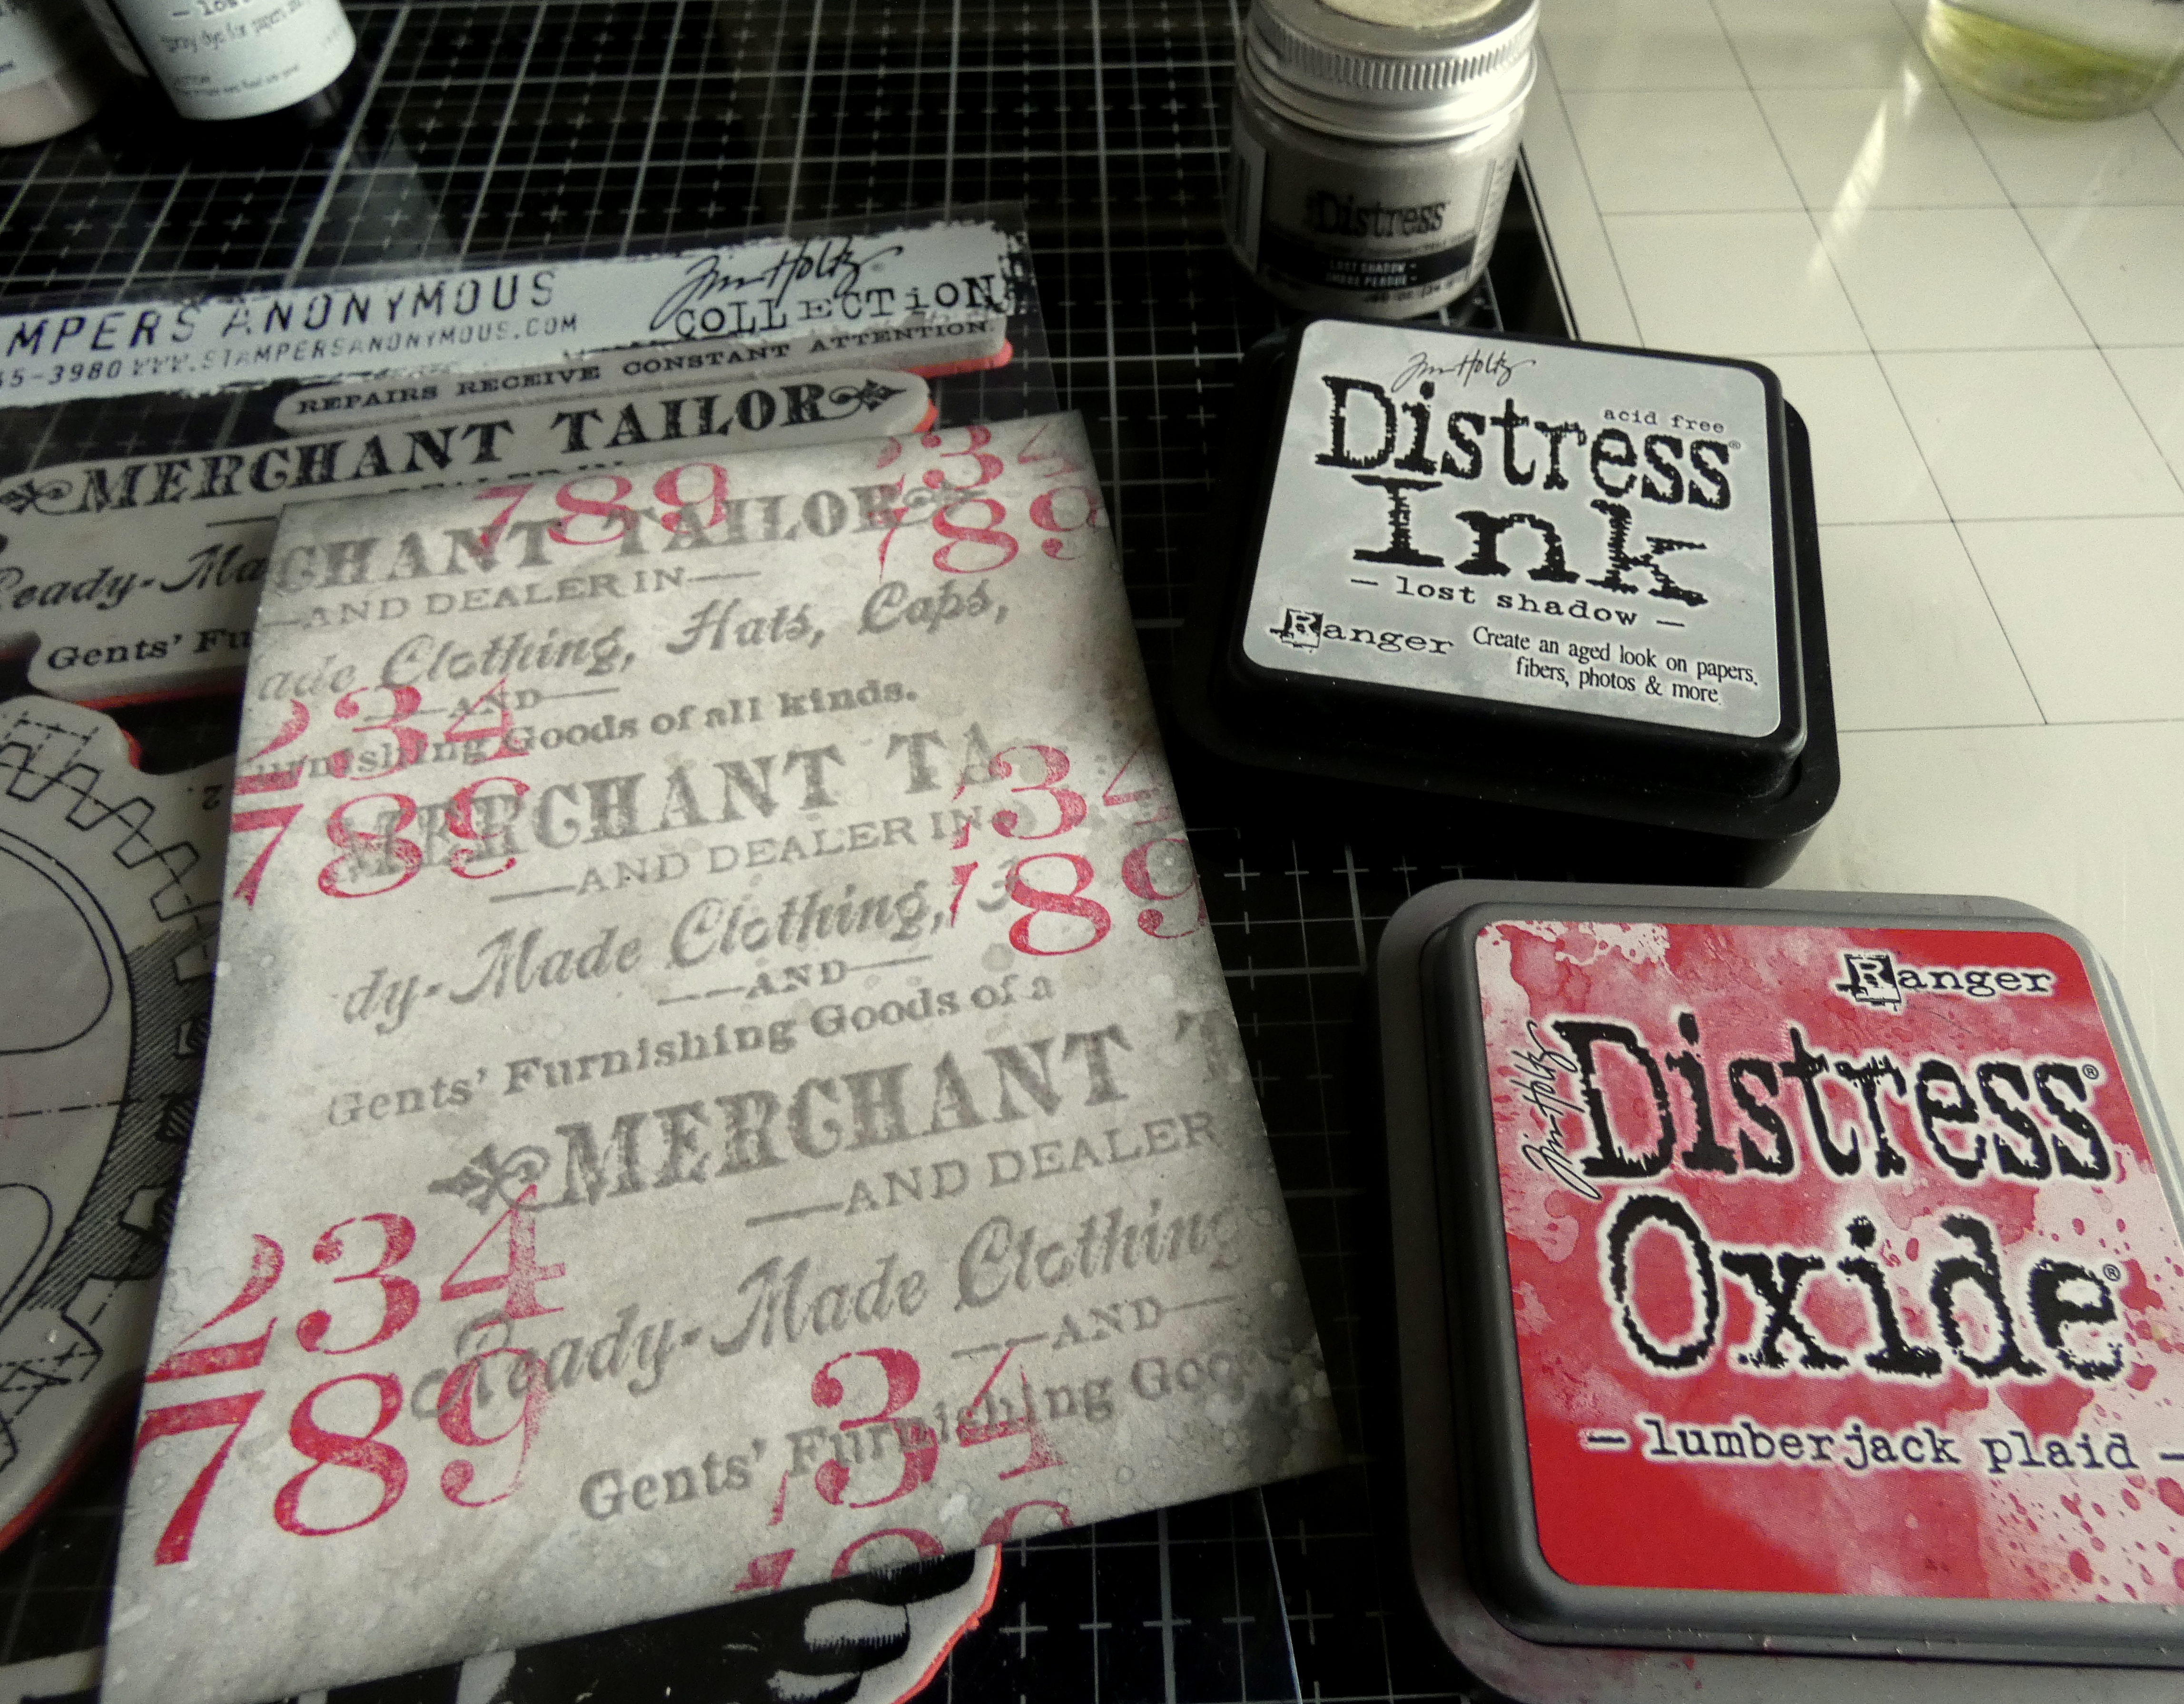
I stamped the sentiment banner from Tim Holtz/Stampers Anonymous Dapper inked with Lost Shadow Distress Ink randomly over the background twice to get a darker impression, sprinkled with Lost Shadow Distress Embossing Glaze and heat set. I stamped the numbers from the same set, inked with Lumberjack Plaid Distress Oxide ink to fill in the blank areas and trimmed the panel to 4" x 5.1/4".
I die-cut Tim Holtz/Sizzix Tailored Thinlits from Distress White HeavyStock, coloured with Lost Shadow, Black Soot and Lumberjack Plaid Distress Oxide inks using mini round blending tools and assembled.
I die-cut the letters from Distress White HeavyStock using Tim Holtz/Sizzix Alphanumeric Bulletin Thinlits, coloured with Lost Shadow and Black Soot Distress Oxide inks, fixed in place with Distress Collage Medium and added the white outlines.
I die-cut the spectacles 3 times from Distress Black HeavyStock using Tim Holtz/Sizzix Crazy Thinlits, layered to create dimension and added Glossy Accents for the spectacle lenses which will be clear once dry. I fixed the coat and hat in place popped up on Simon Says Black Foam Squares. This dapper gentleman reminds me of the Harry Hart character played by Colin Firth in the 2014 film Kingsman - The Secret Service.
To finish I added an Idea-ology Sentiment Label Sticker and Snippets Ephemera, inked around the edge of the panel with Black Soot Distress Oxide ink, matted on to a Distress Black HeavyStock A2 panel and fixed to an A2 White card blank.


Have a great weekend whatever you have planned. The weather doesn't look good for my neck of the woods so I may just have to retreat to the cubbyhole for more playtime with the new boys in town. It's a hard life but some's gotta do it. I'll see you all on Monday to share my DT project for Simon Says Monday Challenge, in the meantime, Happy Crafting.
Hugs Kath xxx

Wednesday, February 1, 2023

Simon Says - Sweet Days

Hi my friends, it's the 1st day of February already, the month of love and with Valentine's Day just around the corner, I'm sharing a card I made using Simon Says February Sweet Days card kit, perfect to send to sweet treat loving friends just to let them know how much they mean to you. At time of writing, the card kit is still available to purchase or if you wish, you can also buy the individual items in the kit HERE.


I trimmed Distress Watercolor card to 4" x 5.1/4" and applied Vintage Photo Distress Oxide ink through the Simon Says 6" x 6" Hearts and Stars Stencil included in the kit using a mini round blending tool.
I inked the images from Simon Says Sweet Days stamp set with Simon Says Intense Black ink, stamped on to scraps of Distress Watercolor card, coloured with Antique Linen, Vintage Photo, Worn Lipstick and Picked Raspberry Distress Watercolor pencils and a Distress Detailer Brush and fussy cut.
I coloured a scrap of Distress Watercolor card with Vintage Photo Distress Oxide and die-cut the shadow layer using Simon Says Fancy Love die. I die-cut the word 4 times from Distress Watercolor card and layered to create dimension.
I fixed the do-nuts in place with Distress Collage Medium, added Love and the heart circle popped up on Simon Says Foam Squares and added sentiments trimmed from Simon Says Reverse Best Friends Sentiment Strips.
To finish I matted the panel on to Simon Says Doll Pink cardstock, included in the kit, trimmed to A2 and fixed to an A2 white card blank.

I'm currently swopping my craft hat for the DIY Project Manager hard hat and starting out on a huge make-over nightmare, one of those "have I bitten off more than I can chew" tasks. I'd been thinking for some time that my bedroom was in need of a spruce up but that idea was accelerated when the ensuite shower sprung a leak sending water running down the walls of the room below. The plumber arrived and the only way to gain access was to smash one of the big floor tiles in the en-suite leaving a huge gaping hole in the floor. My favourite joiner is coming this week to discuss options but realistically what are the chances of lifting all the floor tiles without damaging the wall tiles so I'm bracing myself for the "ripping everything out and starting again" option, but, that's life and in the big scheme of things, it's just another " pull up my big girl panties" catastrophe to deal with. If ever the time was right for treating myself to a big box of sweet sugary Donuts, it's NOW.
Happy Days
Hugs Kath xxx