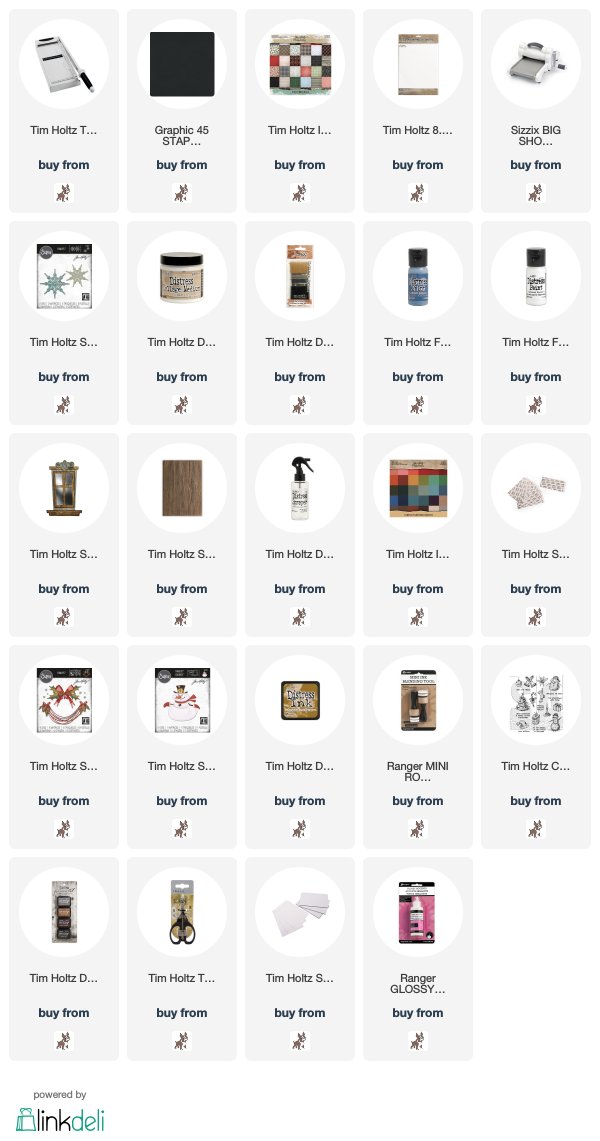
I began by using one of the backgrounds I created previously using the Fanciful Snowflakes Thinlits. I trimmed Distress Watercolor card to create a 4" x 6" panel, die-cut the snowflakes from Distress Watercolor card and fixed in place with Distress Collage Medium Matte. I painted the panel with Faded Jeans Distress Paint and wiped the paint off the snowflakes using a damp cloth. I drybrushed the panel and added splatters with Picket Fence Distress Paint.
I used the Sizzix Lumber 3D Texture Fade to add texture to Distress Watercolor card and die-cut using Sizzix Window Frame BigZ die, inked the edges with Brushed Corduroy Distress Ink and coloured the inner panel to match the background.I trimmed Distress Watercolor card to create a snowy background and did intend adding some stitching detail but my sewing machine had other ideas and kept tangling up the threads, so I continued without thread. I inked around the edge with Brushed Corduroy Distress Ink, fixed to the background and added the Window Frame die-cut popped up on Sizzix Mini Foam Adhesive.
Then it was time to die-cut the star of the show, the adorable Mr Snowman. I die-cut the main body from Distress Watercolor card and his scarf, hat, mittens and nose from Idea-ology Classic Kraftstock. I fixed Sizzix Adhesive Sheets to the cardstock and sanded back to reveal the kraft core before die-cutting and inked the edge of each die-cut lightly with Brushed Corduroy Distress Ink using a mini round blending tool before assembling. I added Glossy Accents to his nose, eyes, mouth, button and the buckle on his hat and adhered him to the panel using Sizzix Mini Foam Adhesive.
I die-cut the holly, berries, snow flurries, garlands and bow from Distress Watercolor card and Classic Kraftstock using Deck The Halls Thinlits and fixed to the window.
I coloured a scrap of Distress Watercolor card with a light wash of Faded Jeans and Brushed Corduroy Distress Ink and stamped the sentiment from Tim Holtz/Stampers Anonymous Tattered Christmas, inked with Black Soot Distress Archival. I trimmed around the sentiment, matted on to Black Classic Kraftstock, trimmed again leaving a small border, added snow flurries and fixed in place with Sizzix Mini Foam Adhesive.
I sanded around the edges of the panel and matted on to a 5" x 7" chipboard panel covered with paper from Tim Holtz Idea-ology Christmas Paper Stash released last year and added extra snow flurries on the background and the bottom corners.
I can't believe how close Christmas is now and if truth be told, I am nowhere near being organised this year, in fact, I haven't even started. I have no cards made, no presents bought, the tree may well never make it's way down from the loft and if I don't get a wiggle on, Christmas Dinner this year will be beans on toast by the fire. But hey, I do believe in miracles and with the crafty list finally up to date, today is going to be production line cardmaking on steroids. I'll be playing Mr Buble on repeat to get me in the festive groove and tucking into the festive treat that means Christmas is in the house, those "you can't just have one" delicious mince pies from Costco.
Toodle-oo for now
Hugs Kath xxx
 *** Where available I use compensated affiliate links which means if you make a purchase I receive a small commission at no extra cost to you. You can find my affiliate and product disclosure HERE


Is he the cutest snowman ever I wonder, a fabulous card Kath, its just gorgeous.xx
ReplyDeleteI love this card Kath, it is a fabulous snowman and love the layers. I hope you get all you need to do before Christmas.
ReplyDeleteHugs
Linda xxx
I love this card I really love this snowman I'm going to have to get this
ReplyDeleteGorgeous card love how you have layered the snowman and the ❄️ are brilliant xx
ReplyDeleteJust love your card Kath he’s such a cute snowman...I’m sure you’ll get there for Christmas...
ReplyDeleteAnne