Hi my friends, I'm back to share cards I made for the YouTube Live launch of the Tim Holtz/Sizzix Chapter 1 Collection, this time using the Bloom Colorize along with Alphanumeric Stretch Upper Thinlits. If you missed the Live launch, pop over to Tim's Blog HERE where you can check out the whole collection, watch the YouTube Live and see all the amazing inspirational makes listed under each Maker. If you follow my blog, you'll know I love anything floral and also have a bit of an addiction to alphabets so I absolutely fell in love with the Bloom Colorize and the large skinny Alphanumeric Stretch Thinlits and decided to use the 2 together to make 3 contemporary Slimline cards, simple in design and using different colour palettes.
 I die-cut all the pieces I needed for the 3 cards and coloured the die-cuts using Tim Holtz Distress Blender Brushes.
 I'm always trying to think of ways to make life simpler and having the coloured die-cuts on my left as a reference, I removed the base layer die-cut for the leaf cluster from it's negative space, coloured the edges lightly with Ground Espresso Distress Ink, peeled back the adhesive carrier and placed on a spare carrier sheet. I repeated the process with each layer until the leaves for all 3 cards were done. If you are not going to use the die-cuts immediately, you could leave them on the carrier sheet and store in a plastic envelope for future use.
 I repeated this process for the flowers and in no time at all, was ready to assemble the cards.
Card 2
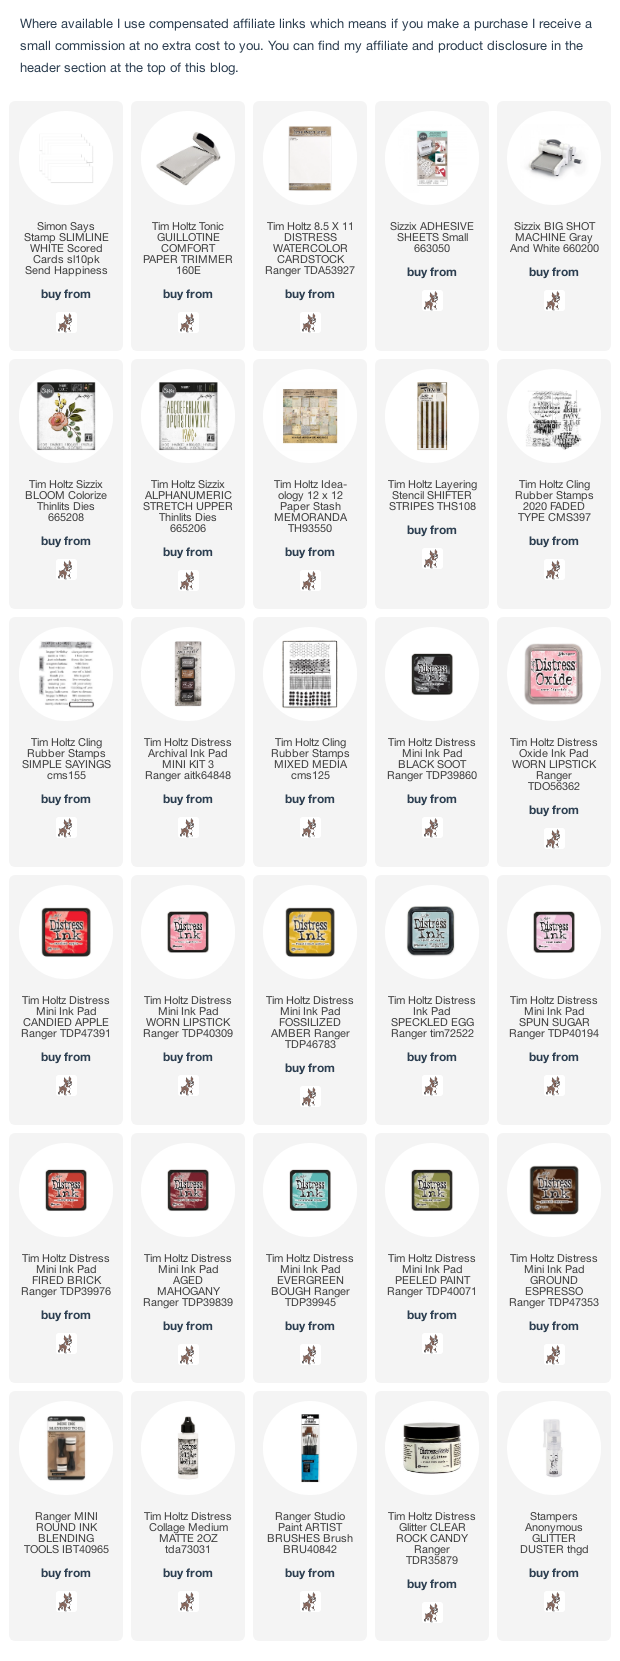
I used the same size panel of Distress Watercolor card, masked off the bottom of the card and added the stripes using Tim Holtz/Stampers Anonymous Stripes Stencil with Black Soot Distress Ink and a mini round blending tool. I masked off the stencilled section, coloured the bottom with Candied Apple Distress Ink and stamped the script stamp from Tim Holtz/Stampers Anonymous Faded Type inked with Black Soot Distress Archival. I added the Bloom Colorize flower coloured with Fired Brick, Aged Mahogany and Candied Apple Distress inks and the leaf clusters coloured with Evergreen Bough and Peeled Paint Distress inks, fixing the leaves in place with Distress Collage Medium and popping the flower up on Sizzix Foam Adhesive. I die-cut LOVE from Distress Watercolor card using the Alphanumeric Stretch Upper Thinlits, fixed in place and added a strip of BlackOut KraftStock where the 2 sections met. I added a light coat of Distress Collage Medium to the flower and leaves using a small paint brush and added Distress Rock Candy Glitter using the Glitter Duster. To finish I stamped the sentiment from Simple Sayings inked with Black Soot Distress Archival in the top corner and fixed the panel to a white Slimline card blank.Card 3


I loved these cards when Tim showed them on the live! I love that you switched each of the up and made totally different card even though the ingredients were the same!
ReplyDeleteLove these cards. Thanks for the handy hints about streamlining the process so it isn't quite so daunting. Stay safe.
ReplyDeleteBeautiful!
ReplyDeleteThey are so lovely as always x
ReplyDeleteBeautiful makes my friend. I love all the different colours you used on the flowers and using the sticky grid to hold the pieces in place is a brilliant idea. Thnx for sharing. xxx
ReplyDeleteThese make me so happy...almost a country chic vibe or something that I really love. Wonderful trio.
ReplyDelete