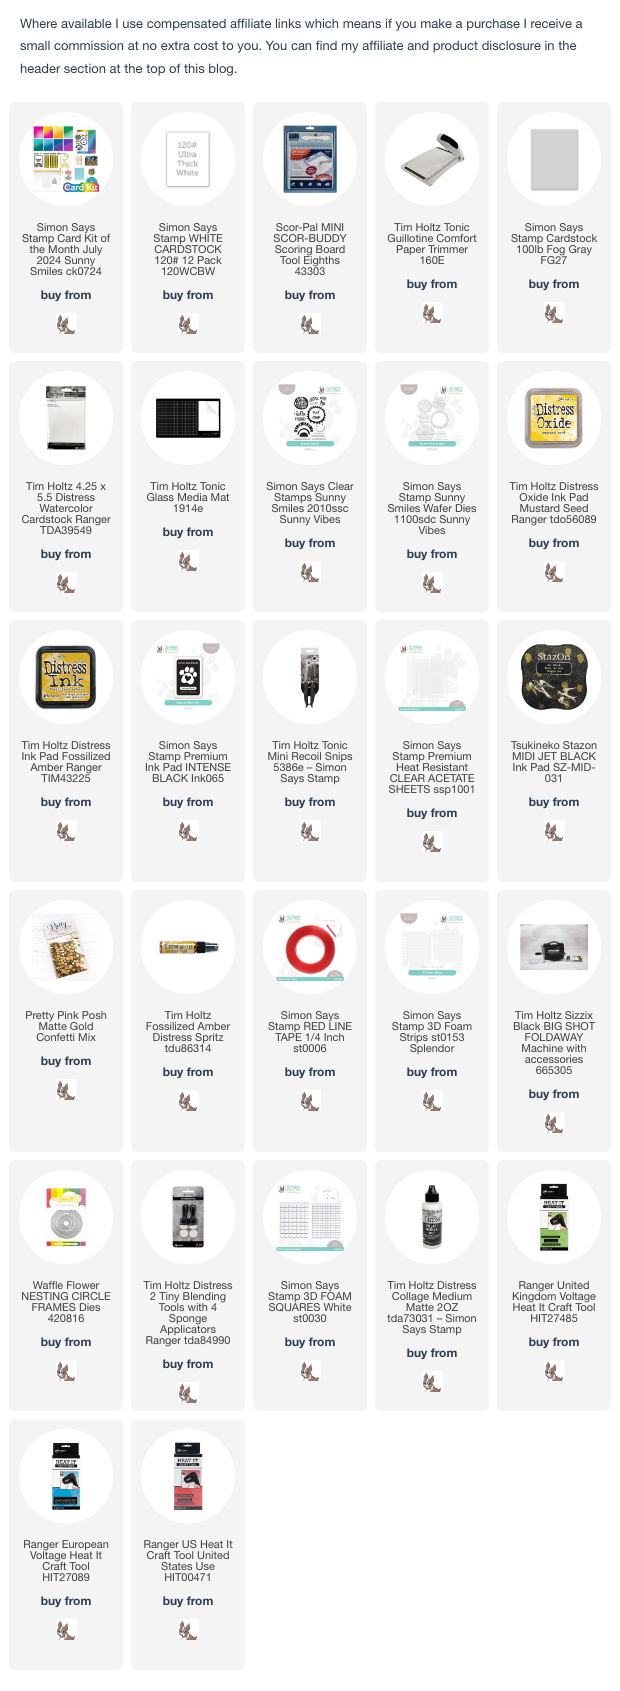
Hello my friends, I'm sending you Sunny Smiles from the "Summer has finally arrived" UK and sharing a trio of simple fun cards created with the Sunny Smiles 6" x 8" stamp set from the Simon Says Stamp Sunny Smiles July 2024 card kit. The kit is still available to purchase or if you wish, you can buy individual items from the kit, HERE.
All the cards were created on panels of Distress Watercolor card, trimmed to 3.3/4" x 5", matted on to A2 panels of Simon Says Fog Grey cardstock and fixed to A2 white card blanks. To add extra sunshine sparkle, I added splatters of Tim Holtz/Ranger Ink Fossilized Amber Distress Spritz to each panel.
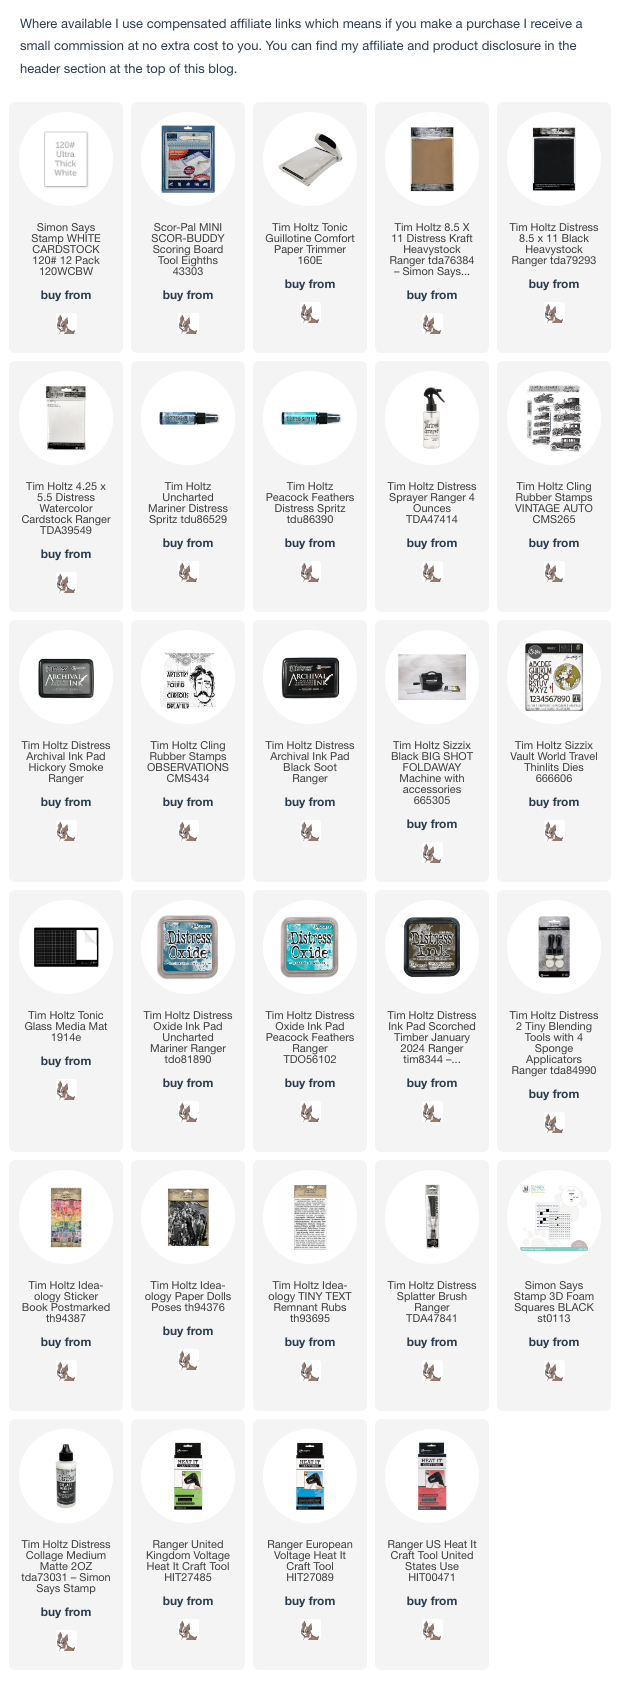
I stamped the sunburst image and Hello sentiment from the Sunny Smiles stamp set, inked with Mustard Seed and Fossilized Amber Distress Oxide inks on to Distress Watercolor card and stamped the Friend sentiment, inked with Simon Says Intense Black ink.
There are dies available for the stamp set (linked below) but I don't have them so I used my trusty Tim Holtz/Tonic Studios Mini Recoil Snips to cut an aperture to create the shaker element.
I trimmed Simon Says Acetate to fit behind the aperture and stamped the smiley face inked with StazOn Jet Black ink.
I fixed the acetate to the panel with Simon Says Red Line tape, fixed 3D foam strips around the aperture to create a well and filled with Pretty Pink Posh Gold Mix Confetti.
I added 3D foam strips around the edges of the panel, fixed to the card blank and added Gold Mix Confetti for extra sparkle.
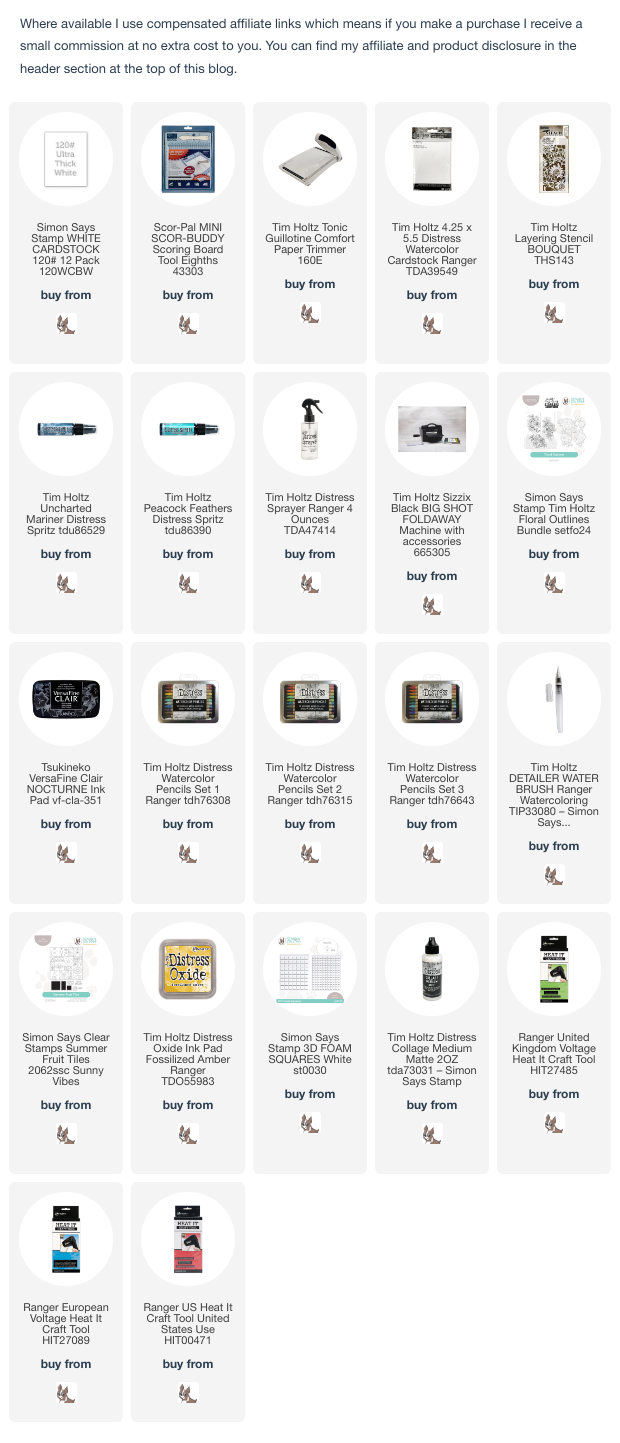
I smooshed Fossilized Amber Distress Oxide ink on to the craft mat on my Glass Media Mat, spritzed with water, picked up on a piece of acetate and pressed on to the Distress Watercolor panel and dried. I stamped the Sunburst image, inked with Fossilized Amber Distress Ink 3 or 4 times to intensify the colour and the sentiment and smiley face with Simon Says Intense Black ink. I fixed the panel to the card blank with Distress Collage Medium.


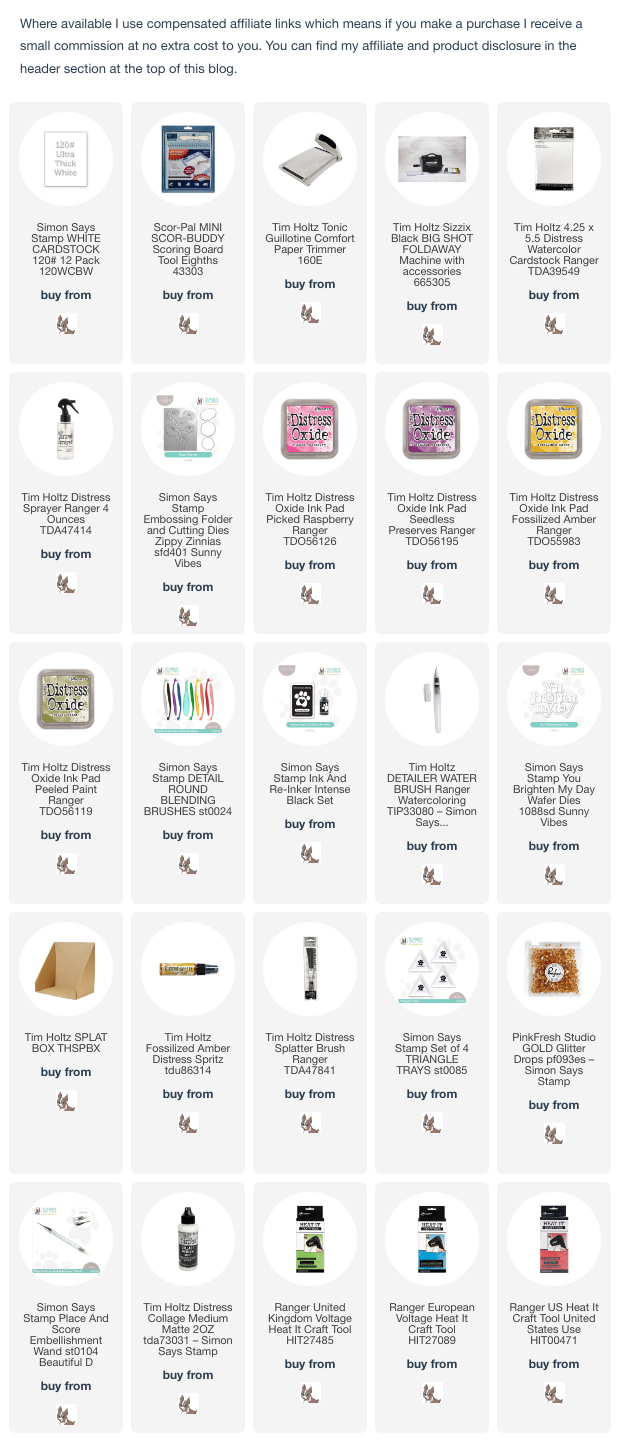
I stamped the 3 sections of the wonky rainbow on to the panel, inked with Fossilized Amber Distress Oxide ink, flipped the stamps upside down and stamped again to create circles. I stamped the sentiments inked with Simon Says Intense Black Ink. I die-cut a circle from Distress Watercolor card roughly the size of the centre of the wonky rainbow, stamped the smiley face inked with Intense Black ink, added shading around the edges with Fossilized Amber Distress Oxide ink using a Distress Tiny Blending Tool and fixed to the panel popped up on foam squares.
If you don't already subscribe to receive Simon Says Monthly Card Kits, there are certainly benefits in doing so. Subscribers receive even MORE savings and perks when they sign up to the easy to manage card kit subscription service. You can find all the details explained in a YouTube video
HERE.
Have fun with whatever you're making
Happy Crafting