


and the theme for this week is...
PARTY
This challenge will run for 2 whole weeks ending on 1st January so you have plenty of time during the festivities to join in and let me take this opportunity to wish you all a very Merry Christmas and best wishes for a Happy New Year.
I decided to make Cracker Treat Boxes for all the guests at my Christmas Day Lunch Party...


I trimmed white cardstock to measure 9.1/2" x 8.1/4"
on the long side I scored at 1/2"...3/1.2" and 6.1/2"
and on the short side at 2" and 5.1/2"


marked the centre of the bottom panel, scored from the centre to each corner and cut leaving a small border which will be the fold-in flaps for the bottom of the box.


I then cut the square in half diagonally creating 2 triangles, lined them up with the score lines at the top edge, (the 2 triangles will fit between the score lines), marked with pencil and cut out to create the zig-zag cracker effect. I covered the side and bottom flaps with Ranger Wonder Tape which will protect them from whatever medium you decide to use for decoration.

I painted the box with Candied Apple Distress Paint


I used White Gesso and the Distress Splatter brush to create a snowy effect on the background and Tim Holtz/Sizzix Winter Wonderland, Home For The Holidays, Snowglobe 2 Thinlits and Simon Says Stamp Moon and Star Border to die cut the decorations for the box using white card and Metallic Kraftstock and fixed everything in place with Distress Collage Medium Matte.


I then tapped the Versamark ink pad around the white edges of the box and heat embossed with Antique Gold too.


When I said, I decided to make "TREAT BOXES, if truth be told so far I've made ONE and with SEVEN more to go...it's time to make myself a cuppa, hit the cubbyhole running and continue with my rather ambitious "time is running out" scoring, folding and decorating adventure.

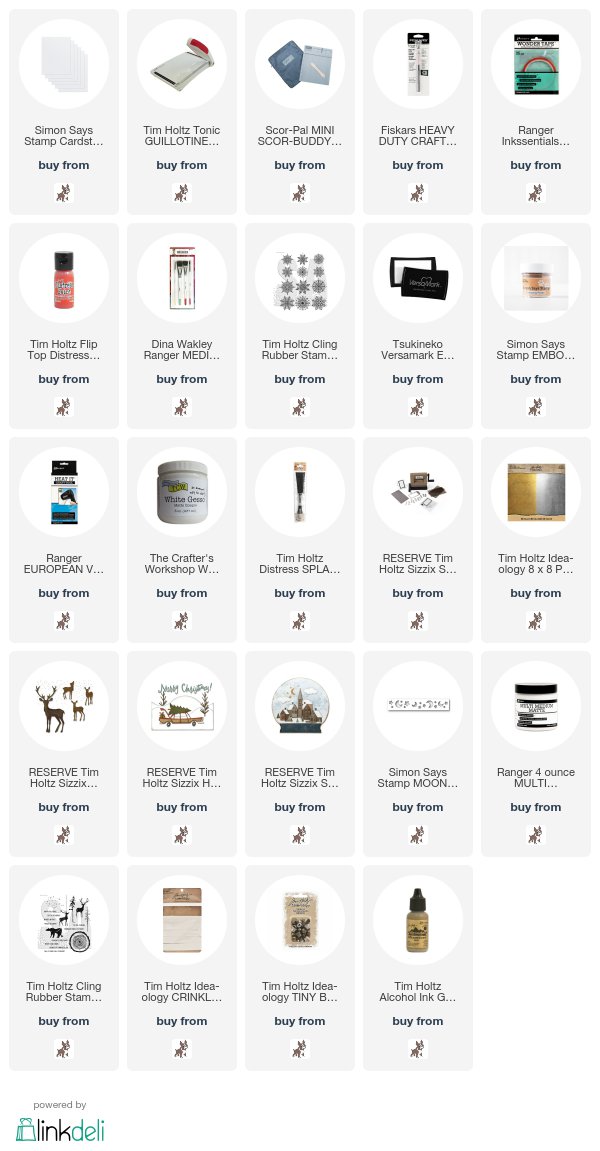
You can find all the products I used over at the fabulous Simon Says Stamp online store...just click on the links below...


Why don't you pop over to the Monday Challenge Blog and check out the amazing creations from my very talented Design Team mates and as always you all have the chance to win a $50 gift voucher to spend at Simon Says Stamp. You have until Monday 8am Ohio time...1pm UK time...2 pm CET to join in...

You can also follow Simon Says Stamp on Instagram
and if you use Instagram...
please add #sssmchallenge to your entry uploads so we can see them on there too

I look forward to seeing what you create this week...
Have Fun and Happy Crafting
Hugs Kath xxx
Oh my...Kath...this Treat Box is a gorgeous idea! Thank you for this detailed tutorial...incredible work! I wish you and your loved one a Wonderful Christmas! Hugs xxx Simona
ReplyDeleteWhat a cute detail for the guests! I love the shape and the colors. Tjank you for sharing the template, mayme someday will try it out. Wish you a Merry Christmas and all the best for the New Year, Kath! Hugs, Marzena
ReplyDeleteOOh Kath! this is gorgeous!! Did you manage to finish them all? I hope so, I am sure your guests will absolutely love these!! I wish I had more time and I would have CASE'd this idea, I am going to bookmark this for next year, thanks for the template ;-)
ReplyDeleteWishing you a Very Merry Christmas and Best Wishes for a fabulous 2018!! :-)
luv
Lols x x x
These boxes are stunning! Thank you for the step by step.
ReplyDeleteLovely boxes. Have a great week, a merry Christmas and a very happy and healthy new year 2018. Hugs, Valerie
ReplyDeleteYour boxes are lovely and I envy those at your Christmas lunch. I love the design and the colors are beautiful. So pretty, Kath! Have a Merry Christmas and a Happy New Year!
ReplyDeleteCathie ♥
What a fabulous Treat Box, Kath, I love the design! Your Christmas Day guests will be very lucky. Thanks for the instructions. xx
ReplyDeleteStunning creation Kath.
ReplyDeleteToni xx
Love these cracker boxes! Gorgeous scenes you have created.
ReplyDeleteHugs
Linda xxx
So pretty! thankyou for the tutorial x
ReplyDeletethese boxes are treats indeed-just spectacular!! Thanks so much for the step outs. Happy, happy holidays and thanks so much for all your DT inspirations!
ReplyDeleteThese beautiful crackers brightened my morning! Thanks for the tutorial and Merry Christmas to you and yours.
ReplyDeleteIrene
Apologies for my lateness.... I LOVE paper engineering and these cracker boxes look a-maz-ing Kath, your table is going to look fabulous!! Hugs, Anne xx
ReplyDeleteSuch gorgeous, festive gift boxes!!!
ReplyDeleteGorgeous and clever design, Kath! LOVE the embossing and red and gold together is so classic and classy.
ReplyDelete*mwah*
Steph
Simon Says Stamp!
Kath, I love this tradition of the Christmas Crackers, and yours are beautiful and full of holiday wonderment! I bet your friends loved them at your luncheon! Great way to party!! Thanks so much for your beautiful card, I will treasure it! Wishing you and your family a wonderful and joyous Christmas and many blessings in the New Year! hugs, Maura
ReplyDeleteBrilliant crackers indeed Kath!! Genius makes. Wishing you and yours a very peaceful and happy Christmas and a wonderful 2018. Nicola x
ReplyDeleteThese are fantastic! I especially love the way you splattered the ground with gold sparkles! It looks like a trail of magic through the snow. I think the color palette is striking and I like how it's traditional and modern at the same time. I wish you every good thing in 2018 and feel so blessed to have received one of your handmade masterpiece Christmas cards! Thanks so much for thinking of me!
ReplyDeleteLove love love these fun and fantastic treat boxes, Kath. The whole design is awesome. Thank you so much for the beautiful card! I really enjoyed all your fabulous creations this year and look forward to seeing more from you. Wish you a very happy new year! :)
ReplyDeleteSo festive KAth! Your treat boxes are fabulous! You're unstoppable! BArbara
ReplyDeleteSuch a festive gift box!!! Love it and also thanks for sharing the measurement on how to recreate this fun box!!! I can't wait to try it out!!!
ReplyDelete<3