Anne and I share a passion and love for all things Tim Holtz and we are both so lucky to have had the pleasure of meeting our adorable Professor in person several times.
and now that Anne has received her card, I can share it with you
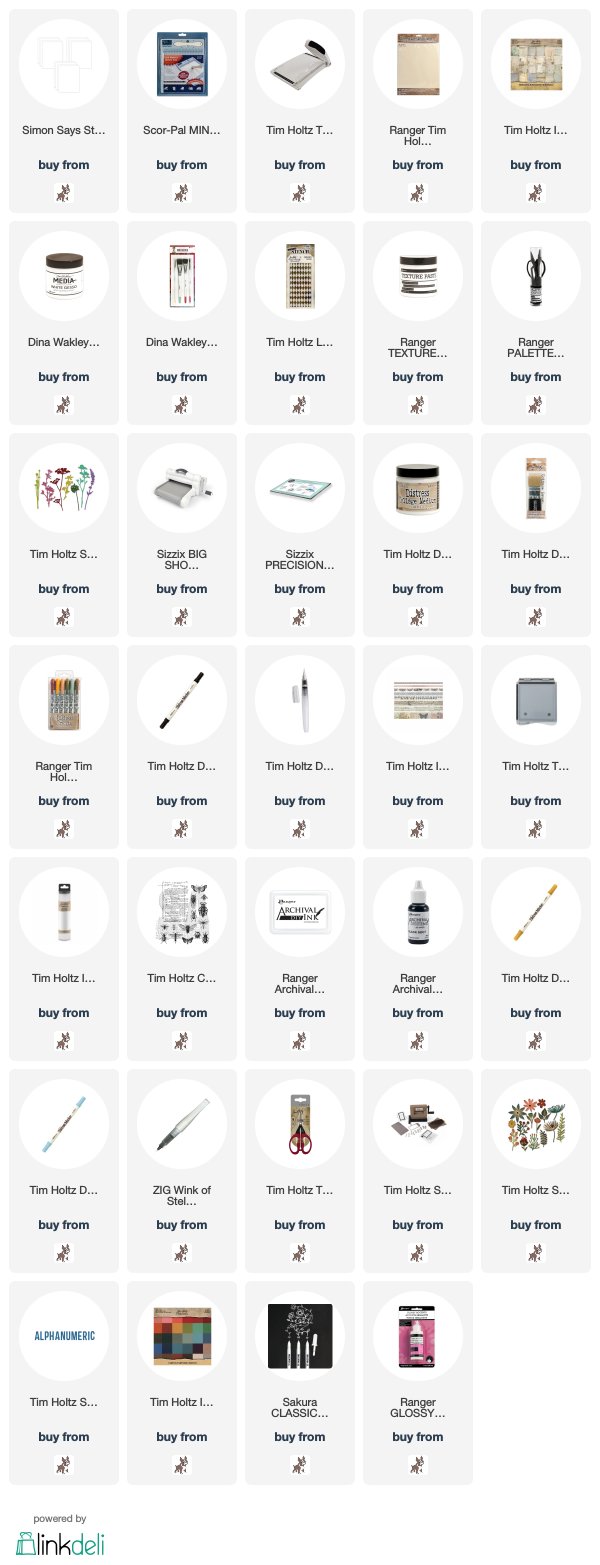
applied Ranger Opague Matte Texture Paste through the Harlequin Layering Stencil and tapped some on with my fingers to create a little bit of texture.I die cut two layers of the flower from white cardstock using Tim Holtz/Sizzix Wildflowers Thinlits, fixed in place with Distress Collage Medium Matte and then applied Collage Medium Matte over the whole panel. I scribbled on Tea Dye Distress Crayon from Set 10, rubbing it into the details and smoothing it out with a damp finger and created shadows around the flower and the texture paste areas with a Black Soot Distress Marker and a Distress Detailer Water Brush.
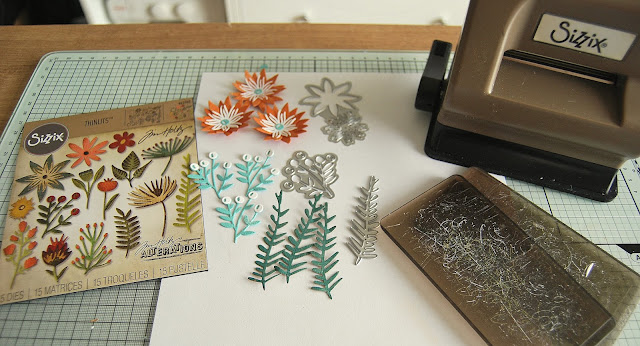
I die cut the flowers and greenery from Idea-ology Classic Kraft Stock, sanded to reveal the kraft core, and white cardstock using Tim Holtz/Sizzix Funky Florals 3 Thinlits with the help of my trusty Sidekick.
I layered up the flowers, fixed in place with Distress Collage Medium Matte and added Glossy Accents to the centers.
I stamped the script from Tim Holtz/Sizzix Entomology randomly on to the background using Black Soot Archival ink and the bees on to Idea-ology Plain Collage Paper, cut out and fixed to the panel with Distress Collage Medium Matte. I then restamped them on to white cardstock, coloured the body with a Wild Honey Distress Marker, the wings with Tumbled Glass and fussy cut. I stamped the bees for a third time and fussy cut only the body section. I used a Zig Clear Wink of Stella Glitter pen to add shimmer to the wings. And woohoo, I'm highly delighted that Tim and Sizzix have taken pity on all the folks who love the Entomology bugs and have designed a matching Framelits set which will be available to buy soon.
I added Idea-ology Butterfly Design Tape and a double layer of letters die-cut from Classic Kraft Stock using Tim Holtz/Sizzix Alphanumeric Thinlits highlighted with a Sakura White Gelly Roll Pen.
I added Idea-ology Butterfly Design Tape and a double layer of letters die-cut from Classic Kraft Stock using Tim Holtz/Sizzix Alphanumeric Thinlits highlighted with a Sakura White Gelly Roll Pen.
To create layered mats for the panel, I cut a piece of white cardstock slightly smaller than the 7" x 5" card blank and fixed Butterfly Design Tape around the edge and cut a smaller panel of Classic Kraft Stock, sanded back to reveal the kraft core.
Now I need to get back into the swing of crafting after my hectic but lots of fun weekend.
Toodle-oo for now
Hugs Kath xxx
Toodle-oo for now
Hugs Kath xxx


And what a wonderful weekend it was, with another special young man! You already know how much I love my gorgeous card (and gifts). Thank you for everything, including all that travelling and for being there for my very special birthday, you really are a wonderful friend... Big hugs, Anne xxxx
ReplyDeleteSounds like you had a fabulous weekend Kath x Anne's card is fabulous and I know for sure she will treasure it x She certainly had an amazing birthday treat. Thank You for sharing the details on your wonderful card
ReplyDeleteHugs Annie x
This is a wonderful card Kath! You know she’s a special friend when you fussy cut those bugs (and more than once each!) your work is beautiful and I am thrilled you were able to enjoy the time together! Hugs, Ann
ReplyDeleteSounds like you both had a fabulous birthday weekend, love the card Kath, it's good to have friends...
ReplyDeleteIt appears you both had a wonderful weekend and I am just so loving your card. I do enjoy your step by steps.
ReplyDeleteHugs
Linda xxx
nothing better than a handmade card! So pretty!
ReplyDeleteI bet Anne loved this card. Thank you for describing how you made the background.
ReplyDelete