Monday, December 4, 2017

Simon Says...Icy Inspiration

Hi Everyone...welcome to another week on the Simon Says Stamp Monday Challenge Blog...thank you for joining us for last week's challenge...we hope you can join us this week too because...

This week the design team are showcasing products from PaperArtsy, if you have some of their products we would love to see what you make with them but it isn't necessary to join in the challenge.
And as it's the first week of a new month, we are welcoming the lovely and super talented Valerie-Jael aka Bastelmania into the Designer Spotlight. If you haven’t visited her blog before then you should head on over there for a browse! her blog is fabulous!
The theme this week is
ICY INSPIRATION
and our lovely teamie Maura has created a fabulous mood board to use as inspiration.
I made an Art Journal page to christen my new 8" x 8" Dylusions Black Journal
I started off by trimming Distress Watercolor card down to 7.5" x 7.5" and used a brayer to apply a patchy coat of PaperArtsy Fresco Finish Ice Blue paint...
I lightly sprinkled on PaperArtsy Royal Blood Infusions, spritzed it with water and brushed it out towards the bottom of the panel with a damp brush...
I applied Studio 490 White Embossing Paste through the PaperArtsy Snowflake Stencil but at this point I wasn't sure if the moisture from the Embossing Paste would reactivate the Infusions powder and the snowflakes would soak up some of the blue colour.
So I'm sharing a little tip...if you want to make sure that your embossing paste stays pure white, sprinkle on white embossing powder while the paste is wet but do not heat set the embossing powder until you are sure the embossing paste is dry, otherwise it will bubble up and distort.
Woohoo...hip hip hooray, I am so happy that the Tim Holtz/Sizzix Ice Skates BigZ die, one of my all time favourites, which was retired, has been re-released again this year. I die cut the skates from the textured side of Distress Watercolor card, used Silver Metallic Kraftstock for the blades and the reverse side of the Kraftstock for the heel of the boot. I applied a coat of Distress Collage Medium to the skates to prepare the surface for some shading...
with Gathered Twigs and Black Soot Distress Crayons. I threaded a needle with Eclectic Elements thread to create the lacing on the boots...
I used scraps of acetate to create snowbanks because I wanted a see through kind of a look, painted on a coat of Ranger Multi Medium Matte and once it was dry, a coat of Ranger Opague Crackle Texture Paste, waited for it to crackle and then fixed to the bottom of the page with Multi Medium Matte.
I then applied Distress Collage Medium Matte on top to seal the crackle on this unorthodox choice of surface, shaded the snowbanks with the Gathered Twigs Distress Crayon and to balance out the layout added more Embossing Paste/Powder stencilled snowflakes...
I coloured White cardstock with PaperArtsy Royal Blood Infusions and a scrap of card with Gathered Twigs Distress Ink and die cut the foliage from Tim Holtz/Sizzix Festive Greens.
fixed the skates and foliage in place with Multi Medium Matte and 3D foam pads to create dimension

added Christmas Clipping Stickers...

a Christmas Typed Token painted with Picket Fence Distress Paint and a Metallic Holiday Talk Sticker.


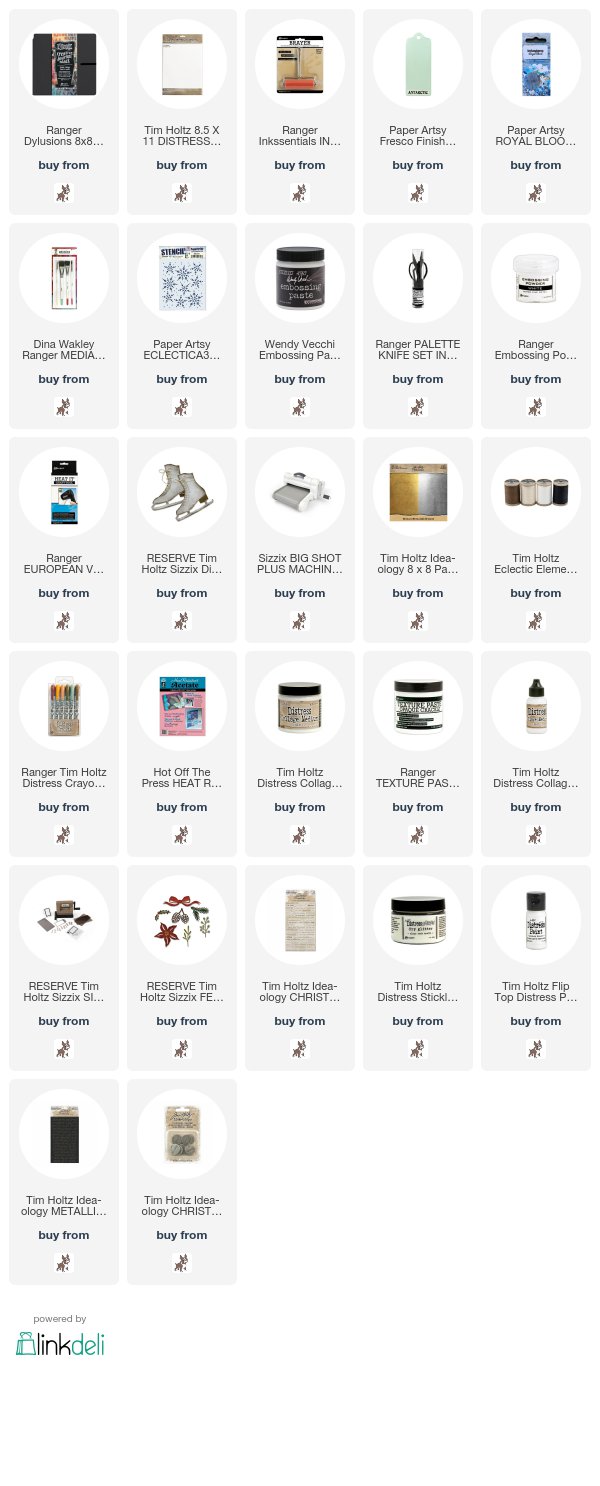
You can find all the products I used over at the fabulous Simon Says Stamp online store...just click on the links below...

Why don't you pop over to the Monday Challenge Blog and check out the amazing creations from my very talented Design Team mates and as always you all have the chance to win a $50 gift voucher to spend at Simon Says StampYou have until Monday 8am Ohio time...1pm UK time...2 pm CET to join in...

You can also follow Simon Says Stamp on Instagram
and if you use Instagram...
please add #sssmchallenge to your entry uploads so we can see them on there too
I look forward to seeing what you create this week...
Have Fun and Happy Crafting
Hugs Kath xxx


* Please note: the above links are affiliate links, for which I receive a small percentage of sales generated by the link, at no extra cost to you.

Sunday, December 3, 2017

Tim Holtz Holiday Inspiration Series - Carved Christmas

Hi folks...I hope you're enjoying the Tim Holtz Holiday Inspiration Series as much as I am, it's hard to believe we're on to Week 6 already and the Countdown to Christmas begins in earnest. You can check out all the projects from Week 5 HERE 
and to make sure you don't miss out any of the fabulous inspiration that everyone is creating, you can follow Tim on FacebookInstagram and his Blog.

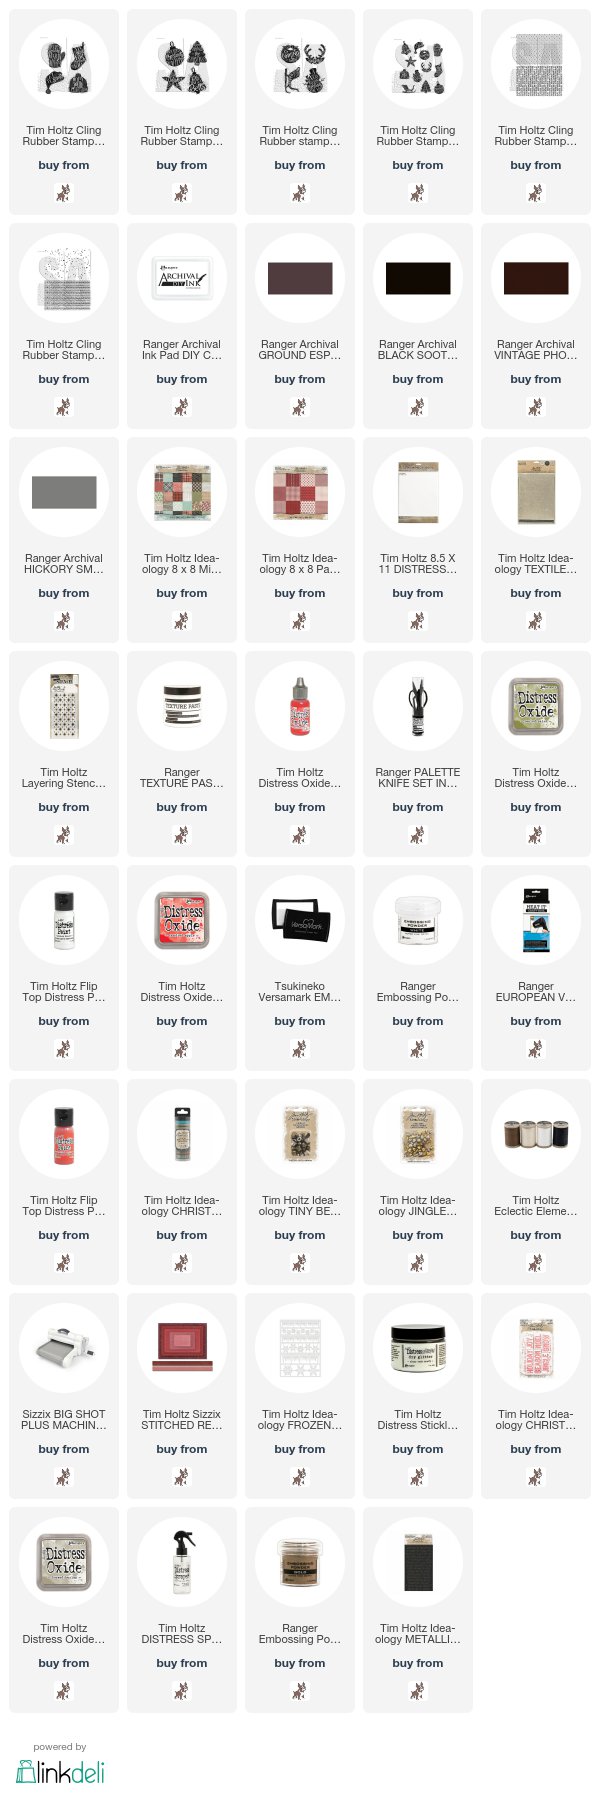
I'm sharing 4 cards today for the Holiday Inspiration Series using Stampers Anonymous Carved Christmas 1,2,3 and Mini Carved Christmas stamp sets...

starting off with this gorgeous tree from Carved Christmas 2.
I stamped the Christmas image from Stampers Anonymous Sparkles and Christmas on to a panel of Textile Surfaces with Vintage Photo Distress Archival Ink and the tree image from Carved Christmas 2 with Ground Espresso Distress Archival Ink. I coloured Ranger Opague Texture Paste with the Candied Apple Distress Reinker and applied through the Starry Layering Stencil.
I stamped the "Rocking Around The Christmas Tree" image twice on to Distress Watercolor card, inked with Peeled Paint and Candied Apple Distress Oxide inks and fussy cut. I added strips of  Holiday Design Tape to the bottom of the panel and fixed the tree pot section in place with Ranger Multi Medium Matte. I used the Starry Layering stencil to add dots of red Texture Paste to the tree, covered with Glossy Accents once they were dry and added Idea-ology Jingle Brads. I fixed the tree in place with 3D foam pads to create dimension and added dots of Ranger White Enamel Accents to the background. I matted the panel on to a card base covered with Idea-ology Christmas KraftStock and added an Idea-ology Jingle Bell and Eclectic Elements Thread Bow.
moving on to the cute and adorable Snowman from Carved Christmas 3
I trimmed paper from the Christmas Mini Paper Stash to be slightly smaller than the card blank, masked off the bottom section to create a snowbank effect and stamped the Pine image from Flurry and Pine with Peeled Paint Distress Oxide ink. I stamped the Flurry image with Versamark ink and heat embossed with Ranger Super Fine White Embossing Powder.  I coloured a piece of white cardstock with Peeled Paint Distress Oxide ink and created a frame using Tim Holtz/Sizzix Stitched Rectangles Thinlits.
I stamped the Snowman image on to the background using Distress Black Soot Archival and stamped again on to the textured side of Distress Watercolor card using Black Soot Archival for the hat, Hickory Smoke Archival for the body and Candied Apple Distess Oxide for the scarf, fussy cut and fixed in place with 3D foam pads.
I stamped the sentiment from Tattered Christmas with Candied Apple Distress Oxide on to a scrap of white card and inked the edges with Peeled Paint and Black Soot Distress inks. I painted the Idea-ology Frozen Findings with Picket Fence Distress Paint and sprinkled with Ranger Distress Rock Candy Glitter.
Now it's the turn of the cosy hat and mitten from Carved Christmas 1
I covered the card blank with paper from the Chrismas Mini Paper Stash and added 6 squares of contrasting papers. I stamped Mini Swirly Snowflakes and the Hat/Mitten images with Versamark ink and heat embossed with Ranger Super Fine White Embossing Powder. 
 I stamped the hat and mitten again on to Christmas Mini Stash Paper, fussy cut, fixed in place with 3D foam pads and added Christmas Quote Chips.

the last card uses the Bauble and Bell images from Mini Carved Christmas.
I covered the card blank with the plaid paper from the Christmas Mini Paper Stash, cut a panel of Distress Watercolour card to be slightly smaller, used Vintage Photo Distress Oxide ink to colour, spritzed with water to create the oxidised/splattered look. I fixed strips of contrasting paper, stamped the Christmas wording from Sparkles and Christmas randomly on the background using Vintage Photo Distress Oxide and the bell and bauble images with Peeled Paint and Candied Apple Distress Oxide inks. 
I used Tim Holtz Craft Pick to create the hanging for the decorations and stitched with Eclectic Elements thread and an embossing pen to add Gold Embossing Powder highlights to the decorations.

I applied Ranger Opague Texture Paste through the Starry Layering Stencil and added a Metallic Holiday Talk Sticker...
After that I think we all need a cuppa,
enjoy what's left of your weekend
and I'll see you tomorrow over at Simon Says Stamp Monday Challenge
Toodle-oo for now
Hugs Kath xxx
* Please note: the above links are affiliate links, for which I receive a small percentage of sales generated by the link, at no extra cost to you.

Saturday, December 2, 2017

Happy DieCember...

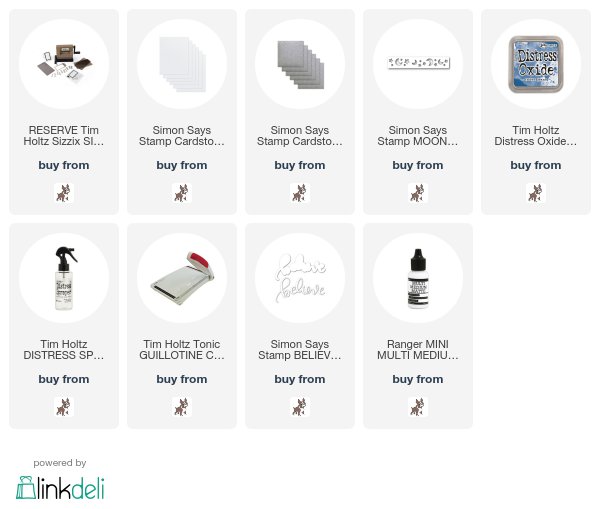
Hi folks...it's DieCember over at Simon Says Stamp, a month celebration of die-cutting...click HERE to see all the gorgeous new products you may want to put on your Santa List...

Simon very kindly sent me the Moon and Star Border Die

to play with and here's what I made...

I started off cutting two panels of white cardstock slightly smaller than a standard A2 card and lightly coloured one with Faded Jeans Distress Oxide ink using a blending tool and spritzed with water using the Ranger Distress Sprayer to create that oxidised look. I cut the other panel into strips, die cut the Moon and Star Border from each strip with the Tim Holtz/Sizzix Sidekick and popped the left over moons and stars into a little pot for later. I coloured each strip as before with Faded Jeans Distress Oxide and fixed them diagonally across the other panel with Ranger Multi Medium Matte. I then die cut the moon and star border again from white cardstock and SSS Silver Glitter Cardstock. I fixed the white and silver glitter moons and stars back into the negative spaces on the strips and added extra white stars on top.
I used Simon Says Believe die to create the sentiment, die cut from that gorgeous Glitter Cardstock and 3 times from White Card to create dimension.
I'll be back tomorrow to share 4 cards I made for the Tim Holtz Holiday Inspiration Series.
Hugs Kath xxx


* Please note: the above links are affiliate links, for which I receive a small percentage of sales generated by the link, at no extra cost to you.

Friday, December 1, 2017

It's December...

Hi folks...crikey...it's December already and winter has arrived in my little corner of the planet...it sure was a bit of rude awakener to wake up to a winter wonderland yesterday morning...
and after our chilly morning stroll with some snowball playtime thrown in, me throwing and the Furry Boy catching, I was looking forward to a warm cuppa and toasting my hands on the radiator...
cosy and snug in the cubbyhole watching the blizzard rage outside is definitely one of the perks of working from home...
and we've been cracking on with the Christmas production line...
the last 4 shaker ornaments are done, ready to be handed out to family and friends
and the "keep it simple when you need to make loads" Christmas card production line is coming along nicely too...
The 1st of December is a very special day over at Simon Says Stamp, it's the start of DieCember...a month long celebration of die-cutting...click HERE to see all the new products
and a little sneaky peek of one of the dies launching today...I'll be revealing the whole card tomorrow.
Needless to say, today's Friday Girls Expedition has been postponed due to the weather, no point in venturing forth unless you absolutely need too...my days of digging myself out of a snowdrift are long gone. Stay safe and warm if Winter has arrived in your neck of the woods.
Hugs Kath xxx