Wednesday, October 9, 2019

Winter Wishes

Hi Folks, I'm sharing one of the projects I made for the Facebook Live launch of Tim Holtz/Sizzix Chapter 4 release. 
If you missed the Facebook Live launch, you can hop over to Tim's blog and check out the new dies and inspiration samples HERE.
I created a Winter Wishes Home Decor panel using Alpine, Fanciful Snowflakes and Alphanumeric Classic Upper and Lower Thinlits from the Chapter 4 Release.

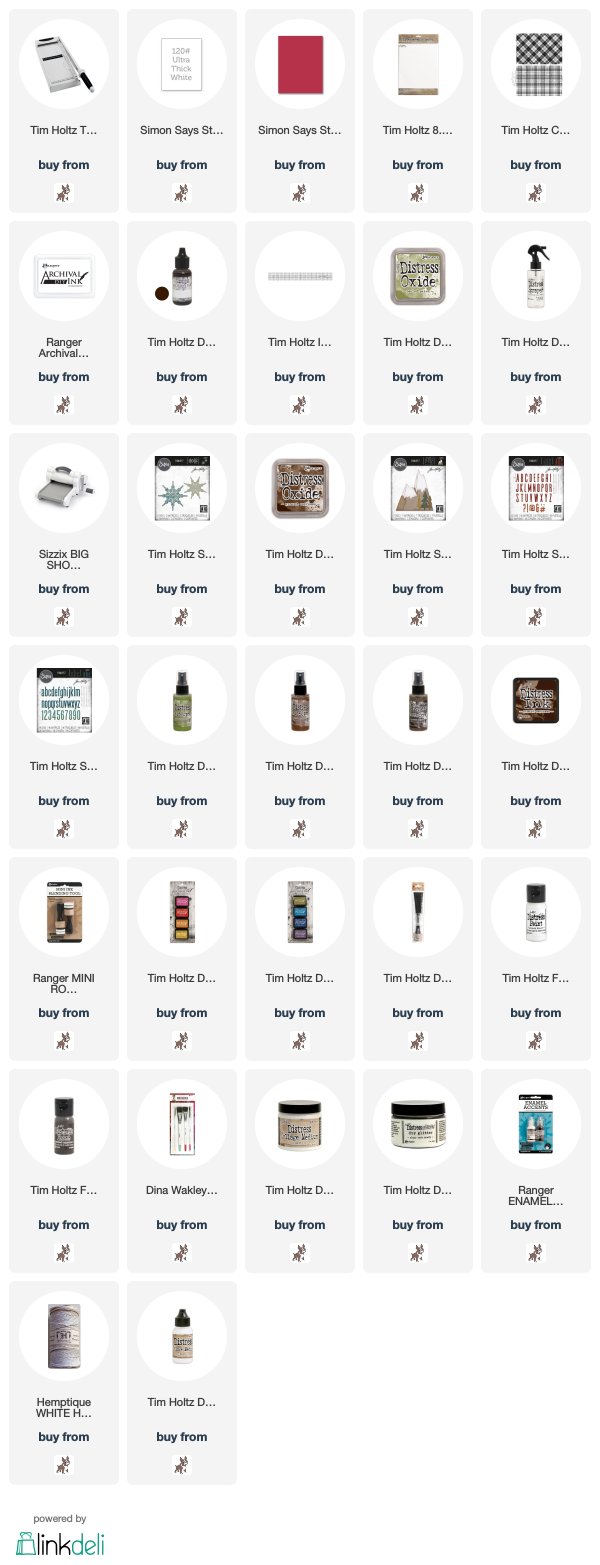
I began by inking one of the background stamps from Tim Holtz/Stampers Anonymous Perfect Plaids with Ground Espresso Distress Archival ink and stamped repeatedly to cover a sheet of 8.1/4" x 11" Distress Watercolor card. I used the metal edge of Tim Holtz Design Ruler to tear the edges to create a panel measuring 7.1/2" x 9.1/2".
I machine stitched a couple of times around the edges of the plaid panel and added a 5" x 7" panel of Distress Watercolor card coloured with Peeled Paint Distress Oxide ink using the watercolour smooshing technique. I die-cut Fanciful Snowflakes from Distress Watercolor card coloured with Ground Espresso Distress Oxide ink, laid the snowflakes in place and stitched the panel to the plaid background.
I die-cut "Winter Wishes" 4 times from white card using Alphanumeric Classic Upper and Lower Thinlits, layered to create dimension and fixed in place with Distress Collage Medium Matte.
I die-cut the Alpine Thinlits from white card and Distress Watercolor Card coloured with Peeled Paint, Vintage Photo and Ground Espresso Distress Oxide Sprays, added shadows to the edges of the die-cuts using Ground Espresso Distress ink and fixed in place with Distress Collage Medium Matte following the guide lines left by the dies.
I inked the Plaid Background with Peeled Paint Distress Archival ink, stamped on to scraps of white card, die-cut the Fanciful Snowflakes and fixed offset over the existing snowflakes. 
I added splatters of Picket Fence and Ground Espresso Distress Paints to the background.
I applied a coat of Distress Collage Medium Matte to the mountain tops and alphabet letters, sprinkled with Distress Rock Candy Glitter and once it had dried, add dots of Ranger White Enamel Accents to mountains.
I stamped the plaid background inked with Barn Door Distress Archival on to scraps of card and die-cut the Alphanumeric Classic Upper "W" and trees from Alpine. I also die-cut trees from white card and card coloured with Peeled Paint Distress Oxide ink and fixed in place. To finish I added a Crinkle Ribbon and twine bow and matted the panel on to white and red cardstock to create an 8" x 10" panel.
Simon Says Stamp latest release, Cheer and Joy, launches Thursday at midnight EST and here's a sneaky peek of what I've made and will be sharing tomorrow.

Happy Crafting
Hugs Kath xxx


*** Where available I use compensated affiliate links which means if you make a purchase I receive a small commission at no extra cost to you. You can find my affiliate and product disclosure HERE

Monday, October 7, 2019

Simon Says - Autumn Fall

Hi Everyone...welcome to another week on the Simon Says Stamp Monday Challenge Blog.  Thank you for joining us for last week's challenge and we hope you can join us this week too because

The first challenge of the month means that the Design Team are showcasing products from a certain company/brand or designer. This month we are all using fabulous products from the wonderful Tim Holtz. I'm sure you will have some of Tim's amazing products and we would love to see how you use them.
We are also welcoming  the lovely and super talented Jo aka Let's Art Journal into the Designer Spotlight. If you haven't visited her blog you are in for a real treat! Please pop by to say 'Hi'
and the theme for this week is...
Autumn/Fall
I decorated an Idea-ology Vignette Box to create a fun Autumn Home Decor project using lots of Tim Holtz/Sizzix dies including Santa's Helper who is filling in the time until Santa needs him by helping out at his local pumpkin farm.

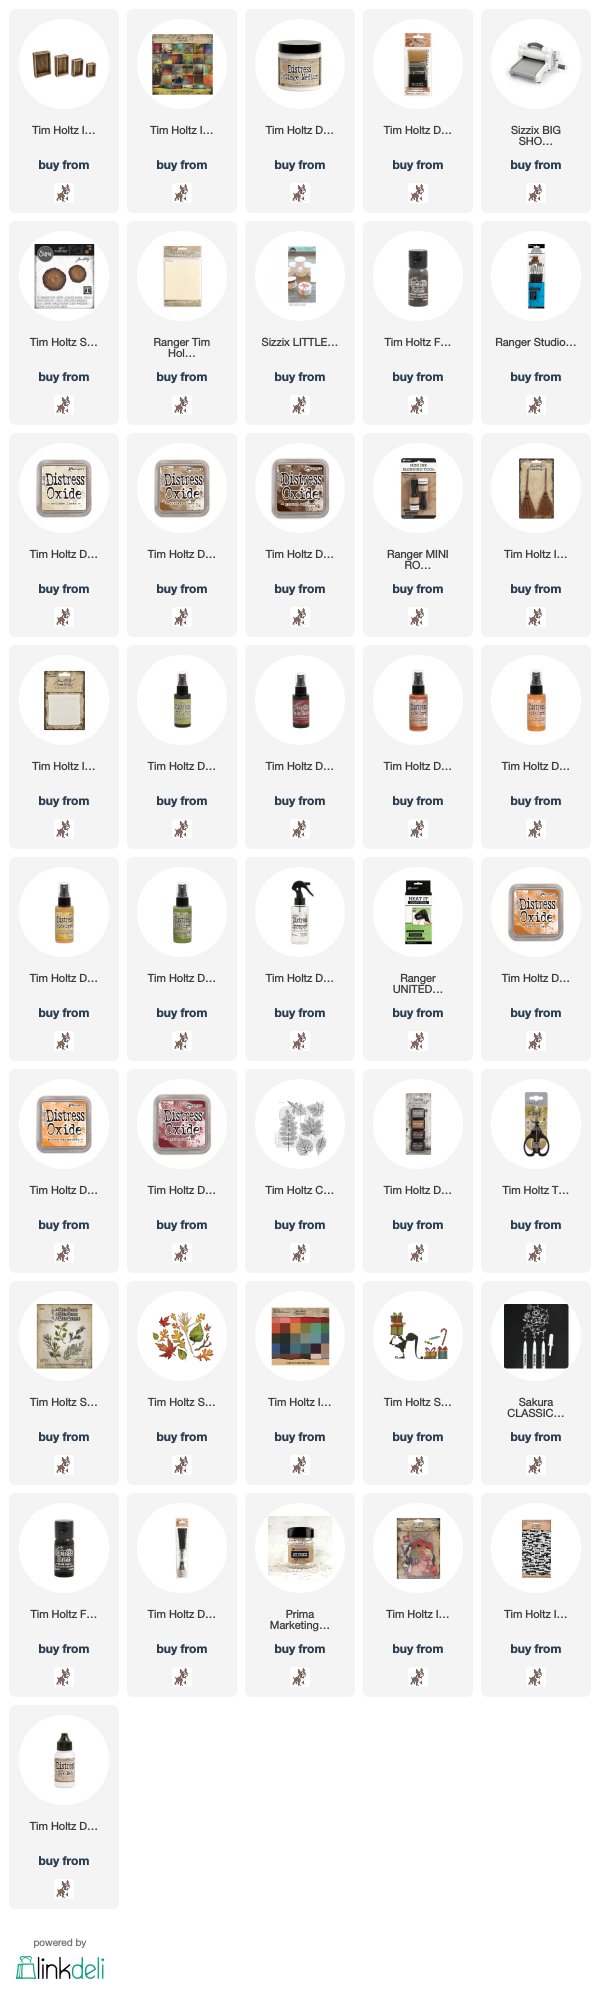
I began by covering a small Idea-ology Vignette box with papers from Tim Holtz Idea-ology Abandoned Paper Stash using Distress Collage Medium Matte to fix it in place.
I die-cut the Tree Rings from Distress Mixed Media HeavyStock and embossed with the Texture Fade that is included with the die. I die-cut 4 layers of Tree Rings from white matboard to create dimension fixing them together with Distress Collage Medium.
I painted the edges with Ground Espresso Distress Paint and coloured the fronts, starting from the centre with Antique Linen, then Vintage Photo and Ground Espresso Distress Oxide inks fading out to the edge.
I fixed the Tree Rings and an Idea-ology Broom on the Vignette Box using a hot glue gun.
I coloured Distress Mixed Media HeavyStock to create the leaves, using Peeled Paint Distress Spray Stain
and a variety of Distress Oxide Spray Stains which are linked below/.
I stamped the leaf images from Tim Holtz/Stampers Anonymous Pressed Foliage with Black Soot Archival and fussy cut. I flipped the leaves over, spritzed water on the back, scrunched up and left to dry. Once uncurled, they look more realistic.
I fixed Idea-ology Mummy Cloth to the Vignette Box and added layers of the stamped and die-cut leaves. I used Tim Holtz/Sizzix Holiday Greens to die-cut the Peeled Paint card and Fall Foliage with the Distress Oxide Spray card. I added Idea-ology Pumpkin Pieces, some of which I cut in half to lay flat (easy enough to do with a sharp knife or your scissors)
I die-cut 6 layers of Santa's Helper from white card, fixed together with Distress Collage Medium and coloured with a Ground Espresso Distress Marker. I die-cut him again using Idea-ology Classic Kraftstock, trimmed the individual pieces to create his skin and outfit. I added lines to his hat and sweater using a Sakura White Jelly Roll Pen and fixed him in place using my hot glue gun. I added splatters of Black Soot Distress Paint.
I intended adding moss around the leaves and pumpkins but despite turning the cubbyhole upside down and inside out, that elusive purchase has yet to be found. So instead I added drops of Distress Collage Medium, sprinkled on Prima Art Stones and left overnight to dry.
I gave this adorable elf a Mummy Cloth scarf and Idea-ology Pumpkin Piece to hold and fixed Idea-ology Ephemera to the smaller of the Tree Rings.
I finished off by fixing Mummy Cloth and Idea-ology Small Talk Stickers to the handle of the broomstick


You can find all the products I used over at Simon Says Stamp, just click on the links below


Why don't you pop over to the Monday Challenge Blog and check out the amazing creations from my very talented Design Team mates and as always you all have the chance to win a $50 gift voucher to spend at Simon Says StampYou have until Monday 8am Ohio time...1pm UK time...2 pm CET to join in...

You can also follow Simon Says Stamp on Instagram
and if you use Instagram...
please add #sssmchallenge to your entry uploads so we can see them on there too

I look forward to seeing what you create this week...
Have Fun and Happy Crafting
Hugs Kath xxx

*** Where available I use compensated affiliate links which means if you make a purchase I receive a small commission at no extra cost to you. You can find my affiliate and product disclosure HERE.

Friday, October 4, 2019

Tim Holtz/Stampers Anonymous - Modern Christmas

Hi folks, another week bites the dust and already we're in to the month of October. There's a definite Autumnal chill in the air, in fact, there has been a flurry or two of snow up on the top slopes of Cairngorm and the red deer that live there will soon be making their way down to lower ground in search of food. So I thought it might be fitting to share one of the cards I made for the Facebook Live launch of Tim Holtz/Stampers Anonymous Christmas Collection using the magnificent stag from Modern Christmas. If you missed the launch on Facebook Live, you can pop over to Tim's blog and check out all the new stamps and stencils and admire the inspirational samples HERE.
Stags are such beautiful magnificent animals and I've seen them many times, if only from a distance, in the forest where The Furry Boy and I went for our lunchtime walks. Well that was the case until the day I had a very special, very terrifying close encounter which I'll share at the end of the post.
Back to the card which was one of those last minute cards made a few hours before Mr UPS was due to pick up the box of samples so what follows is a how-to, cobbled together, after the card was made and isn't it strange that it turned out to be one of my favourites, probably because there was no time for me to over-think the process. Aren't we all guilty of that.
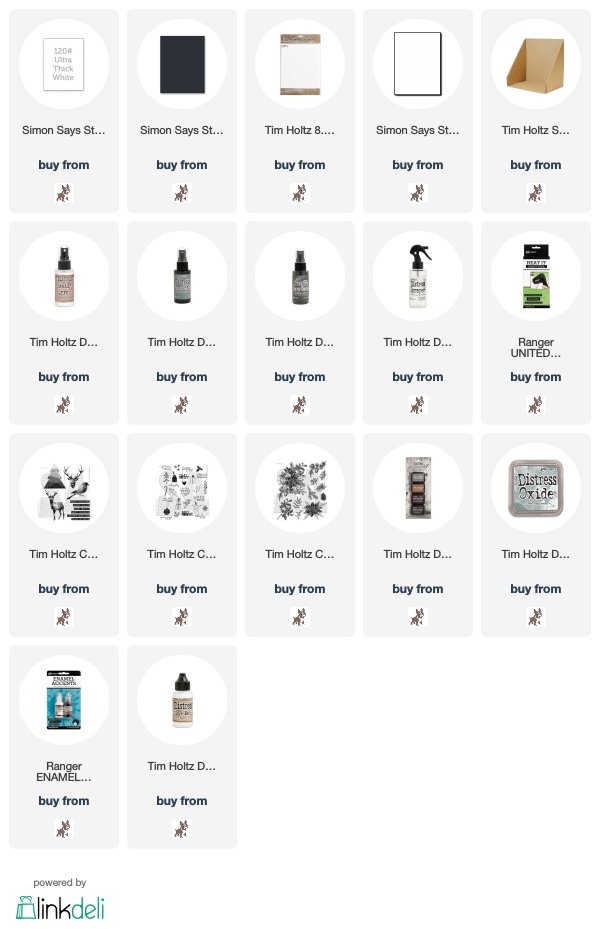
I trimmed Distress Watercolor paper to 4.1/2" x 6.1/2", added a torn strip of masking paper across the bottom and flicked on drops of Distress Resist Spray. I spritzed the panel with Iced Spruce and Hickory Smoke Distress Stains and spritzed lightly with water to create that water droplet effect.
I stamped the cute snowflake from Seasonal Scribbles, removed the mask and stamped the deer from Modern Christmas with Black Soot Archival.
I matted the panel on to black cardstock and a 5" x 7" white card but felt that, even after stamping the sentiment, there was too much white space at the bottom, so I stamped the pine branch image from Seasonal Scribbles inked with Iced Spruce Distress Oxide ink to add a little colour to that corner, then stamped the pine branch again and the berries from Yuletide Gatherings inked with Black Soot Archival and added Ranger Enamel Accent White dots.
I inked the sentiment from Modern Christmas with Iced Spruce Distress Oxide ink and stamped below the feet of the deer, to ground him and fill in some more of the empty space.
OK, it's time to share the saga of my face to face, too close for comfort, meeting with a Red Deer Stag. It was a beautiful summer day and a normal, nothing out of the ordinary, lunchtime walk. The Furry Boy was way off in front rooting around in the undergrowth, ignoring my calls, as usual so I decided to take a "as the crow flies" shortcut through the dark dense part of the forest to catch up. As I turned a corner, next to a large tree just a few feet away, stood a HUGE stag with magnificent antlers. I'm not sure who was more surprised and I can't speak for him but I wasn't very happy about this chance meeting and quickly realised if he charged, I wasn't going to be the one walking away. I was frozen to the spot, holding my breath and frantically trying to remember all the stuff I'd seen on wildlife programmes - don't run, don't look him directly in the eye. He lowered his head, pawed the ground a couple of times and my "this is it" survival instinct kicked in. I jumped up and down, shouting like a howling banshee, waving my arms franctically in the air and after what seemed like forever but was only seconds, he snorted, tossed his beautiful, regal, magnificent head and sped off into the bracken, probably as traumatised as I was. It wasn't until he was in retreat I realised he was a mature Royal Stag identified by the 12 points on his antlers but I wasn't hanging around just in case any of his mates were round the next corner and ran as fast as my old legs could carry me to catch up with my "completely oblivious to the drama" Furry Bodyguard.
Have a great weekend everyone and I'll see you on Monday to share my project for next week's Simon Says Stamp Monday Challenge. Have fun whatever you are planning to do.
Hugs Kath xxx


*** Where available I use compensated affiliate links which means if you make a purchase I receive a small commission at no extra cost to you. You can find my affiliate and product disclosure HERE

Tuesday, October 1, 2019

Merry Misfits

Hi folks, I'm sharing the first of the projects I made for the Facebook Live launch of stamps and stencils from the Tim Holtz/Stampers Anonymous Christmas Collection and if you missed it, you can check out all the new goodies and amazing samples HERE. Another fabulous collection from our adorable Professor, I can honestly say I love every stamp set and it is definitely hard to choose a favourite but who wouldn't fall in love with the Merry Misfits, they are so adorable.
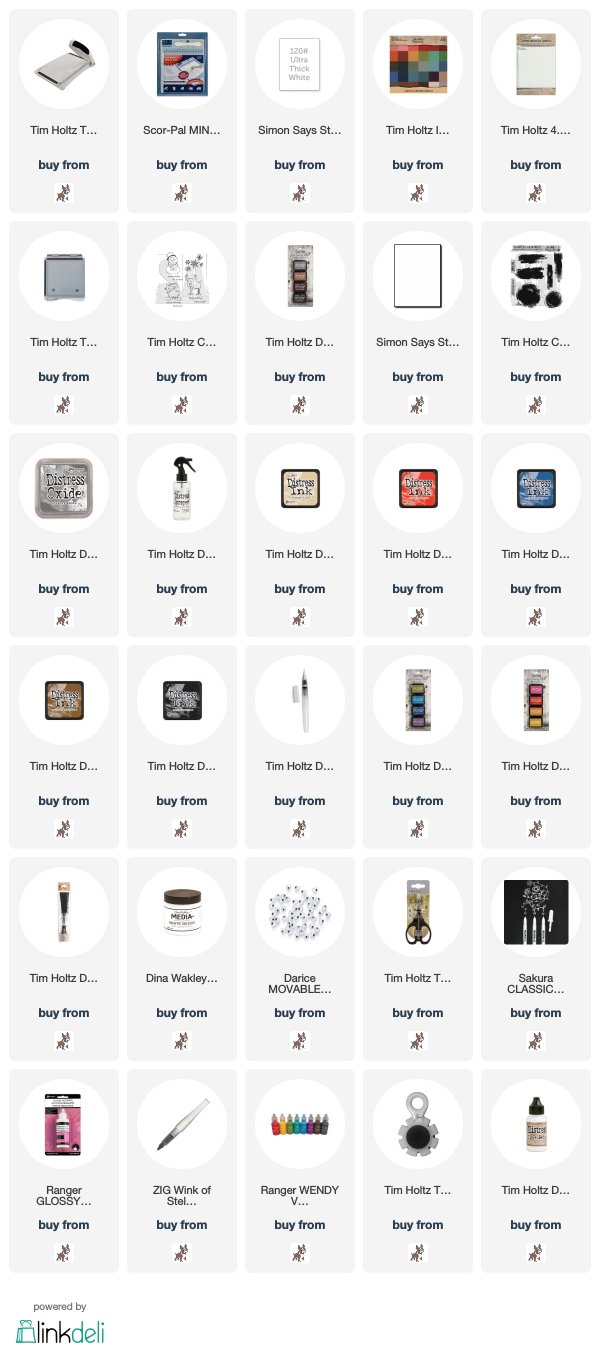
I began by stamping the 3 images inked with Black Soot Distress Archival ink on to A2 panels of Distress Watercolor card and masking paper.
With the masks in place, I inked the large circle from Tim Holtz/Stampers Anonymous Brushstrokes with Hickory Smoke Distress Oxide ink, spritzed with water and stamped on to the panels.
I then stamped the snowflake image from Merry Misfits inked with Black Soot Distress Archival.
I stamped the sentiments from the stamp set with Fired Brick, Faded Jeans and Peeled Paint Distress Archival inks, coloured the images using Distress inks for a simple watercolor look and splatters of Distress ink and White Gesso.
Then it was decision time whether to use googly eyes or not. Some were a good fit, others were too large
So I took my scissors, cut them apart and used just the black circles. 
I added a white highlight with a Sakura Gelly Roll Pen and Glossy Accents which brought these adorable characters to life and a smile to my face and Red Enamel Accents to the snowflakes. I love the expression on the face of this adorable Rudolph, he looks anything but merry and bright and reminded me of my Furry Hooligan when he'd had a telling off for being naughty. I added Wink Of Stella Clear Glitter to the snowflakes, Santa's hat and beard, the Snowman's hat and scarf and Rudolph's antlers.


I had to giggle when Tim showed my one-eyed Misfit Santa card on the Facebook Live, sorry Tim but he wasn't winking at you, he definitely had two eyes when he left the cubbyhole, so poor chap must have had a bumpy ride across the pond to Arizona.
I distressed the edges of the panels and matted on to A2 white card blanks covered with co-ordinating colours of Idea-ology Classic KraftStock.


I'll be sharing the rest of the cards I made over the coming weeks, in the meantime you may want to join Tim and Mario in the studio for today's Facebook Live Launch of Sizzix Chapter 4 dies...9.00am PST, 5.00pm if you're in the UK and 6.00pm Europe. I've booked my front row and hope to see you there.
Hugs Kath xxx


*** Where available I use compensated affiliate links which means if you make a purchase I receive a small commission at no extra cost to you. You can find my affiliate and product disclosure HERE