Friday, February 17, 2023

Simon Says - Be Creative Blog Hop

Hi my friends, welcome to my stop on the Simon Says Stamp Blog Hop to celebrate the Be Creative release. You can check out all the products from this release over at Simon Says Stamp HERE and Simon Says Stamp has a blog hop exclusive give-away, the exclusive Handcrafted with Love 3" x 4" stamp set is FREE with any purchase, just enter the code ART4U when you checkout. This promotion is valid until 19th February at 11.59 PM EDT or while supplies last.

Simon Says are also giving away a $25 coupon to every stop on the hop so make sure you leave a comment on each participant's blog to be in with a chance of winning. The winners will be chosen and posted on Simon Says Stamp Blog on Wednesday 22 February. If you are a lucky winner, you can e-mail Simon Says Stamp to claim your prize.
If you arrived from the very talented Bobbi Lemanski's Blog, you are in the right place but if you happen to get lost along the way, you will find a list of participants at the end of this post to help you get back on track.

I created a rainbow Thanks card using the Big and Bold 2 stamp set and Greetings Trio Wafer Dies.

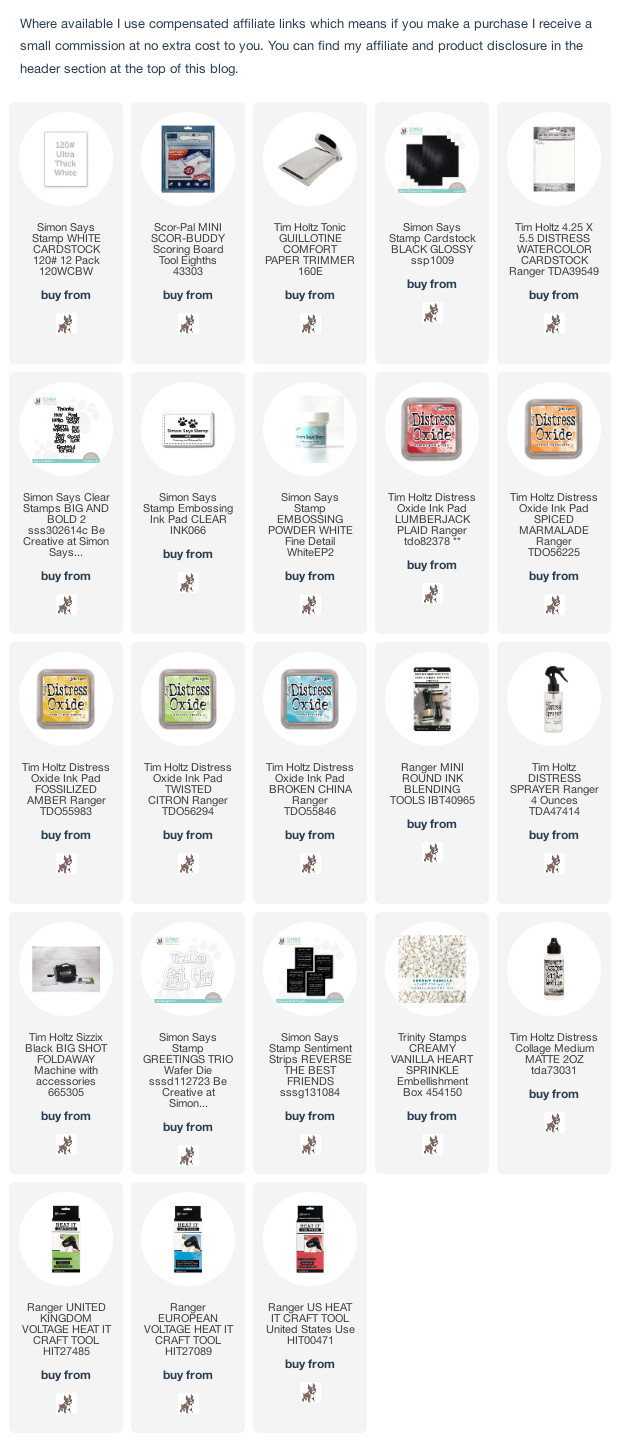
I trimmed Distress Watercolor card to 4" x 5.1/4", inked the Thanks sentiment from Simon Says Big and Bold 2 stamp set with Simon Says Embossing Ink pad, sprinkled with Simon Says White Detail Embossing Powder and heat set. I applied the Distress Oxides inks using mini round blending tools to create a rainbow background, spritzed with water, dabbed with a paper towel, dried to create the water droplet effect and wiped over the embossing with a soft cloth to remove any excess ink.
I die-cut the shadow portion of the Thanks die from the panel and fixed the panel to Simon Says Black cardstock trimmed to 1/8" larger.  I had intended to leave the shadow space black but changed my mind and popped the shadow die cut back into the negative space, die-cut the word Thanks 4 times from black cardstock and fixed in place to create dimension.
I added a Simon Says Reverse Best Friends Sentiment Strip along the bottom of the panel.
I replaced the centres of the letter "a" in the Thanks word and added a Trinity Stamps Vanilla Heart and also fixed hearts randomly over the background.
To finish I matted the panel on to an A2 White Card Blank.


The next stop on the hop is the very talented Barb Engler so pop over to see what Barb has made with the release. For more inspiration, be sure to tune in tomorrow for Day 2 of the Be Creative Blog Hop and make sure you visit the Be Creative Gallery over on Simon Says Blog where you can also share what you make with products from this release.

I'm off to put the kettle on, make a cuppa and enjoy visiting all the other stops on the hop.
Hugs Kath xxx
Tuesday, February 14, 2023

Happy Valentine's Day

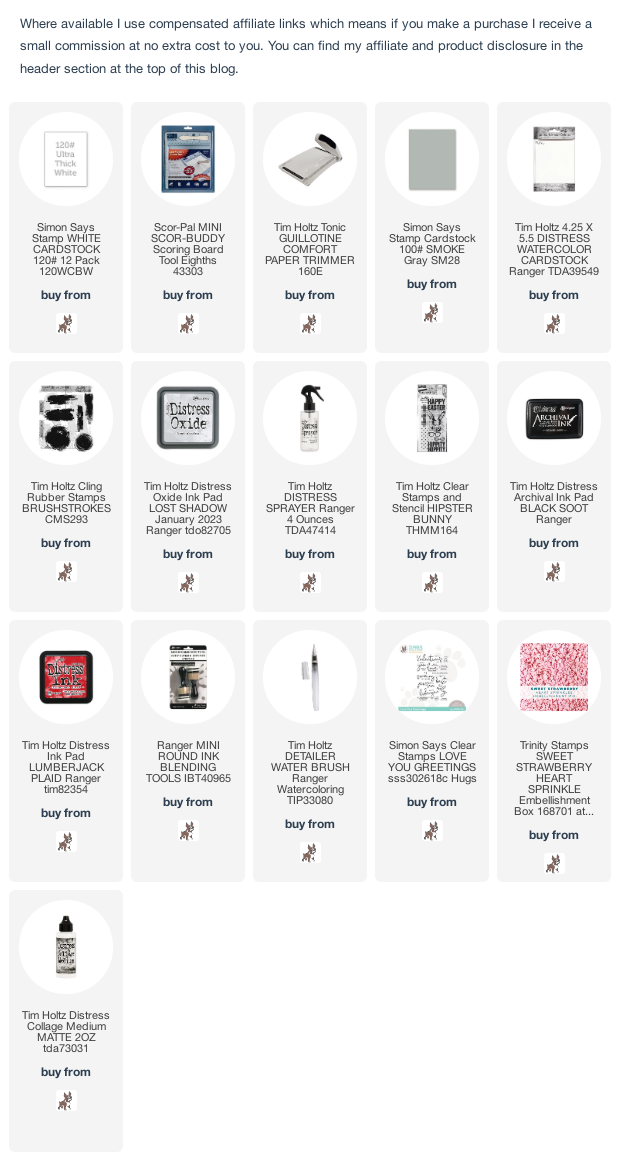
Happy Valentine's Day my friends, I'm sharing some Valentine love using the adorable bunny wabbit from Tim Holtz/Stampers Anonymous Hipster Bunny stamp and stencil set, Brushstrokes and Simon Says Love You Greetings for the sentiment.

I inked the Tim Holtz/Stampers Anonymous Brushstrokes stamp with Lost Shadow Distress Oxide ink, spritzed with water and stamped on to an A2 panel of Distress Watercolor card.
I stamped the Hipster Bunny and glasses images on to the panel with Black Soot Distress Archival ink and the bow tie with Lumberjack Plaid Distress Oxide ink. I used a Detailer Brush to pull out the colour on the bow tie and to colour the inside of the ears and nose.
I applied Lumberjack Plaid Distress Oxide ink through the dotted stencil included with the stamp set using a mini round blending tool and stamped the sentiment from Simon Says Love You Greetings inked with Black Soot Distress Archival.
I added Trinity Stamps Strawberry Heart Sprinkles
To finish, I trimmed the panel to 4" x 5.1/4" and fixed to an A2 Simon Says Smoke card blank.


Have fun with whatever you are making
Hugs Kath xxx

Monday, February 13, 2023

Simon Says - Frame It

Hi Everyone...welcome to another week on the Simon Says Stamp Monday Challenge Blog. Thank you for joining us for last week's challenge and we hope you can join us this week too because


and the theme for this week is...
FRAME IT 
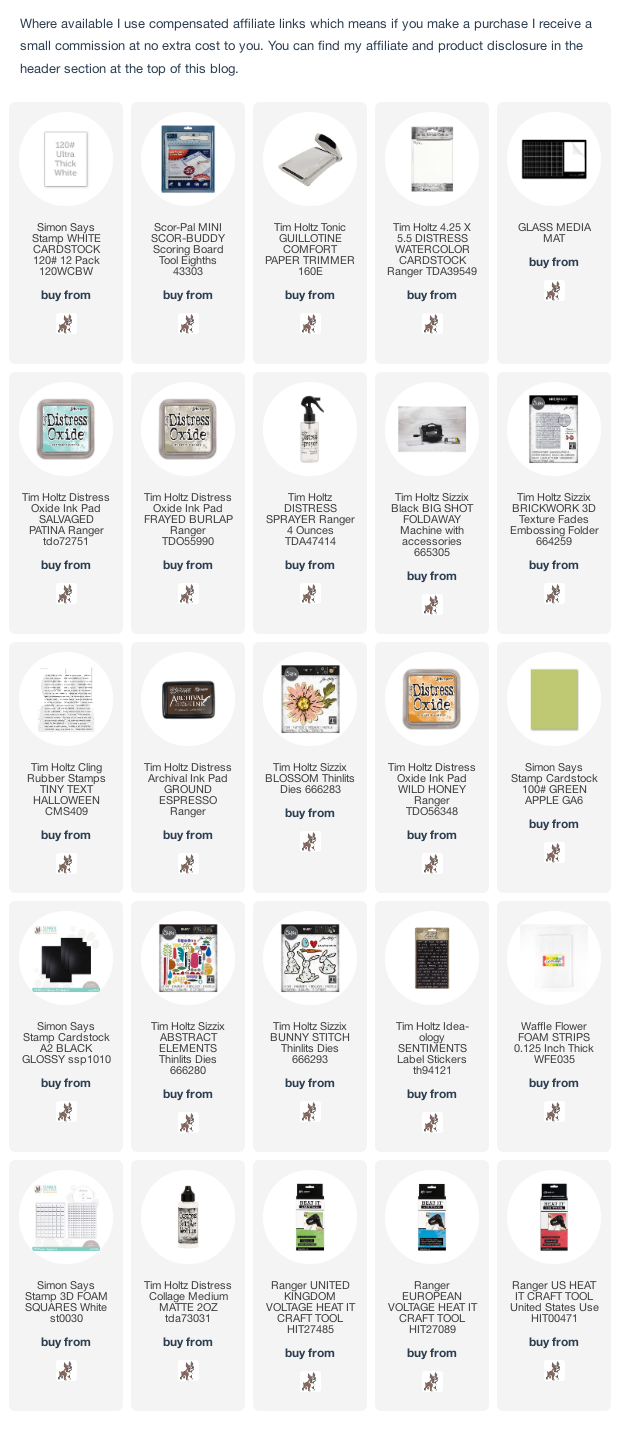
I created a funky floral card using Tim Holtz/Stampers Anonymous Tiny Text, cut into strips to make a frame around the Brickwork 3D Texture Fade background, decorated with Tim Holtz/Sizzix Abstract Elements, Blossom and Bunny Stitch Thinlits and added Idea-ology Sentiments Label Stickers.

I coloured an A2 panel of Distress Watercolor card using Salvaged Patina and Frayed Burlap Distress Oxide inks, smooshed Frayed Burlap Distress Oxide ink over the raised side of the Tim Holtz/Sizzix Brickwork 3D Texture Fade and ran through my die-cutting machine. I left Tim Holtz/Stampers Anonymous Tiny Text in tact on it's cover sheet, inked with Ground Espresso Distress Archival ink, laid a panel of Distress Watercolor card on top to transfer the ink and cut into strips. I fixed strips of foam adhesive around the edge of the Texture Fade panel and added the strips to create a frame.
I added the negative die-cuts from Tim Holtz/Sizzix Blossom Thinlits, coloured Wild Honey Distress Oxide ink, left over from a previous make which I fixed in place with foam adhesive.
I die-cut Tim Holtz/Sizzix Abstract Elements from scraps of card and fixed in place with Distress Collage Medium and foam adhesive to create a dimensional funky floral scene.
I added stitches from Tim Holtz/Sizzix Bunny Stitch, die-cut from black cardstock to fill in the blank areas.
To finish I added Idea-ology Sentiments Label Stickers and matted the panel on to a white card blank.


You can find all the products I used over at Simon Says Stamp, just click on the links below


Why don't you pop over to the Monday Challenge Blog and check out the amazing creations from my very talented Design Team mates and as always you have until Monday 8am Ohio time...1pm UK time...2pm CET to join in with the chance to win a $25 voucher to spend online at Simon Says Stamp


You can also follow Simon Says Stamp on Instagram
and if you use Instagram...
please add #sssmchallenge to your entry uploads so we can see them on there too

I look forward to seeing what you create this week...
Have Fun and Happy Crafting
Hugs Kath xxx 

Friday, February 10, 2023

Simon Says - Printmaking Postage

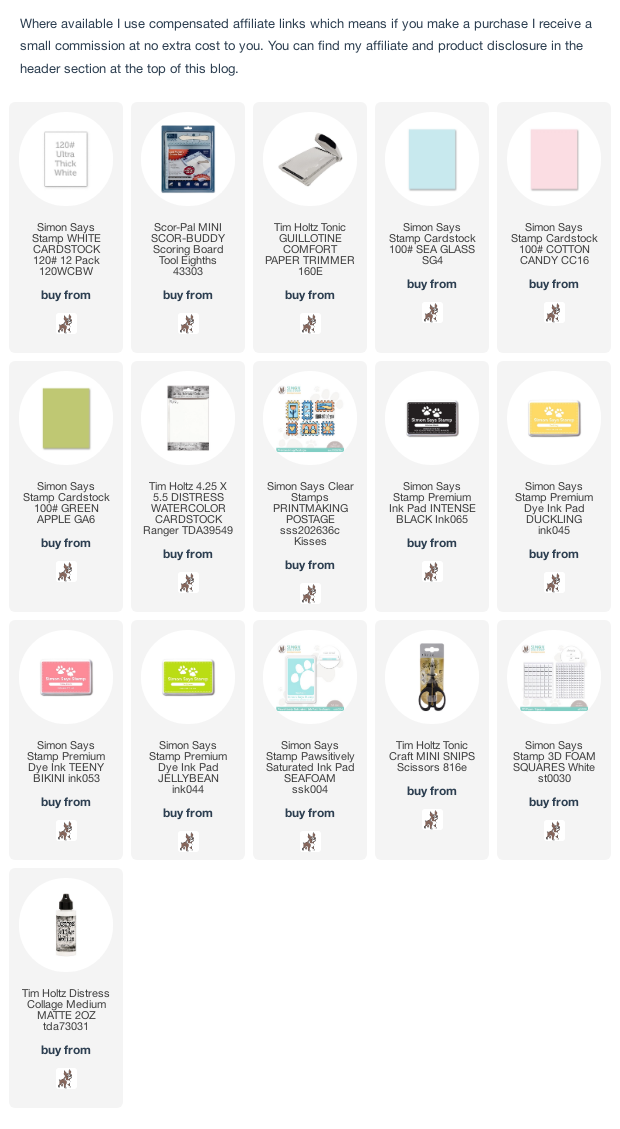
Happy Friday my friends, I'm sharing some cute little notecards I made with Simon Says Printmaking Postage stamp set from the Kisses release and Tim Holtz/Sizzix Stacked Postage Thinlits. You can check out all the other fabulous products from the Kisses release HERE.

I had lots of fun playing with the Printmaking Postage stamp set which consists of one main image and 4 layering images which can be inked in different colours to create small postage stamp images.


I stamped the main image from Printmaking Postage, inked with Simon Says Intense Black ink on to scraps of Distress Watercolor card.
I lined up the first layering stamp on top of the main image, inked with Simon Says Duckling ink and stamped.  I moved the layering stamp to the other two main images and stamped. I repeated this process with the other 3 layering stamps, inked with Simon Says JellyBean, Teeny Bikini and Seafoam Pawsitively Saturated Inks.
There are dies available for the Printmaking Postage stamp set but I don't have them, so I fussy cut using my trusty Tim Holtz Mini Snips.
I die-cut the mats for the notecards using Tim Holtz/Sizzix Stacked Postage Thinlits, the smaller mats from Distress Watercolor card and the larger from Simon Says Green Apple/Cotton Candy and Sea Glass cardstock.
I stamped the sentiments from Printmaking Postage on to the panels inked with Simon Says Intense Black ink and fixed the postage images in place, popped up on Simon Says Foam Squares to create dimension.
To finish I fixed the panels to 3" x 4.1/4" white card blanks.


The weather in my little corner of the planet has turned decidedly spring-like, so I'm looking forward to getting outside for some fresh air and having a little potter in the garden. Enjoy your weekend and have fun whatever you have planned.
Hugs Kath xxx

Thursday, February 9, 2023

Simon Says - Painted Heart Wreath

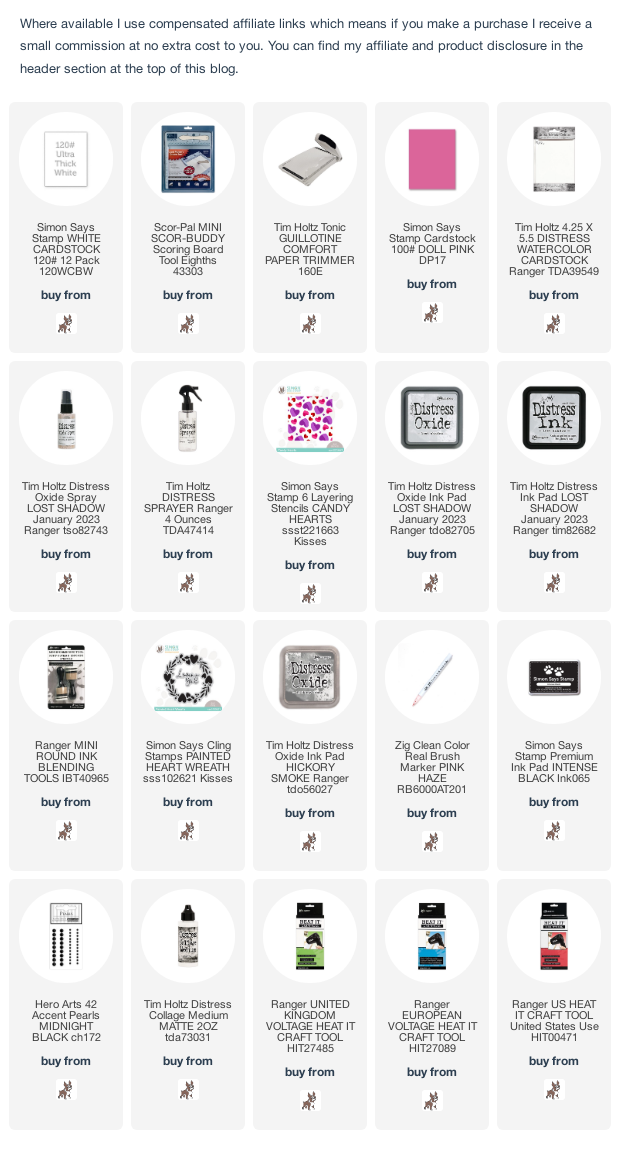
Hi my friends, I finally managed to have a play with some of the new products from Simon Says Kisses release and am sharing a card made using the Painted Heart Wreath Cling Stamp and the set of 6 - Candy Hearts Layering Stencils. You can check out all the products from the release at Simon Says Stamp HERE

The Painted Wreath stamp is a 6" x 6" Cling which comes in 3 sections and can be used together or separately.

I created a soft neutral background by spraying an A2 panel of Distress Watercolor card with Lost Shadow Distress Oxide Spray, spritzed lightly with water and dried. I applied Lost Shadow Distress Oxide ink and Distress Ink through 2 of the Candy Hearts Layering Stencils using mini round blending tools to create tone-on-tone interest on the background. I stamped the outer circle of the Painted Heart Wreath Cling offset on the panel, inked with Hickory Smoke Distress Oxide ink. I cleaned the stamp, inked the hearts and dots only using a 025 Pink Zig Clean Color Real Brush Marker, spritzed with water and stamped over the original image to create a watercolour effect. 
I replaced the middle two sections of the stamp to align the sentiment in the right place, removed the outer two sections and stamped the sentiment inked with Simon Says Intense Black ink. I selected an Idea-ology Heart Charm (discontinued) from my stash
assembled and fixed to the background with thread and decorated with a bow.
I trimmed the panel to 4" x 5.1/4", matted on to a panel of Simon Says Doll Pink cardstock trimmed to be 1/8" larger and fixed to an A2 white card blank. To finish I decorated the hearts with black pearl embellishments.


I'll be back soon to share more makes using products from the Kisses release, in the meantime, have fun with whatever you're making.
Hugs Kath xxx