Monday, June 9, 2025

Simon Says - Monochrome

Hi Everyone...welcome to another week on the Simon Says Stamp Monday Challenge Blog. Thank you for joining us for last week's challenge and we hope you can join us this week too because


and the theme for this week is...
MONOCHROME
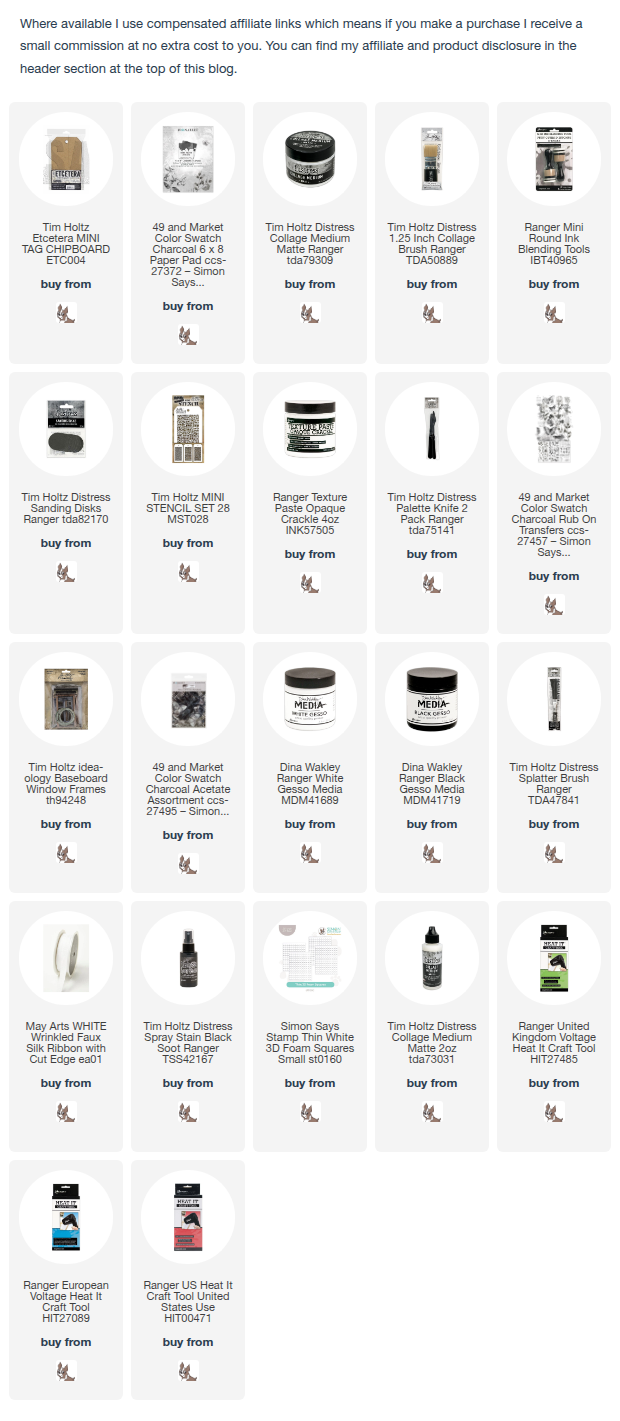
I decorated a Tim Holtz/Stampers Anonymous Mini Etcetera Tag using 49and Market Color Swatch Charcoal 6" x 8" patterned papers, Rub-on Transfers, Charcoal Acetate Assortment, Tim Holtz/Idea-ology Baseboard Window Frame, Tim Holtz/Stampers Anonymous Mosaic Mini Layering Stencil from Set 28 and Distress Texture Paste Opaque Crackle. 
I trimmed one of the Color Swatch Charcoal patterned papers to fit the Tim Holtz/Stampers Anonymous Mini Etcetera Tag and fixed in place using Distress Collage Medium and a Distress Collage Brush.
Once the paper was dry, I sanded the edges to remove excess paper using a Mini Round Blending Tool and Distress Sanding Disk. I applied Distress Texture Paste Opaque Crackle through Tim Holtz/Stampers Anonymous Mosaic Mini Layering Stencil from Set 28.
I sanded a Tim Holtz/Idea-ology Baseboard Window Frame to lighten the colour and fixed to the tag with Distress Collage Medium.
I added Charcoal Rub-on Transfers, the flower/leaves, butterfly and colour strip from the Charcoal Acetate Assortment pack and added splatters of white and black gesso.
I used a Mini Round Blending Tool and black gesso to colour the edges of the tag and the reinforcer.
I dry brushed the reinforcer with white gesso to lighten and fixed in place with Distress Collage Medium.
I sprayed Distress Black Soot Spray Stain on to my glass media mat, dipped white ribbon into the stain repeatedly, sprayed with water until I was happy with the colour and dried.
I fixed the ribbon in place to create a hanger and added a bow.


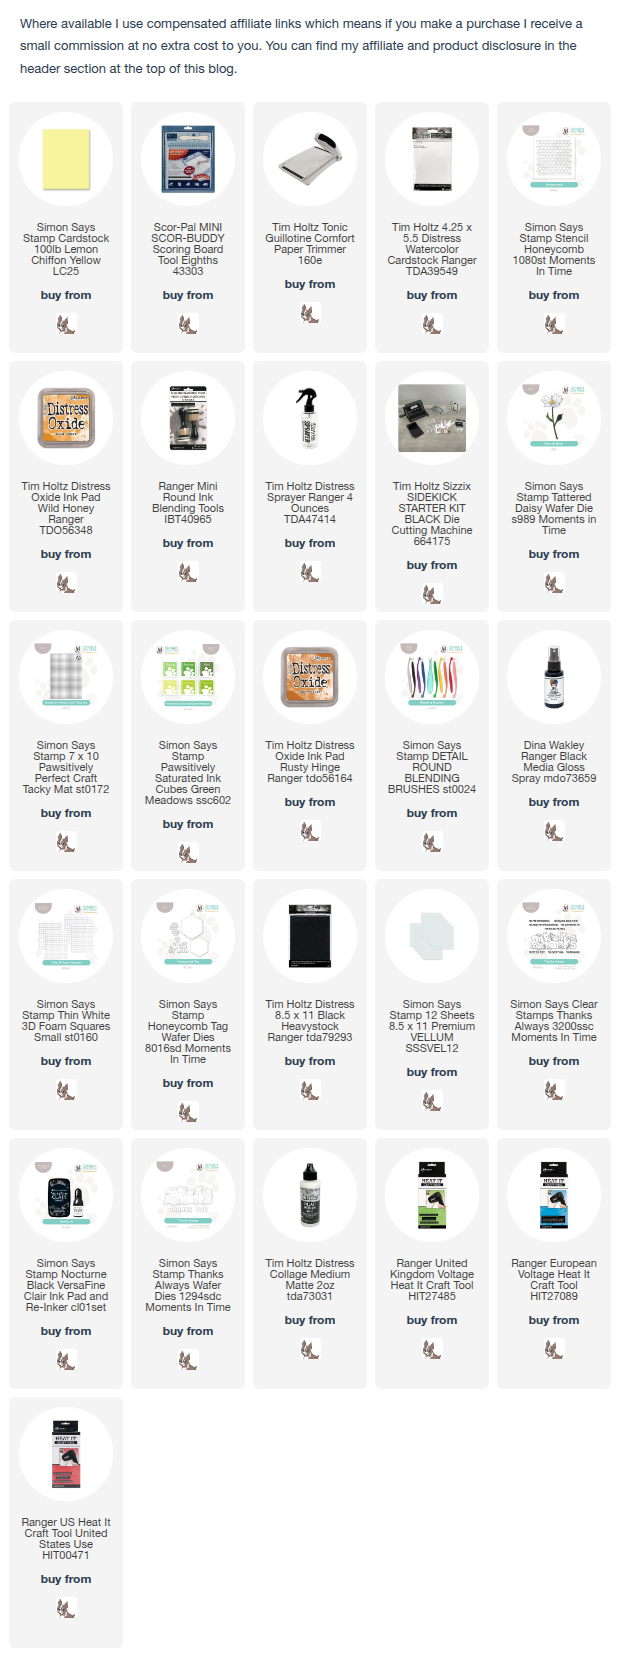
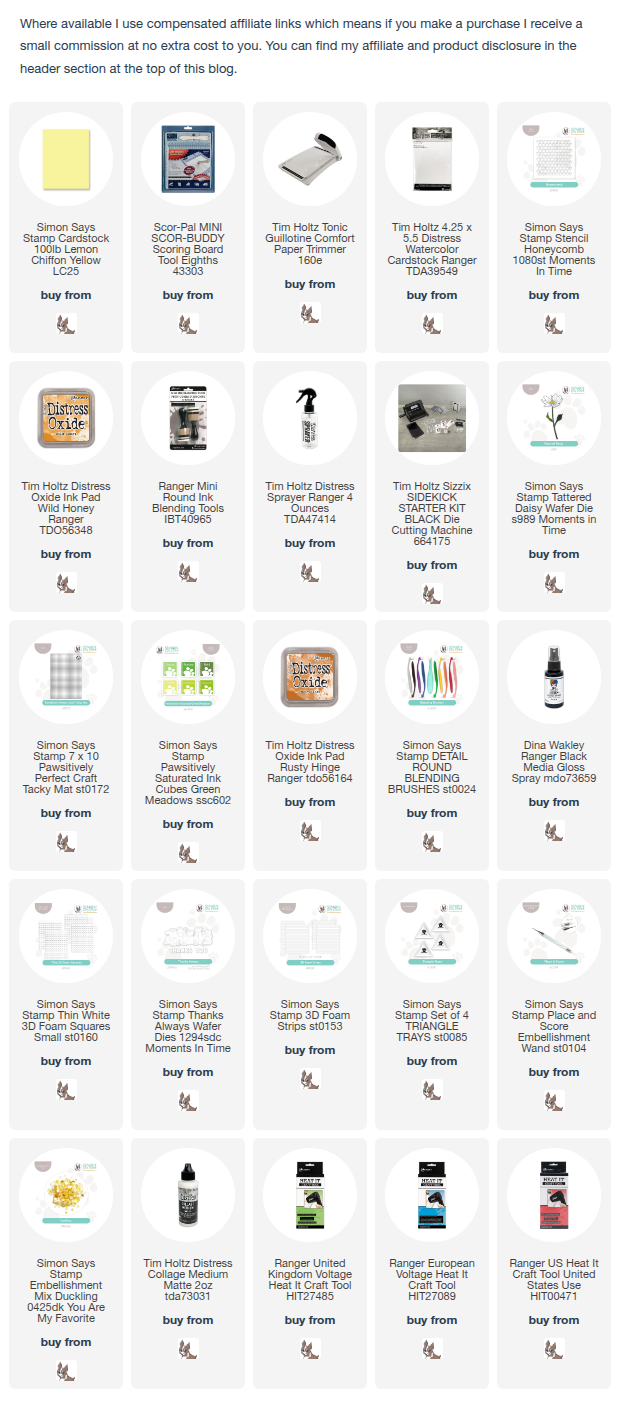
You can find all the products I used over at Simon Says Stamp, just click on the links below


Why don't you pop over to the Monday Challenge Blog and check out the amazing creations from my very talented Design Team mates and as always you have until Monday 8am Ohio time...1pm UK time...2pm CET to join in with the chance to win a $25 voucher to spend online at Simon Says Stamp


You can also follow Simon Says Stamp on Instagram
and if you use Instagram...
please add #sssmchallenge to your entry uploads so we can see them on there too

I look forward to seeing what you create this week...
Have Fun and Happy Crafting
Hugs Kath xxx
Friday, June 6, 2025

Simon Says - Tattered Daisy Take 2

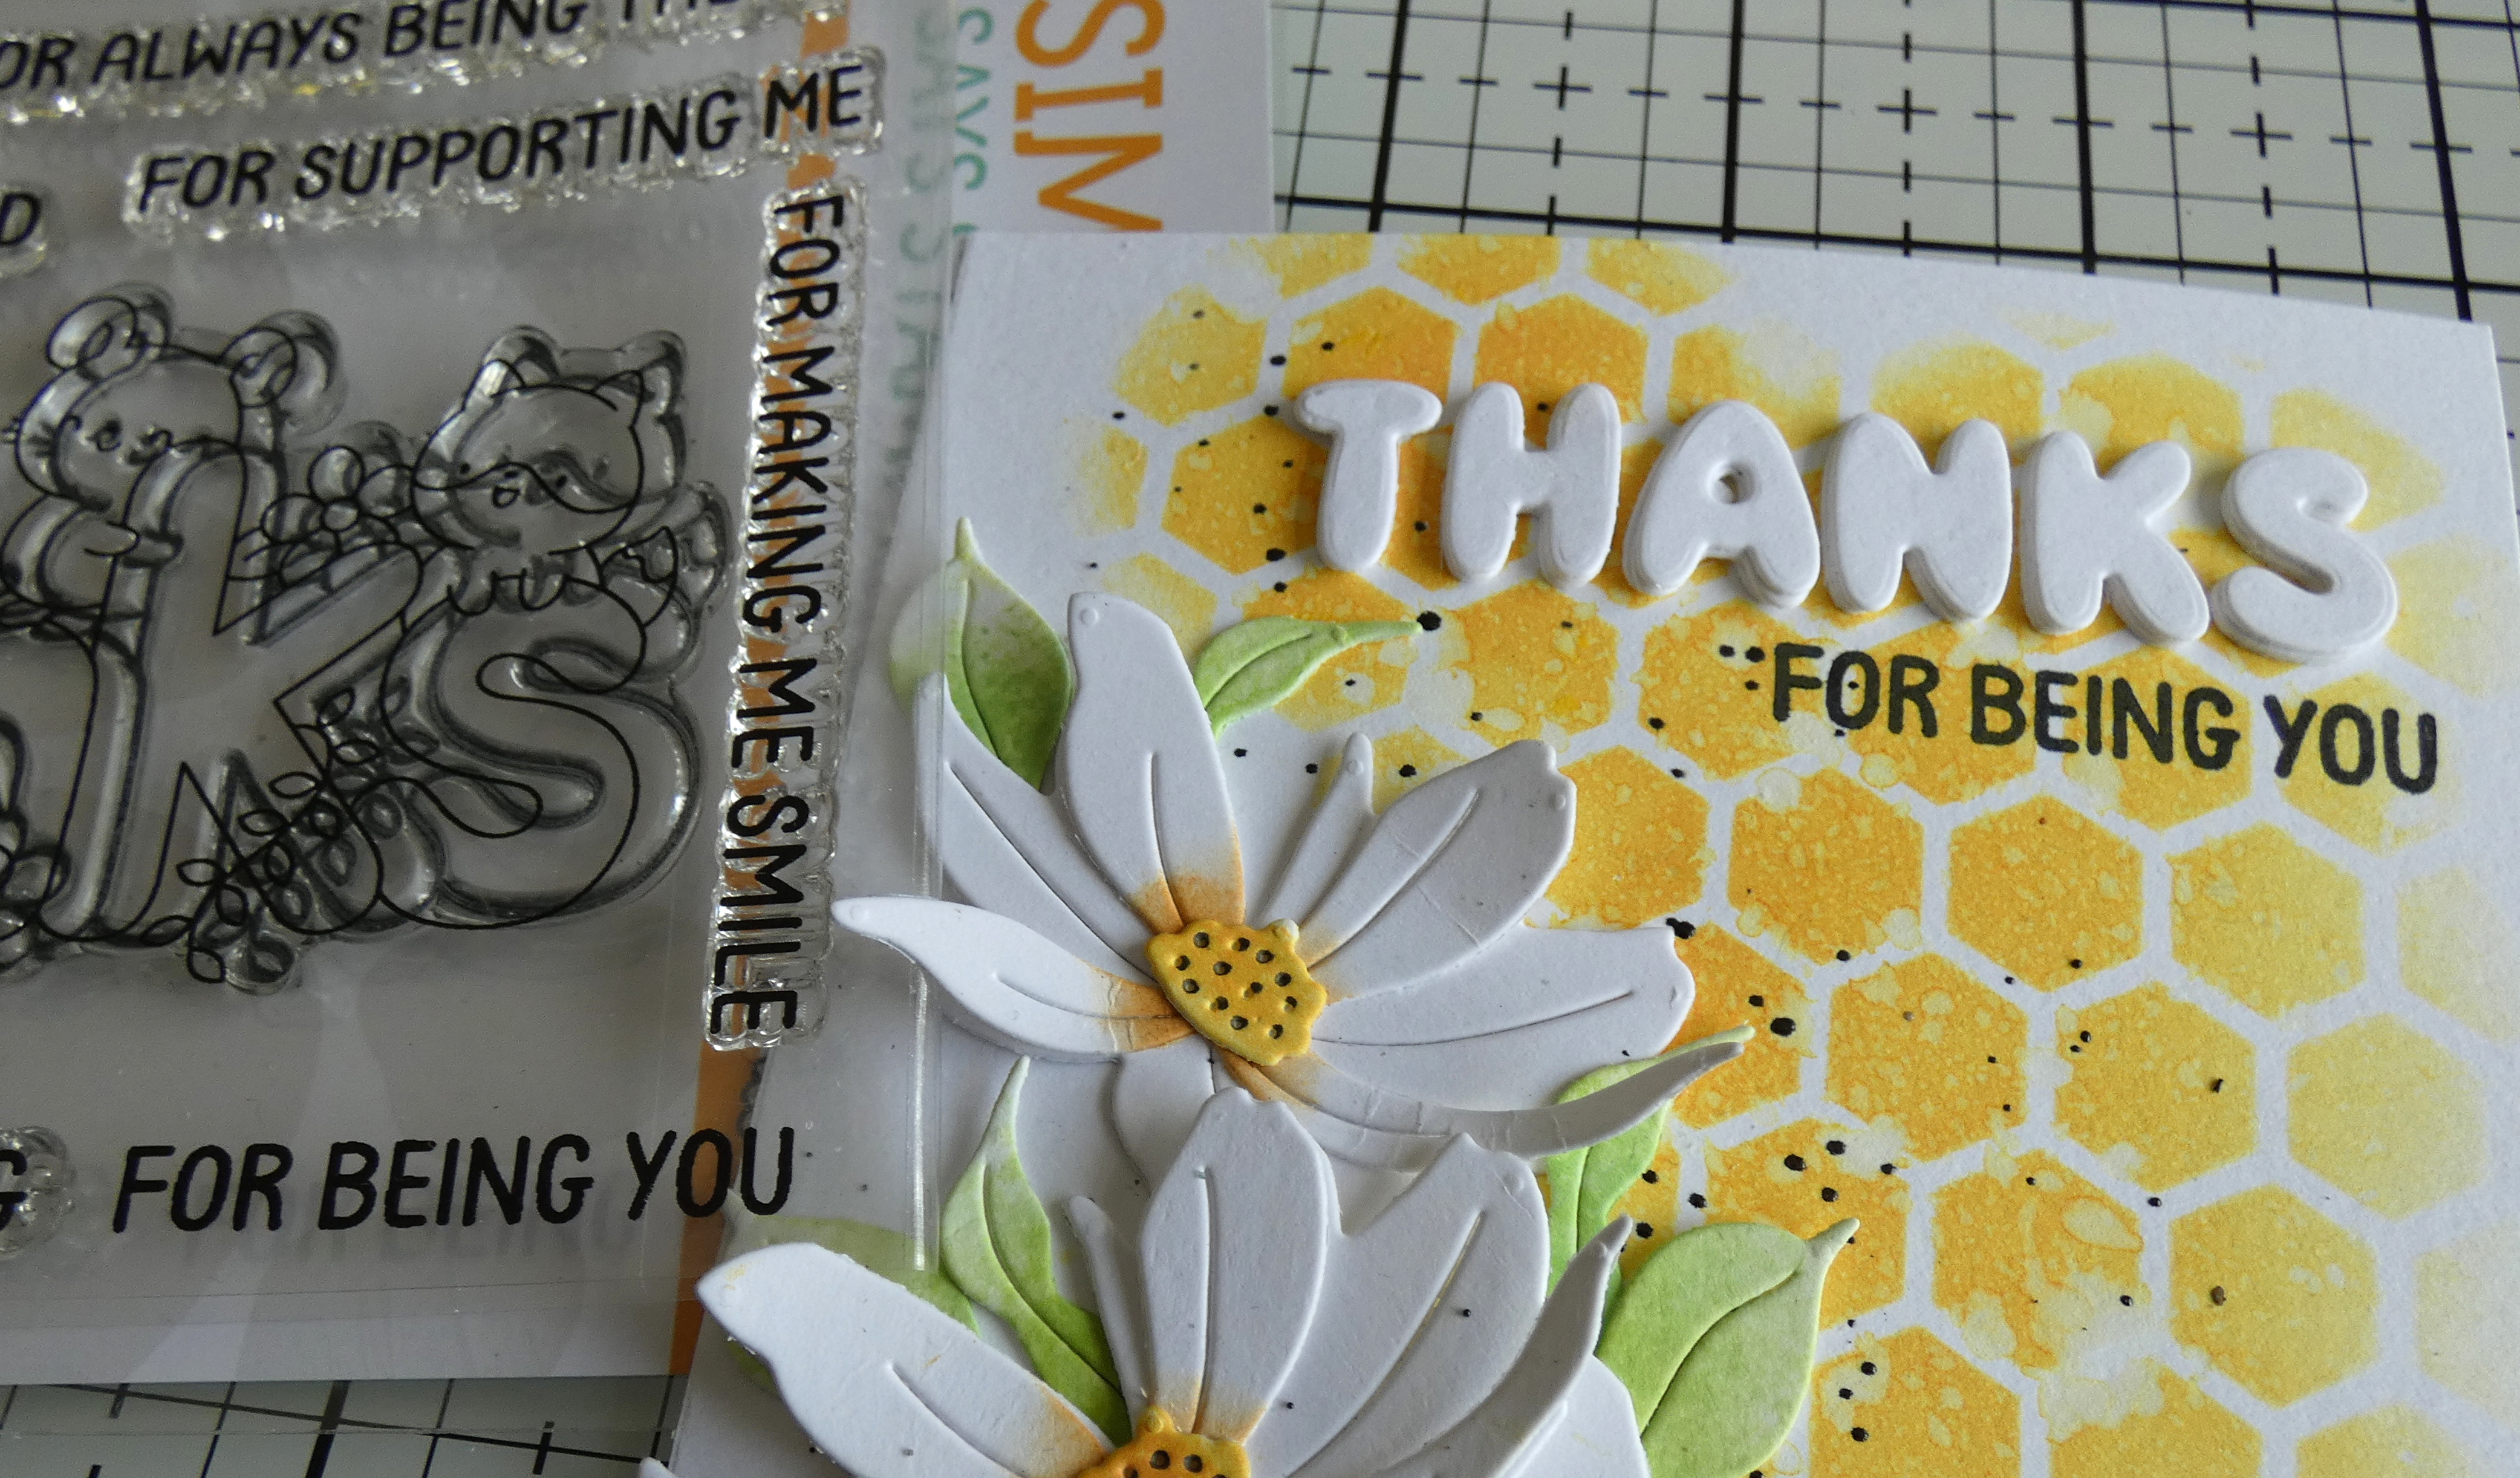
Hello my friends, I'm back to share the second card I made using Tattered Daisy and Honeycomb Tag dies, Honeycomb Stencil and Thanks Always stamp set and dies, some of my favourite products from Simon Says Stamp Moments In Time release. You can check out all the fabulous products in the release HERE.

I trimmed Distress Watercolor card to create 2 - 4" x 5.1/4" panels, applied Wild Honey Distress Oxide ink through Simon Says Honeycomb Stencil using a Mini Round Blending Tool, spritzed with water and dried. I die-cut Simon Says Tattered Daisy from Distress Waterolor card, placed on a sticky mat and coloured with Simon Says Sprout, Pearfection and Field Mini Pawsitively Saturated Ink Cubes using Simon Says Detail Round Blending Brushes. I placed the Tattered Daisy flower heads and centres on the sticky mat and coloured with Rusty Hinge and Wild Honey Distress Oxide inks using the round detail blending brushes.

I assembled the daisies, curled the top petals and fixed to the panel using Simon Says Thin Foam Squares to add dimension.
I trimmed the leaves from the stems and fixed in place tucked behind the flowers using Distress Collage Medium.
I added splatters of Dina Wakley Black Gloss Spray and dried. I die-cut "Thanks" from Distress Watercolor card 3 times and used the negative space die-cut to fix the die-cut letters in place using Distress Collage Medium.
I removed the negative die-cut strip, fixed the next 2 layers in place and stamped the secondary sentiment from Simon Says Thanks Always 4" x 6" stamp set inked with Versafine Clair Nocturne ink.
I die-cut the bee from Distress Black HeavyStock, Distress Watercolor card, Distress Watercolor card coloured with Wild Honey Distress Oxide ink, fixed in place and paper pieced the yellow and white body piecessections. I die-cut again twice from Vellum to create the wings, fixing the second layer of vellum with a dot of adhesive at the point of the wings and curled the wings to create dimension.
To finish I fixed the panel to a Simon Says Stamp Lemon Chiffon A2 card blank.

High winds and heavy rain are forecast for the weekend in my neck of the woods putting a damper on any thoughts of gardening so I guess I'll be retreating to the cubbyhole for some crafting fun. Enjoy your weekend whatever you have planned and I'll see you all on Monday to share my Simon Says Monday Challenge DT project.
Hugs Kath xxx

Thursday, June 5, 2025

Simon Says - Tattered Daisy - Take 1

Hello my friends, I'm back to share the first of 2 cards made with some of my favourite products from Simon Says Stamp - Memories In Time release. I used Tattered Daisy and Honeycomb Tag dies, Honeycomb Stencil and Thanks Always stamp set and dies. You can check out all the fabulous products in this release HERE.

I trimmed Distress Watercolor card to create 2 - 4" x 5.1/4" panels, applied Wild Honey Distress Oxide ink through Simon Says Honeycomb Stencil using a Mini Round Blending Tool, spritzed with water and dried.
I die-cut Simon Says Tattered Daisy from Distress Waterolor card, placed on a sticky mat and coloured with Simon Says Sprout, Pearfection and Field Mini Pawsitively Saturated Ink Cubes using Simon Says Detail Round Blending Brushes.
I placed the Tattered Daisy flower heads and centres on the sticky mat and coloured with Rusty Hinge and Wild Honey Distress Oxide inks using the round detail blending brushes.
I kept the first card pretty simple
I fixed the daisy stem to the panel using Distress Collage Medium, assembled the flower head and centre, curled up the petals and fixed in place with Simon Says Thin Foam Squares to create dimension.
I added splatters of Dina Wakley Black Gloss Spray to the panel and dried. I die-cut "Thanks" from Distress Watercolor card using Simon Says Thanks Always die, trimmed to create a banner and fixed Simon Says Foam Strips behind.
I fixed the banner to the panel and replaced the die-cut letters back into the negative space. I die-cut again from Distress Watercolor card, coloured with Wild Honey Distress Oxide ink and fixed in place with Distress Collage Medium.
I added Simon Says Duckling Embellishment Mix
To finish I fixed the panel to a Simon Says Lemon Chiffon A2 card blank.

I'll be back tomorrow to share the second card using up the rest of the die-cuts. In the meantime, have fun with whatever you are making.
Hugs Kath xxx

Monday, June 2, 2025

Simon Says - Masculine

Hi Everyone...welcome to another week on the Simon Says Stamp Monday Challenge Blog. Thank you for joining us for last week's challenge and we hope you can join us this week too because


The first challenge of the month is when the team feature one particular brand/company and this week we are all using the fabulous products from Tim Holtz. You don't have to use Tim's products to join in the challenge but if you have them in your stash, we would love to see what you make with them.
We are also welcoming the lovely and talented Wanda Hentges as our Designer In The Spotlight. If you haven't visited her Instagram page yet, do pop over, you will be in for a real treat.
The theme for this week is...
MASCULINE
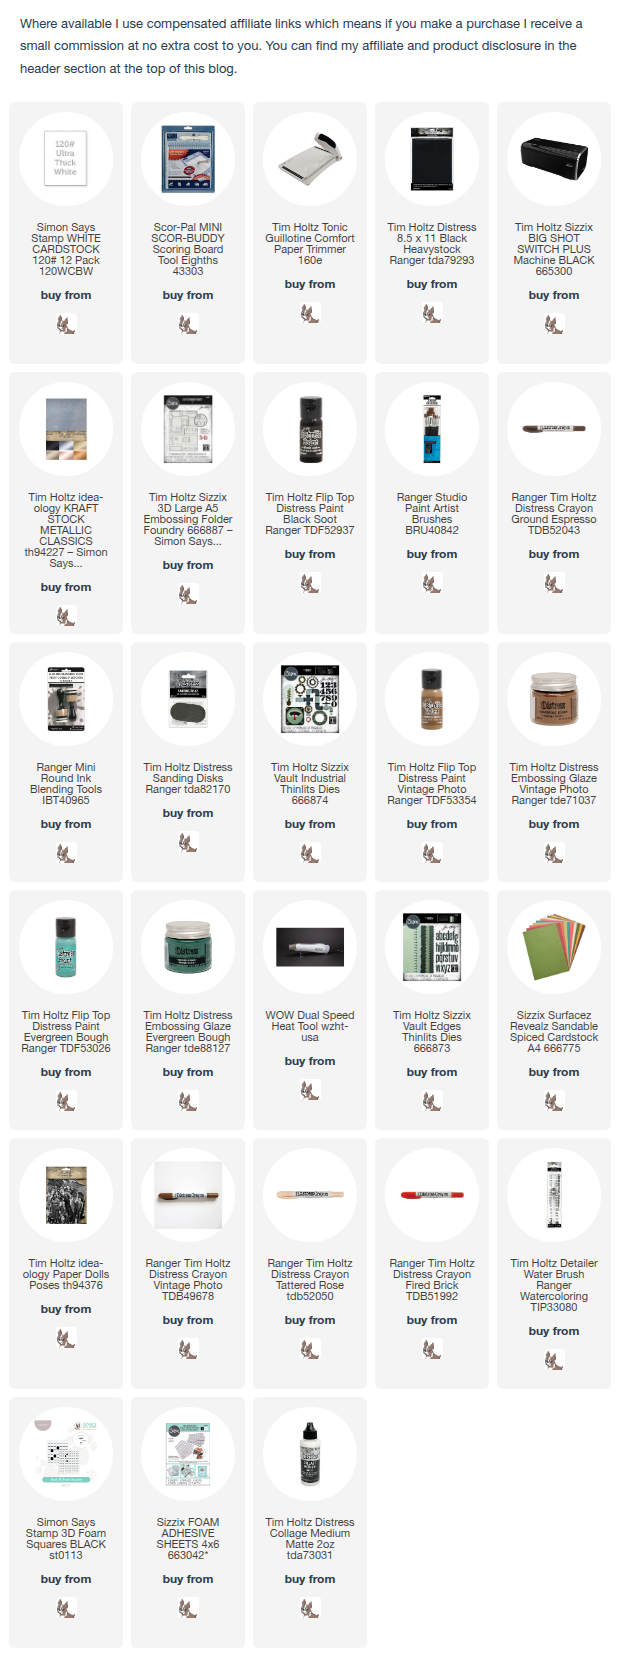
I created a Father's Day card with an industrial theme using Tim Holtz/Sizzix Foundry 3D Texture Fade, Vault Industrial Thinlits, the alphabet from Vault Edges and Tim Holtz/Idea-ology Paper Dolls Poses.
I embossed a panel of Tim Holtz/Idea-ology Silver Metallic Kraftstock using the Tim Holtz/Sizzix Industrial 3D Texture Fade, painted with Black Soot Distress Paint and wiped the paint back with kitchen towel.
I scribbled randomly on the panel with a Ground Espresso Distress Crayon and smudged the colour into the detail with my finger. I trimmed the panel and fixed to an A2 white card blank covered with Distress Black HeavyStock.
I applied large number from Tim Holtz/Idea-ology Eccentric Remnant Rubs and sanded to make them melt into the background and be less noticeable.
I die-cut the components from the Silver Metallic KraftStock using the Tim Holtz/Sizzix Vault Industrial Thinlits and laid the pipework out in a pattern to fit the card. I tapped Evergreen Bough and Vintage Photo Distress Paints on to the die-cuts and once the paint was dry, created shadows and edged using a Ground Espresso Distress Crayon.
I fixed the pipework in place with 3D foam squares using the Idea-ology Paper Doll as a guide for placement. I die-cut the inner circle for the frame and the gears from Sizzix Red Surfacez Revealz Sandable Spiced cardstock, sanded and fixed in place with Distress Collage Medium. I used a Distress Embossing Pen randomly over the circle and pipework, sprinkled lightly with Evergreen Bough and Vintage Photo Distress Embossing Glazes and heat set. I die-cut the joins on the pipework, the tap handle, the water drips, the rivets on the circle and the No 1 from the Silver Metallic Kraftstock and fixed in place with Distress Collage Medium.
I die-cut "dad" from the red Sizzix Surfacez Revealz Spiced Cardstock using the alphabet from Tim Holtz/Sizzix Vault Edges Thinlits and fixed the "a" to the pipe using Distress Collage Medium. I die-cut the 2 "d's" from Sizzix Black Adhesive Foam to create dimension and make them the same height as the "a" and added the red letters on top.
To finish, I used Vintage Photo, Ground Espresso, Tattered Rose and Fired Brick Distress Crayons with a Distress Detailer Water Brush to colour the Paper Doll from Tim Holtz/Idea-ology Paper Doll Poses.


You can find all the products I used over at Simon Says Stamp, just click on the links below


Why don't you pop over to the Monday Challenge Blog and check out the amazing creations from my very talented Design Team mates and as always you have until Monday 8am Ohio time...1pm UK time...2pm CET to join in with the chance to win a $25 voucher to spend online at Simon Says Stamp


You can also follow Simon Says Stamp on Instagram
and if you use Instagram...
please add #sssmchallenge to your entry uploads so we can see them on there too

I look forward to seeing what you create this week...
Have Fun and Happy Crafting
Hugs Kath xxx

Friday, May 30, 2025

Simon Says - Hello Friend

Hello my friends, I'm back to share another card using the Floral Bunches Embossing Folder and Swiss Dots 6" x 8" stamp set from Simon Says Stamp Moments In Time release. You can check out all the fabulous products included in the release HERE.

I created a card using the blackout technique with the Floral Bunches Embossing Floral and used the Swiss Dots 6" x 8" stamp set to add the sentiment and faux texture on the background.
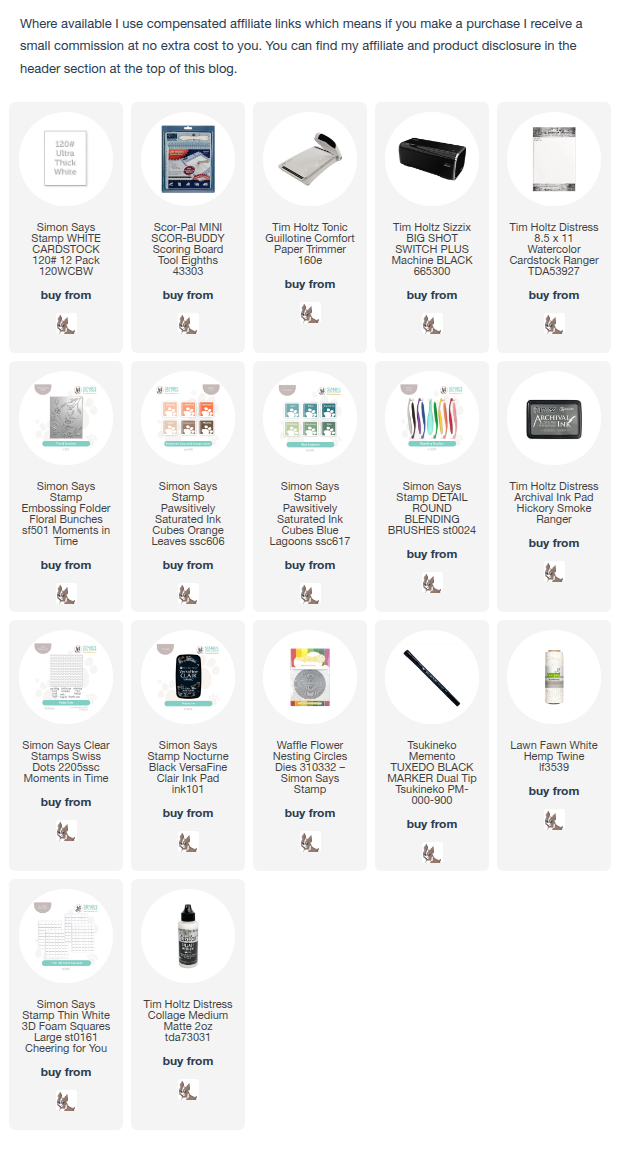
I trimmed Distress Watercolor card to 4" x 5.1/4" and embossed using the Floral Bunches Embossing Folder so that the debossing was on the smooth side of the card. I coloured the flowers and leaves using Simon Says Stamp Peachy, Mandarin, Cabbage and Artichoke Pawsitively Saturated Mini Ink Cubes and Detail Round Blending Brushes and no need to worry about straying outside the lines.
I dragged a Hickory Smoke Distress Archival Ink pad over the panel and repeated with Versafine Clair Nocturne Ink Pad to add some shaded areas.
I inked the Swiss Dots stamp set with Versafine Clair Nocturne Ink and holding the stamp in my hands, pressed on to the panel.
I die-cut a circle from Distress Watercolor card using Tim Holtz/Sizzix Stacked Tiles Circles, coloured with Peachy Pawsitively Saturated Ink and stamped with the sentiment from the Swiss Dots 6" x 8" stamp set inked with Versafine Clair Nocturne Ink. I added dots around the edge of the circle using a Memento Black Dual Marker, fixed to the panel with Simon Says Thin Foam Squares and added a double white twine bow. To finish I fixed the panel to an A2 top folding white card blank.


Have fun with whatever you are creating.
Hugs Kath xxx