Thursday, October 22, 2020

Dear Santa, It's A Long Story

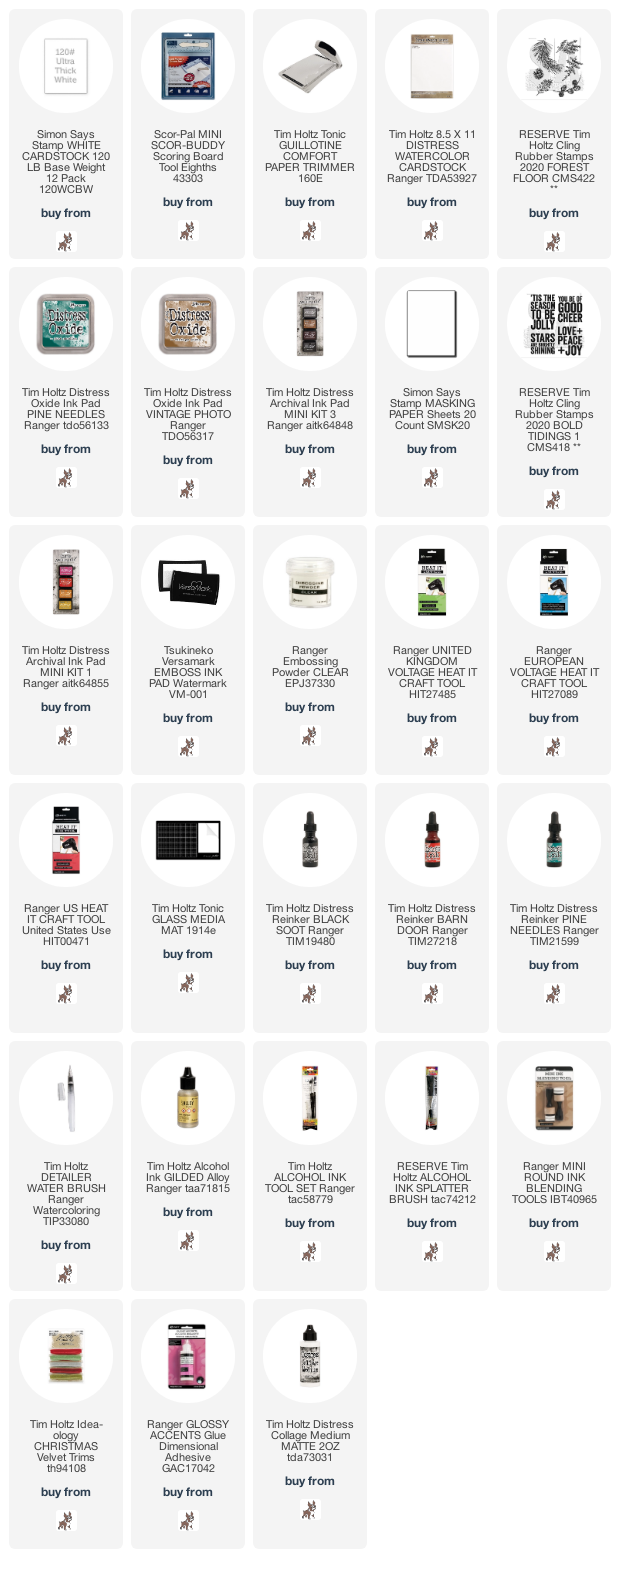
Hi my friends, I'm back to share a slimline card using one of the adorable Snarky Cats from Tim Holtz STAMPtember 2020 and Bold Tidings 1 and Forest Floor from the Tim Holtz/Stampers Anonymous Christmas release.


I began by trimming Distress Watercolor card to 3.1/2" x 8.5" and stamped the pine branch and cones from Tim Holtz/Stampers Anonymous Forest Floor with Pine Needles and Vintage Photo Distress Oxide inks. I stamped the snarky cat with Black Soot Distress Archival and again on to masking paper. I trimmed the mask, fixed in place and stamped the Bold Tidings sentiment inked with Barn Door Distress Archival. I stamped the sentiment 3 times to get good coverage over the pine branches, stamped once more with Versamark because Distress Archival ink can dry pretty quick, sprinkled with Ranger Clear Embossing Powder and heat set. I coloured the cat with Black Soot Distress Re-inker and the light bulbs with Barn Door and Pine Needles Distress Re-inkers using a Distress Detailer Brush. I didn't want to introduce another colour so I used Gilded Alloy Alcohol ink with a brush from the Alcohol Ink Tool Kit to colour the the remaining bulbs and cleaned the brush with Isopropyl when I was finished.
I added splatters of Pine Needles Re-inker and Gilded Alloy Alcohol Ink to the background, inked the sentiment from STAMPtember Snarky Cats with Black Soot Distress Archival, stamped on to a thin strip of Distress Watercolor card, inked the edges with Pine Needles Distress Oxide ink using a mini round blending tool and fixed in place with Distress Collage Medium Matte. I accented the bulbs with Ranger Glossy Accents and set aside to dry.
I added an Idea-ology Velvet Trims ribbon and matted the panel on to a 3.5" x 8.5" White Slimline Card Blank.


I'll be back tomorrow to share a spooky project and this snarky cat wasn't the only one getting tangled up with a string of lights this week - all will be revealed in tomorrow's "warts 'n all" blog post. Have fun with whatever you're creating.
Hugs Kath xxx


Where available I use compensated affiliate links which means if you make a purchase I receive a small commission at no extra cost to you. You can find my affiliate and product disclosure HERE


Wednesday, October 21, 2020

Tim Holtz/Stampers Anonymous - Bold Tidings 2

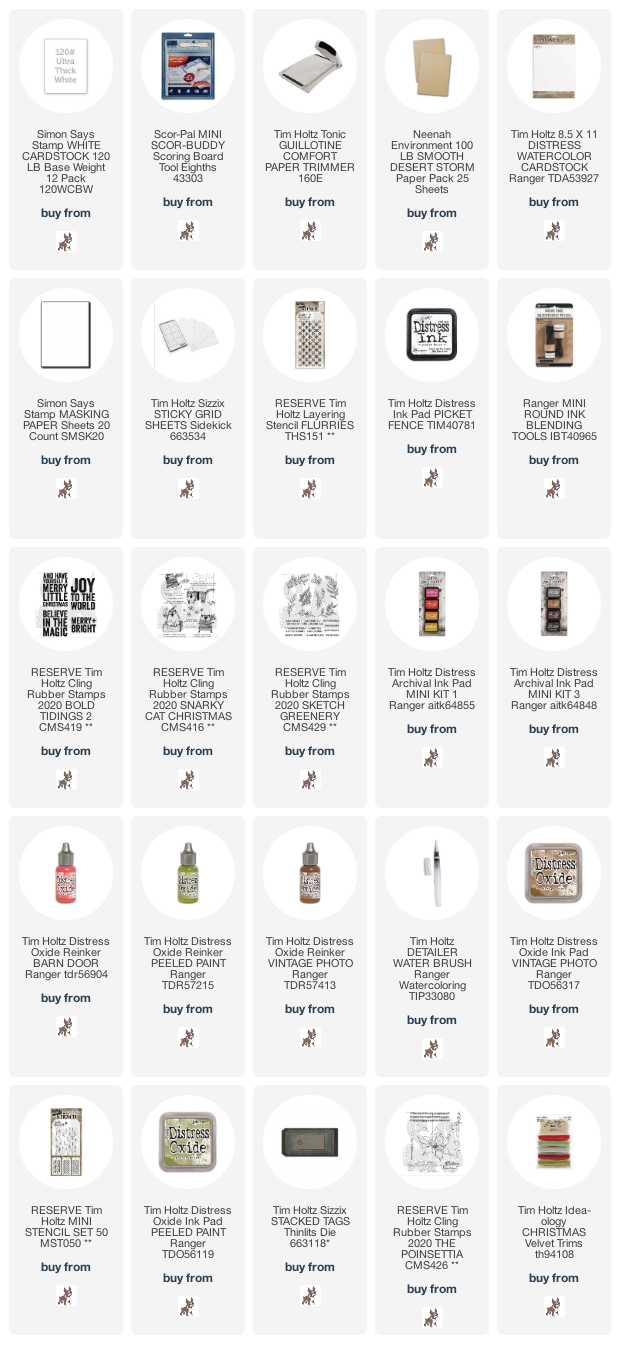
Hi my friends, I'm sharing another two cards I made for the Facebook Live Launch of Tim Holtz/Stampers Anonymous Christmas 2020 release, using the Bold Tidings 2 stamp set, the bird from Snarky Cats Christmas and the holly image from Sketched Greenery along with the Flurries Layering Stencil and Tree Lot Mini Layering Stencil from Set 50. If you missed the Facebook Live, you can catch up with all the amazing new stamps and stencils and 150 inspirational makes over on Tim's blog HERE.

Let's start with the Joy To The World card
I trimmed Kraft card to 3.3/4" x 5.3/4" and fixed in my Stamp Platform using a sheet of Tim Holtz/Sizzix Sticky Grid, I pounced Picket Fence Distress Ink through the Tim Holtz/Stampers Anonymous Flurries Layering Stencil using a mini round blending tool and dried with my heat tool.
I stamped the bird image from Tim Holtz/Stampers Anonymous Snarky Cats Christmas with Black Soot Distress Archival on to the panel, created a mask for the bird and stamped the sentiment from Tim Holtz/Stampers Anonymous Bold Tidings 2 inked with Barn Door Distress Archival. I love how the snowflakes show faintly through the stamped sentiment.
I created a mask for the sentiment and stamped the holly image from Tim Holtz/Stampers Anonymous Sketched Greenery inked with Black Soot Distress Archival.
I coloured the bird and greenery with Barn Door, Peeled Paint and Vintage Photo Distress Oxide Re-inkers using a Distress Detailer Brush.
I sprinkled Stampendous Frantage Chunky White Embossing Enamel over the panel, heat set from underneath, added a little Vintage Photo Distress Oxide inking around the edge using a mini round blending tool and fixed the panel to a 4" x 6" white card blank.

I trimmed Distress Watercolor card to 3.3/4" x 5.3/4" and again fixed in my Stamp Platform with a sheet of Sticky Grid. I stamped the sentiment from Bold Tidings 2, inked with Barn Door Distress Archival and the bird from Snarky Cats Christmas with Black Soot Distress Archival. I created a mask for the bird and the sentiment, trimming out the section between In and The.
With the masks in place, I applied Peeled Paint Distress Oxide ink through the Tree Lot Mini Layering Stencil using a mini round blending tool.
To finish I coloured the bird with Distress Oxide Re-inkers as before, matted the panel on to Red Idea-ology Classic KraftStock and fixed to a white 4" x 6" card blank.
And the last task before I sent the makes on their way across the pond, was to die-cut tags for the M&S treat bags using Tim Holtz/Sizzix Stacked Tags Thinlits, a little something to tickle the taste buds of my adorable Professor and the sweetest BTS Man, Master Shipper and King Of The Soundboard, decorated with Sketched Greenery, the music notes from The Poinsettia, odds and ends of Christmas Remnant Rubs and Idea-ology Velvet Trims.
Have fun with whatever you are making and I'll see you all soon
Hugs Kath xxx

Where available I use compensated affiliate links which means if you make a purchase I receive a small commission at no extra cost to you. You can find my affiliate and product disclosure HERE


Monday, October 19, 2020

Simon Says - Not A Card

Hi Everyone...welcome to another week on the Simon Says Stamp Monday Challenge Blog. Thank you for joining us for last week's challenge and we hope you can join us this week too because


and the theme for this week is...
NOT A CARD
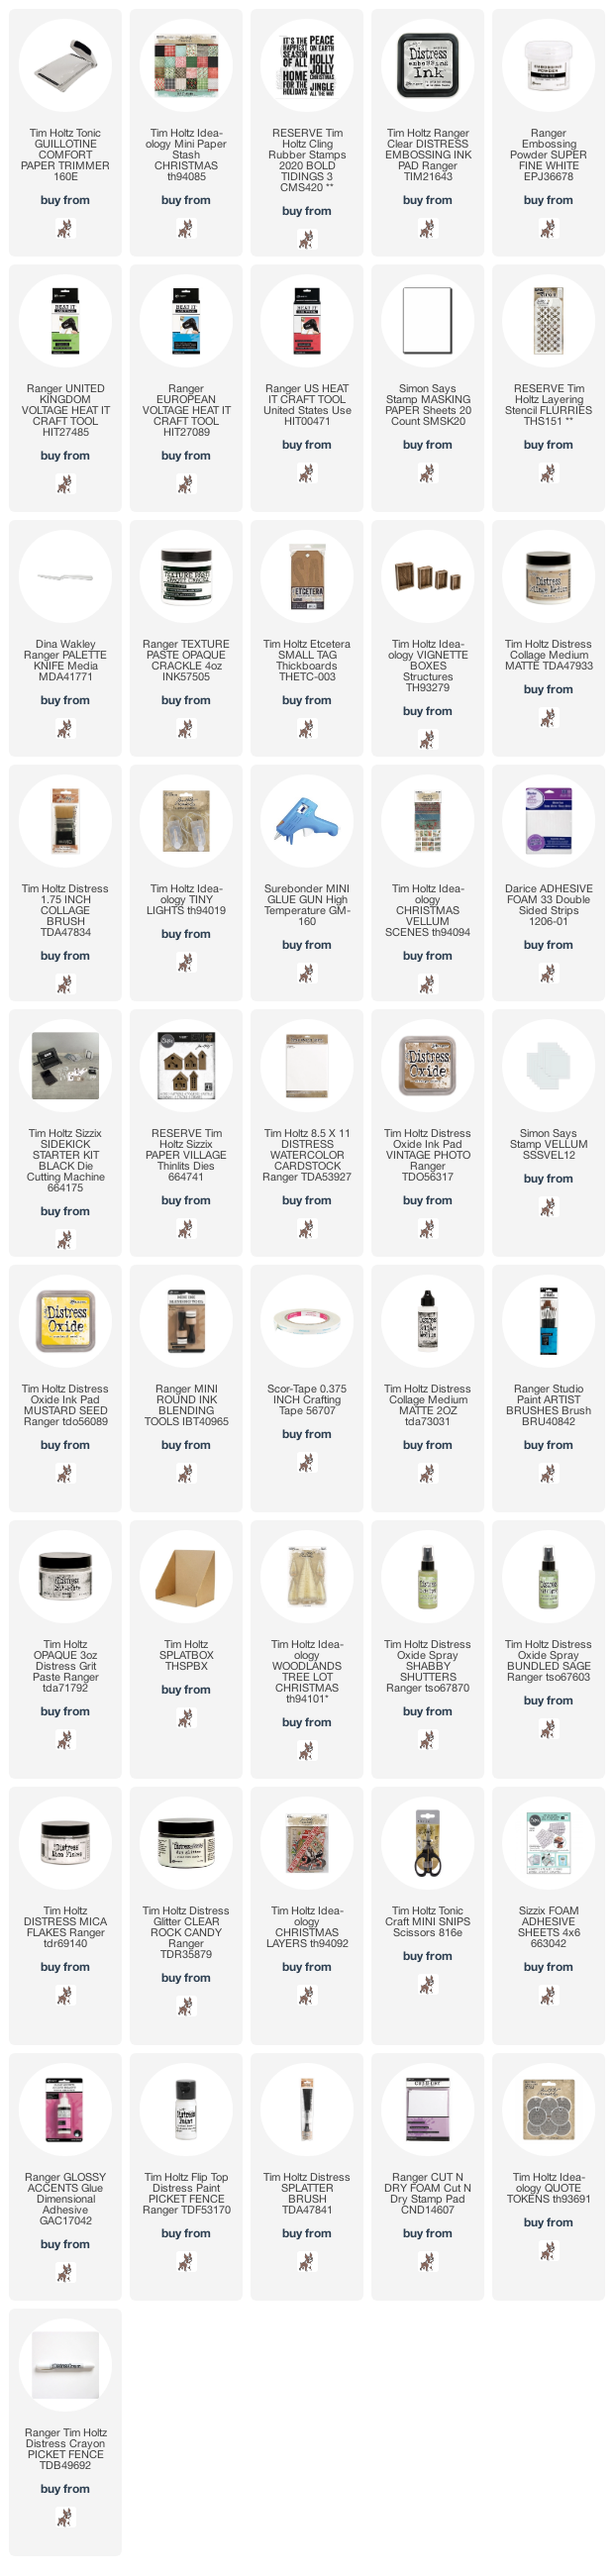
I created a Christmas Home Decor project using a Small Ecetera Tag and Vignette Box decorated with  Tim Holtz/Stampers Anonymous Bold Tidings 3 and Flurries Layering Stencil, Idea-ology Christmas Papers, Woodlands Tree Lot, Christmas Vellum Scenes and Tiny Lights and Tim Holtz/Sizzix Paper Village Thinlits.

I trimmed paper from the Christmas Paper Pad roughly the size of the Etcetera Tag, inked the sentiment from Tim Holtz/Stampers Anonymous Bold Tidings 3 with Distress Embossing ink, sprinkled with Ranger Superfine White Embossing ink and heat set. I created a mask for the sentiment and applied Distress Crackle Texture Paste through the Flurries Layering Stencil. I fixed the paper to the tag using Distress Collage Medium Matte and because the 8" x 8" sheet isn't long enough to cover the tag, I added a left over section, managing to line up the plaid. There seems to be a trend at the moment of adding sticks to projects, thanks to my lovely friends Stacy and Zoe, so I decided to join the club and fixed them in place with small dots of hot glue.
I die-cut the houses from Distress Woodgrain Cardstock using the Paper Village Thinlits and coloured the walls, both sides, with Vintage Photo Distress Oxide ink using a mini round blending tool. I coloured a scrap of vellum with Mustard Seed Distress Oxide ink and fixed strips in place over the windows and doors on the inside. I assembled the houses following an excellent "there is always an easy way to do everything" tutorial from my friend Zoe which you can find HERE. I used a small paintbrush to add Distress Grit Paste to the roofs and under the windows and sprinkled with Distress Mica Flakes and Distress Rock Candy Glitter. I sprayed the tree from Idea-ology Woodlands Tree Lot with Shabby Shutters and Bundled Sage Distress Oxide Sprays, tapped on Distress Grit Paste to create snow and once that had dried, tapped on Distress Collage Medium Matte with my finger and sprinkled with Distress Mica Flakes, it's Christmas after all and you can never have enough sparkle.
I covered the Idea-ology Vignette Box with a contrasting paper from the Christmas Paper Pad, 
fixed in place with Distress Collage Medium Matte and was all set to add the Idea-ology Tiny Lights which turned into a major adapt and overcome adventure when my 25 year old faithful Makita drill decided he wasn't up to drilling another hole and died. So I grabbed my trusty craft pick and a small Phillips screwdriver and with brute force and determination, I managed to make holes in the Etcetera Tag and Vignette Box to feed the light strand through, not pretty holes but holes none the less. I fixed the lights inside the Vignette Box first and added the Christmas Vellum Scene, trimmed down to fit. I fed the wire back to the outside and fixed the Vignette Box in place with thin strips of  Foam Adhesive. I didn't want to nip the wire at this stage and cause a short circuit. 
I gathered the first 3 lights on the strand together for the smaller house and fixed in place with a dot of hot glue. I fixed the tree in place with hot glue and wound the strand around it, then it was time to arrange the last lights on the strand for the larger house. I fixed the houses to the vignette box over the light strands with Distress Collage Medium Matte and added Distress Grit Paste around the houses and tree, covering up any stray wires. Woohoo, finally I made it through to that joyous "let there be light" moment. 
I added Distress Grit Paste around the edges of the Vignette Box and decorated the Christmas Vellum Scene with Idea-ology Christmas Tiny Text Remnant Rubs
I trimmed the holly from Idea-ology Christmas Layers, fixed to the stick using Sizzix Foam Adhesive and Distress Collage Medium, added Ranger Glossy Accents to the berries and once they were dry, I added splatters of Picket Fence Distress Paint.
I highlighted the wording on the Idea-ology Christmas Quote Token with Picket Fence Distress Crayon and fixed in place with Distress Collage Medium Matte. 
To finish I added Picket Fence Distress Paint to the edges of the Etcetera Tag, applied with a piece of Ranger Cut 'n Dry Foam.


You can find all the products I used over at Simon Says Stamp, just click on the links below


Why don't you pop over to the Monday Challenge Blog and check out the amazing creations from my very talented Design Team mates and as always you have until Monday 8am Ohio time...1pm UK time...2 pm CET to join in with the chance to win a $25 voucher to spend at Simon Says Stamp Online Store.


You can also follow Simon Says Stamp on Instagram
and if you use Instagram...
please add #sssmchallenge to your entry uploads so we can see them on there too

I look forward to seeing what you create this week...
Have Fun and Happy Crafting
Hugs Kath xxx

Where available I use compensated affiliate links which means if you make a purchase I receive a small commission at no extra cost to you. You can find my affiliate and product disclosure HERE


Friday, October 16, 2020

Winterscape Shaker Gift Bag

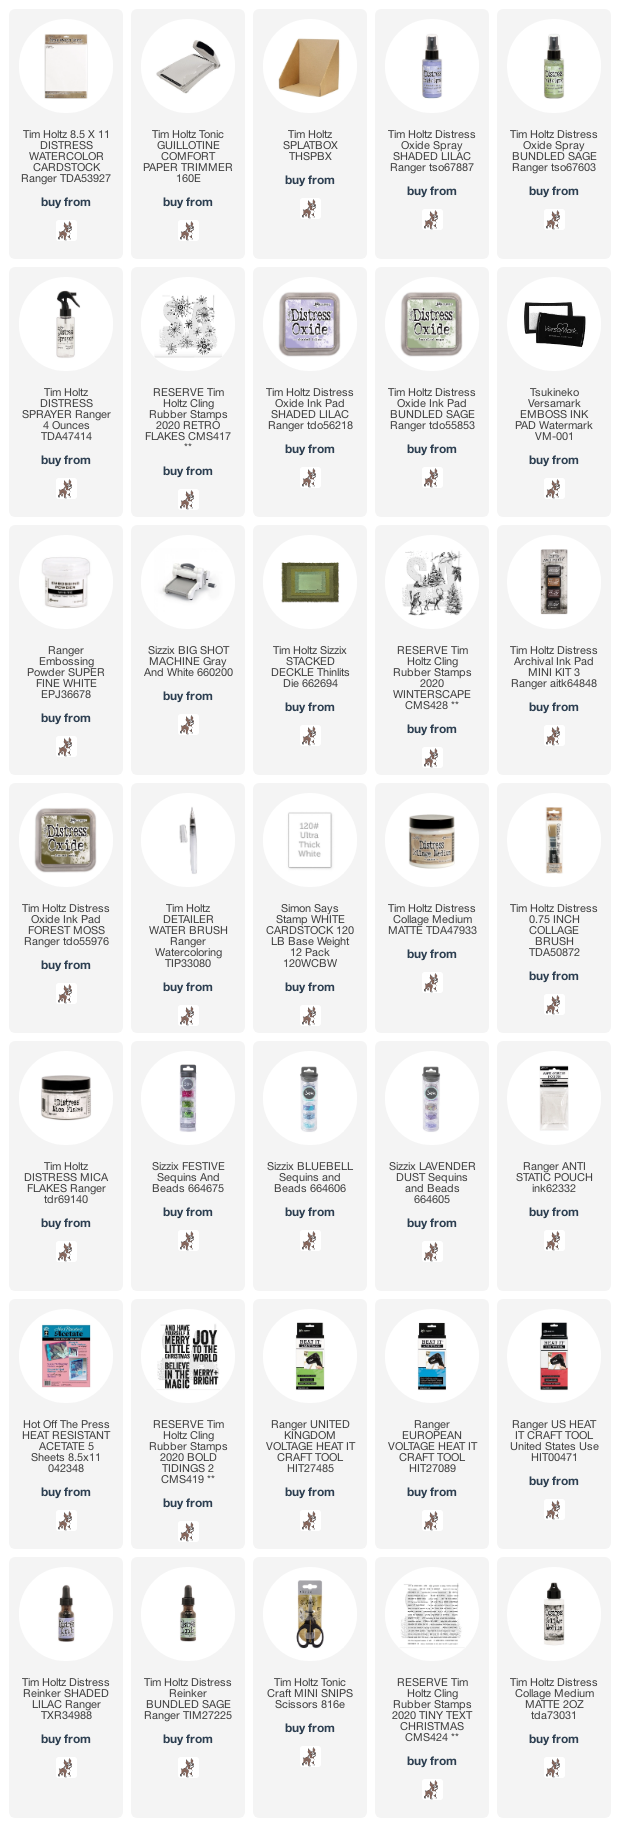
Hi my friends, I have to confess I've fallen in love with the adorable snowman from Tim Holtz/Stampers Anonymous Winterscape, just one of the amazing stamp sets released for Christmas 2020. You can check out all the new stamp sets and stencils and the fabulous inspirational samples by all the makers over on Tim's blog HERE. If you follow my blog, you'll know that I love to decorate gift bags, have a bit of a soft spot for snowmen and snowflakes so to give this gift bag a little extra pizazz, I decided to make it a shaker using the snowman from Winterscape, Retro Flakes and the sentiment from Bold Tidings 2.


I trimmed Distress Watercolor card to fit the front of a plain, cheap as chips, white gift bag and spritzed with Shaded Lilac and Bundled Sage Distress Oxide Sprays. I inked the images from Retro Flakes with Shaded Lilac and Bundled Sage Distress Oxide inks and stamped randomly on the background. To fill in the blanks, I stamped one of the smaller images, inked with Versamark, sprinkled with Ranger Superfine White Embossing Powder and heat set. I used the largest die from Tim Holtz/Sizzix Stacked Deckle Thinlits to cut the aperture for the shaker window.  I placed the panel into my Stamp Platform and stamped the tree and Snowman from Winterscape inked with Black Soot Distress Archival. I re-stamped the tree using Forest Moss Distress Oxide and used a Distress Detailer Brush to pull the ink out to add more colour on the tree.
I added a snowbank to the inside panel and fixed to white cardstock trimmed to the same size as the gift bag. I trimmed 8 pieces of white cardstock to the same size, die-cut the apertures using the Stacked Deckle Thinlits and fixed together using Distress Collage Medium Matte. This, for me, is far easier than using foam tape to create the area that will contain the shaker elements.
I added a mix of Sizzix Sequins and a liberal sprinkling of Distress Mica Flakes.
I trimmed heat resistant acetate to the same size as the outer frame, placed in my Stamp Platform and dusted liberally with the Ranger Anti Static Pouch. I used the frame as a guide to position the stamp from Bold Tidings 2, inked with Versamark ink and heat set with Ranger Superfine White Embossing Powder.
With all the shaker bits safely contained within the frame, I fixed the panel to the gift bag. I stamped the snowman image, inked with Black Soot Distress Archival, on to a scrap of Distress Watercolor, coloured with Shaded Lilac and Bundled Sage Distress Re-inkers using a Distress Detailer Brush, fussy cut and fixed in place over the original stamped image.

I inked the sentiment from Tiny Text Christmas with Black Soot Distress Archival, stamped on to a strip of Distress Watercolor card and fixed to the panel.
I pounced Shaded Lilac Distress Oxide ink on to my Glass Media Mat, spritzed with water, scrunched up the Crinkle Ribbon, tapped it into the ink, repeated with a little Dusty Concord to darken and give a variation of colour.
I tied around the handle of the gift bag to create a fluffy tattered double bow and finished by adding Distress Mica Flakes, under the snowman, on the tree and in the top right corner.


Have a great weekend whatever you have planned, I'll be hanging out over at Tim and Mario's, definitely, the in place to be on a Saturday night, for the Halloween Part 2 Facebook Live - 10am PT or 6pm if you're in the UK. See you there my friends and I'll be back on Monday to share my DT project for Simon Says Stamp Monday Challenge.
Hugs Kath xxx


Where available I use compensated affiliate links which means if you make a purchase I receive a small commission at no extra cost to you. You can find my affiliate and product disclosure HERE