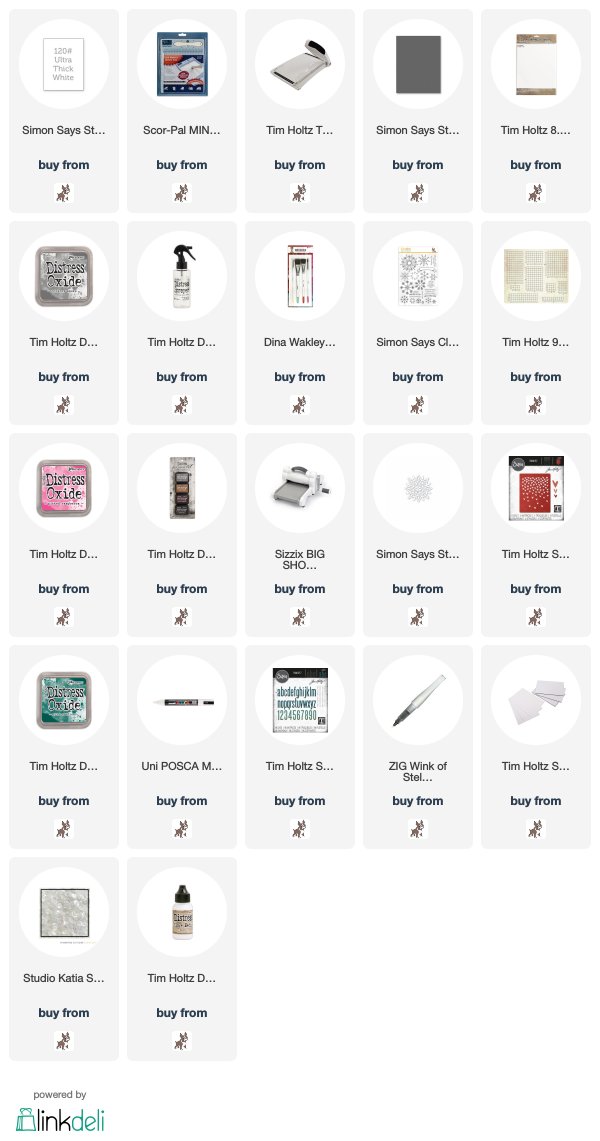
I trimmed Distress Watercolor card to 4" x 5./4" and applied a light wash of Hickory Smoke Distress Oxide ink using a paintbrush and lots of water. Once dry. I stamped the snowflake images on to the textured side of the Distress Watercolor card inked with Picked Raspberry and Hickory Smoke Distress Oxide inks.
I stamped the sentiment banner from the stamp set with Black Soot Distress Archival twice on to Distress Watercolor card, coloured with Picked Raspberry Distress Oxide ink using a Distress Detailer Brush.fussy cut, fixed the whole banner to the panel with Distress Collage Medium Matte and the centre section popped up on Tim Holtz/Sizzix Mini Foam Adhesive to create dimension. I die-cut the Mini Snowflake Mandala, included with the card kit, from Distress Watercolor card and fixed in place with Mini Foam Adhesive attached only to the centres. I coloured a scrap of Distress Watercolor card with Picked Raspberry, die-cut using Tim Holtz/Sizzix Falling Hearts Thinlits and added the waste hearts to the snowflakes and background.
I coloured the circles on the large snowflakes with Hickory Smoke Distress Oxide ink using a Distress Detailer Brush and added shimmer to the circles, hearts and banner using a Wink Of Stella Clear Glitter brush. I matted the panel on to an A2 white card blank covered with Simon Says Stamp Slate cardstock, also included in the kit.
On the second card, I trimmed the Kaisercraft patterned paper included in the kit to 4" x 5.1/4" and stamped the snowflakes using Iced Spruce and Pine Needles Distress Oxide inks for the different layers of the snowflakes. The stamps required to build each snowflake are grouped together in a section marked out on the carrier sheet with a dotted line so it is really easy to identify which stamps you need to use to clear the layers.
I added splatters using a white Posca Pen.
To make sure that my die-cut word was straight, I fixed a strip of Tim Holtz/Sizzix Sticky Grid Sheet to the bottom of the panel and arranged the Alphanumeric Classic Lower Thinlits. The Sticky Grid Sheet will hold the dies in place and peel off once you're done, without damaging the surface. We've all been there, spent ages creating a stamped background only to find, when you remove the "low tack" tape, it's taken some of your hard work with it.
I die-cut the letters 3 more times and piece into the negative spaces to create dimension. I added the snowflakes die-cut from Distress Watercolor card using the Mini Snowflake Mandala die included in the kit and matted the panel on to an A2 white card blank.
I coloured Distress Watercolor card with Pine Needles Distress Oxide ink and stamped the sentiment from the stamp set with Black Soot Distress Archival, trimmed to separate the words and fixed in place with strips of Tim Holtz/Sizzix Mini Foam Adhesive. I used a Wink of Stella Clear Glitter Brush to add shimmer to the letters and added Shimmering Ice Fusion sequins.
Toodle-oo for now
Hugs Kath xxx

Where available I use compensated affiliate links which means if you make a purchase I receive a small commission at no extra cost to you. You can find my affiliate and product disclosure HERE


Lovely Snowflake cards Kath I love both colours
ReplyDeleteAnne
Gorgeous cards Kath, so pretty.
ReplyDeleteSame here weather wise, I am more surprised that you have had no snow...in Scotland!!!!!...whats going on, the gales have just blown out over nite after three days and a leaky roof, now I am told we have another one headed to us at the weekend...Dennis...oh no...not the menace....stay safe kath.xx