Thursday, December 9, 2021

Countdown to Christmas

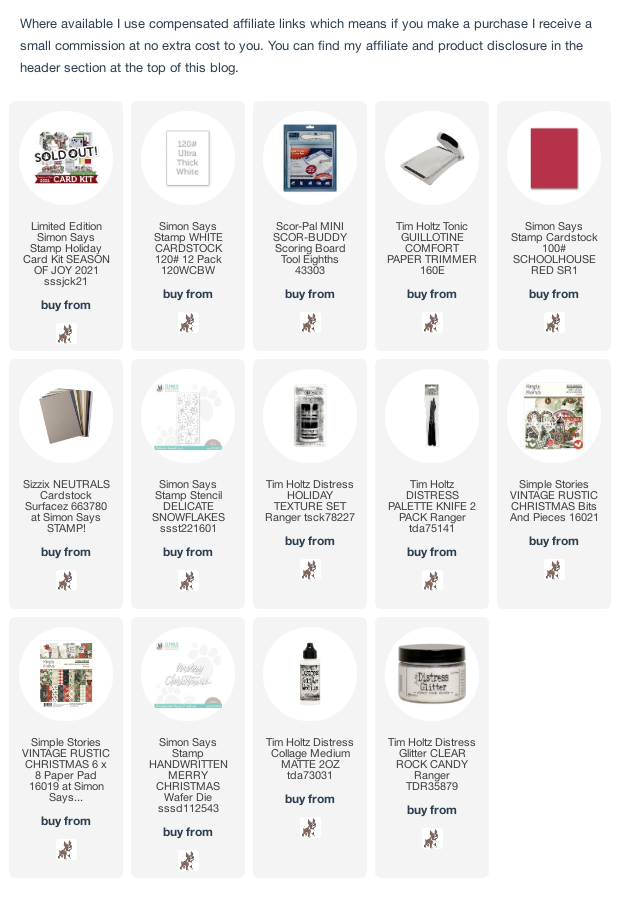
Hi my friends, yes the countdown to Christmas has begun. I still can't believe it's only 2 weeks away and I'm currently in headless chicken mode, flitting from one task to another, one step forwards and two back and with last Christmas being a bit of a low key affair, I may be a little out of practice. But hey ho, I'm sure it will be alright on the night, won't it. I'm sharing some gift card/cash card holders with matching envelope pockets I made using bits and pieces from the fabulous Season of Joy Holiday Card Kit from Simon Says Stamp. I love the Rustic/Homespun feel of this card kit and although it has, not surprisingly, sold out, the individual items are available to buy separately and are linked below.


I began by trimming Simon Says Schoolhouse Red cardstock to create 3 - 3.1/4" x 6.1/4" panels, applied Distress Snowfall Grit Paste which came in the kit through the Delicate Snowflakes 4" x 9" Stencil, sprinkled with Distress Rock Candy Glitter and added splatters of White Gesso. I added ephemera from the Simple Stories Rustic Vintage Bits and Pieces pack, a strip trimmed from one of the Rustic Vintage 6" x 8" papers and matted the panels on to Mini Slimline white card blanks.
I created pockets to hold the cards from a lighter weight white card from Sizzix Neutral Surfacez pack. I trimmed the card to 8" x 7.5", scored at 2" and 5.3/4" on the longer side and 1" from the edge on the other side. I used Tim Holtz/Sizzix Stacked Tiles Circles to create a notch in the top of the pocket. I trimmed away the bottom side sections to create a flap and assembled using double sided adhesive.
I trimmed Schoolhouse Red card to be slightly shorter than the pocket, fixed in place with Distress Collage Medium, added a strip of the Rustic Vintage paper at the top and added the stencilled Delicate Snowflakes as before.
I added splatters of White Gesso and Simon Says Handwritten Merry Christmas die-cut from the white Sizzix Surfacez card.


Three cheers for card kits, where all the products co-ordinate, making last minute crafting a breeze and woohoo one more task is ticked off the Christmas prep list, just another million and one to go.
Hugs Kath xxx

Wednesday, December 8, 2021

A Special Delivery from Jolly Santa

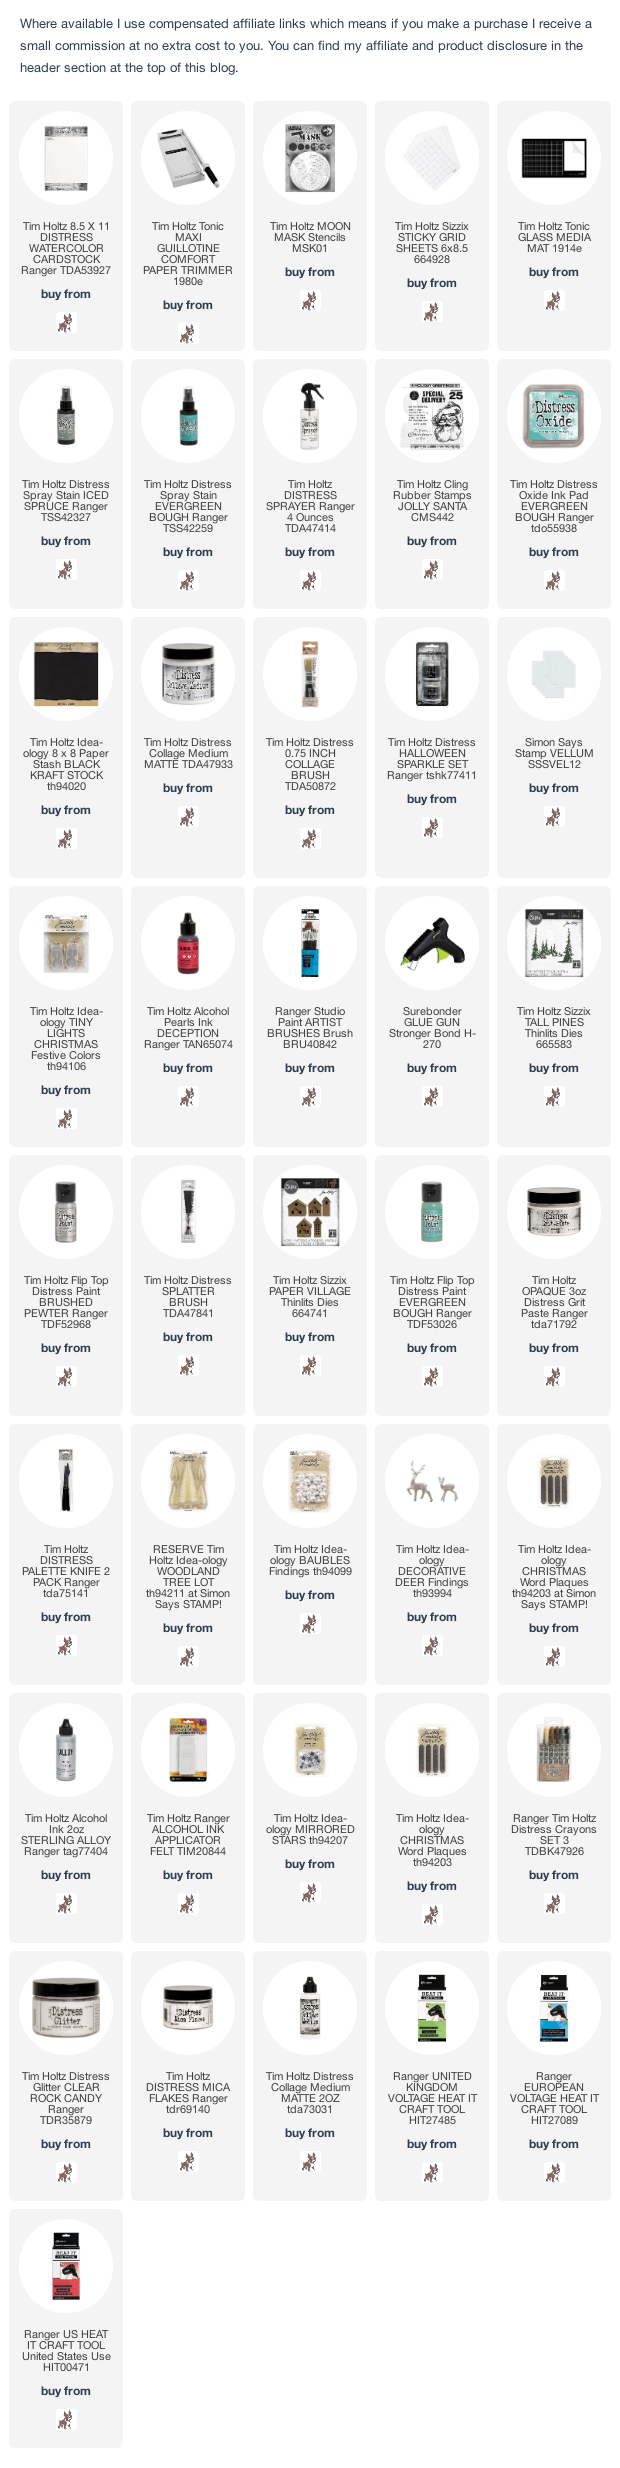
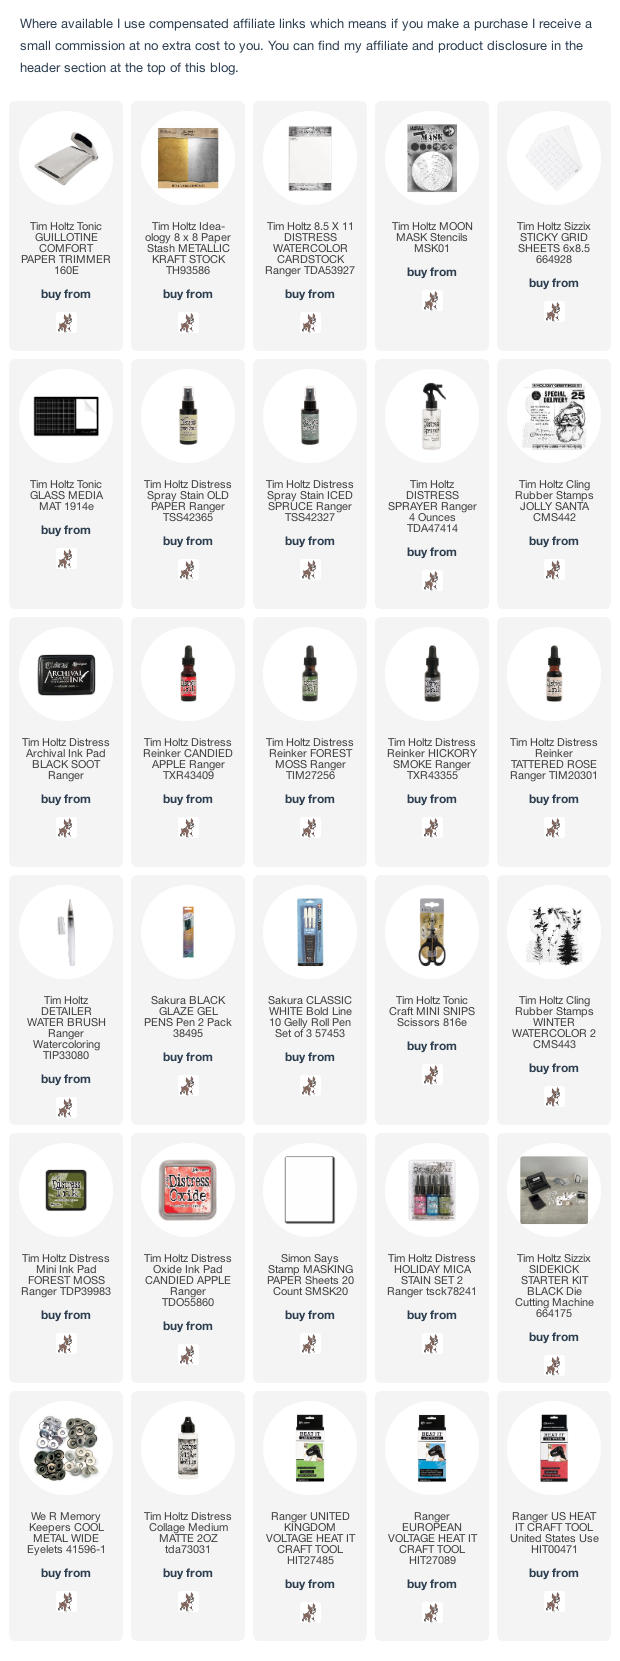
Hi my friends, I'm sharing the gift bag I decorated for the YouTube Live release of Tim Holtz/Stampers Anonymous Christmas Collection using the adorable Jolly Santa stamp set. If you purchased any of the stamp sets from this release and are looking for inspiration, hop over to Tim's Blog HERE and check out all the amazing projects from the Makers.


I began by trimming Distress Watercolor card to be slightly smaller than the front of a Kraft Gift Bag. I attached the moon mask in place with Sizzix Sticky Grid, spritzed Old Paper and Iced Spruce Distress Spray Stains on to the mat on my Glass Media Mat and laid the panel into the stains. I spritzed with water and dried. I tapped the panel back into the stains to pick up the remaining droplets and dried. I spritzed the area around the moon with water and let the stains run into the moon.
I inked the image from Tim Holtz/Stampers Anonymous Jolly Santa with Black Soot Distress Archival and stamped on the panel. I inked the foliage image from Tim Holtz/Stampers Anonymous Winter Watercolor 2 with Forest Moss Distress Ink and stamped repeatedly on the panel.
I re-stamped the Santa image, fussy cut, fixed to the panel with Distress Collage Medium, coloured with Candied Apple, Forest Moss, Hickory Smoke and Tattered Rose Distress Re-inkers. At this stage, he just didn't have the look that I was hoping for, so I bit the bullet, drew in eyes using a Sakura Black Glaze Pen and added white dots using a Sakura White Gelly Roll Pen. I inked the two images from the Jolly Santa stamp set with Candied Apple Distress Oxide ink and stamped randomly on the background.

I created a quick mask for Santa and once in place, added splatters of Holly Branch Distress Mica Stain.
I inked Special Delivery from the stamp set with Candied Apple Distress Oxide ink and stamped on to a scrap of Distress Watercolor card, coloured to match the background and die-cut using the tag die from Tim Holtz Sidekick starter set. I matted the tag on to gold Idea-ology Metallic KraftStock, trimmed to leave a border and added a large Gold Eyelet. I trimmed Idea-ology Gold Metallic KraftStock to cover the front of the bag, fixed the panel in place with Distress Collage Medium and attached the tag with strips trimmed from a roll of  Gold Sparkle Tulle.


Have fun with whatever you are making
Hugs Kath xxx
Tuesday, December 7, 2021

'Tis The Season

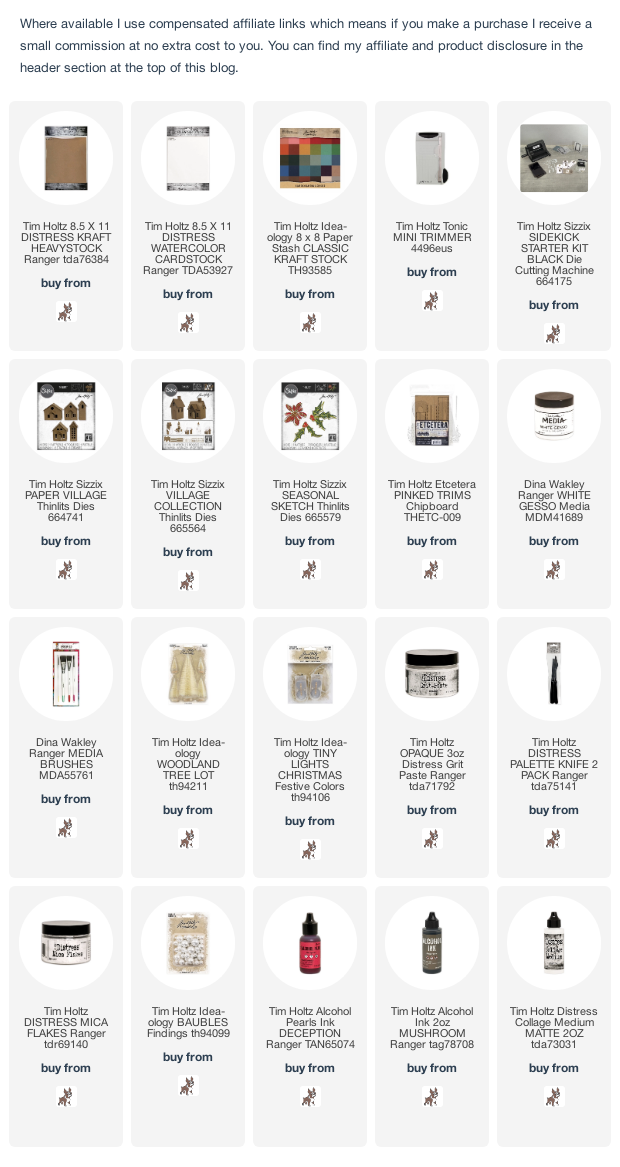
Hi my friends, 'tis the season to make a start on decking the halls with boughs of holly and with one lonely Tim Holtz/Sizzix Paper Village House left over from my table ornaments adventure, I decided to make a hanging wreath for the cubbyhole door.


I began by wrapping an 8" wire wreath with strips of Burlap I had in my stash. I just had enough to go once around and it would have been better with another layer but hey ho, in the words of my adorable Professor, you get what you get and you don't throw a fit. I used hot glue to attach Tim Holtz/Stampers Anonymous Etcetera Trims to the front and back to create a shelf. I attached a set of Idea-ology Tiny Lights to illuminate a Tim Holtz/Sizzix Paper Village House and Idea-ology Woodland Lot tree.
I fixed the house and tree in place with hot glue and applied a coat of White Gesso to the Etcetera Trims.
I die-cut the holly leaves from Distress Kraft HeavyStock, inked the edges with Walnut Stain Distress ink and Distress Watercolor card using Tim Holtz/Sizzix Seasonal Sketch Thinlits.
I fixed in place with hot glue and attached the rest of the Idea-ology Tiny Lights around the back of the wreath.
I added the holly berries die-cut from red Idea-ology Classic KraftStock and Distress Watercolor card.
I applied Distress Grit Paste to the roof of the house and the Etcetera Trims and sprinkled with Distress Mica Flakes to add some Christmas sparkle. I added Distress Grit Paste around the edges of Idea-ology Christmas Quotes from a previous year's release and fixed in place with hot glue.
I coloured Idea-ology Bauble Findings with Deception Pearl and Mushroom Alcohol inks and fixed to the tree.


I'll be back soon to share a project I made using Tim Holtz/Stampers Anonymous Jolly Santa.
Have fun with whatever you are making to decorate your home for Christmas
Hugs Kath xxx

Monday, December 6, 2021

Simon Says - Santa

Hi Everyone...welcome to another week on the Simon Says Stamp Monday Challenge Blog. Thank you for joining us for last week's challenge and we hope you can join us this week too because


It's the first Monday of December and that means we are showcasing one particular brand/company and this month the design team are using products from Tim Holtz. You don't need to use them to join in the challenge but we would love to see how you use them if you have them in your stash.
This week we are welcoming the lovely Susan Babcock aka Susanbcards into the Designer Spotlight and if you haven't visited her blog before, then you are in for a real treat. 
The theme for this week is...
SANTA
I decided to make Place Setting ornaments for my Christmas Day guests using Tim Holtz adorable Diecember Exclusive Dash Away All Thinlits, Tim Holtz/Sizzix Paper Village and Village Thinlits, Idea-ology Woodland Tree Lot and Bauble Findings to match my Christmas Table centerpiece which I'll be sharing soon.

I began by applying a coat of White Gesso to the wood slices and trimmed Distress Watercolor and Kraft HeavyStock card ready for die-cutting. I die-cut the Tim Holtz/Sizzix Paper Village houses and roofs and used the roof tile dies from Tim Holtz/Sizzix Village Thinlits to decorate the roofs. I die-cut the Santa and sleigh from Distress Watercolor using the Dash Away All die, 4 times for each ornament and layered to create dimension. I applied a thin coat of Distress Collage Medium to the top layer and sprinkled with Distress Rock Candy Glitter.
I assembled each house, drybrushed and added splatters of White Gesso. I added the roofs and used hot glue to fix the Dash Away All die-cuts in place. I applied Distress Grit Paste on the roofs and windows using a palette knife and sprinkled with Distress Rock Candy Glitter.
I attached the houses to the wood slices using hot glue, added a tree from Idea-ology Woodland Tree Lot decorated with Distress Grit Paste and Distress Rock Candy Glitter, an Idea-ology Bauble coloured with Deception Pearl and Mushroom Alcohol Ink and some sticks from my garden.
I applied Distress Grit Paste around the edges of the wood slice to cover up any blobs of hot glue.

To finish I coloured Rudolph's Nose with a red marker.

You can find all the products I used over at Simon Says Stamp, just click on the links below


Why don't you pop over to the Monday Challenge Blog and check out the amazing creations from my very talented Design Team mates and as always you have until Monday 8am Ohio time...1pm UK time...2pm CET to join in with the chance to win a $25 voucher to spend online at Simon Says Stamp


You can also follow Simon Says Stamp on Instagram
and if you use Instagram...
please add #sssmchallenge to your entry uploads so we can see them on there too

I look forward to seeing what you create this week...
Have Fun and Happy Crafting
Hugs Kath xxx

Wednesday, December 1, 2021

Dash Away All

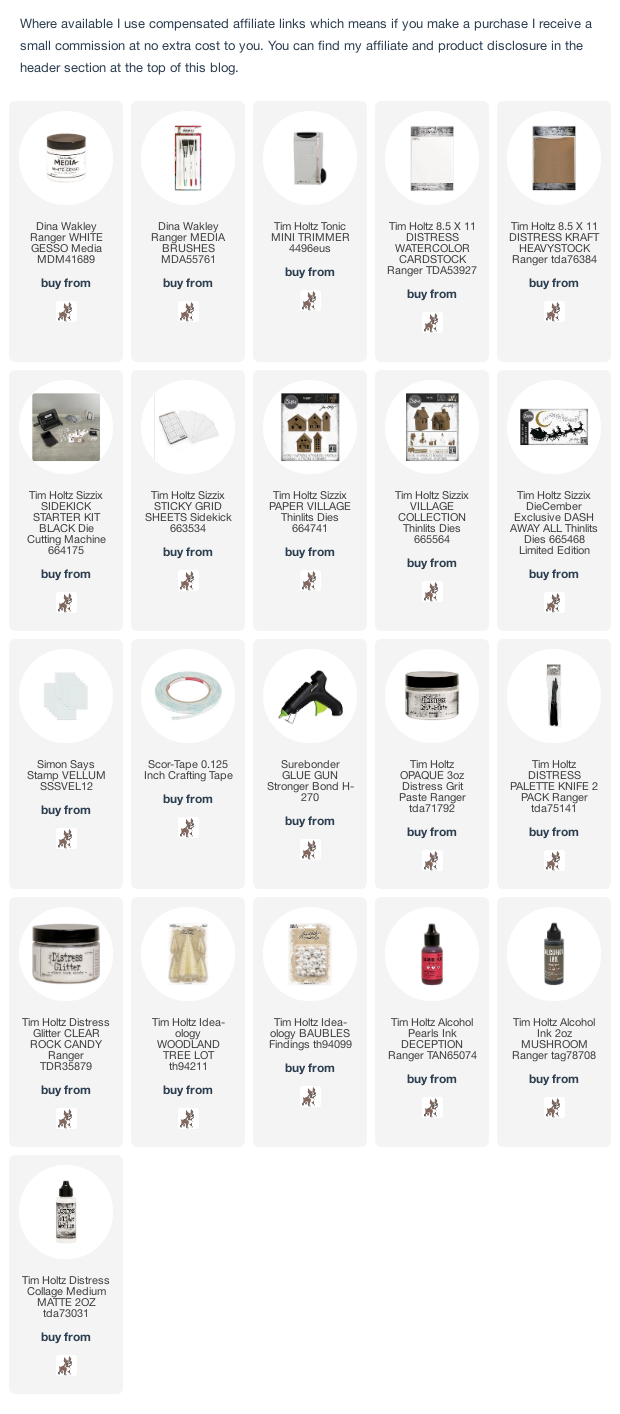
Hi my friends, have you managed to get your hands on the adorable Dash Away All set of dies, an amazing cyber Monday surprise gift from Tim Holtz and Simon Says Stamp.

I immediately fell in love with these dies and woohoo, they are perfectly sized to use with the Tim Holtz/Sizzix Village and Paper Village 1 and 2 Thinlits so I decided to create a winter scene in a 8" square Shadow Box with Santa and his trusty reindeer flying high into the sky on their way home to the North Pole. 
And I couldn't resist adding some Idea-ology Tiny Lights to make it even more magical.
I began by trimming Distress Watercolor card to 7.1/2" square, fixed the largest of the Tim Holtz/Stampers Anonymous Moon Masks in place with a piece of Sizzix Sticky Grid Sheet, spritzed the panel lightly with water and sprayed with Iced Spruce and Evergreen Bough Distress Spray Stains and dried. I spritzed a little Iced Spruce on to the craft mat on my Glass Media Mat and tapped the panel into the stain to pick up the droplets, flicked on some water and dried. I inked the words image from Tim Holtz/Stampers Anonymous Jolly Santa, inked with Evergreen Bough Distress Oxide and holding the stamp in my hand, stamped randomly on the background. I die-cut the "woosh", the Santa and reindeer from the panel and fixed vellum behind the Santa aperture and the "woosh". I die-cut the Santa again from Distress Watercolor card and fixed into the aperture with Distress Collage Medium Matte. This was the stage of the make, I got carried away and forgot to pick up my camera. I die-cut Santa again twice and layered to raise him up from the background. I applied a thin coat of Glossy Accents to Idea-ology BlackOut KraftStock and dusted with Distress Moonlight Glitter. Once it was dry, I brushed off the excess glitter, placed the die on top and sandwiched between a folded sheet of copy paper before die-cutting. This saves any glitter sticking to your plates and believe me, ignore my advice and your plates will definitely need a rub-a-dub scrub in the kitchen sink. I adhered the glittered die-cut on top of the others slightly offset. 
I die-cut Tim Holtz/Sizzix Tall PinesThinlits from Distress Watercolor card and fixed in place with Distress Collage Medium. I die-cut the large tree on the right 4 or 5 times and layered to create dimension. I added a generous splattering of Brushed Pewter Distress Paint to add some magical sparkle. I turned the Shadow Box over and placed the panel into the box face down to help with the placement of the Idea-ology Tiny Lights. I coloured the first light on the strand with Deception Pearl Alcohol Ink using a small brush, poked a hole alongside Rudolph's nose, pushed the light through the hole and began fixing the strand behind the reindeer, Santa and the woosh leaving the last 4 lights on the strand for the next step.
I die-cut the Tim Holtz/Sizzix Paper Village Thinlits from Distress Watercolor card. I painted the roofs with Evergreen Bough Distress Paint, fixed vellum behind the windows, assembled and positioned the remaining lights where I intended placing the houses. I sprayed the Idea-ology Woodland Trees with Iced Spruce Distress Spray Stain, coloured the Idea-ology Baubles with Sterling Alloy Alcohol Ink, painted the Idea-ology Decorative Deer with Brushed Pewter Distress Paint and added sparkly highlights with the Sterling Alloy Alcohol Ink. I added a thick layer of Distress Grit Paste on the bottom edge of the shadow box and fixed all the elements in place with hot glue. I applied Distress Grit Paste on the houses and trees and sprinkled generously with Distress Rock Candy Glitter and Distress Mica Flakes.
I pulled the battery pack to the outside, fixed the baseboard into the shadow box to hold the panel down and attached the battery pack with hot glue.
I applied Distress Grit Paste randomly around the edges of the shadow box and once it was dry, applied a thin coat of Distress Collage Medium and sprinkled with Distress Rock Candy Glitter and Distress Mica Flakes.
I added Idea-ology Mirrored Stars to the background and an Idea-ology Christsmas Word Plaque coloured with Picket Fence Distress Crayon and highlighted with Sterling Alloy Alcohol Ink. Then it was time to flick the switch on the Idea-ology Tiny Lights


Have fun with whatever you are making
Hugs Kath xxx