Thursday, December 20, 2018

Sending Christmas Cheer

Hi folks, it's hard to believe that Christmas is less than a week away and I couldn't let it pass without using the adorable Santa image from Simon Says Stamp Christmas Cheer stamp set and it just so happened that I needed one more card...

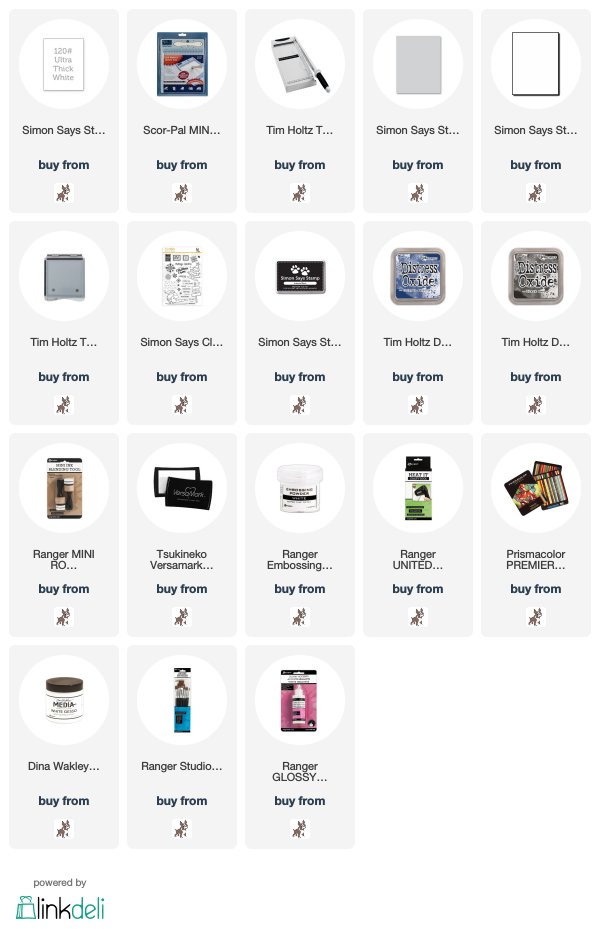
I trimmed Simon Says Stamp Fog cardstock to measure 3.3/4" x 7.3/4" and stamped the Santa and Candy Cane Pole images with Simon Says Stamp Intense Black ink. I stamped the images again on to Simon Says Stamp Masking Paper and cut out. I also created a mask for a snowbank.
With the masks in place, I coloured the background with Chipped Sapphire and Black Soot Distress Oxide inks using mini round blending tools.
I stamped snowflake images and a sentiment from the stamp set with Versamark ink and heat embossed with Ranger Superfine White Embossing Powder.
I removed the masks and coloured the images with Arteza Pencils
I added scribbles to Santa's list using a Sakura Black Micron Pen, stamped the words from the stamp set on to the signs with Simon Says Stamp Intense Black ink and added splatters of White Gesso to the background.
I added Glossy Accents to Santa's nose and the top of the Candy Cane Pole and matted the panel on to a Simon Says Stamp #120 Ultra White card measuring 4" x 8".

The cubbyhole crew have now taken up residence in the kitchen, cooking up a storm of festive food for Christmas and Boxing Day. The Furry Boy is on "guard the oven and lick up any spills" duty while I'm doing my best to demolish another pack of yummy mince pies from Costco. Have fun whatever you're doing.
Hugs Kath xxx


*** Where available I use compensated affiliate links which means, if you make a purchase, I receive a small commission at no extra cost to you. You will find my affiliate and product disclosure HERE.

Wednesday, December 19, 2018

Sweet Christmas Treats...

Hi folks, the weather here has been frightful, rain like stair rods, very high winds and freezing cold, perfect weather for staying indoors, all cosied up in my crafty place. I decided to dig in to my stash of Tim Holtz Christmas Idea-ology...
and decorate some Mini Mason Jars filled with sweet treats for friends
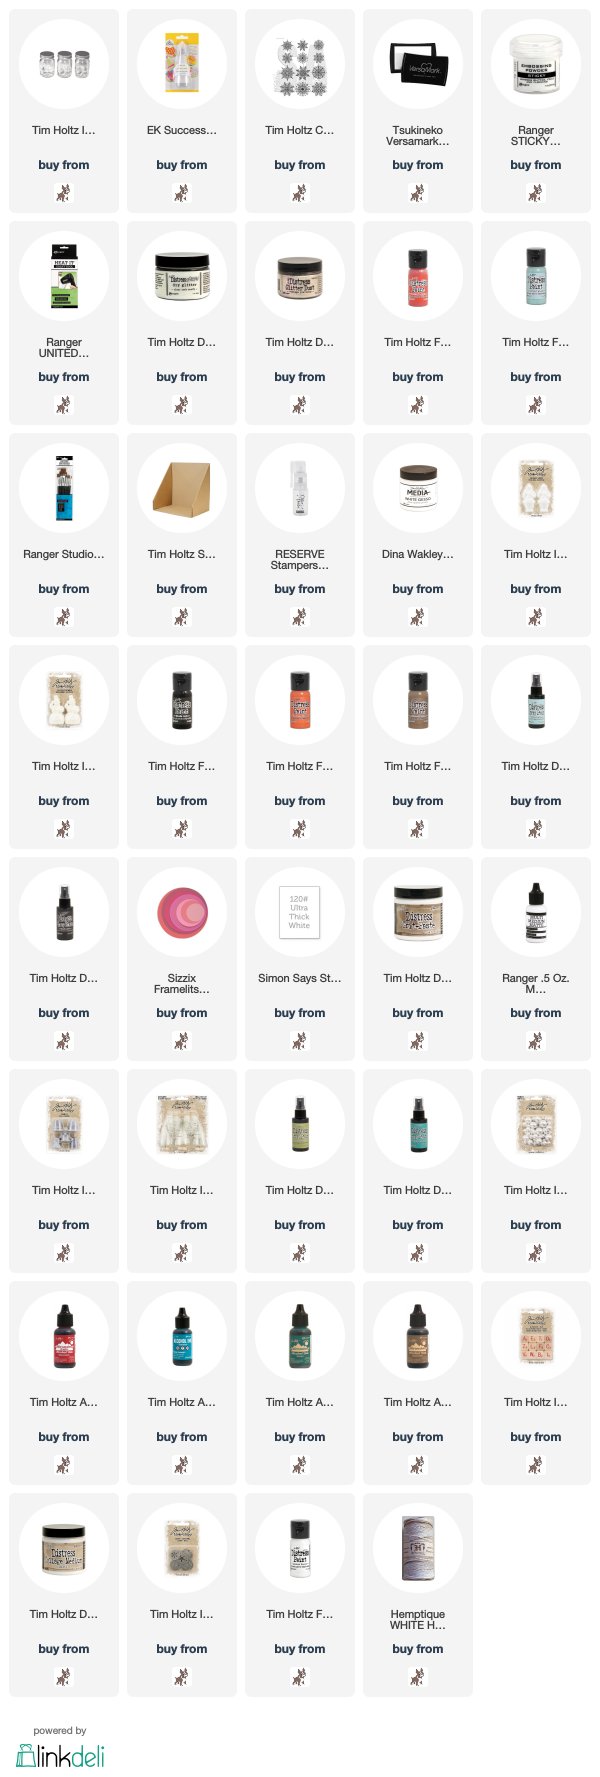
I cleaned the Idea-ology Mini Mason Jars with Rubbing Alcohol to remove any grease and dusted liberally with a powder tool. I inked up one of the snowflake stamps from Tim Holtz/Stampers Anonymous Mini Swirly Snowflakes with Versamark, cupped the stamp in my hand and pressed on to the Mason Jar. I sprinkled with Ranger Sticky Embossing Powder and heat set until the powder had melted. Glass is subjected to very high temperatures in the manufacturing process so I figured it could cope with the heat but kept my heat tool moving and just be aware that the glass jars do get hot. I then sprinkled the sticky images with Distress Clear Rock Candy and Vintage Platinum Glitters and dusted away any stray Glitter with a soft brush. Glitter is bad enough from a photography point of view but combine it with glass and the lack of daylight, it's a triple whammy nightmare.
I painted the jar lids with Tumbled Glass and Candied Apple Distress Paint and while the paint was still wet, dusted with Distress Clear Rock Candy Glitter using the amazing Glitter Duster which dispenses as little or as much as you want. I applied a coat of White Gesso to the Salvaged Santa and Snowman and painted in the details with Distress Paints. Once they were dry, I applied a thin wash of Black Soot and Tumbled Glass Distress Spray Stains and wiped it away with a cloth leaving the colour in the crevices. I die cut circles from white card, slightly smaller than the jar lids, covered with Ranger Grit Paste, fixed to the lids with Ranger Multi Medium Matte and fixed the Santa and Snowman in place while it was still wet.
I painted the  Idea-ology Thimbles with Candied Apple Distress Paint and applied a wash of Black Soot Distress Spray Stain, again wiping it back with a soft cloth. I sprayed the Small Woodland Trees with Peeled Paint and Evergreen Bough Distress Spray Stains and once they were dry, dipped my finger into Grit Paste, lightly tapped it on to the bristles of the trees and dusted with Distress Clear Rock Candy and Vintage Platinum Glitters. I coloured the Baubles with Watermelon, Turquoise and Stream Alcohol inks and repeated with Mushroom Alcohol Ink to give a more vintage look.
I painted two lonely"left-over from Christmas past" Alpha Dice with Festive Berries Distress Paint, coated with Distress Collage Medium and added Gold Glitter thread and bows to create parcels.
I coloured the Idea-ology Chistmas Tokens with Picket Fence Distress Paint and used the Glitter Duster to add Distress Clear Rock Candy and Vintage Platinum Glitter while the paint was still wet.
I added twine bows and clear gems coloured with Alcohol Inks to the centre of the tokens and embossed snowflakes
And surprise, surprise, I had to return to the Christmas Sweet Treat shop to replenish the jars because someone (and the Furry Boy wants it known it wasn't him) kept dipping their greedy fingers in until the contents were seriously depleted. It was definitely a "one for me and one for the jar" kind of day. But they are now wrapped up and ready to be delivered, safely out of sight, out of mind.
Hugs Kath xxx

 *** Where available I use compensated affiliate links which means, if you make a purchase, I receive a small commission at no extra cost to you. You will find my affiliate and product disclosure HERE

Tuesday, December 18, 2018

AALL&Create Guest Designer Project - 2019 Planner

Hi folks, I'm sharing another AALL&Create Guest Designer project and with 2019 only a few weeks away, it was time to make myself a new planner. Having a memory like a sieve, a place to record birthdays, events, appointments and places I need to be, is essential and the gorgeous new AALL&Create Time Flies #143 stamp set from Tracy Evans was perfect for decorating the cover.

I used Eileen Hull's Scoreboards XL Journal die to die-cut the covers from Sizzix Matboard
and spread Ranger Texture Opaque Crackle Texture Paste randomly over the covers using a palette knife
Once the paste was dry, I dragged a Distress Oxide Bundled Sage over the cover to add some colour and scribbled Vintage Photo Distress Crayon over the crackle areas, rubbing it into the texture with a damp finger. At this point I thought I had messed it up and might have to start over but it's only the first layer
So I moved on and stamped the clock image from AALL&Create Time Flies #143 twice on to Distress Collage Paper using Versamark Onyx Black ink.
I used a wet paintbrush to draw around the sections of the stamped images, teased them apart with my finger and fixed to the cover using Distress Collage Medium Matte and a Collage Brush.


I then applied Studio 490 Wendy Vecchi White Embossing Paste through Stencils #6 and #42

and added splatters using a White Posca Pen and scribbled around the edges with a Sakura Fine Point Liner pen
I applied Black Soot Distress Paint through Stencil #21 and around the edges of the cover using a piece of Ranger Cut 'n Dry.
and added copper coloured metal embellishments from my stash and numerals coloured with White Gesso.

I threaded Crinkle Ribbon through Flower Metal Embellishments from my stash and fixed to the cover with Tim Holtz Idea-ology Fluted Fasteners to create the closure.
All I need to do is create the inserts for the planner, string with elastic and I'm all set for 2019
Hugs Kath xxx

The ALL&Create products I used.
You can find all the products and a list of worldwide stockists HERE


Monday, December 17, 2018

Simon Says - Stitch It Up

Hi Everyone...welcome to another week on the Simon Says Stamp Monday Challenge Blog...thank you for joining us for last week's challenge...we hope you can join us this week too because...

and the theme for this week is...
STITCH IT UP
(add real or faux stitching)
I made a Christmas card for a special friend using Tim Holtz/Stampers Anonymous Glorious Gatherings and Patchwork Pieces to add stitching details to the background and edges. I also machine stitched around the edges and sentiment banner.

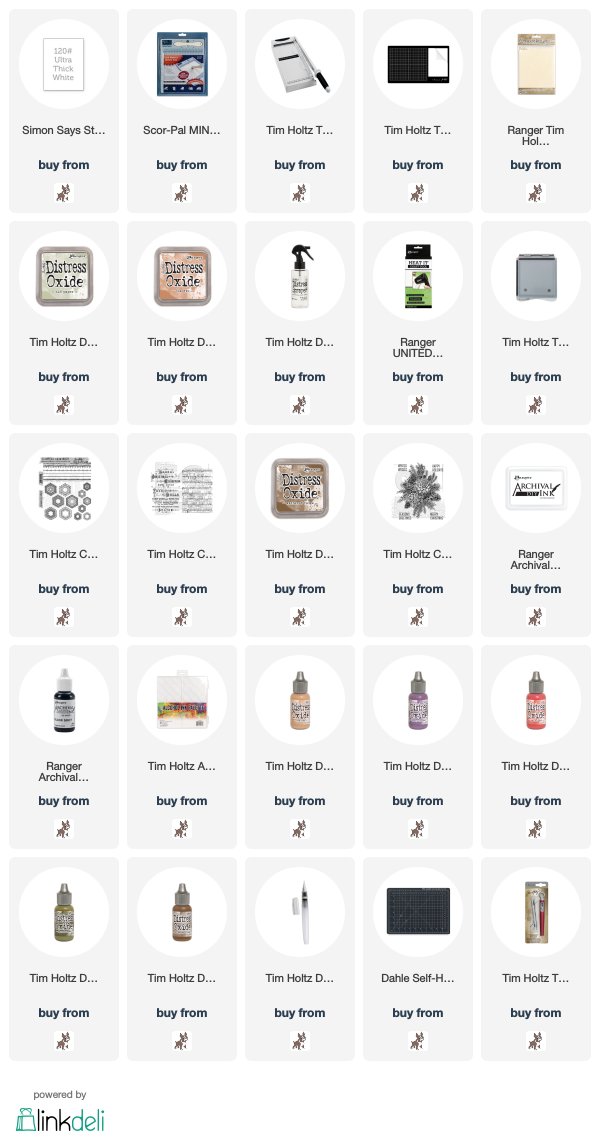
I started off by trimming Distress Mixed Media Heavystock to measure 6" x 8" and coloured with Old Paper and Tea Dye Distress Oxide inks, using the familiar smooshing, drying, spritzing and tapping back into the ink to pick up the remaining droplets technique
I inked the images from Tim Holtz/Stampers Anonymous Patchwork Pieces with Old Paper, Tea Dye and Frayed Burlap Distress Oxide inks, spritzed the stamp with water and stamped on to the panel.
I stamped the gorgeous Tim Holtz/Stampers AnonymousGlorious Gatherings with Black Soot Archival
I left the panel in my Stamp Platform and coloured with Distress Oxide re-inkers using a Detailer Brush. Once the inks had dried, I was able to re-stamp the image in exactly the same place to accentuate the detail.
I coloured a scrap of Distress Mixed Media Heavystock with Gathered Twigs Distress Oxide ink using a mini round blending tool, stamped the Music background from Tim Holtz/Stampers Anonymous Music and Advert with the same ink.. I dried the ink with a heat tool and stamped the sentiment from Glorious Gatherings with Gathered Twigs and heat embossed with Ranger Superfine Clear Embossing Powder. I placed the panel on a cutting mat, cut around a section of the image, fixed the banner in place tucked behind the image and punched a hole for adding the ribbon later.
I machine stitched with a straight stitch around the edges of the panel and zig zag stitch across the banner sentiment. I added shadows around the image and banner with Gathered Twigs using the Distress Detailer Brush.
I placed the panel in my best friend, the Distress Splat Box and flicked on splatters of Antiqued Bronze Distress Mica Spray. 
added a double bow of Idea-ology Crinkle Ribbon coloured with Gathered Twigs Distress, spritzed liberally with water to lighten and matted the panel on to a white card blank.


You can find all the products I used over at Simon Says Stamp, just click on the links below

Why don't you pop over to the Monday Challenge Blog and check out the amazing creations from my very talented Design Team mates and as always you all have the chance to win a $50 gift voucher to spend at Simon Says StampYou have until Monday 8am Ohio time...1pm UK time...2 pm CET to join in...

You can also follow Simon Says Stamp on Instagram
and if you use Instagram...
please add #sssmchallenge to your entry uploads so we can see them on there too

I look forward to seeing what you create this week...
Have Fun and Happy Crafting
Hugs Kath xxx

SUPPLIES:

*** Where available I use compensated affiliate links which means if you make a purchase I receive a small commission at no extra cost to you. You can find my affiliate and product disclosure HERE.